Michael Fortune
Engineer & Maker
Backgammon Board Build Diary
Empty Van
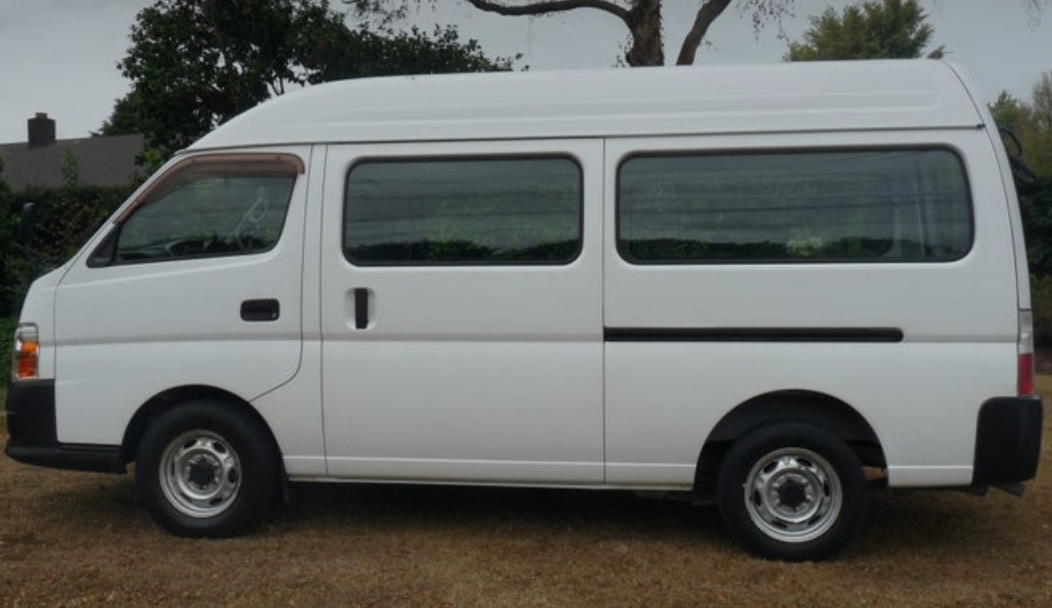
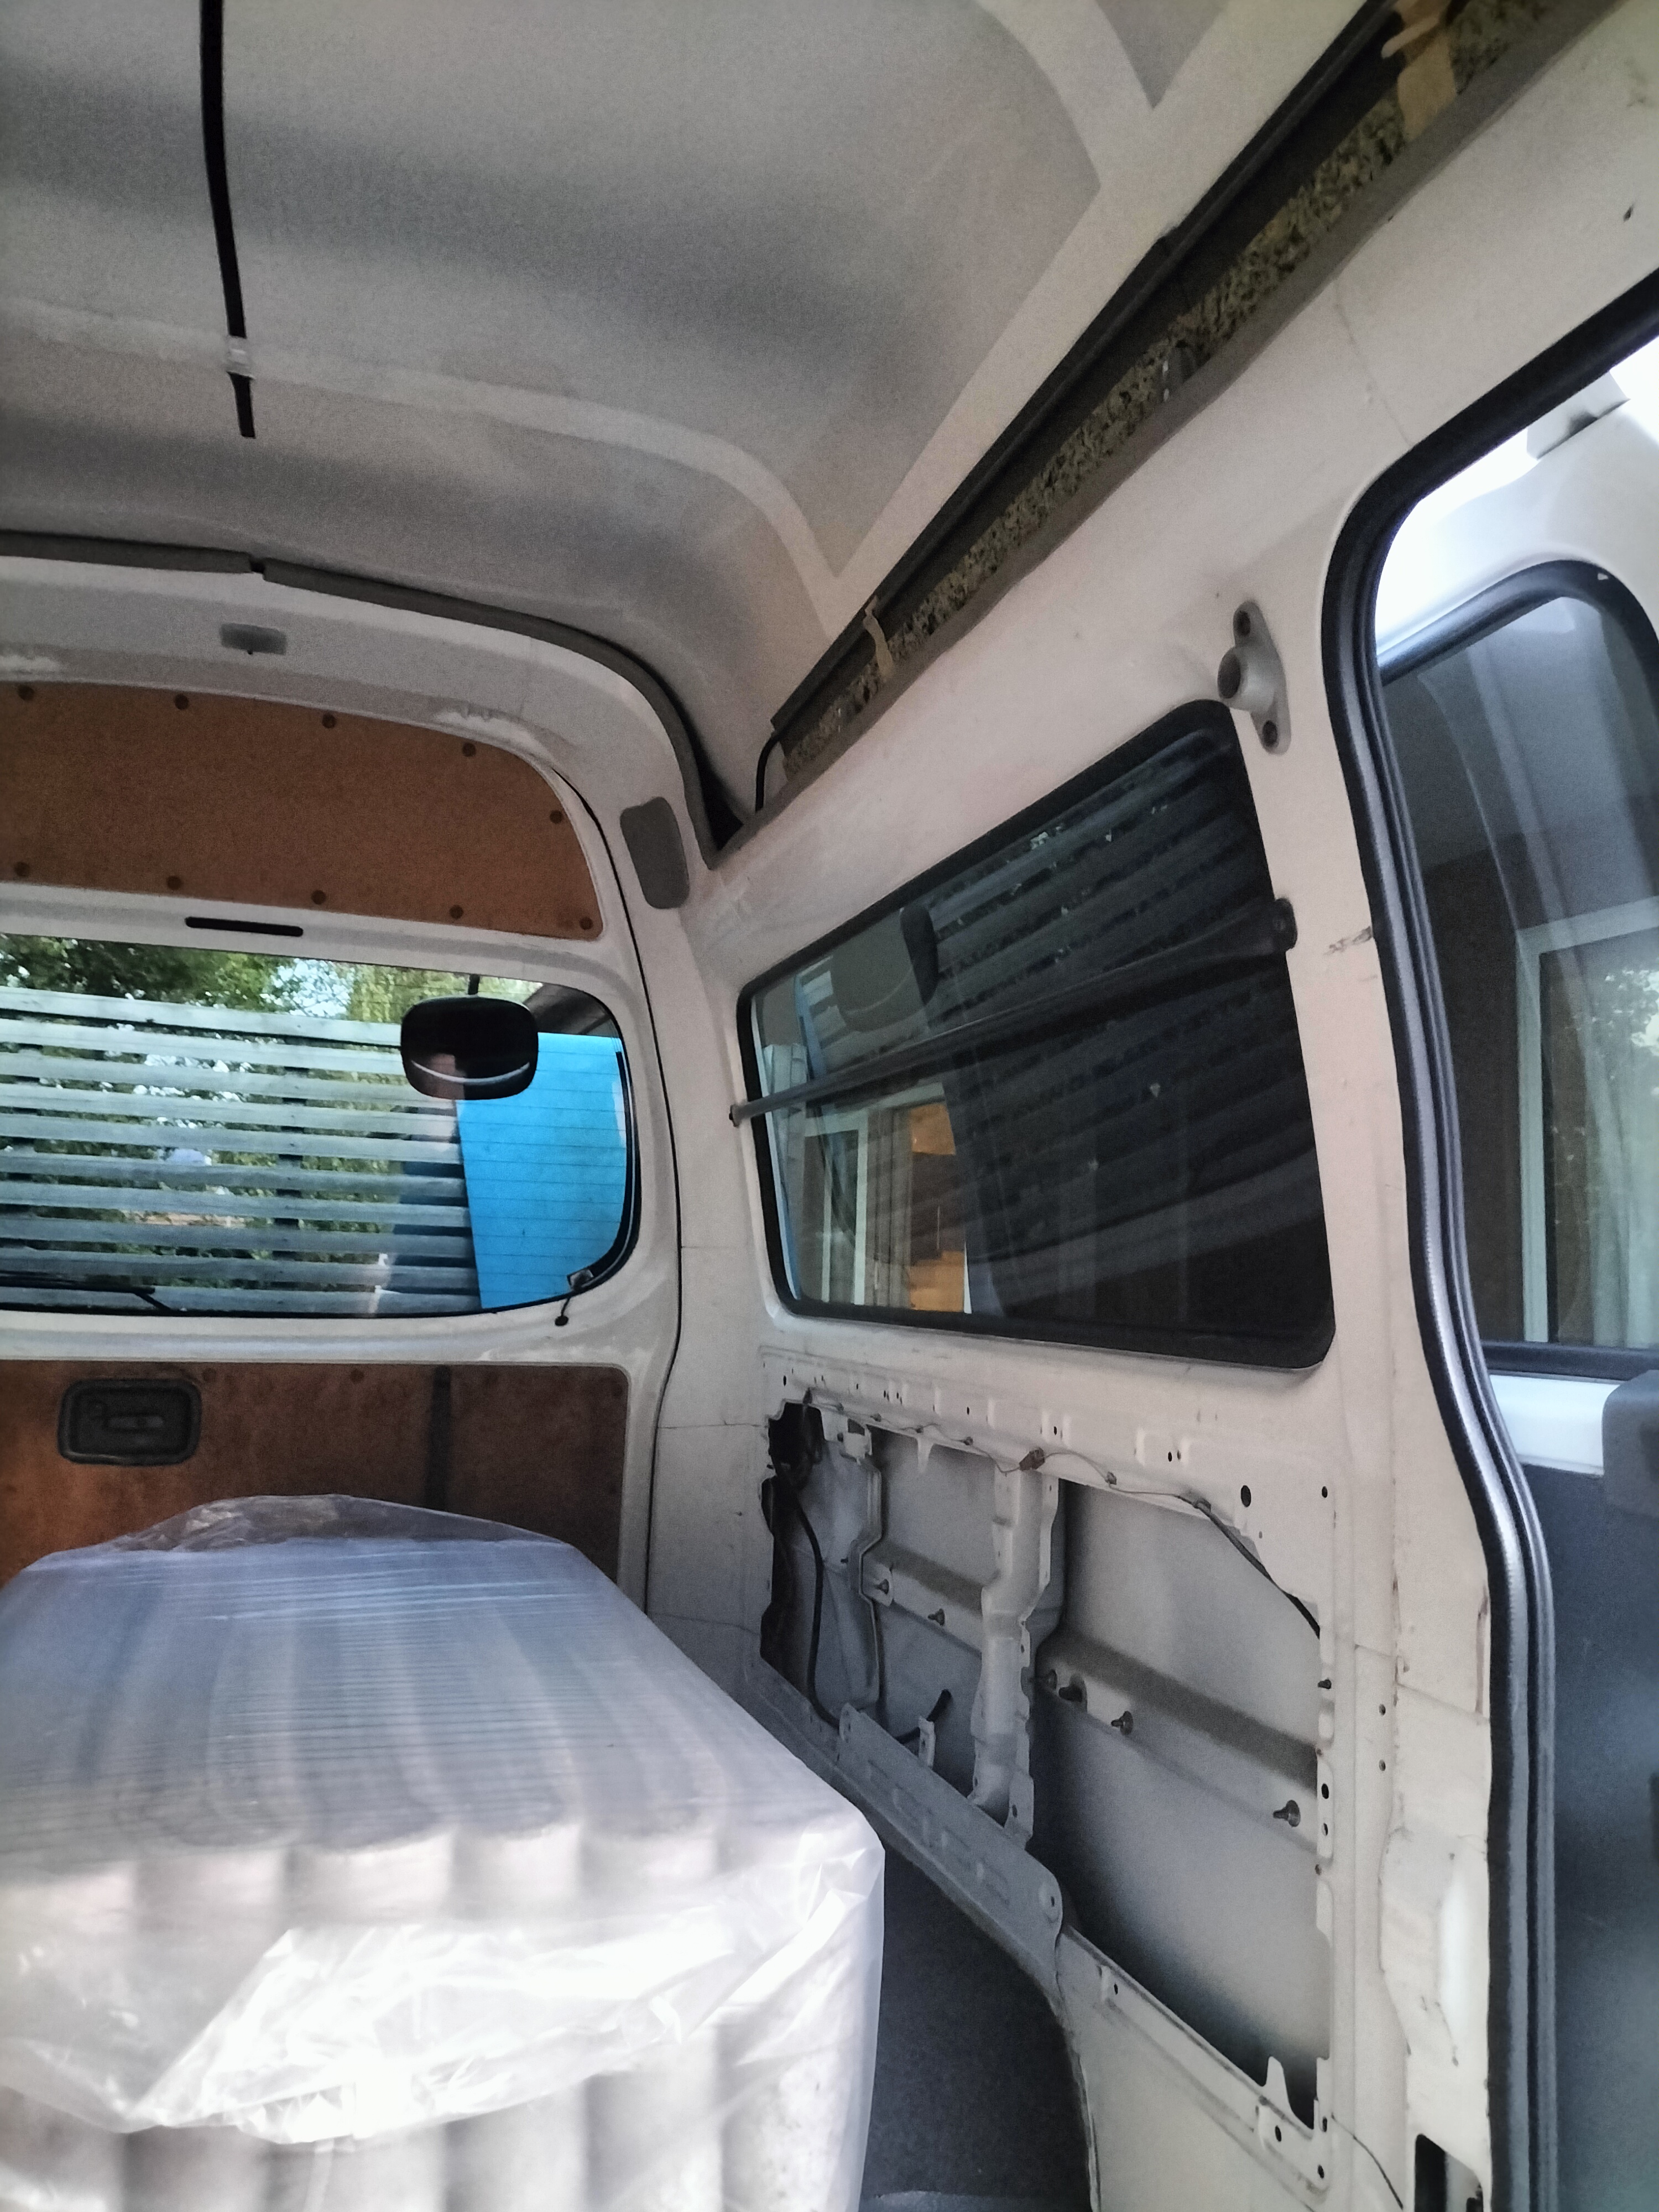
February 2023, I purchased the van from a dealer in Christchurch. It was previously a tradies van and had never been used as a campervan before.
Outside
Inside
Design Snippets
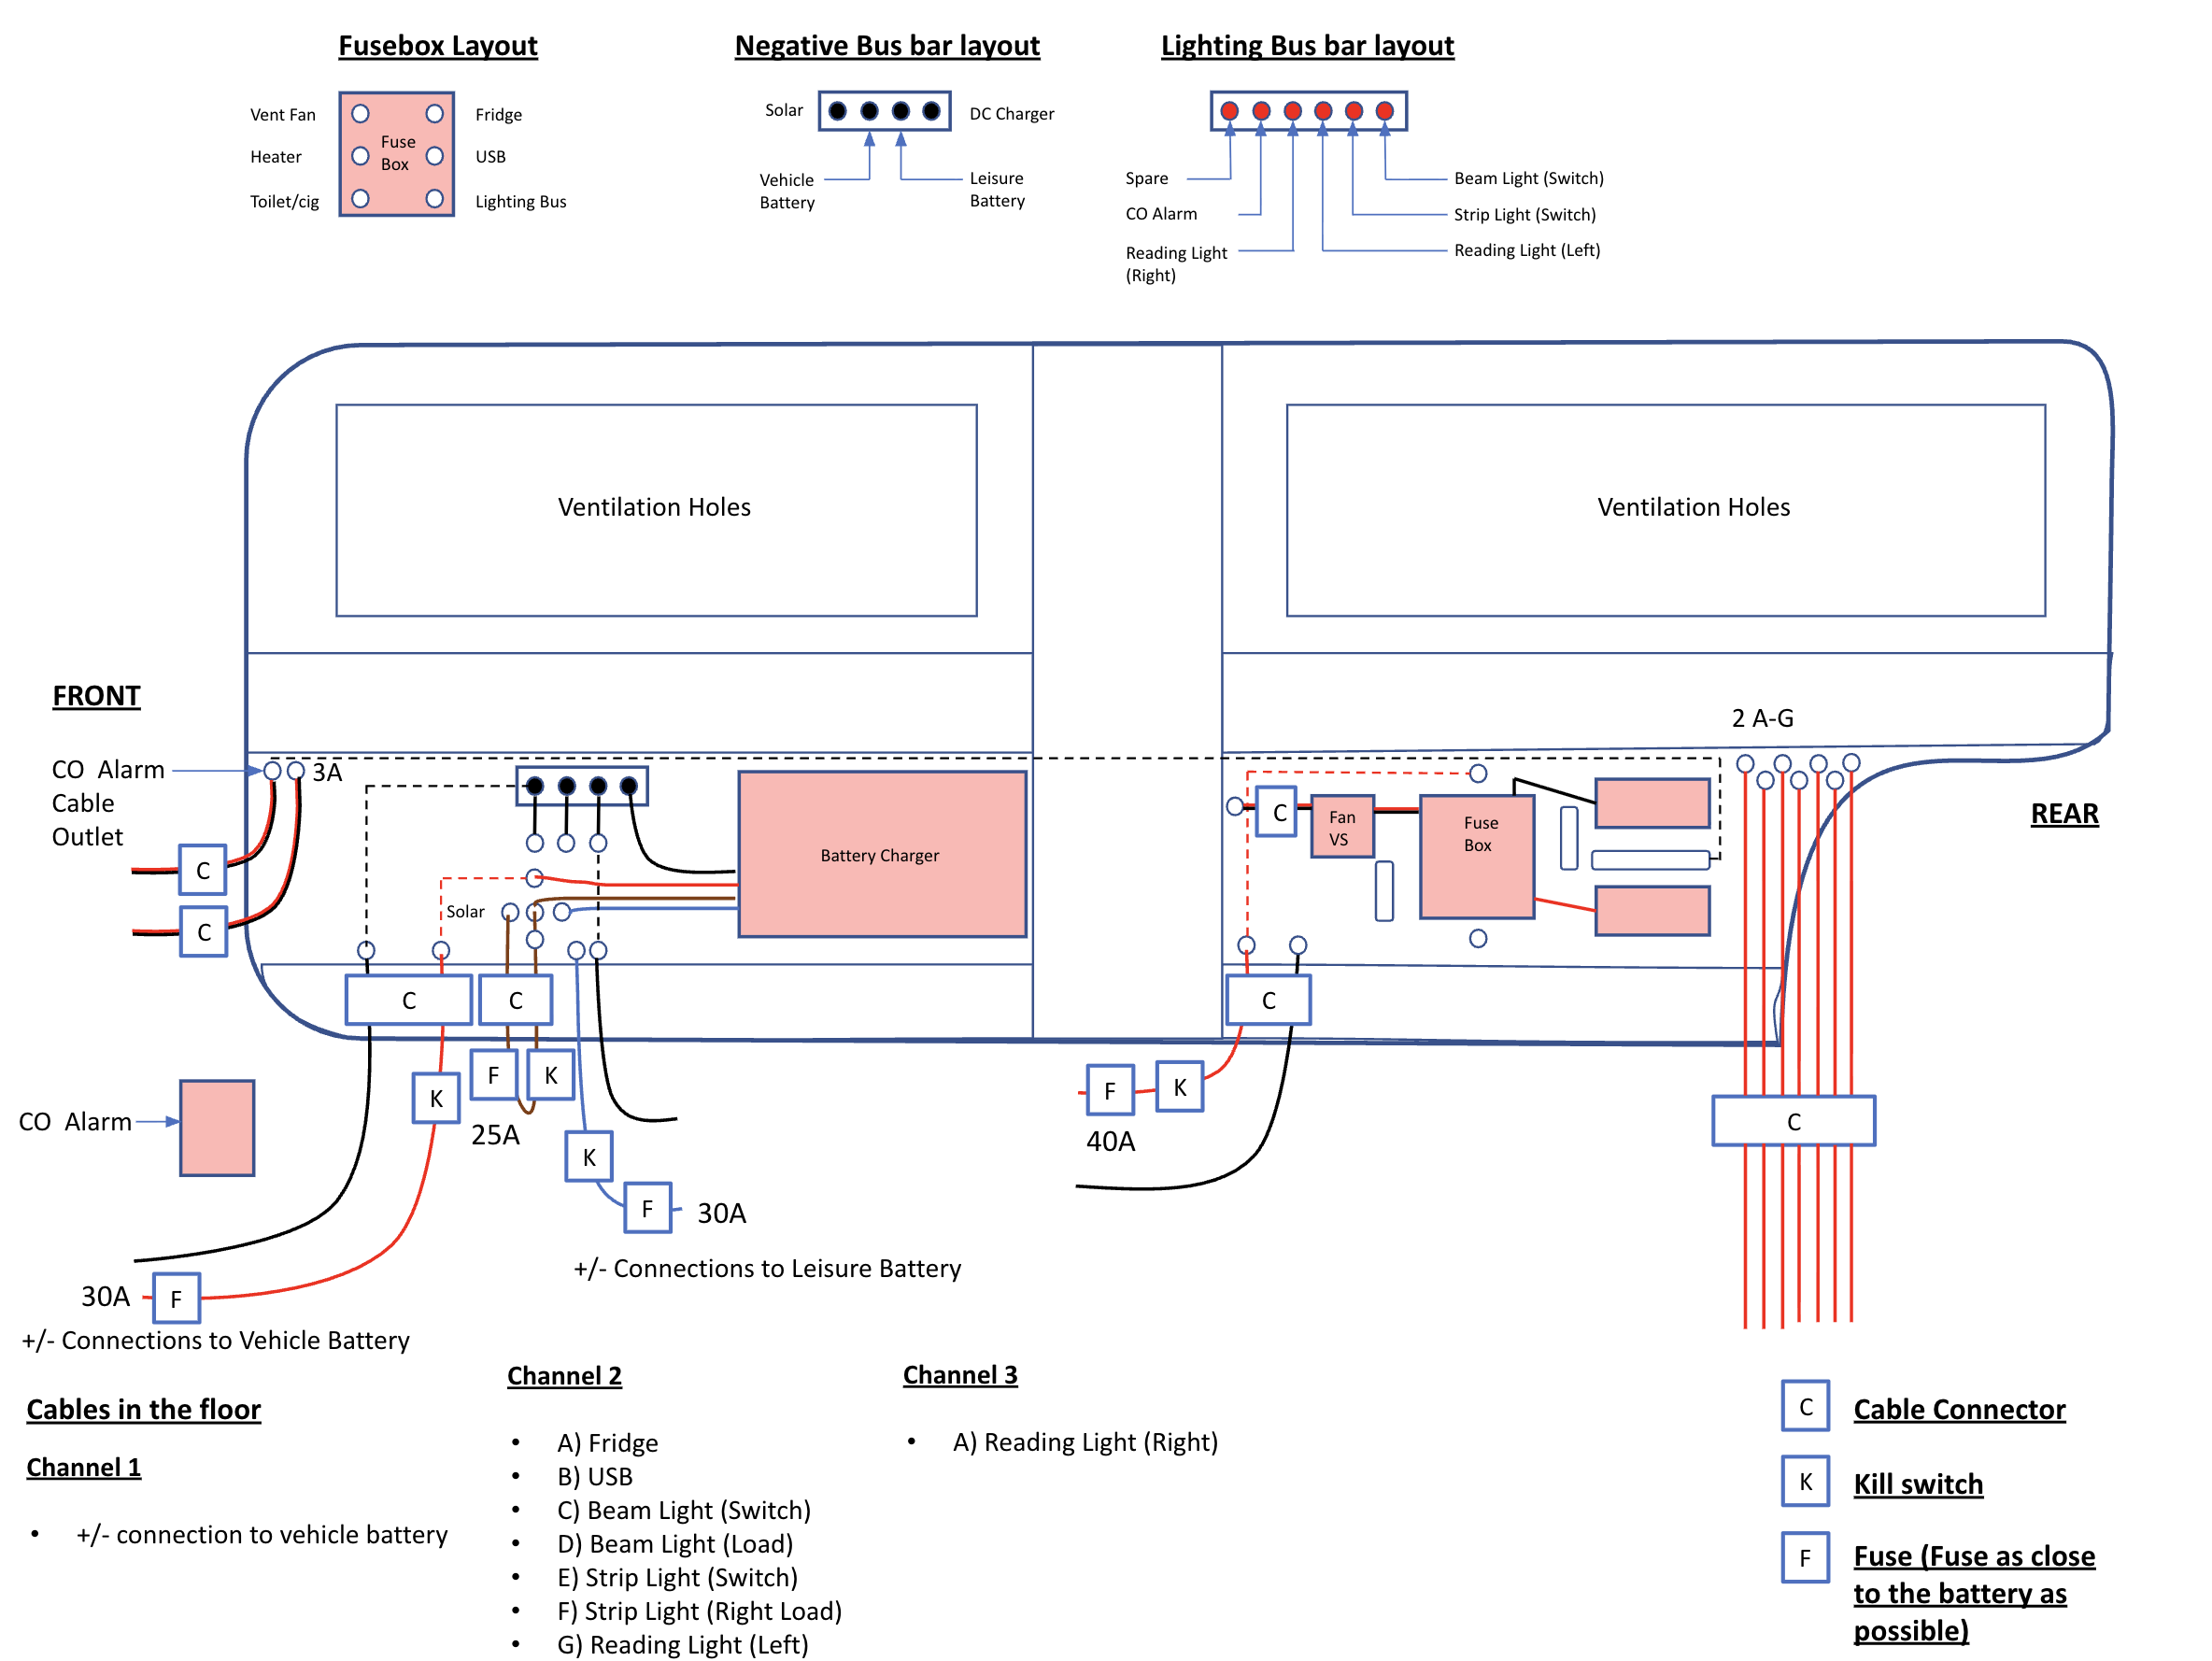
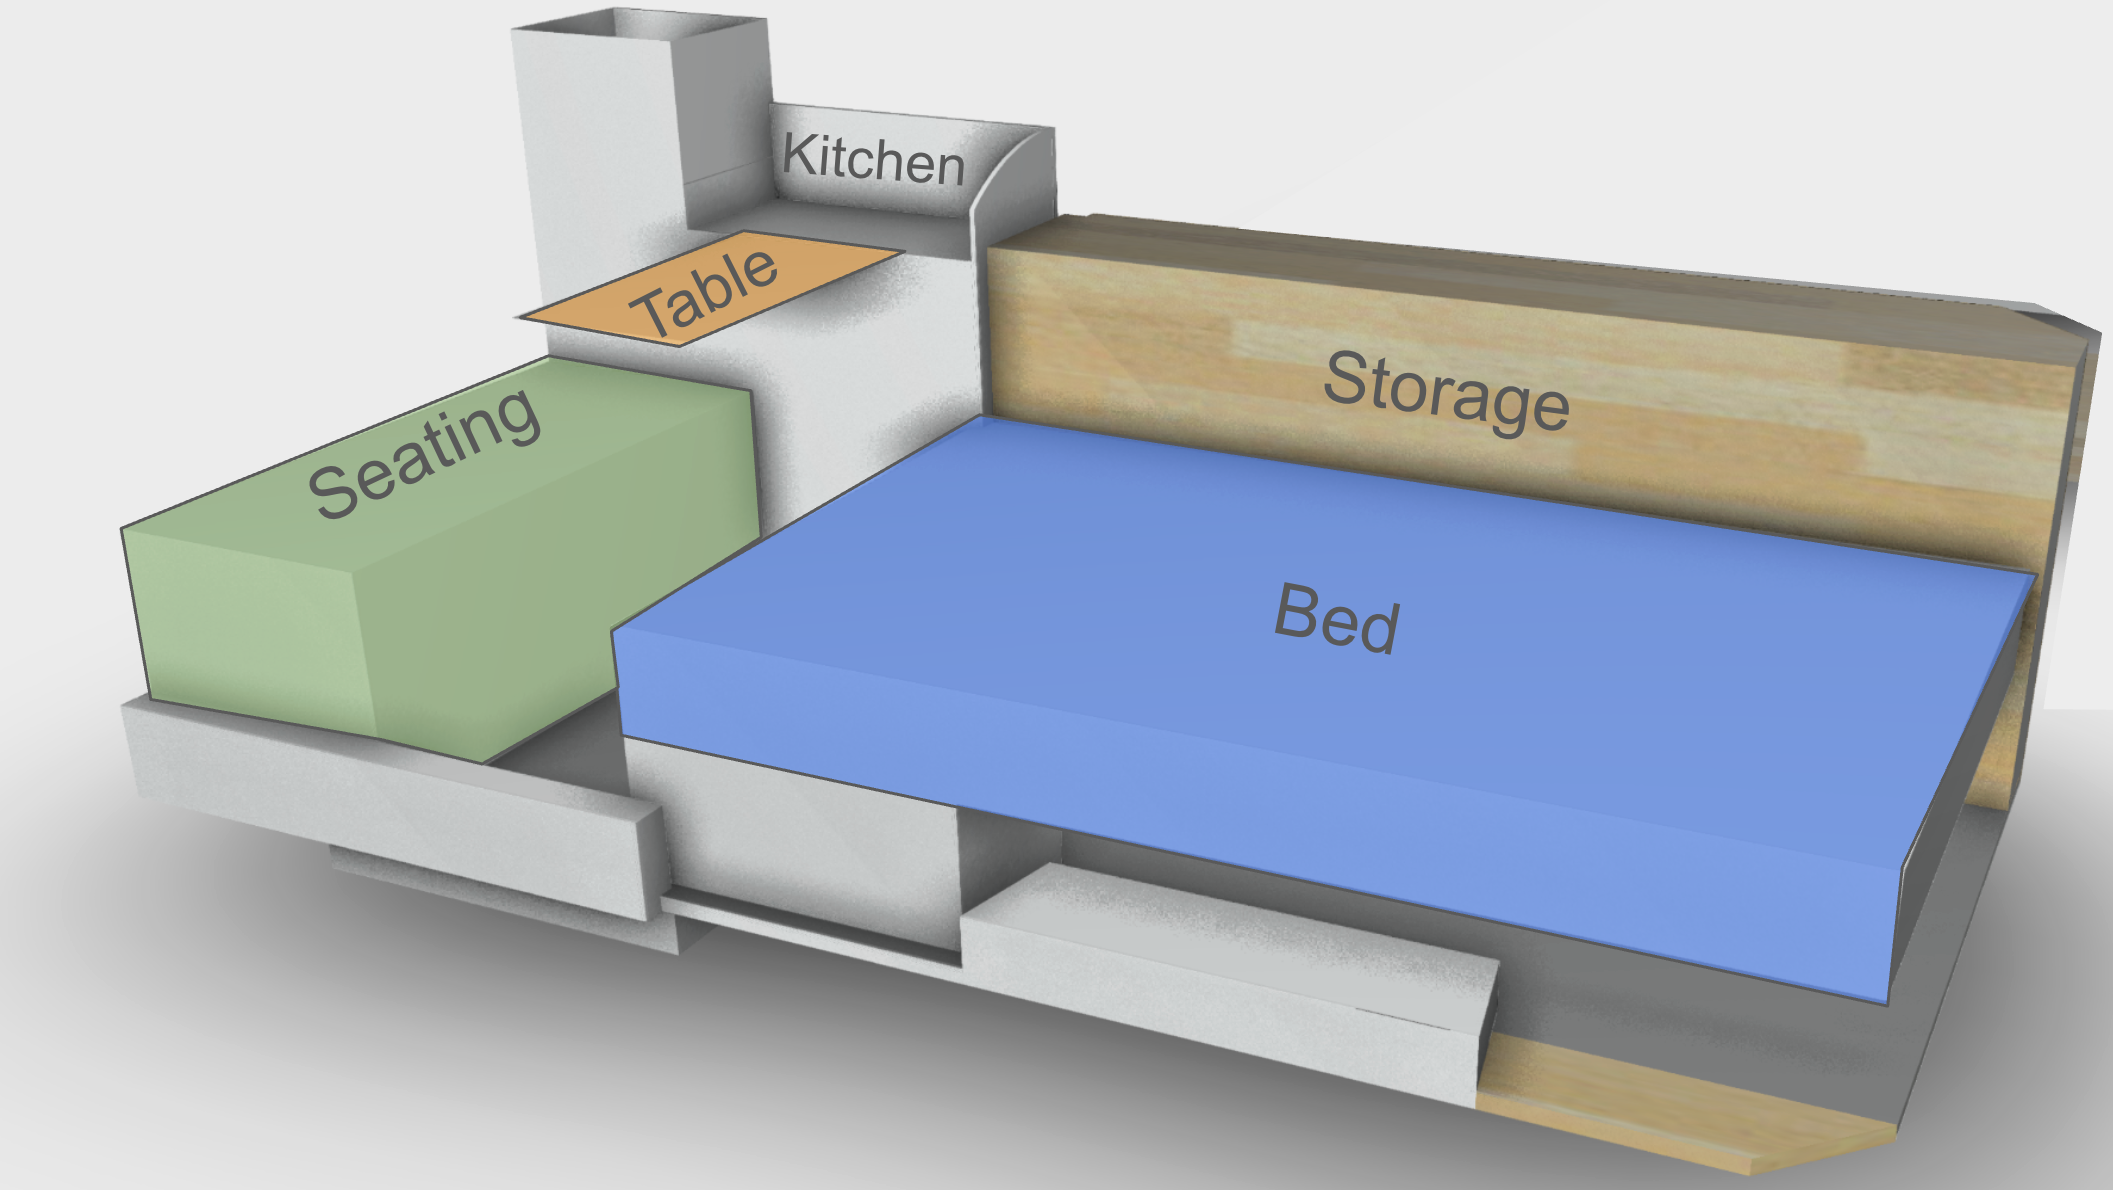
Here’s a few examples of the CAD work I did before starting the build. Schematic was made in Powerpoint and the 3D model (to scale) in Google Sketchup.
Electrical Schematic
Google Sketch-up Layout
Build
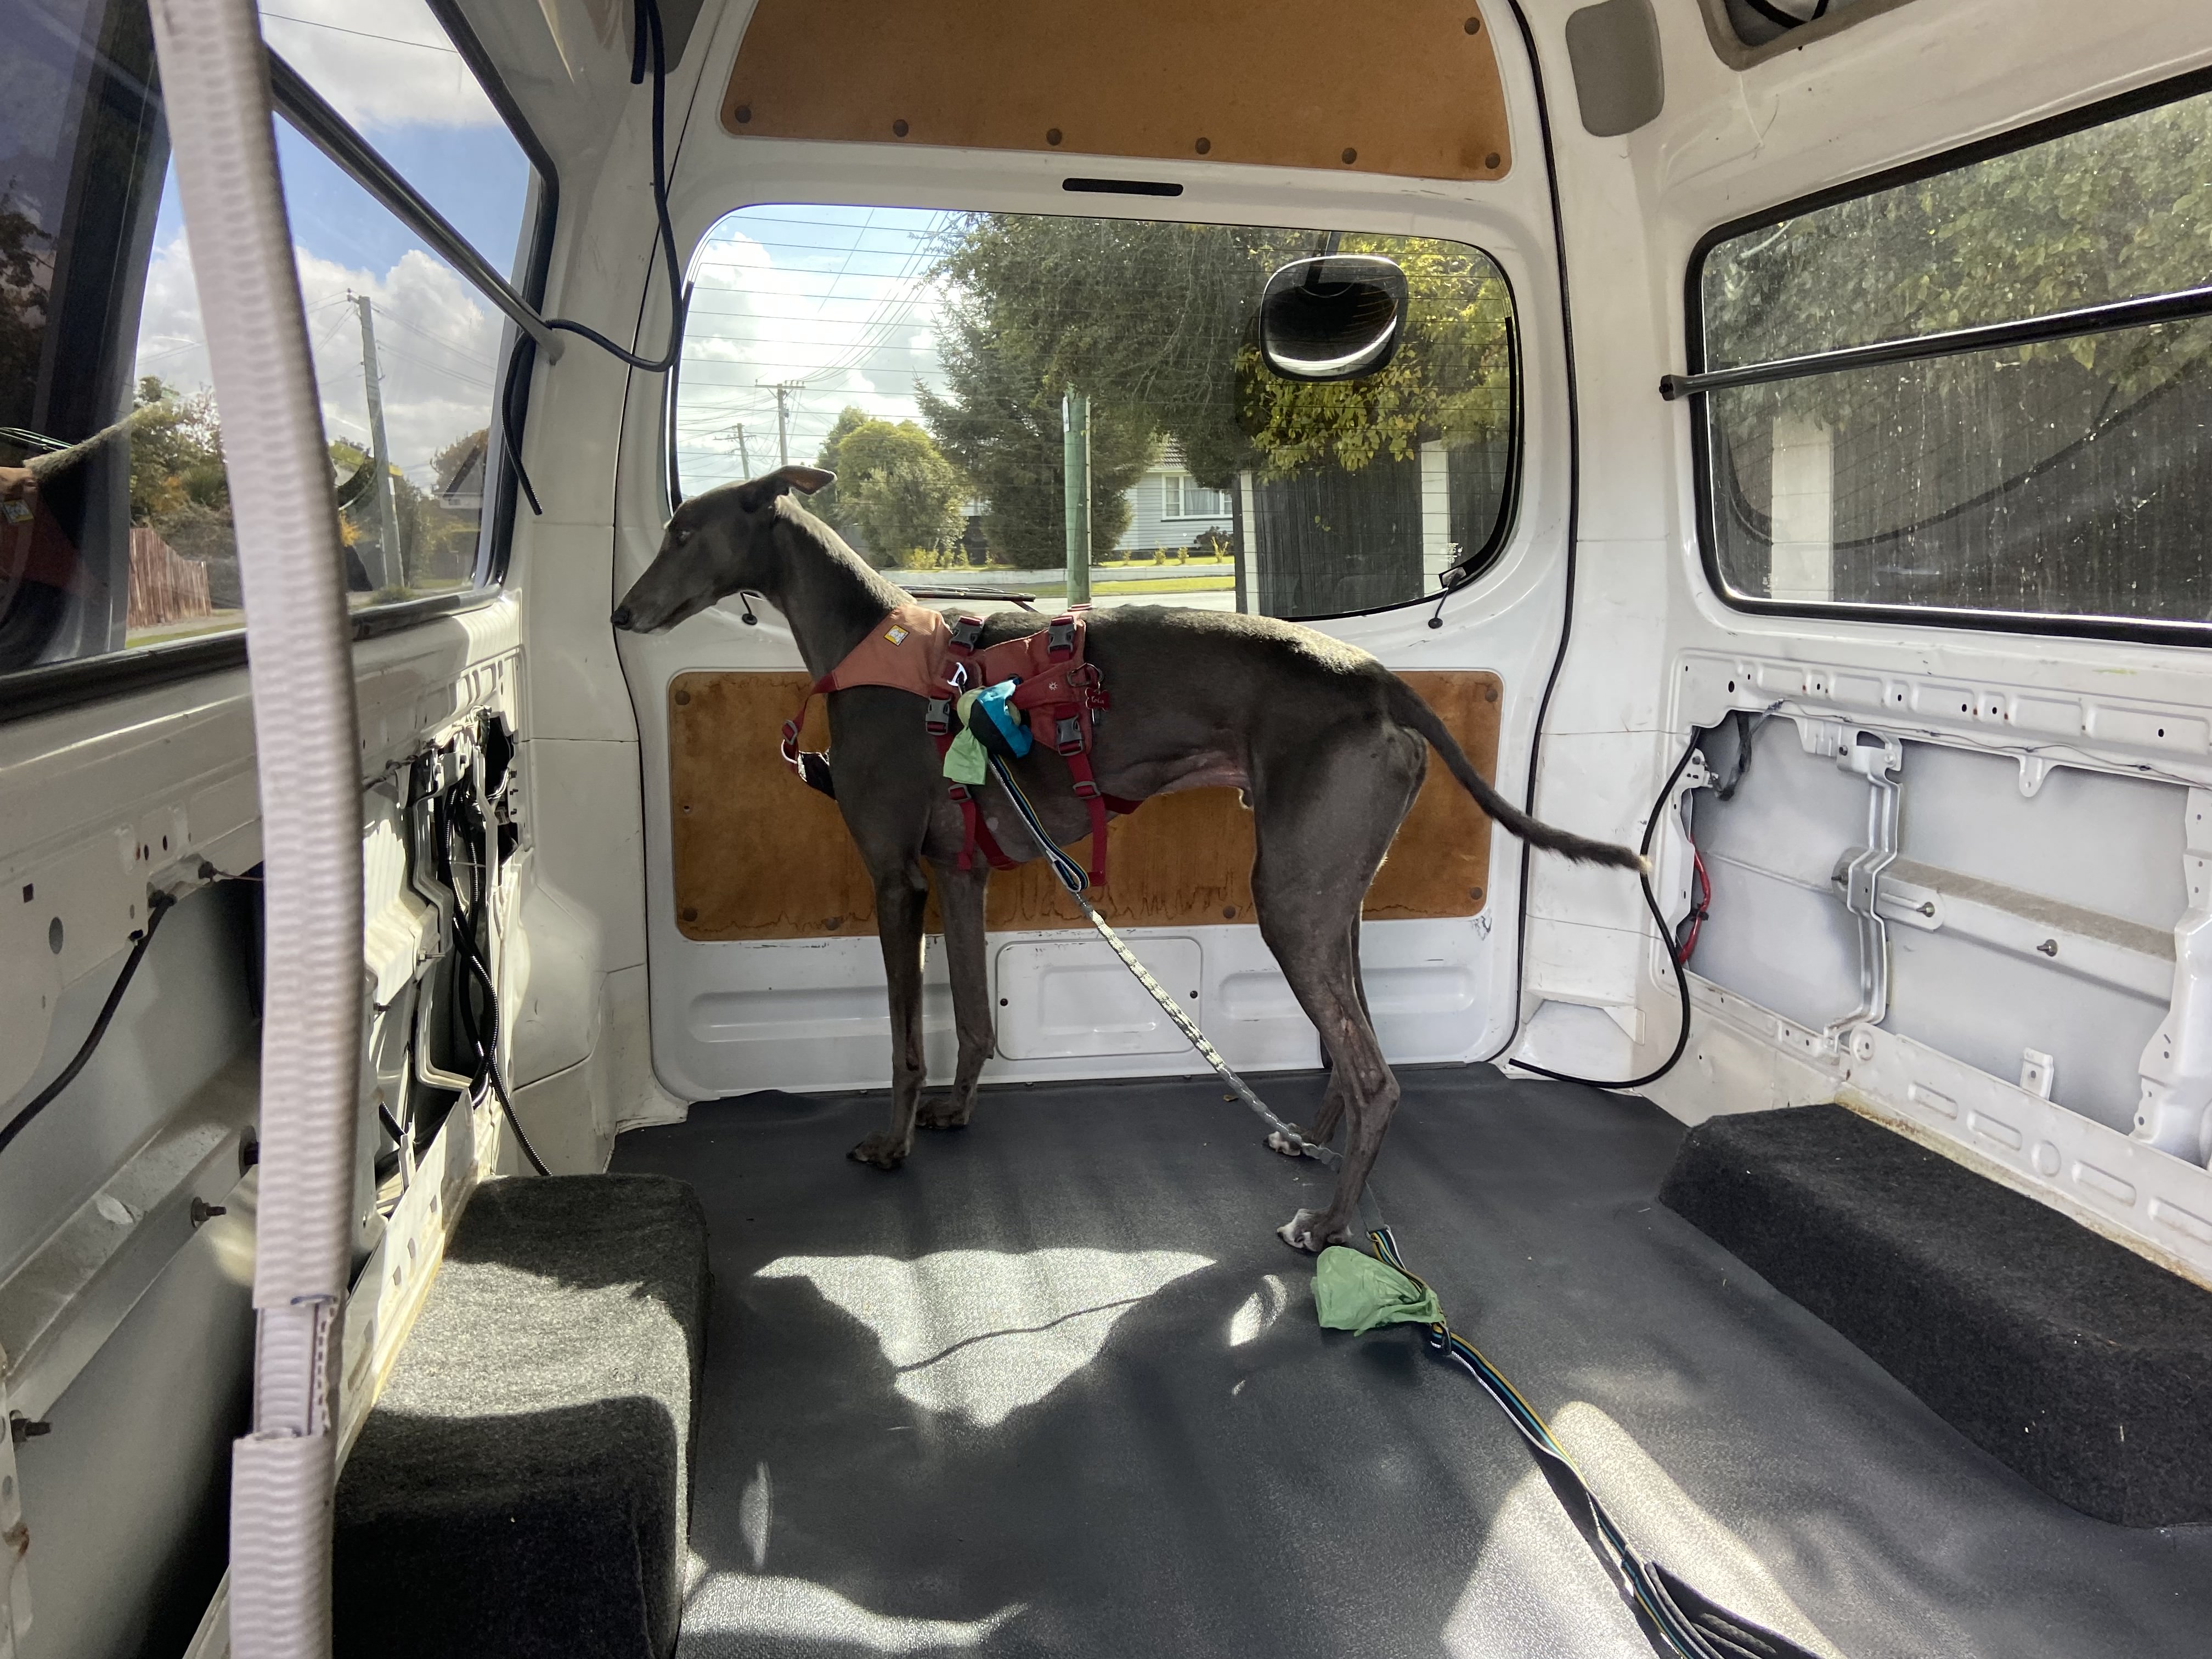
I had some help with the build aspects of the project. Mostly from this guy :D
Quality Control Inspector
Roof
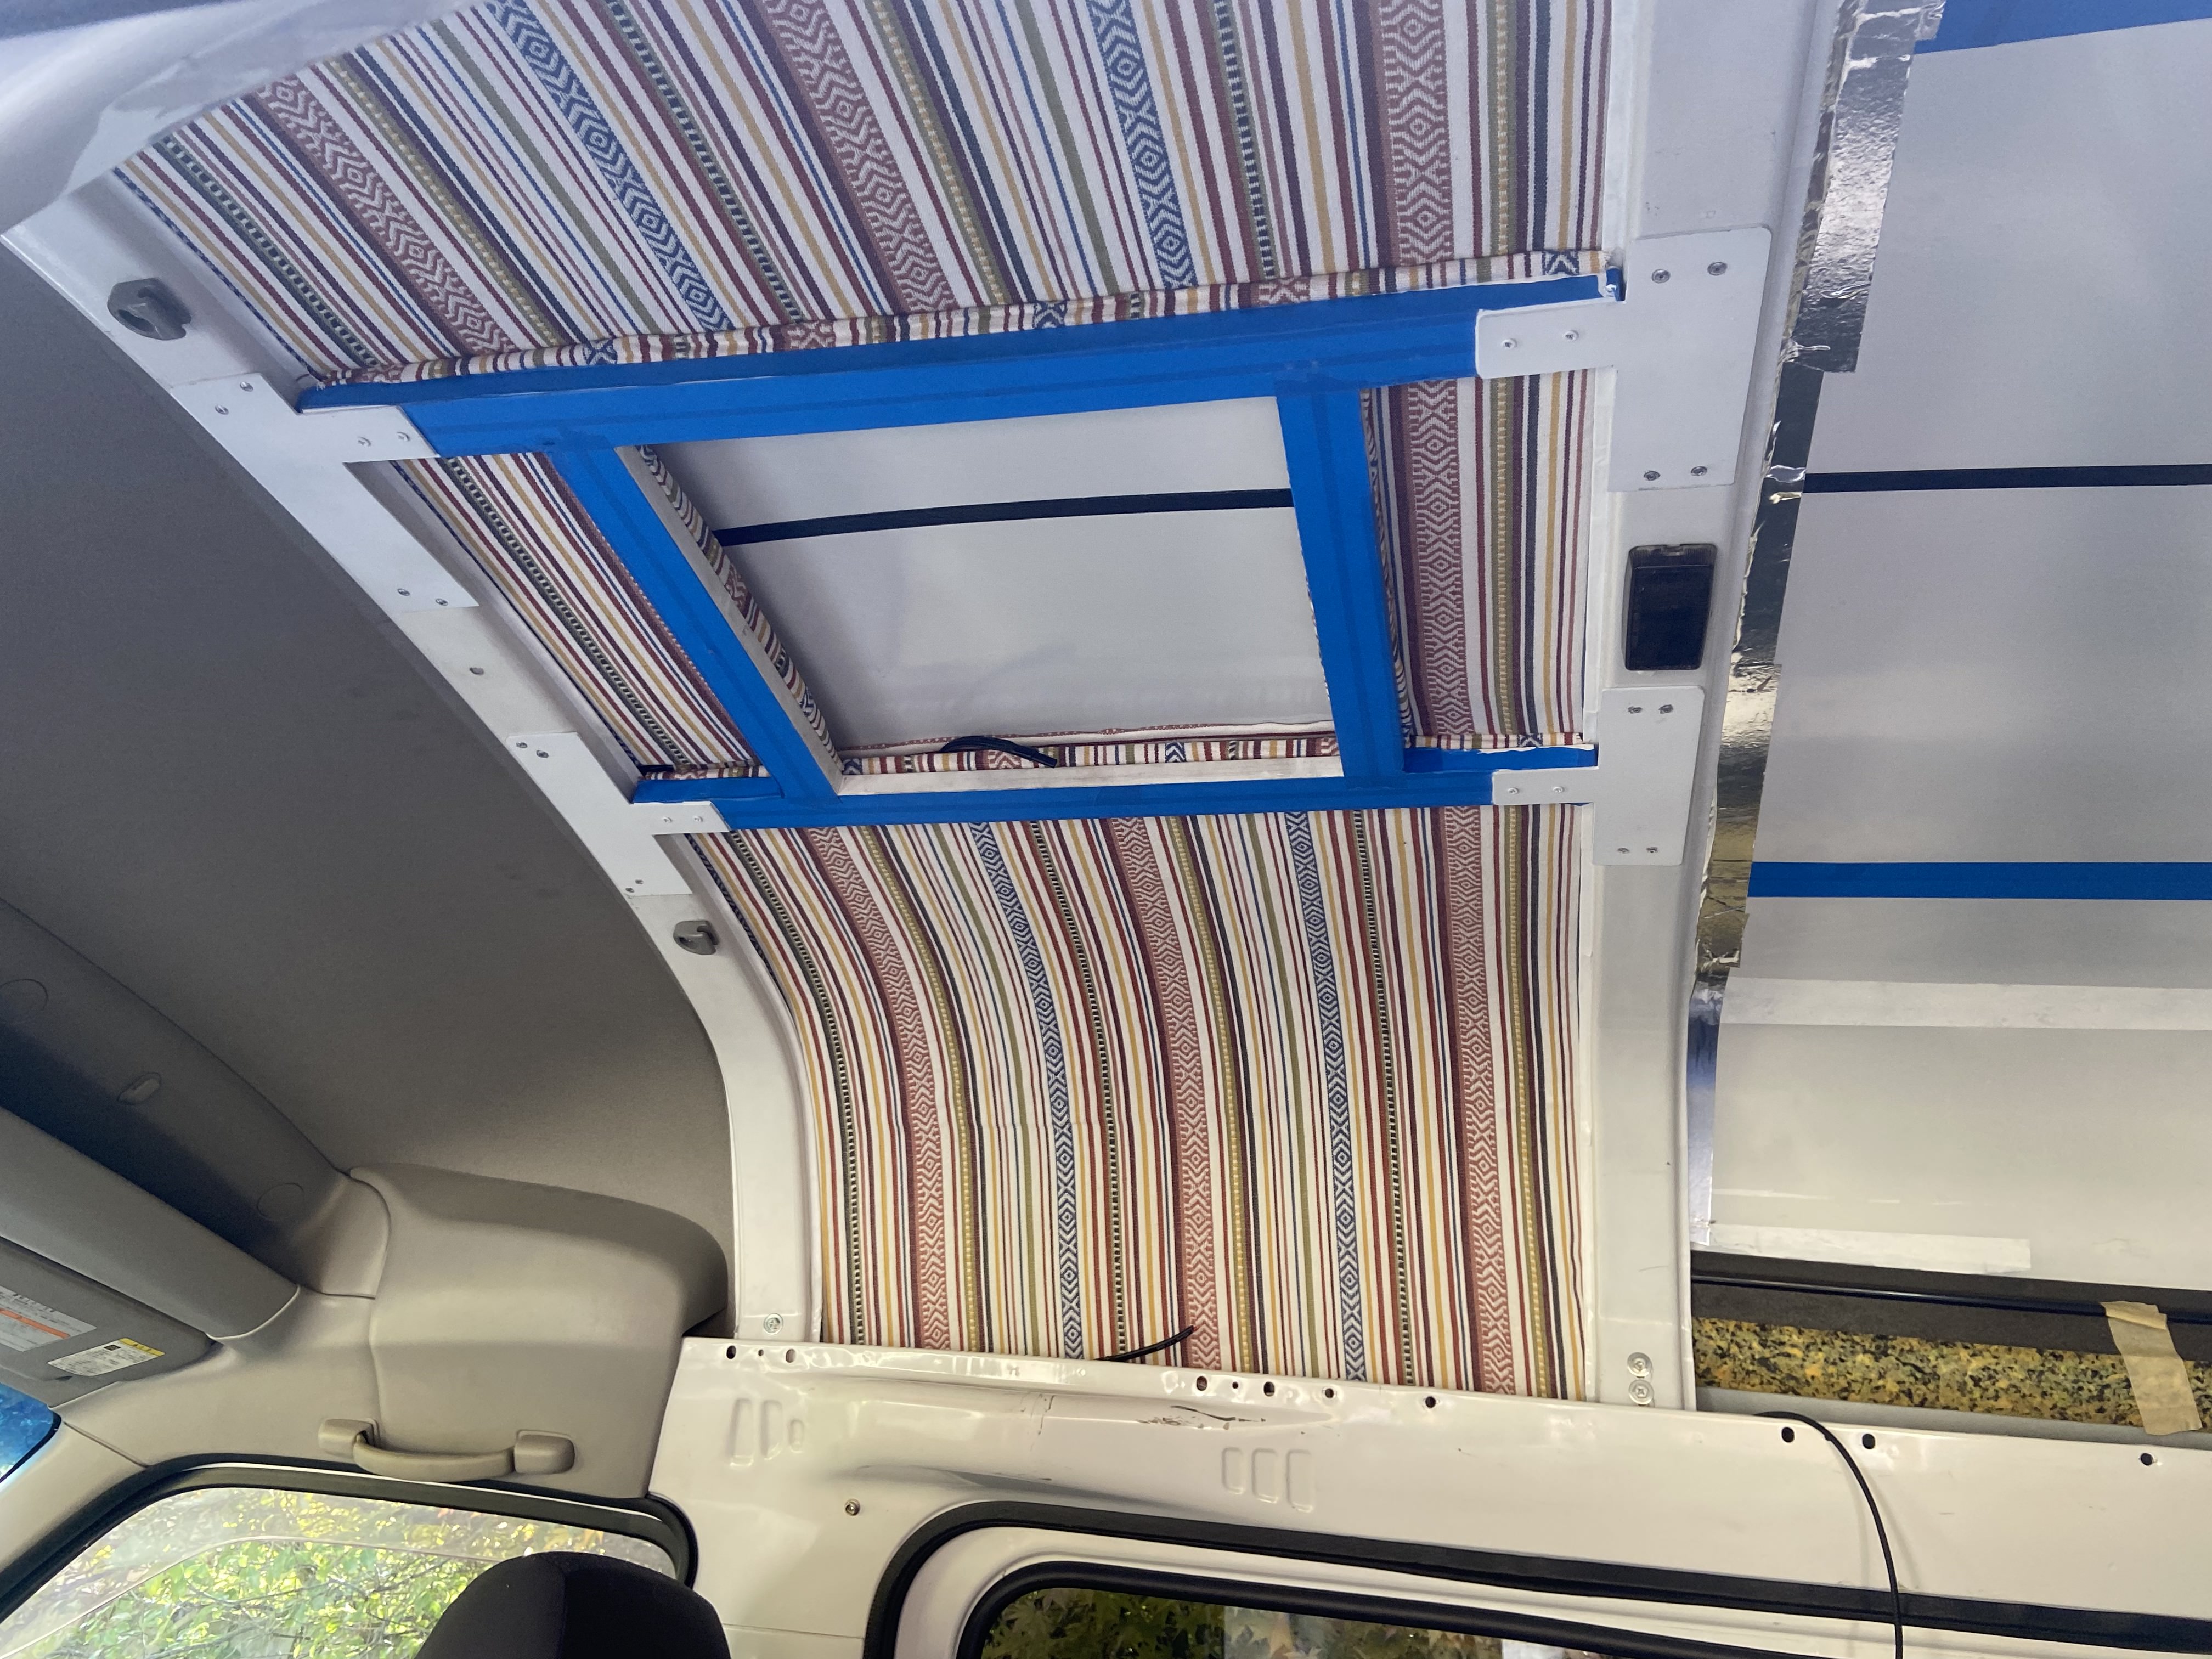
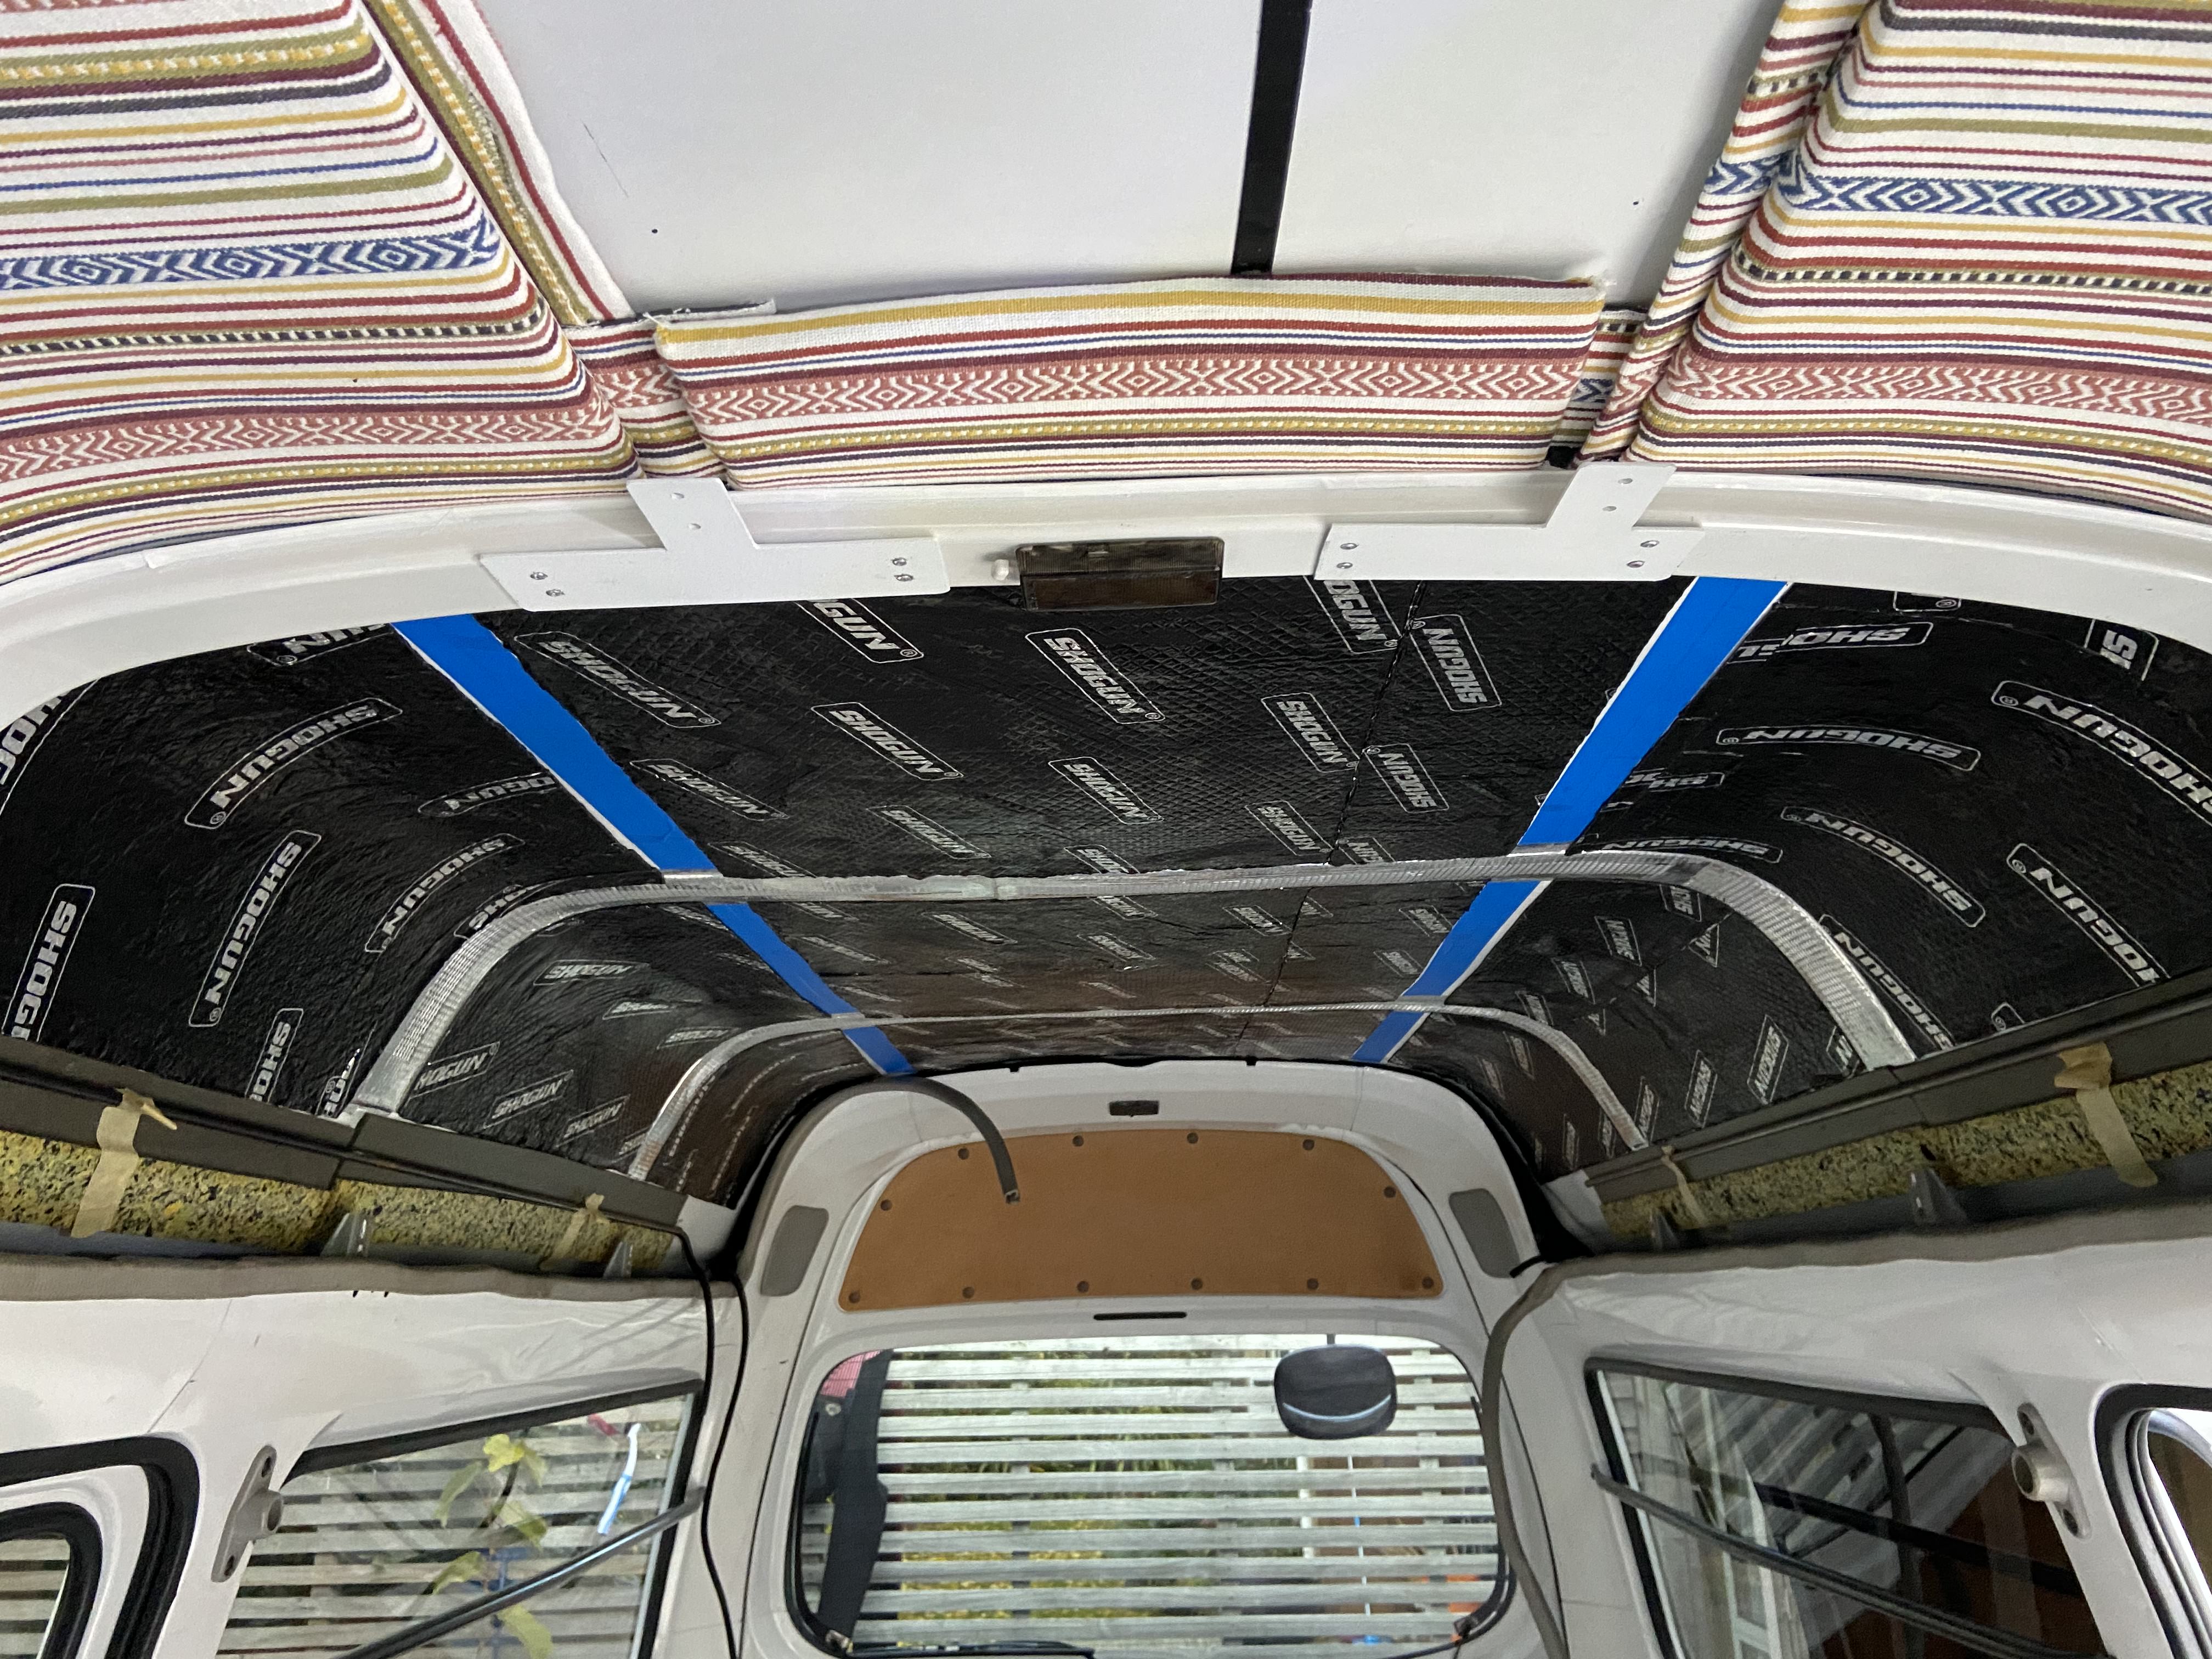
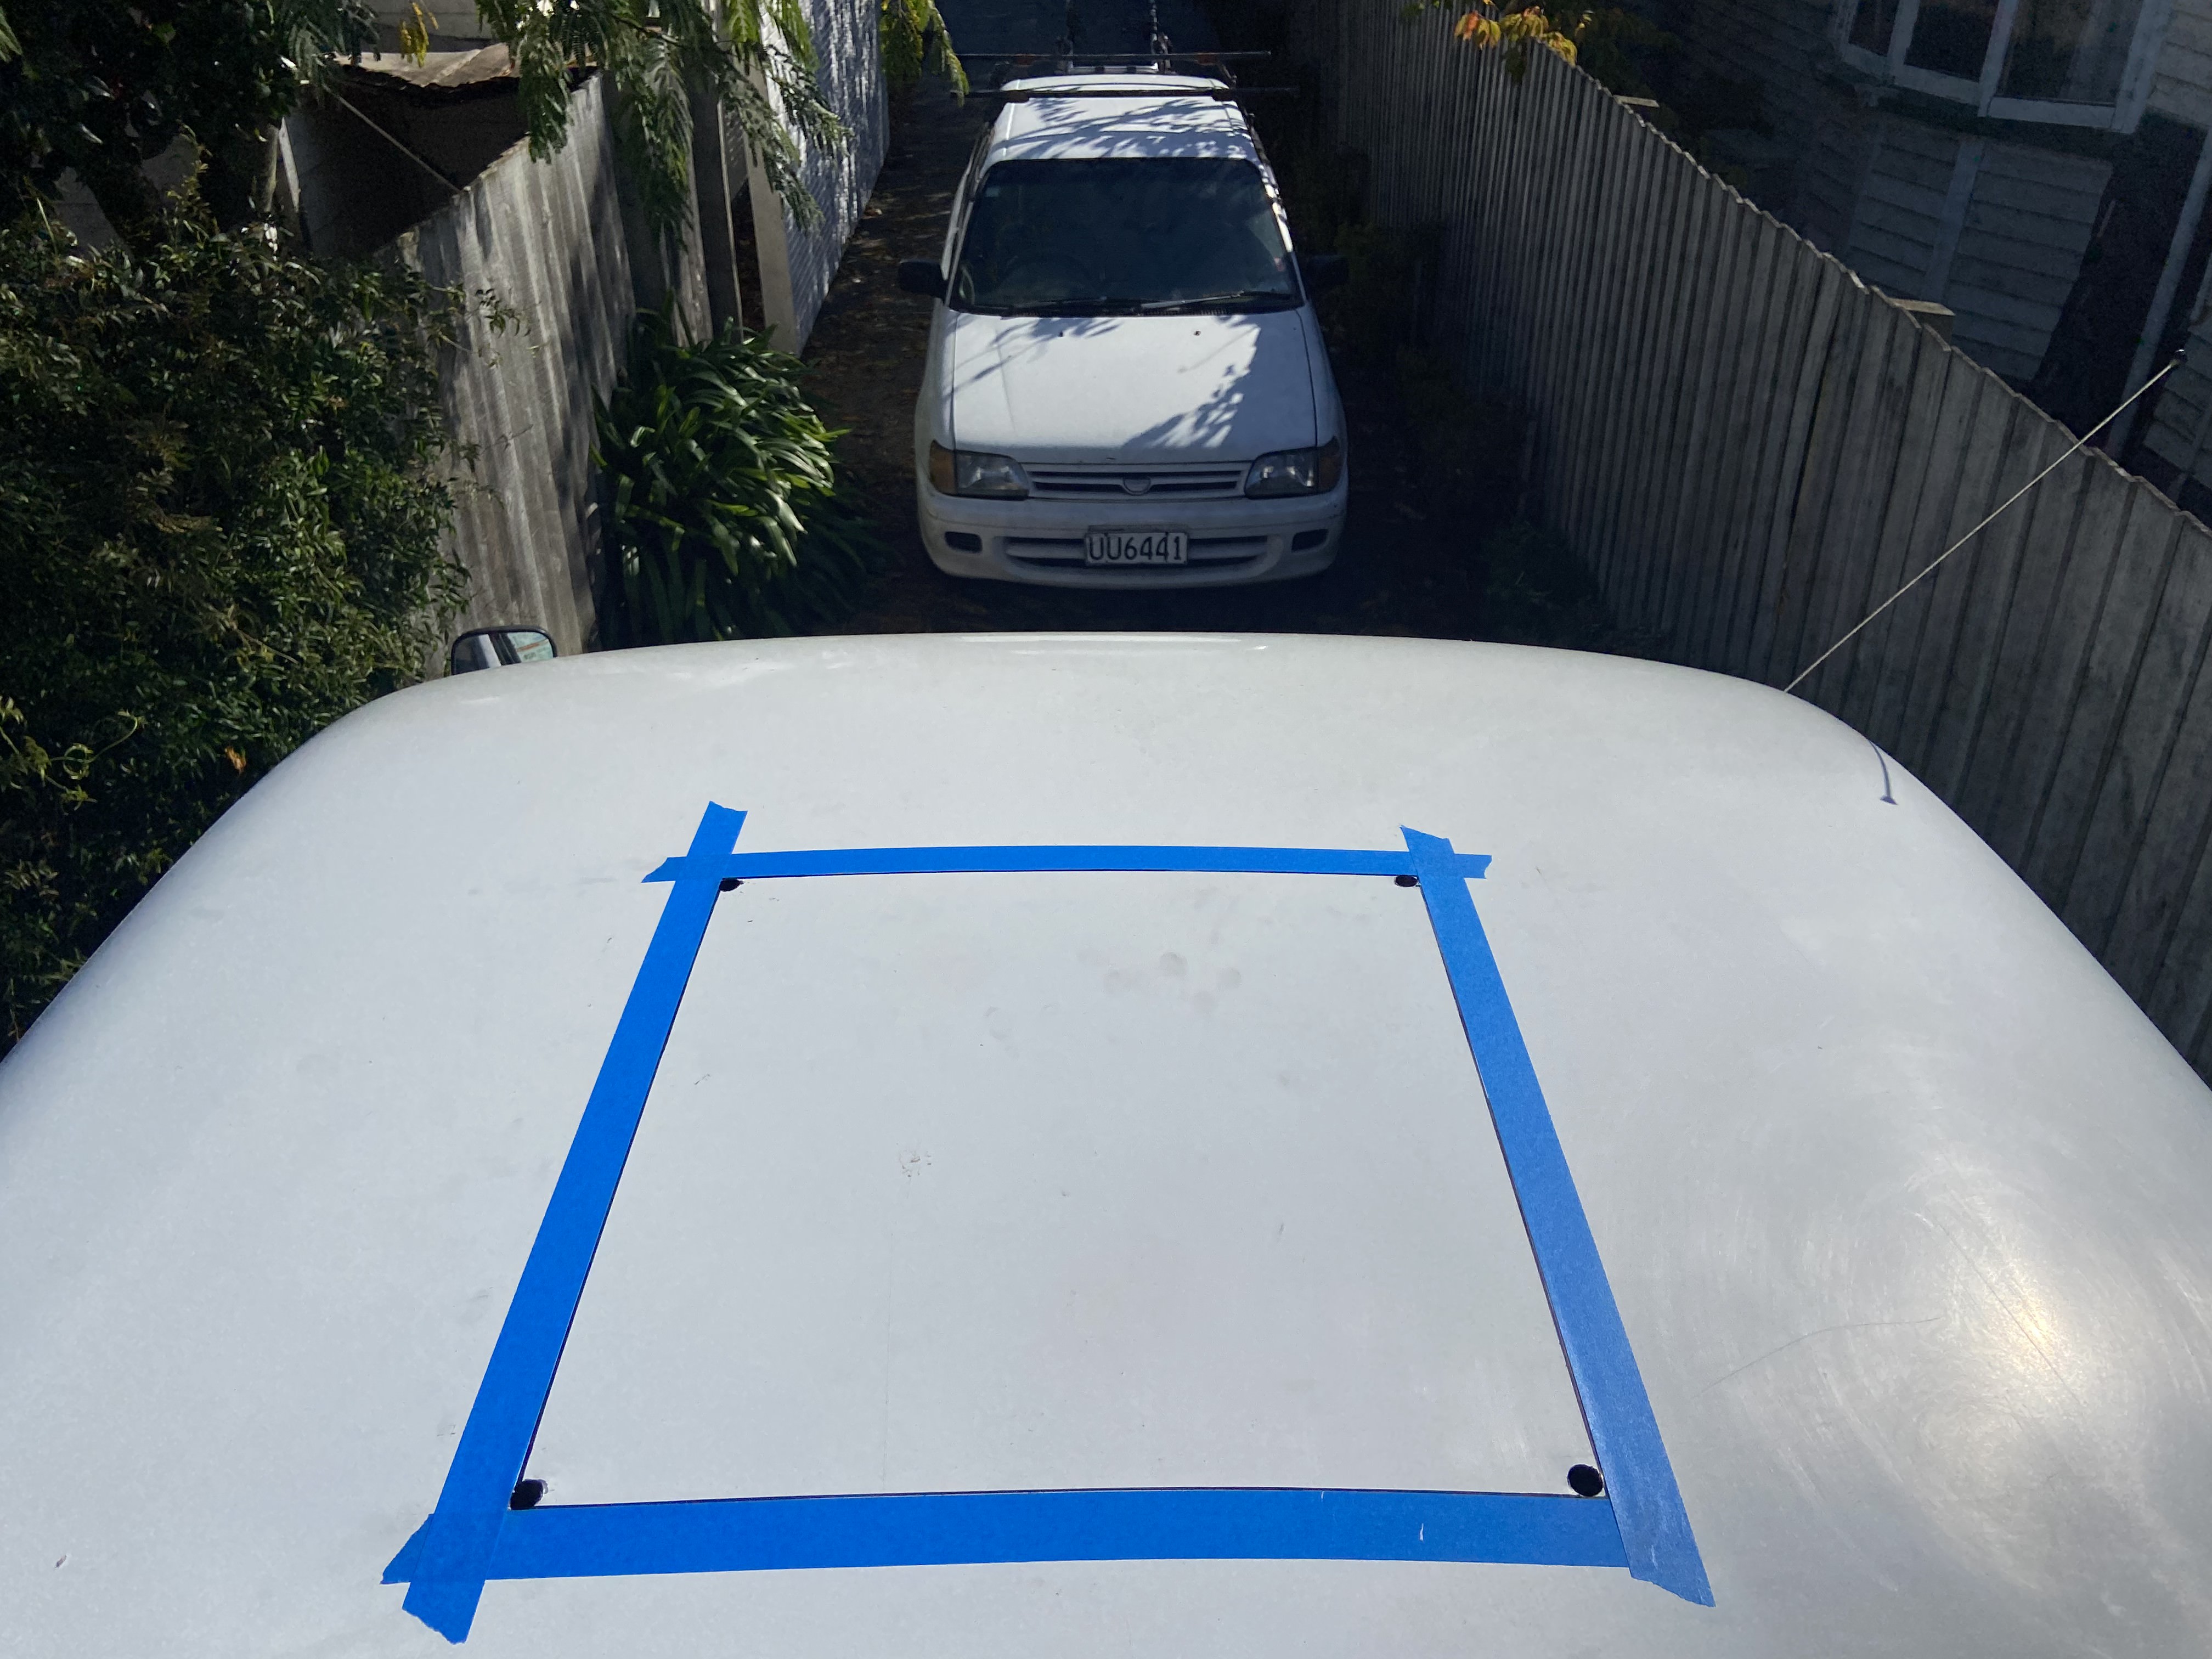
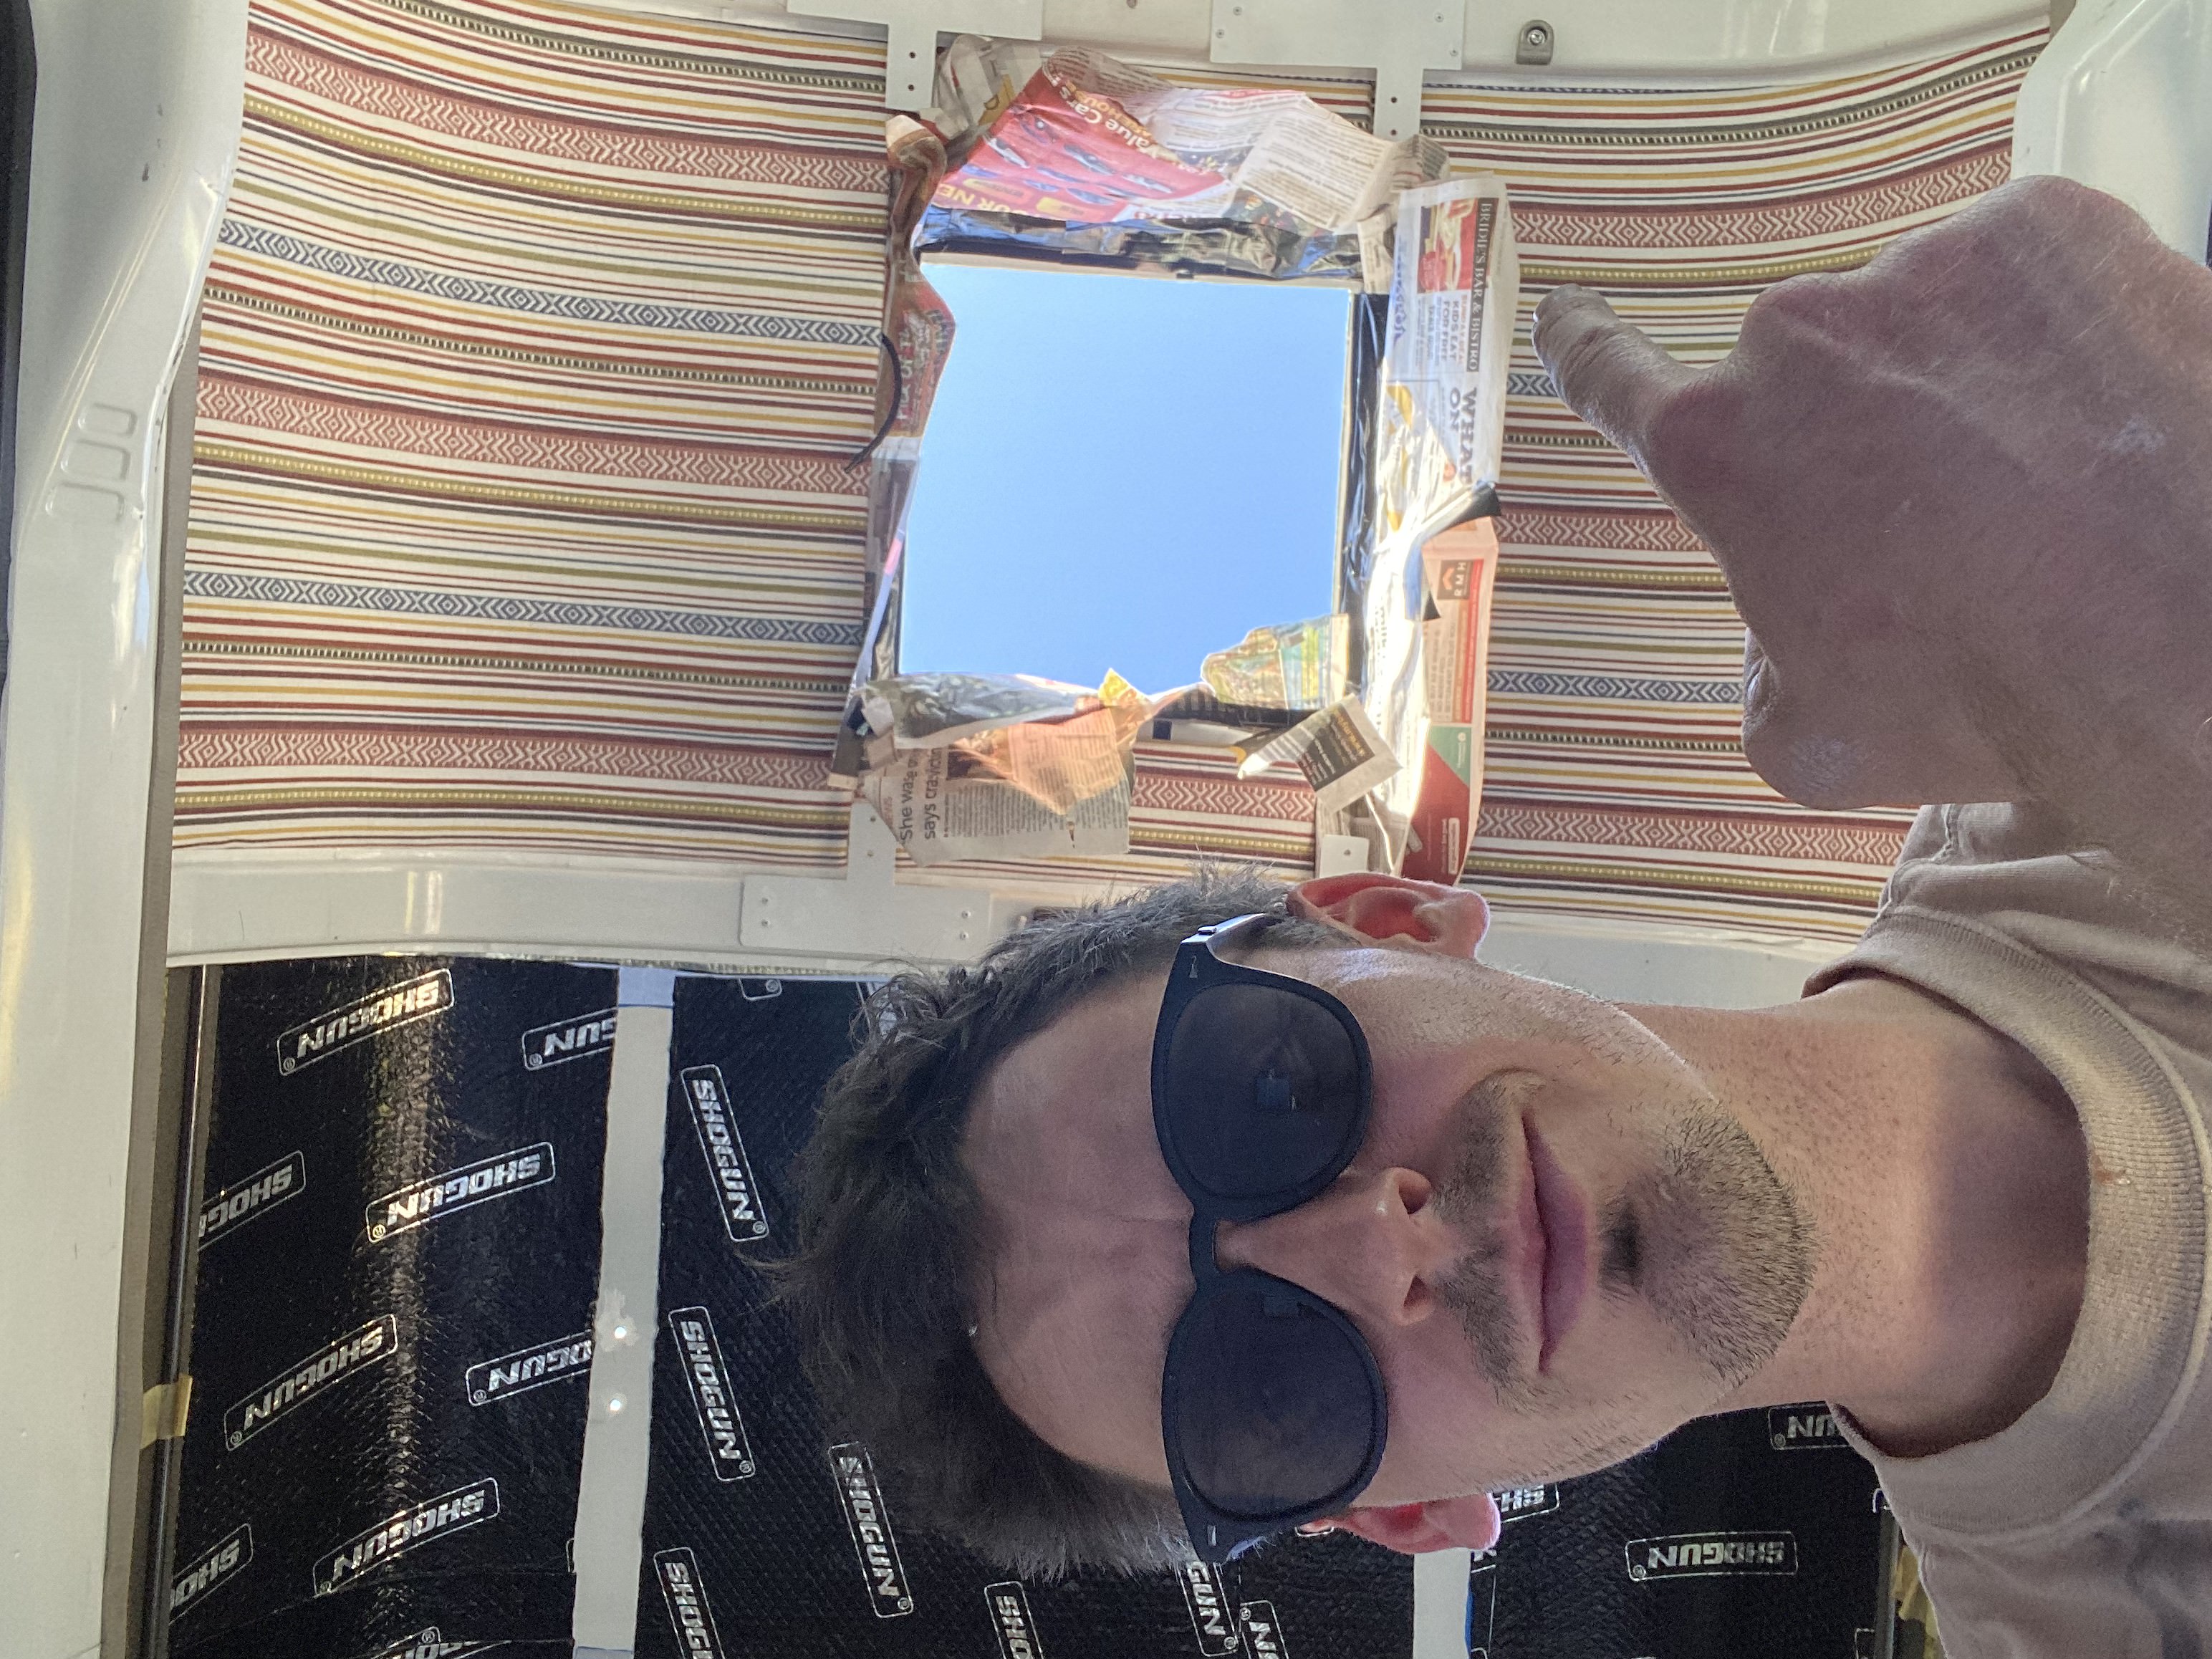
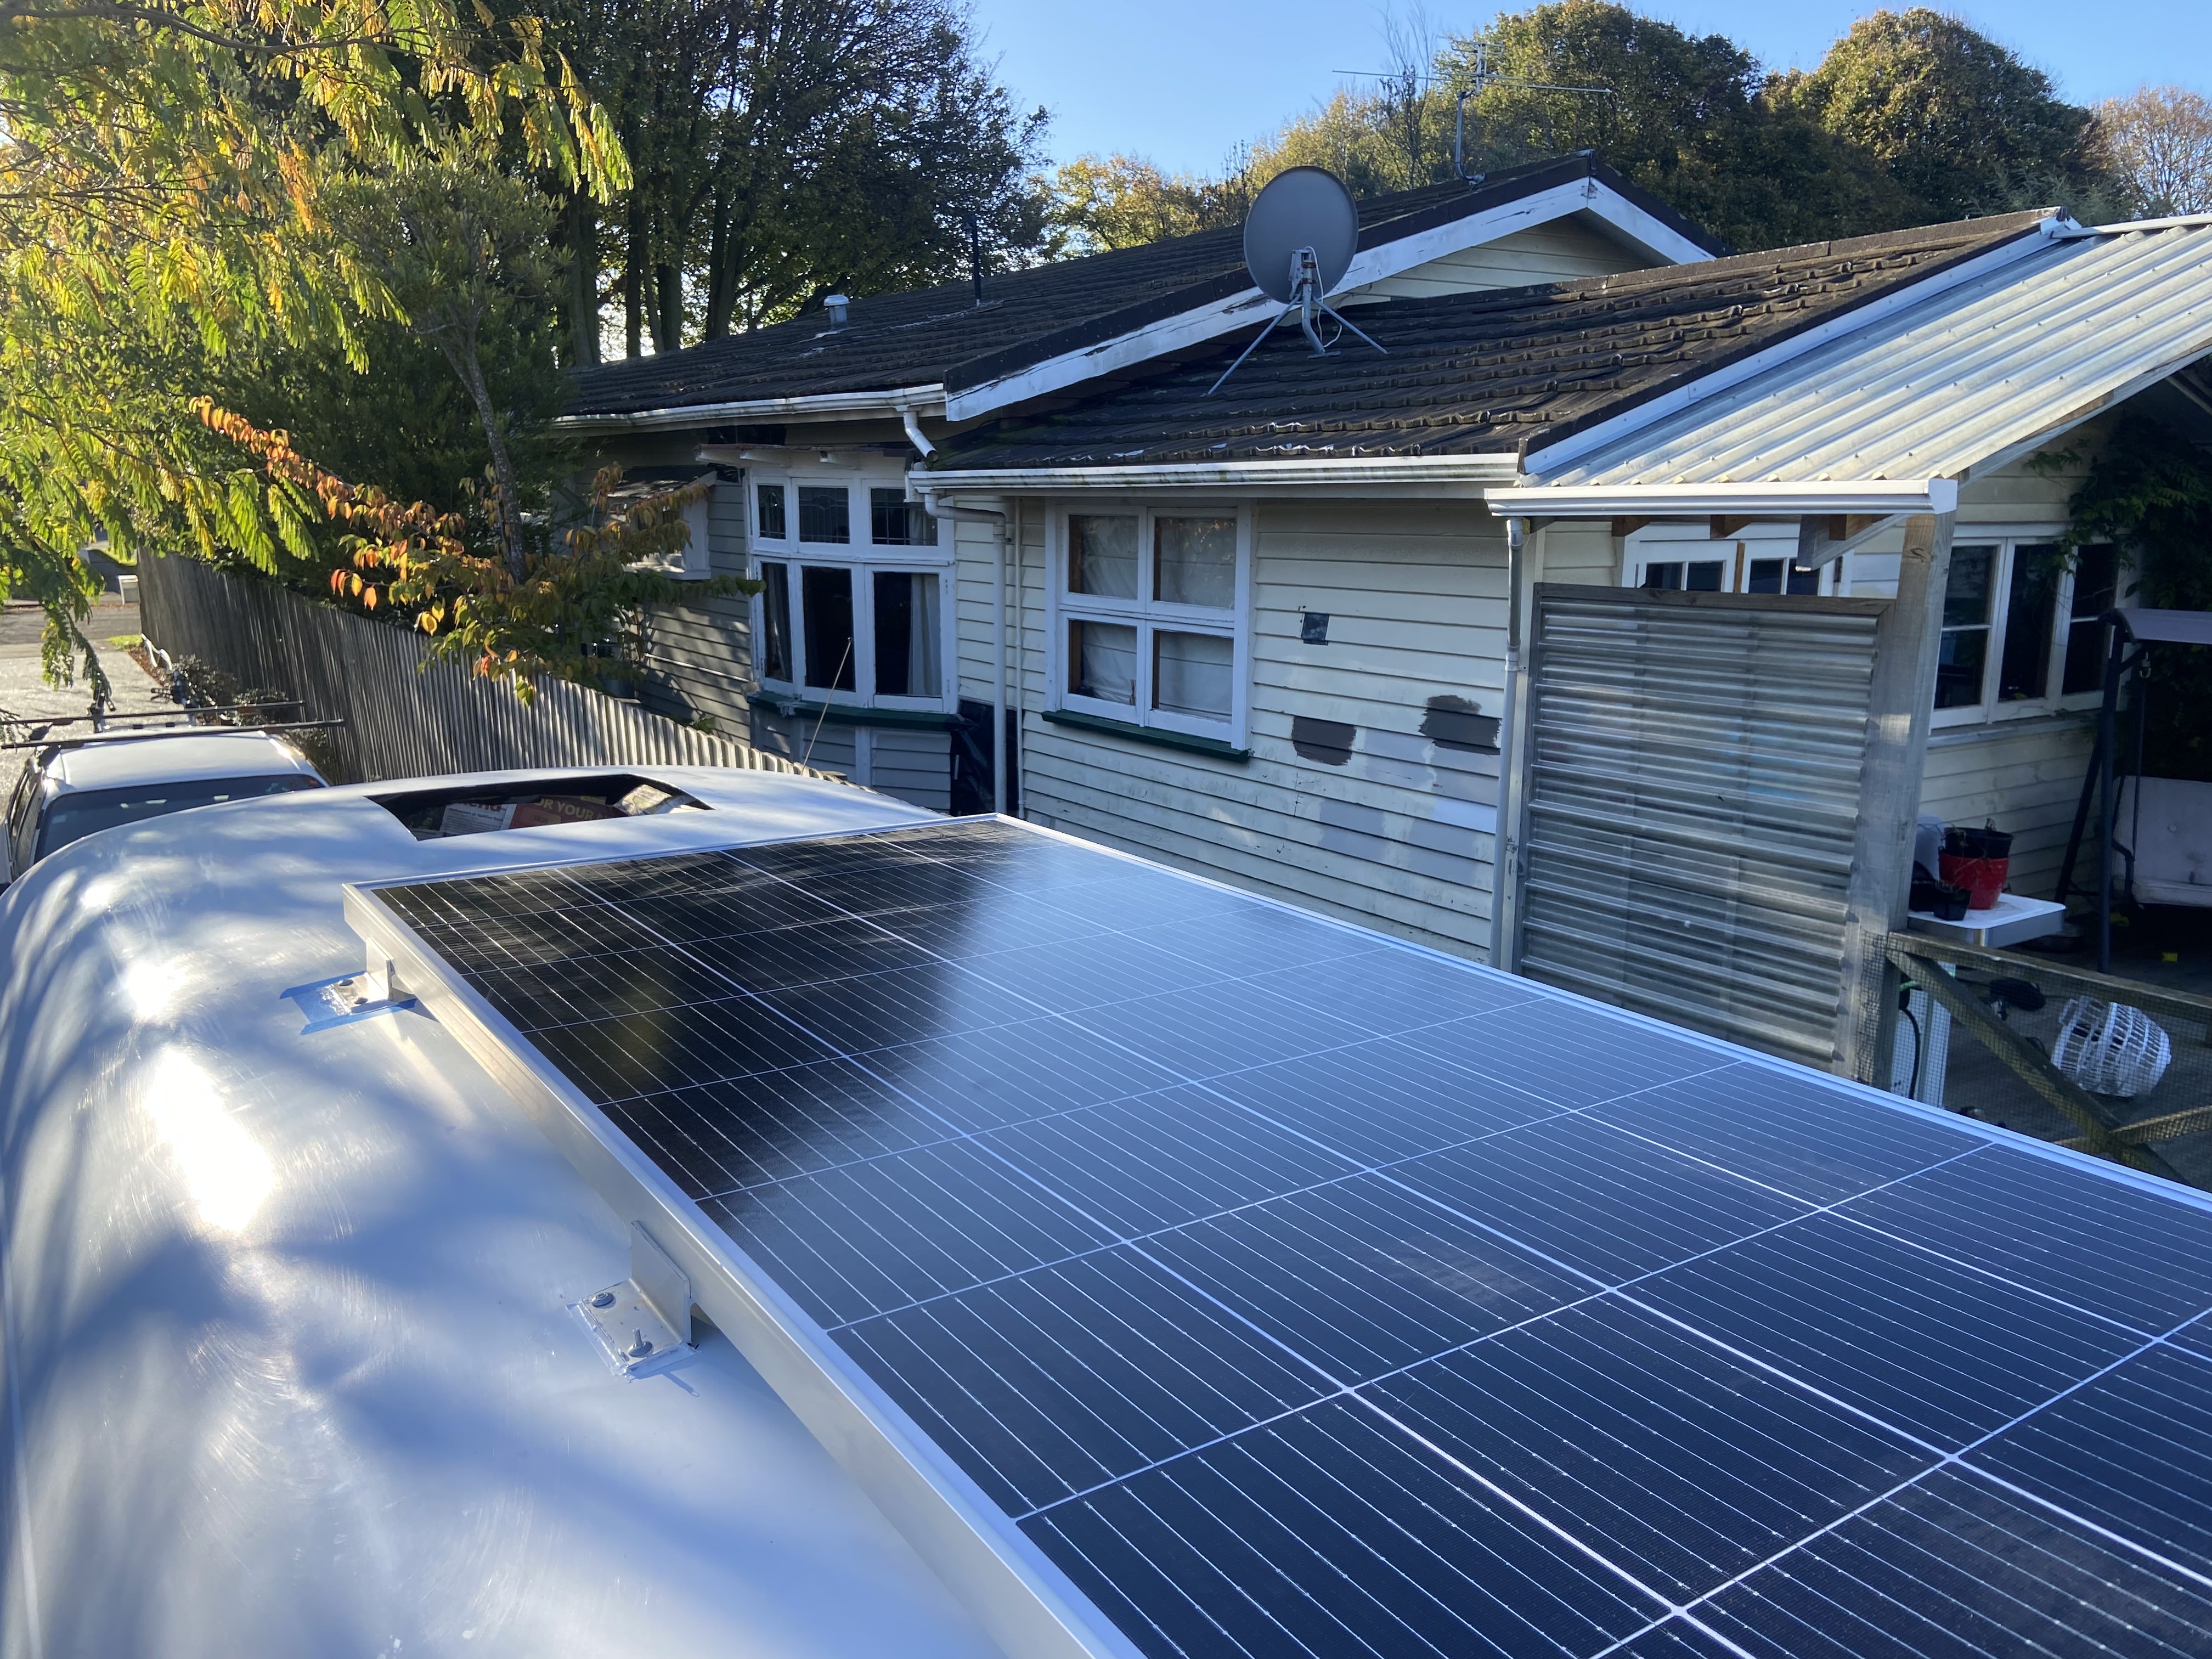
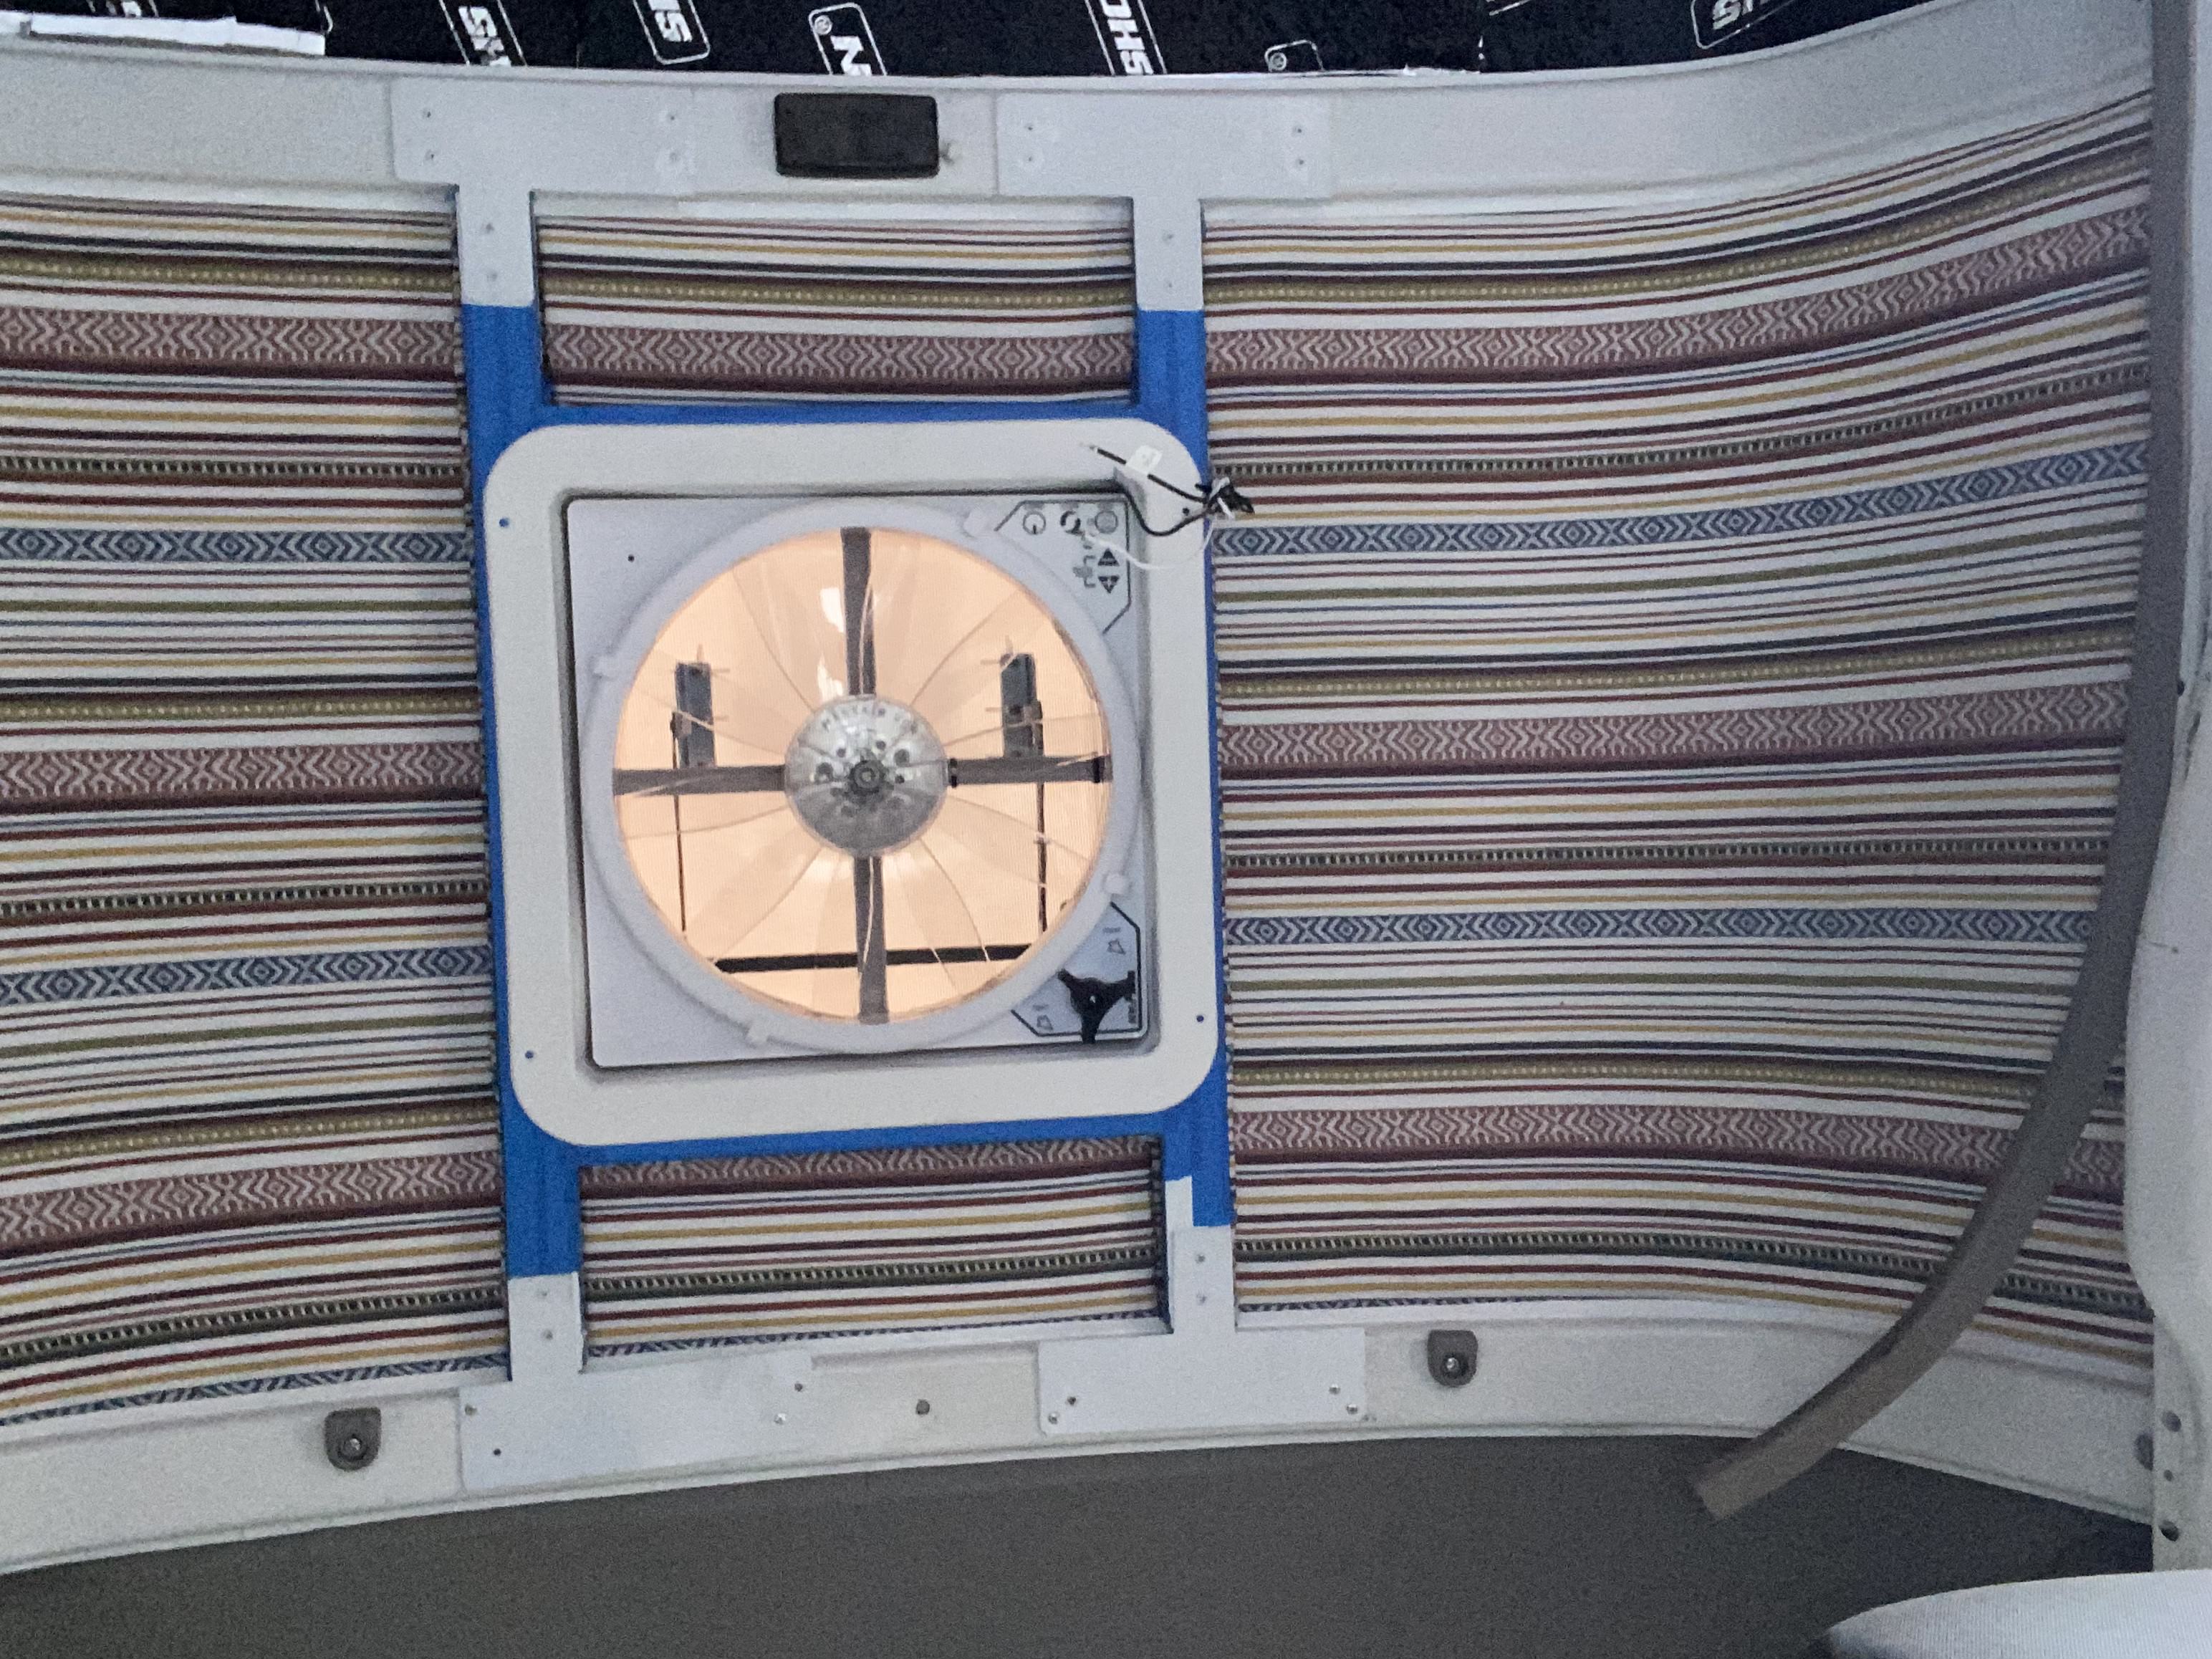
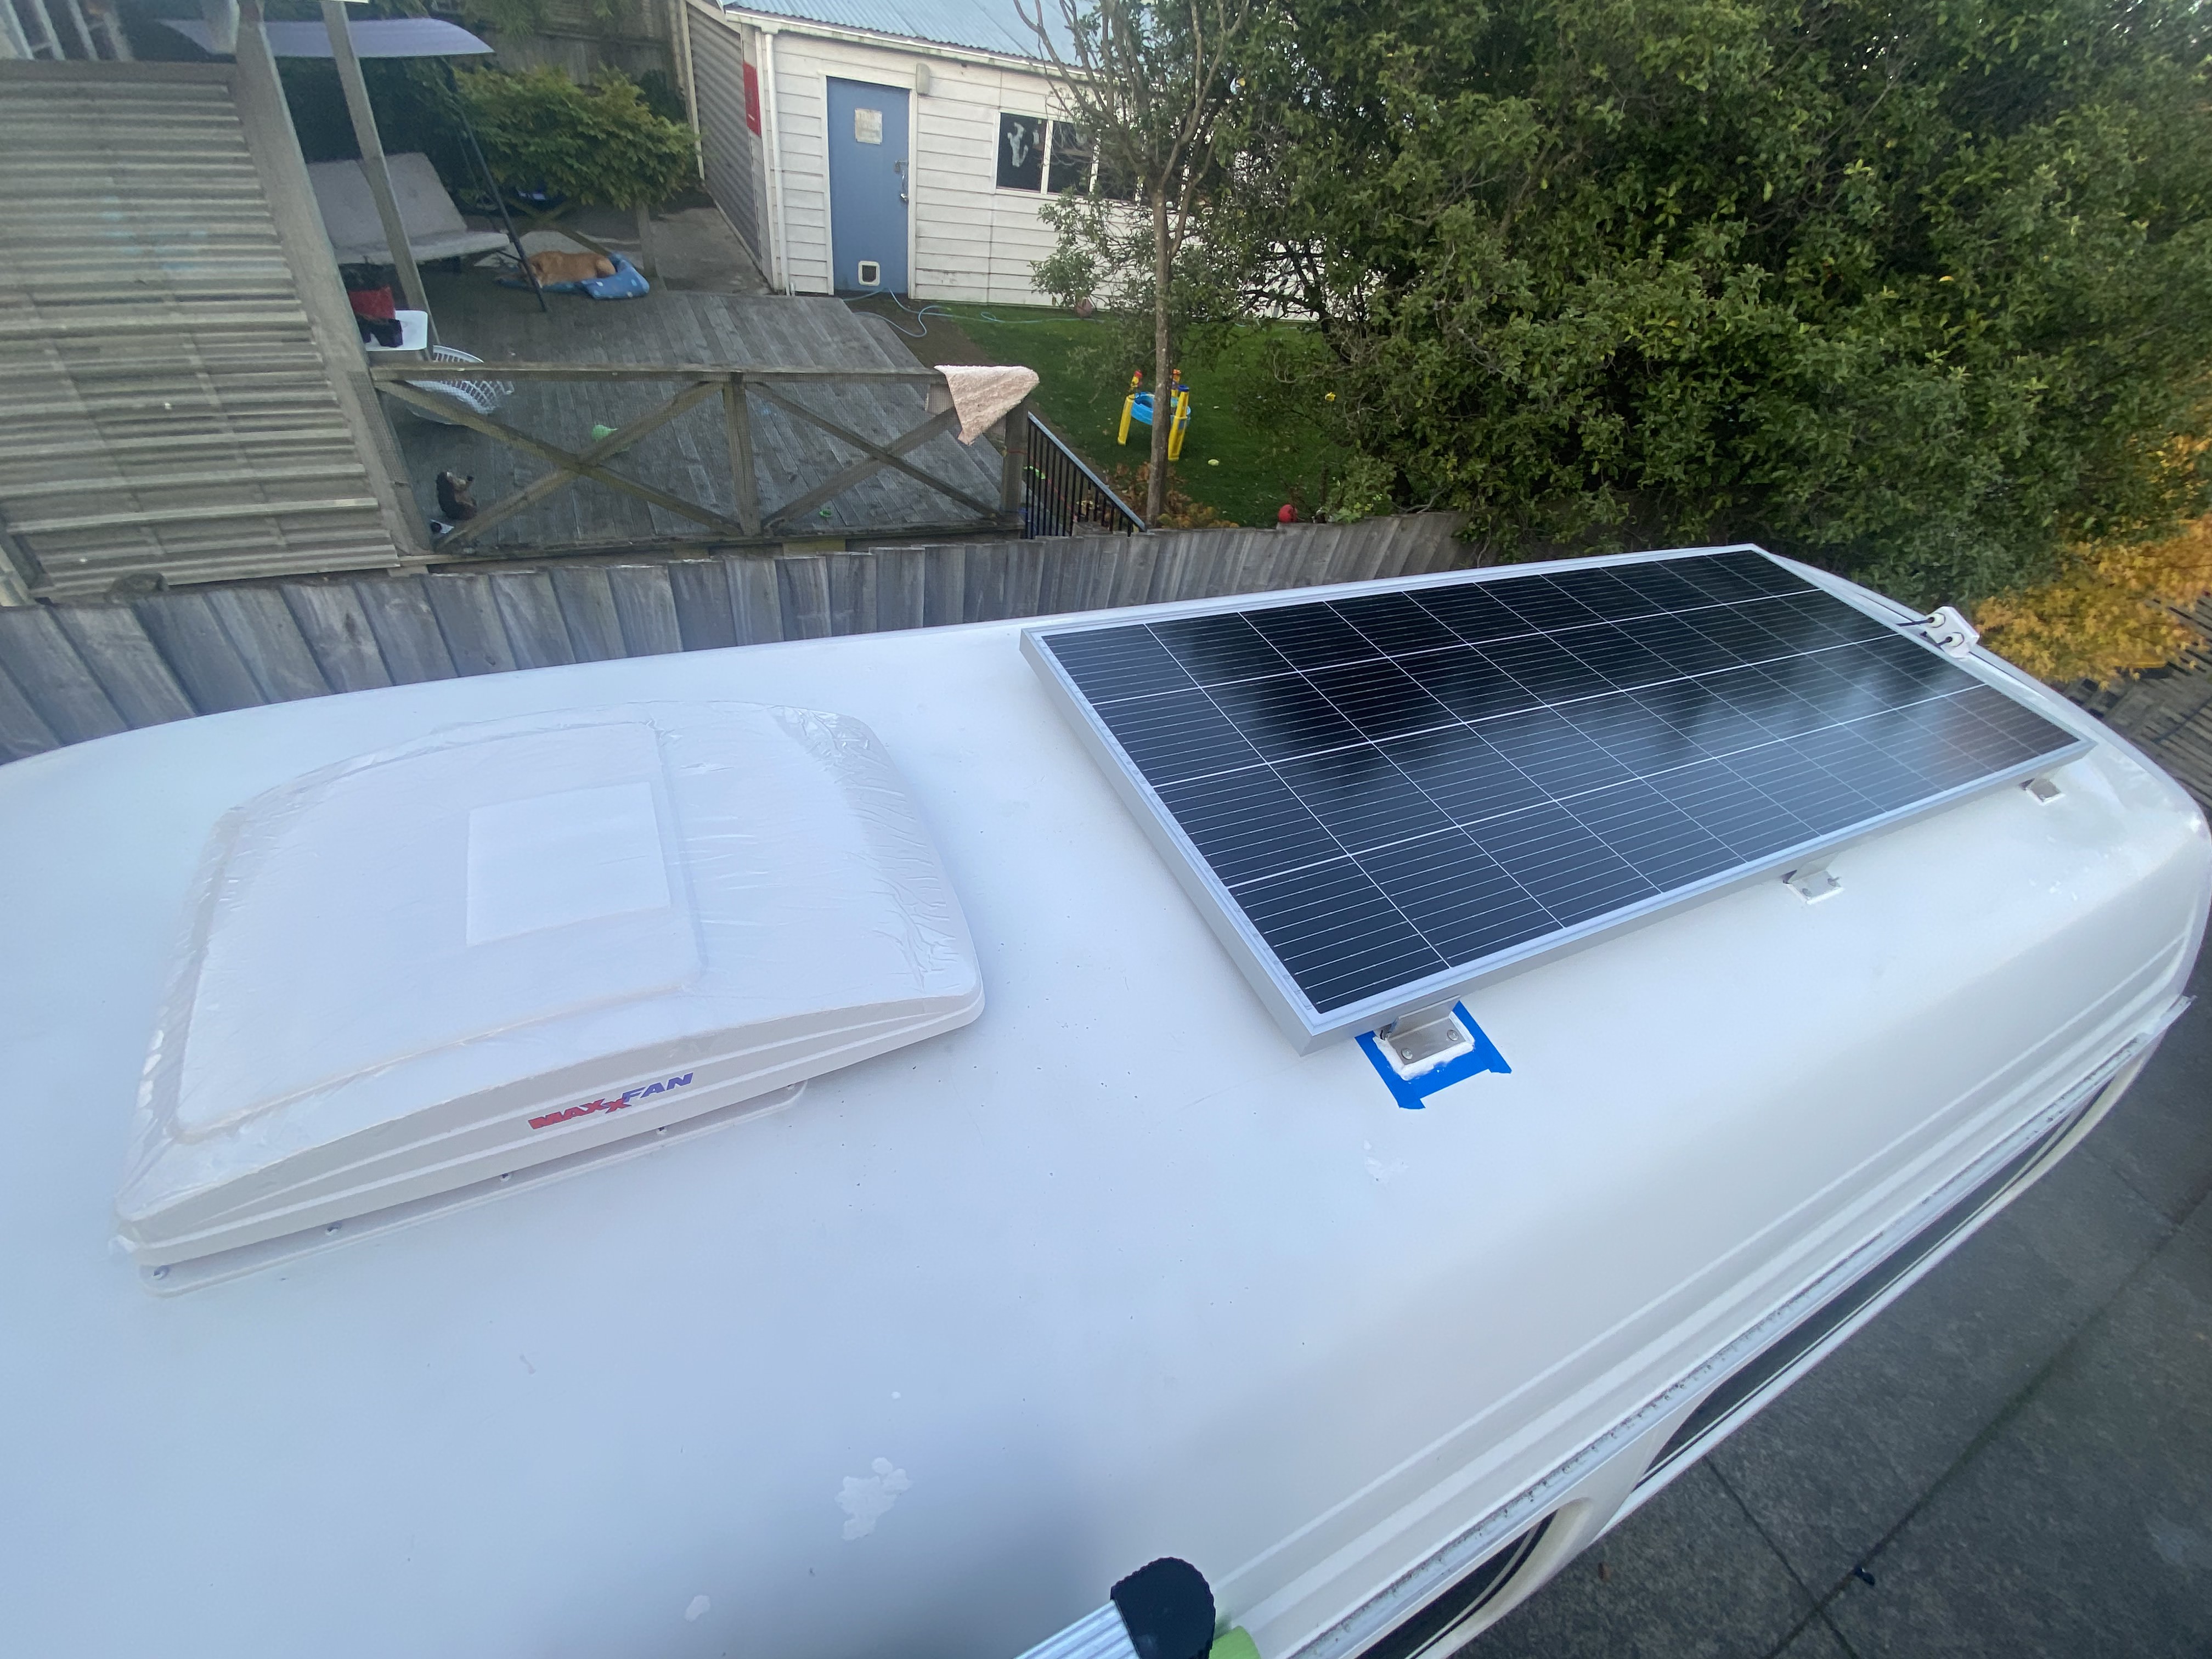
March 2023, I started the build of the project by working on the roof. The first step was to remove the original roof linings. I insulated the underside with 20mm foam and the inside with a funky moroccan fabric. I designed a custom detail and frame to support the fan, which was tricky with the curved roof! I was very happy with the result. I also repainted and then soundproofed the underside of the metal roof to prevent rust and noise ingress into the van. On the external roof I installed the solar panel and ventilation fan.
Insulation and roof fabric lining:
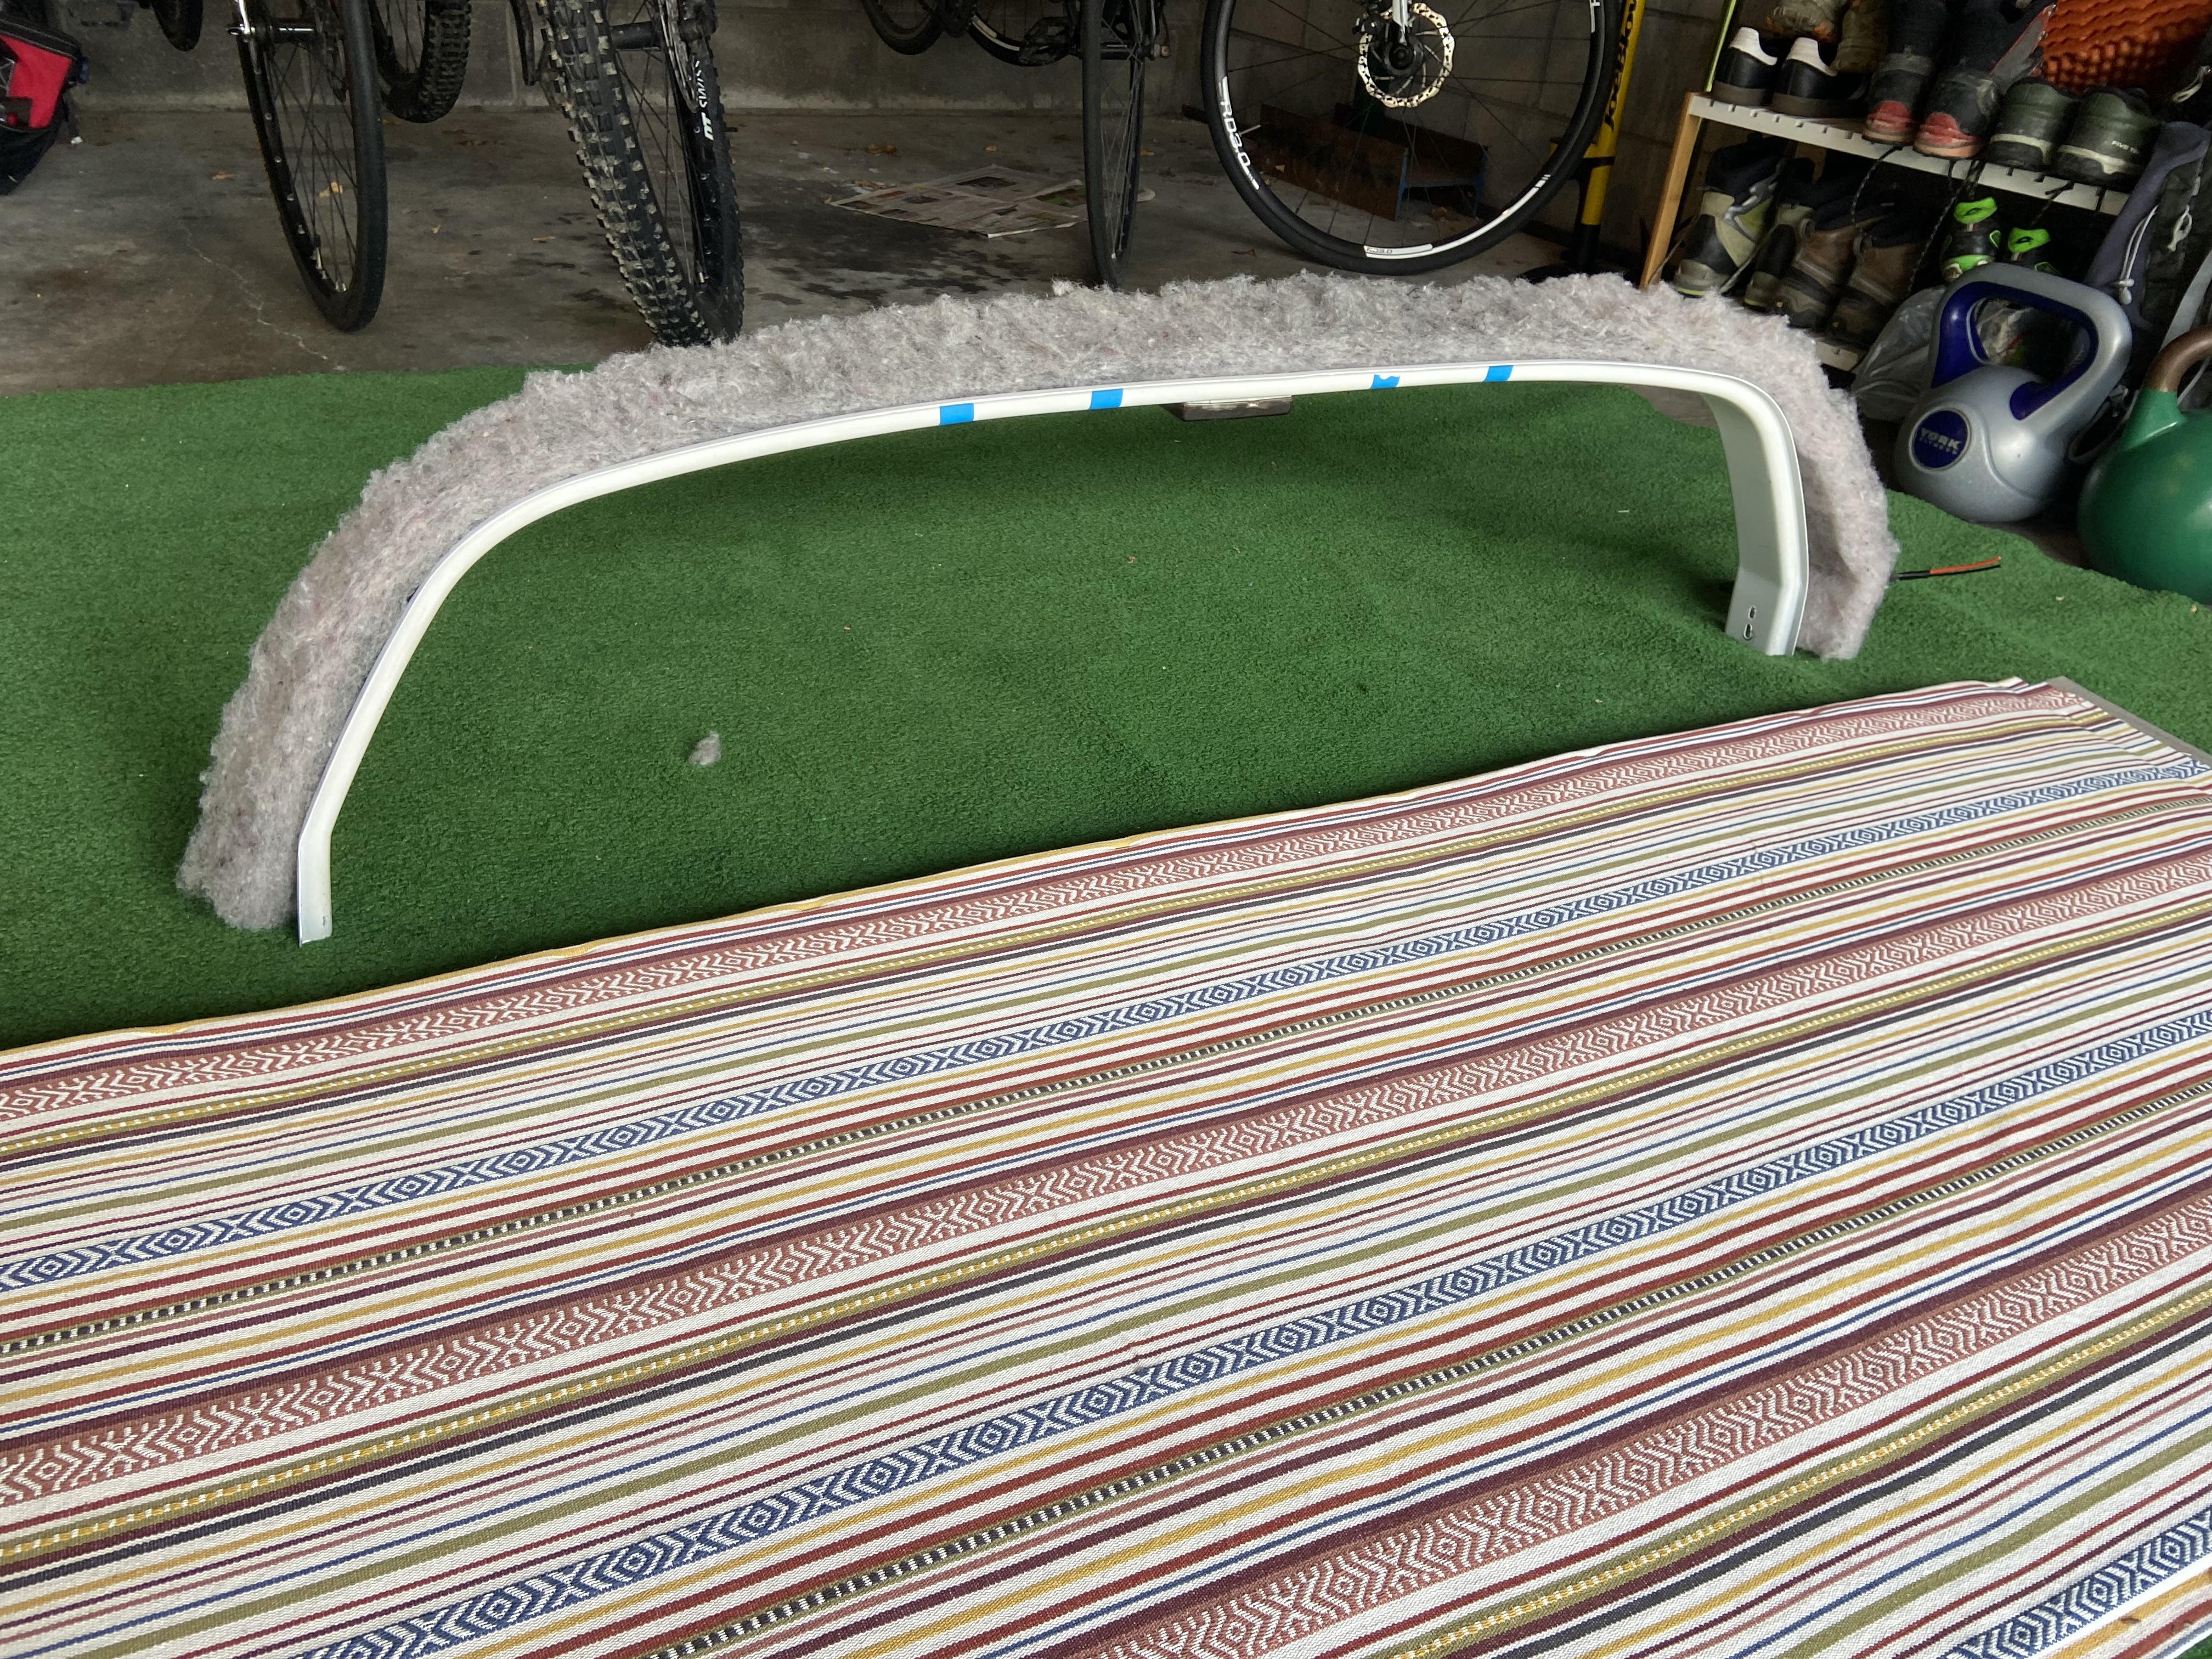
Roof fan framing detail:
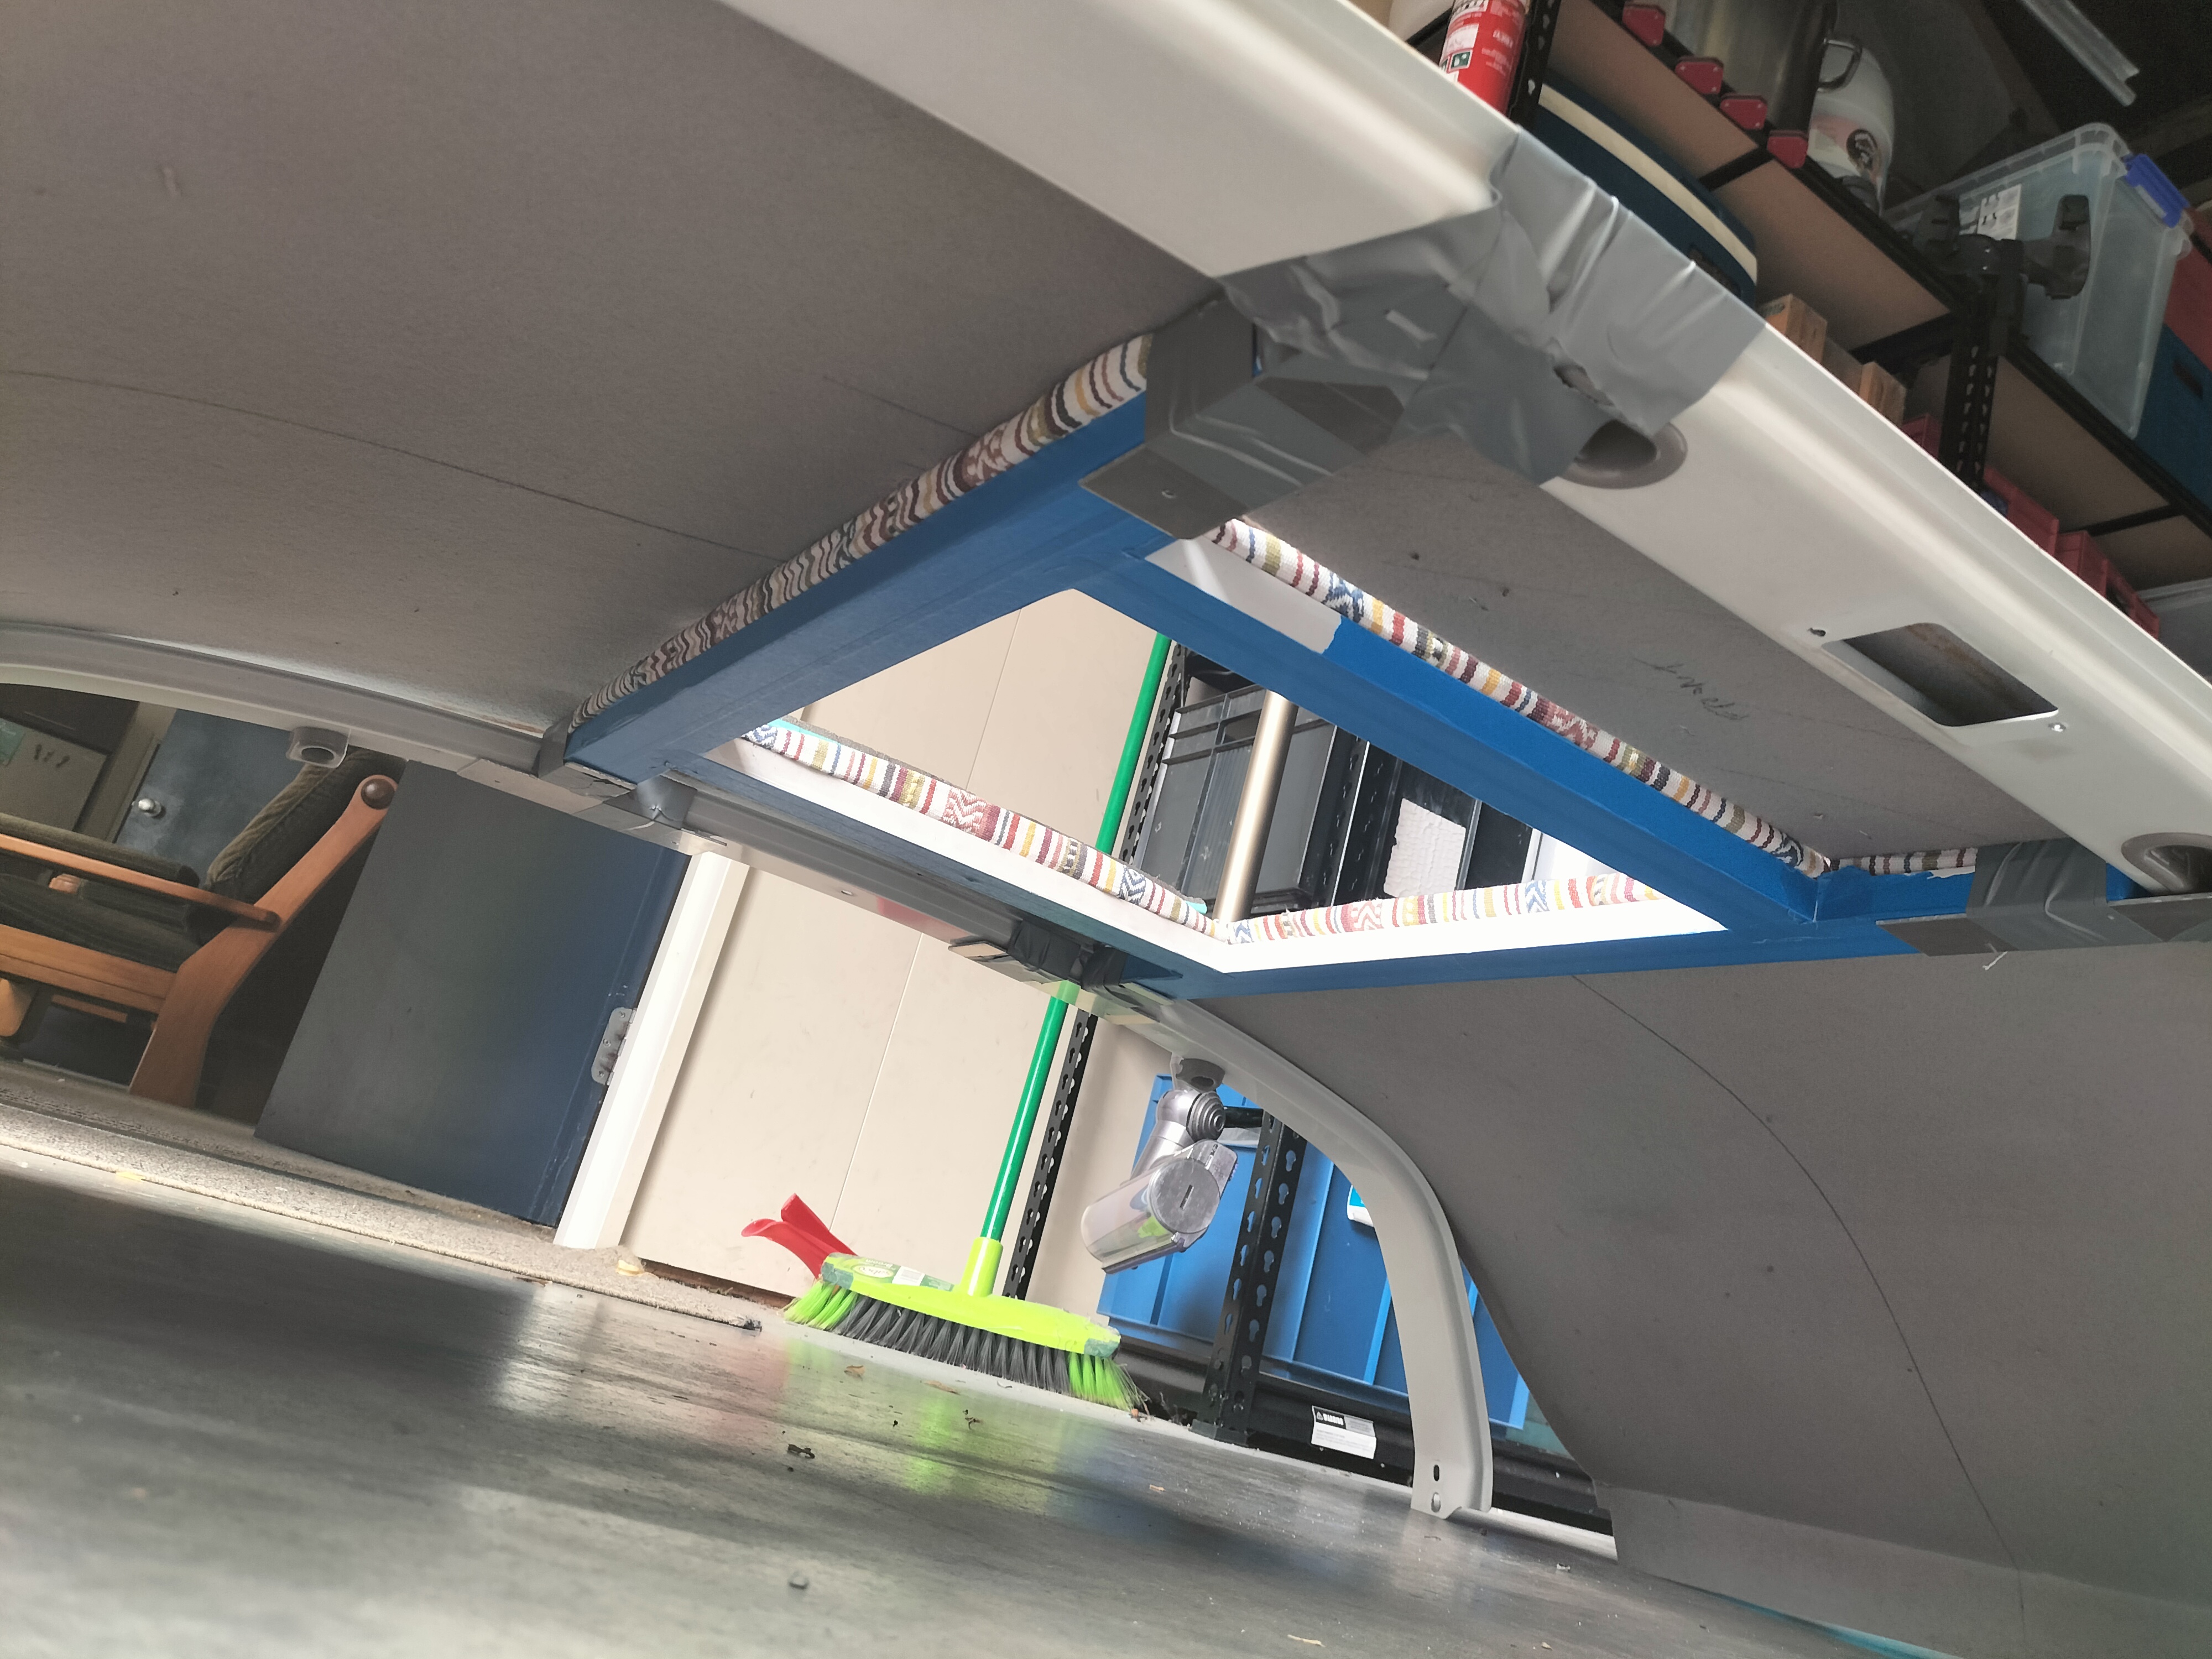
First section installed:
Acoustic rubber lining installed to reduce noise:
Marking out hole for roof fan:
Made the cut!
Solar panel installation:
Roof fan install:
View from the roof:
Floor
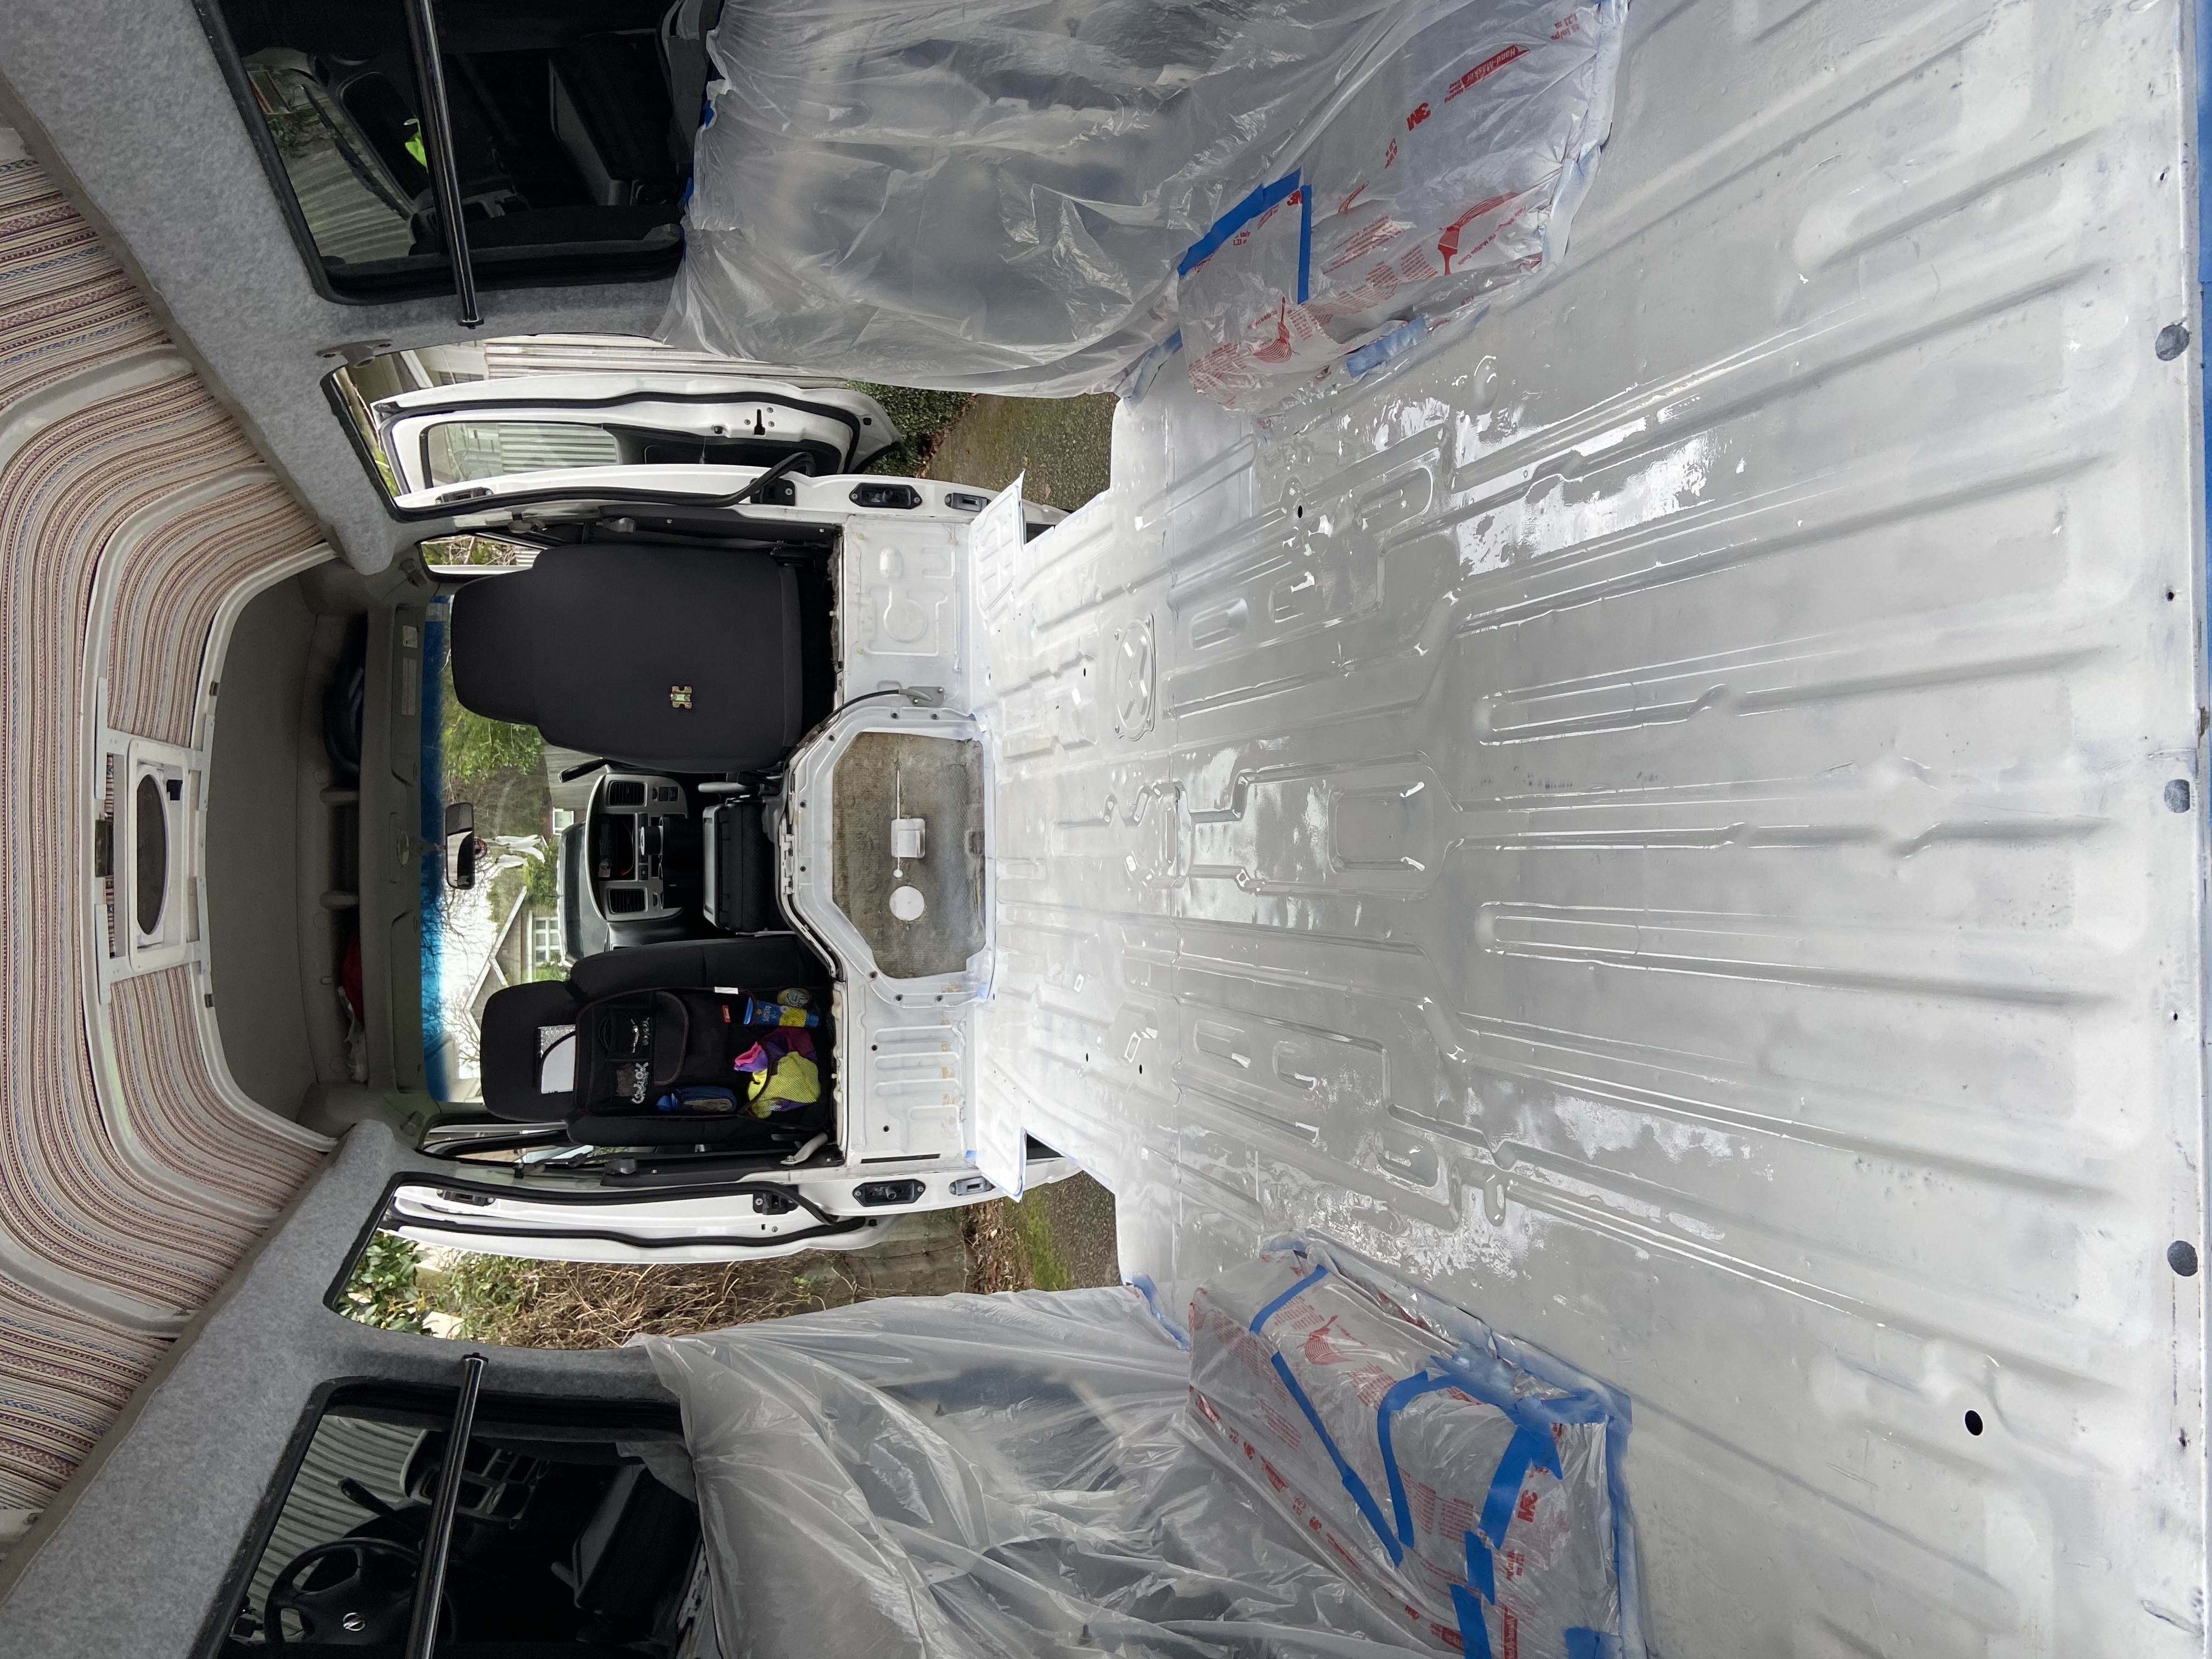
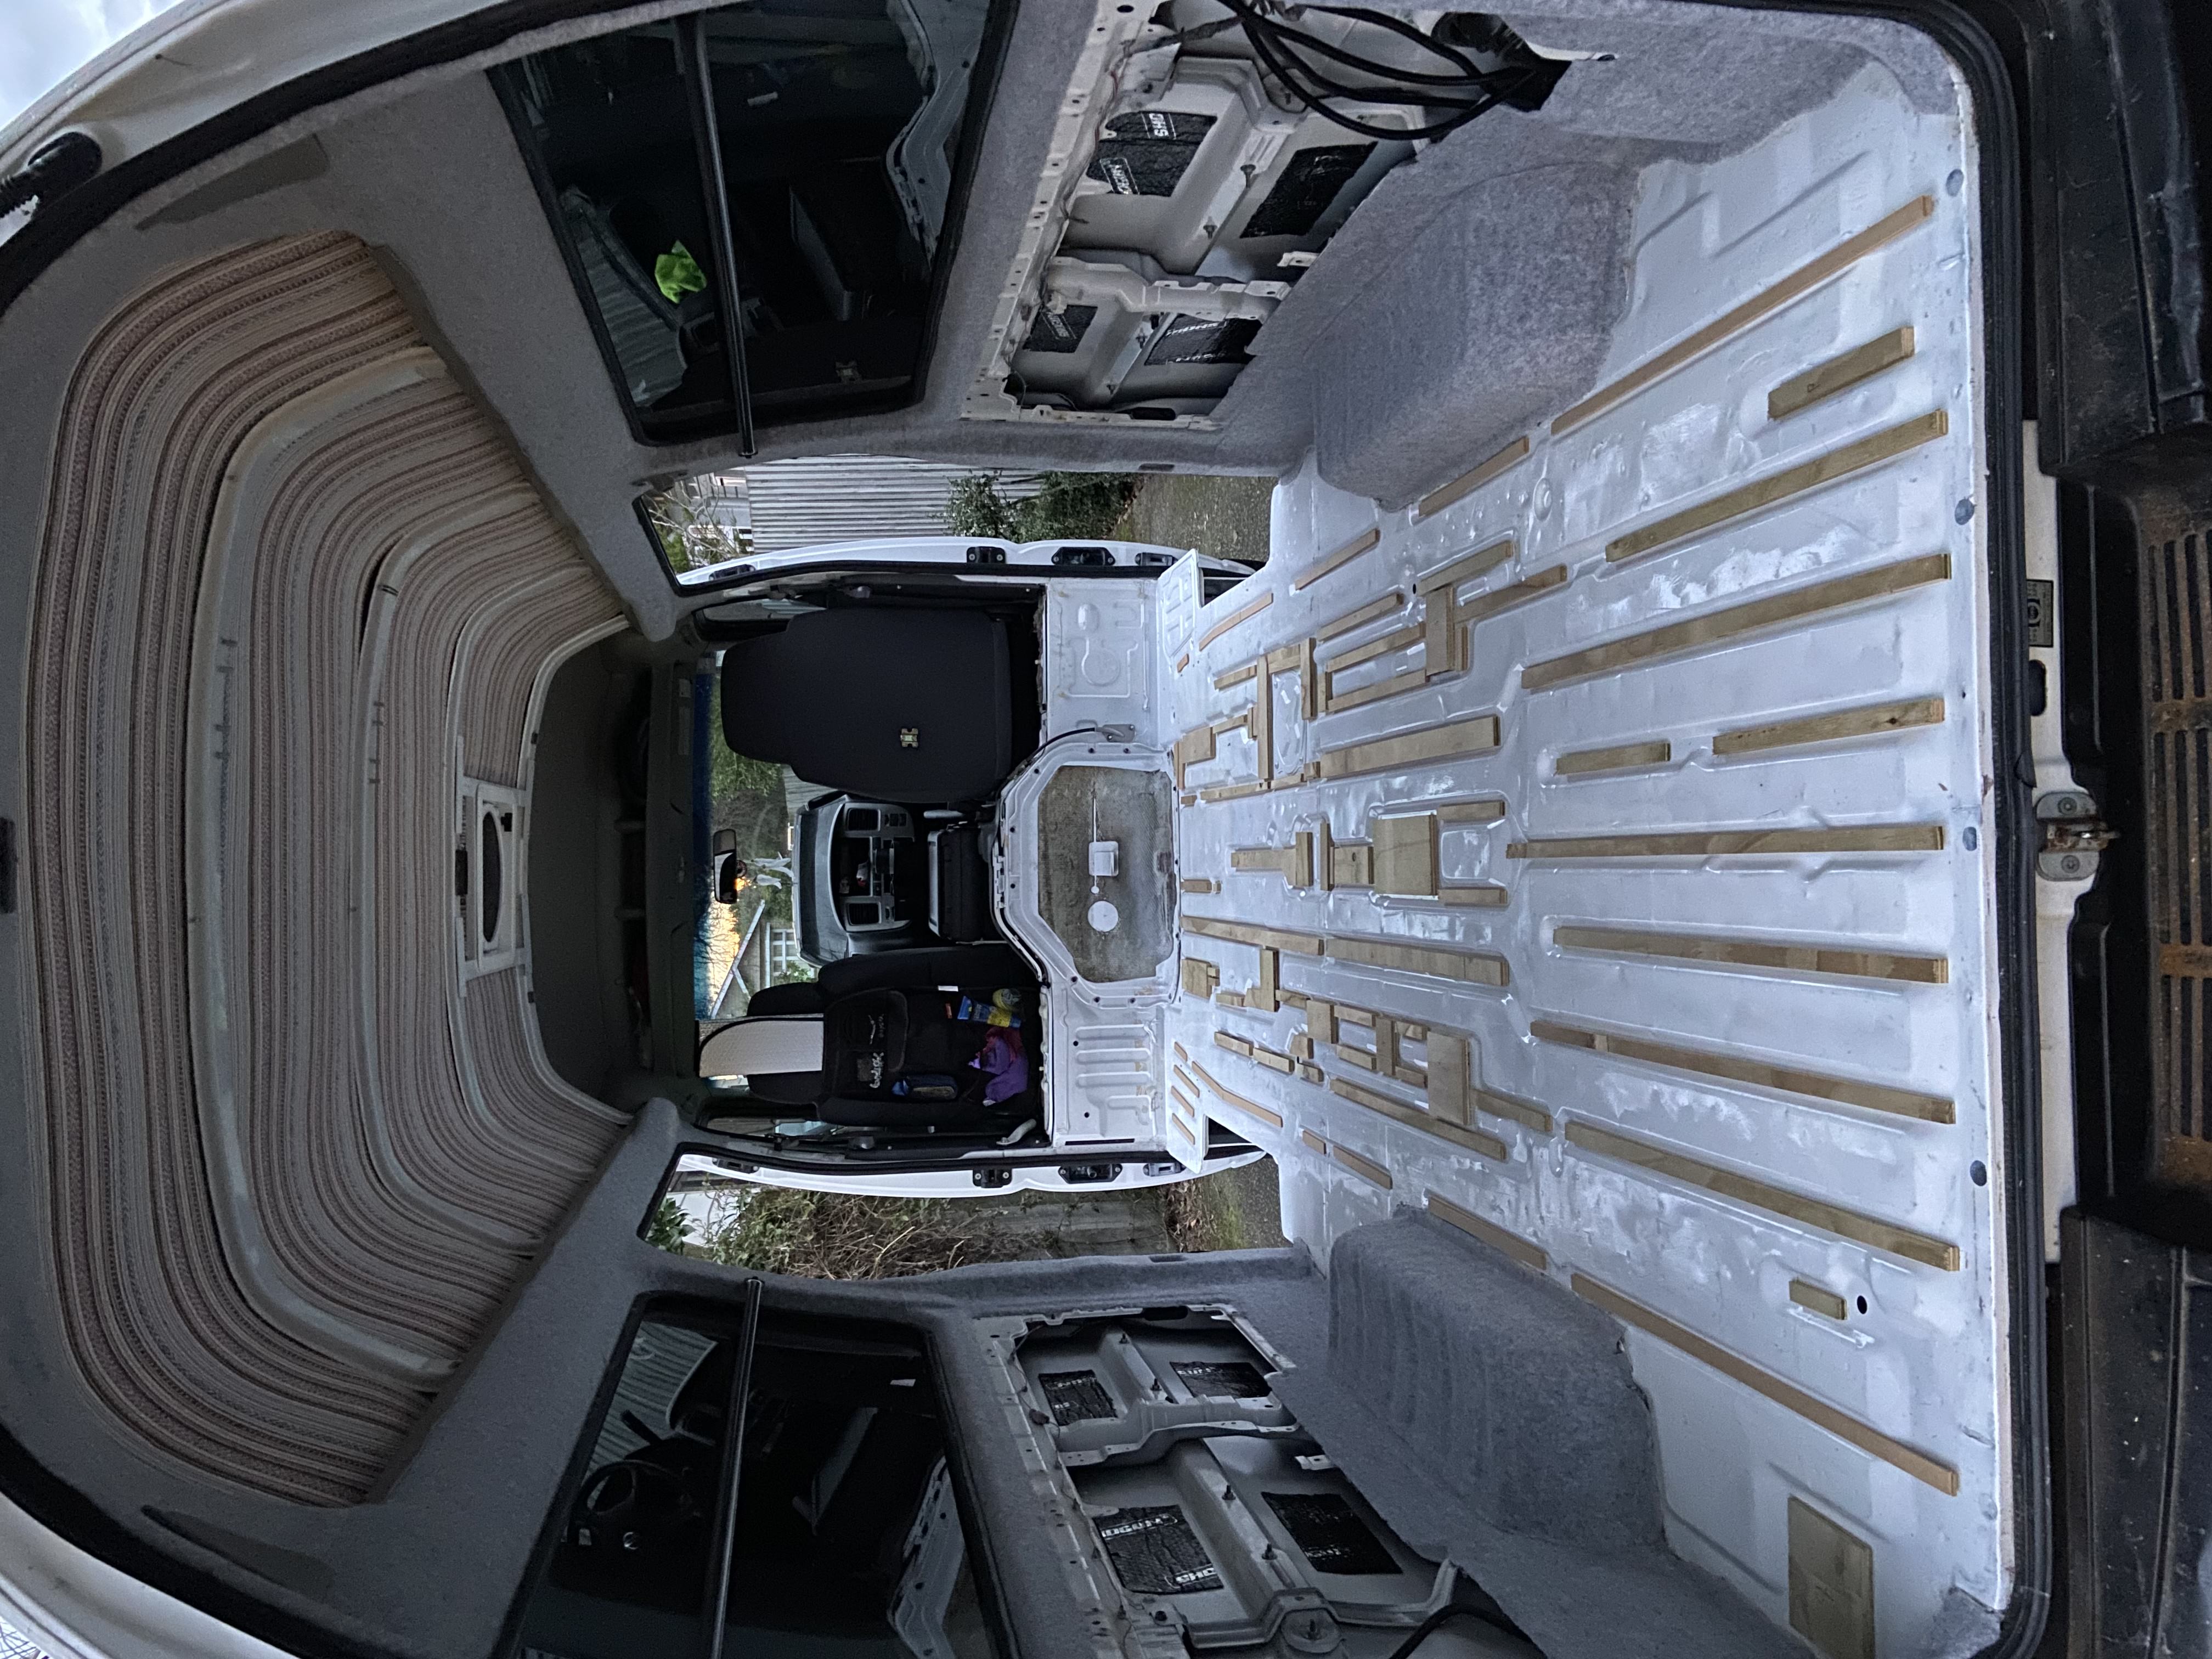
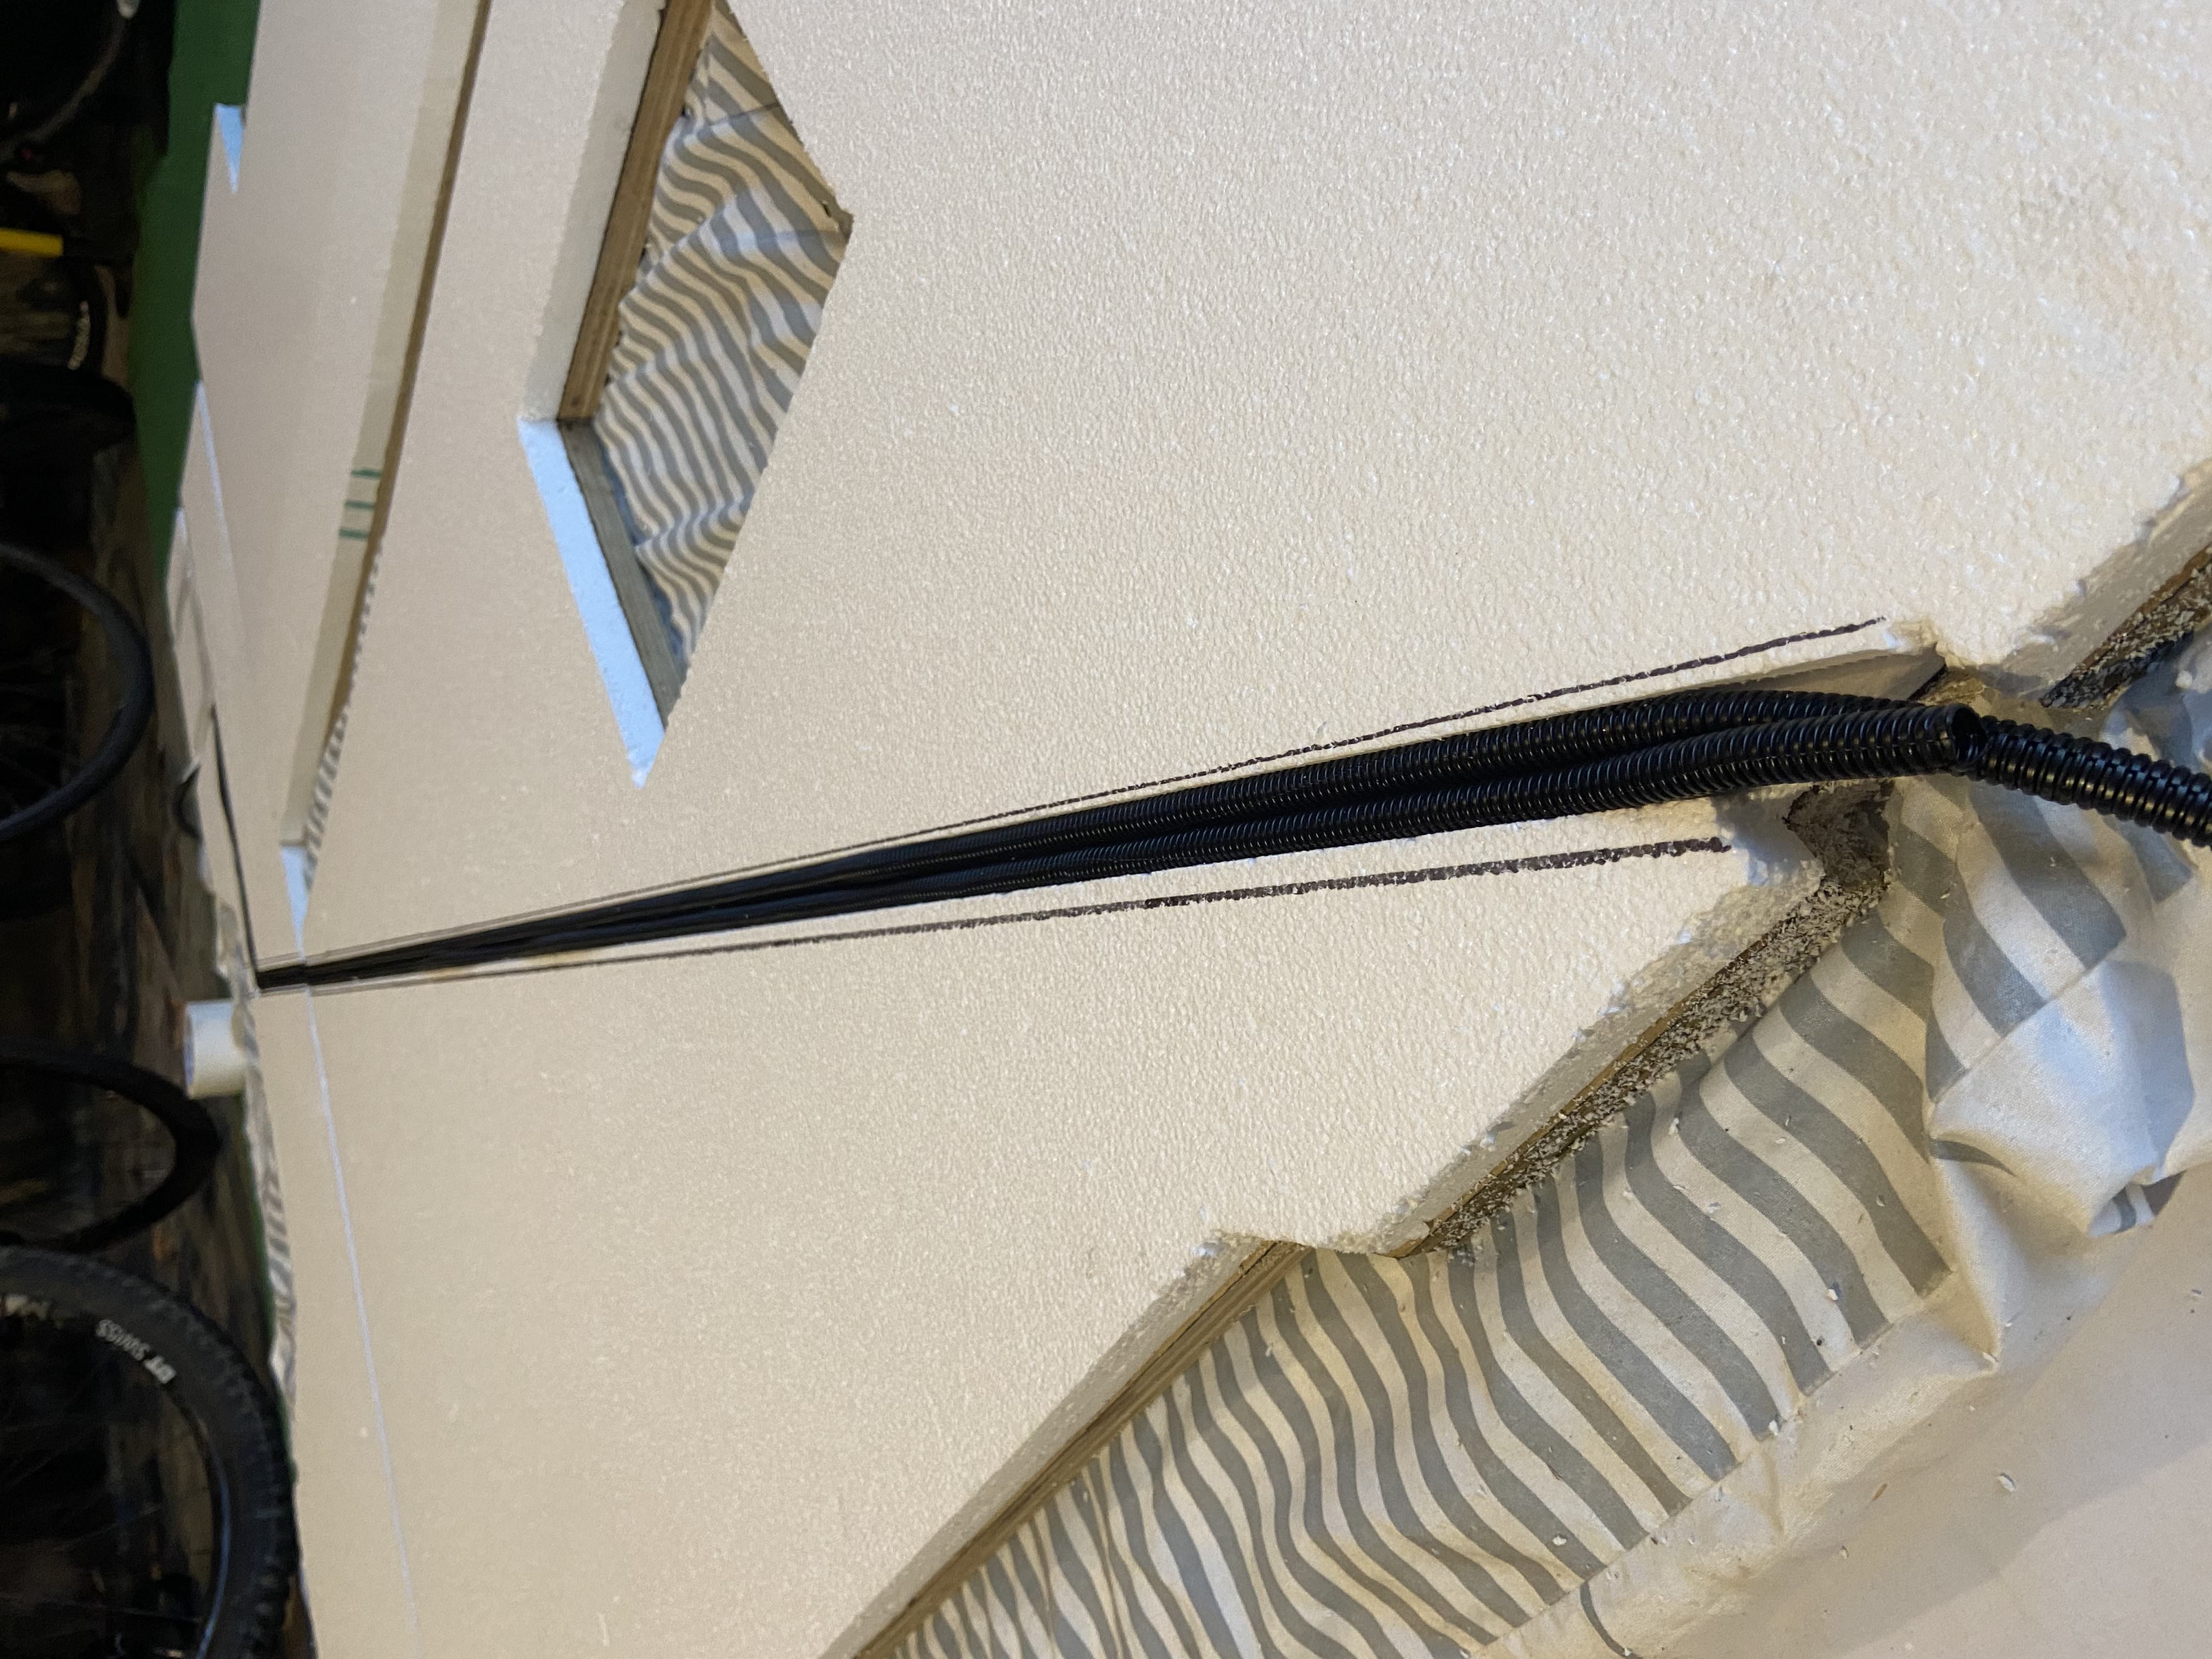
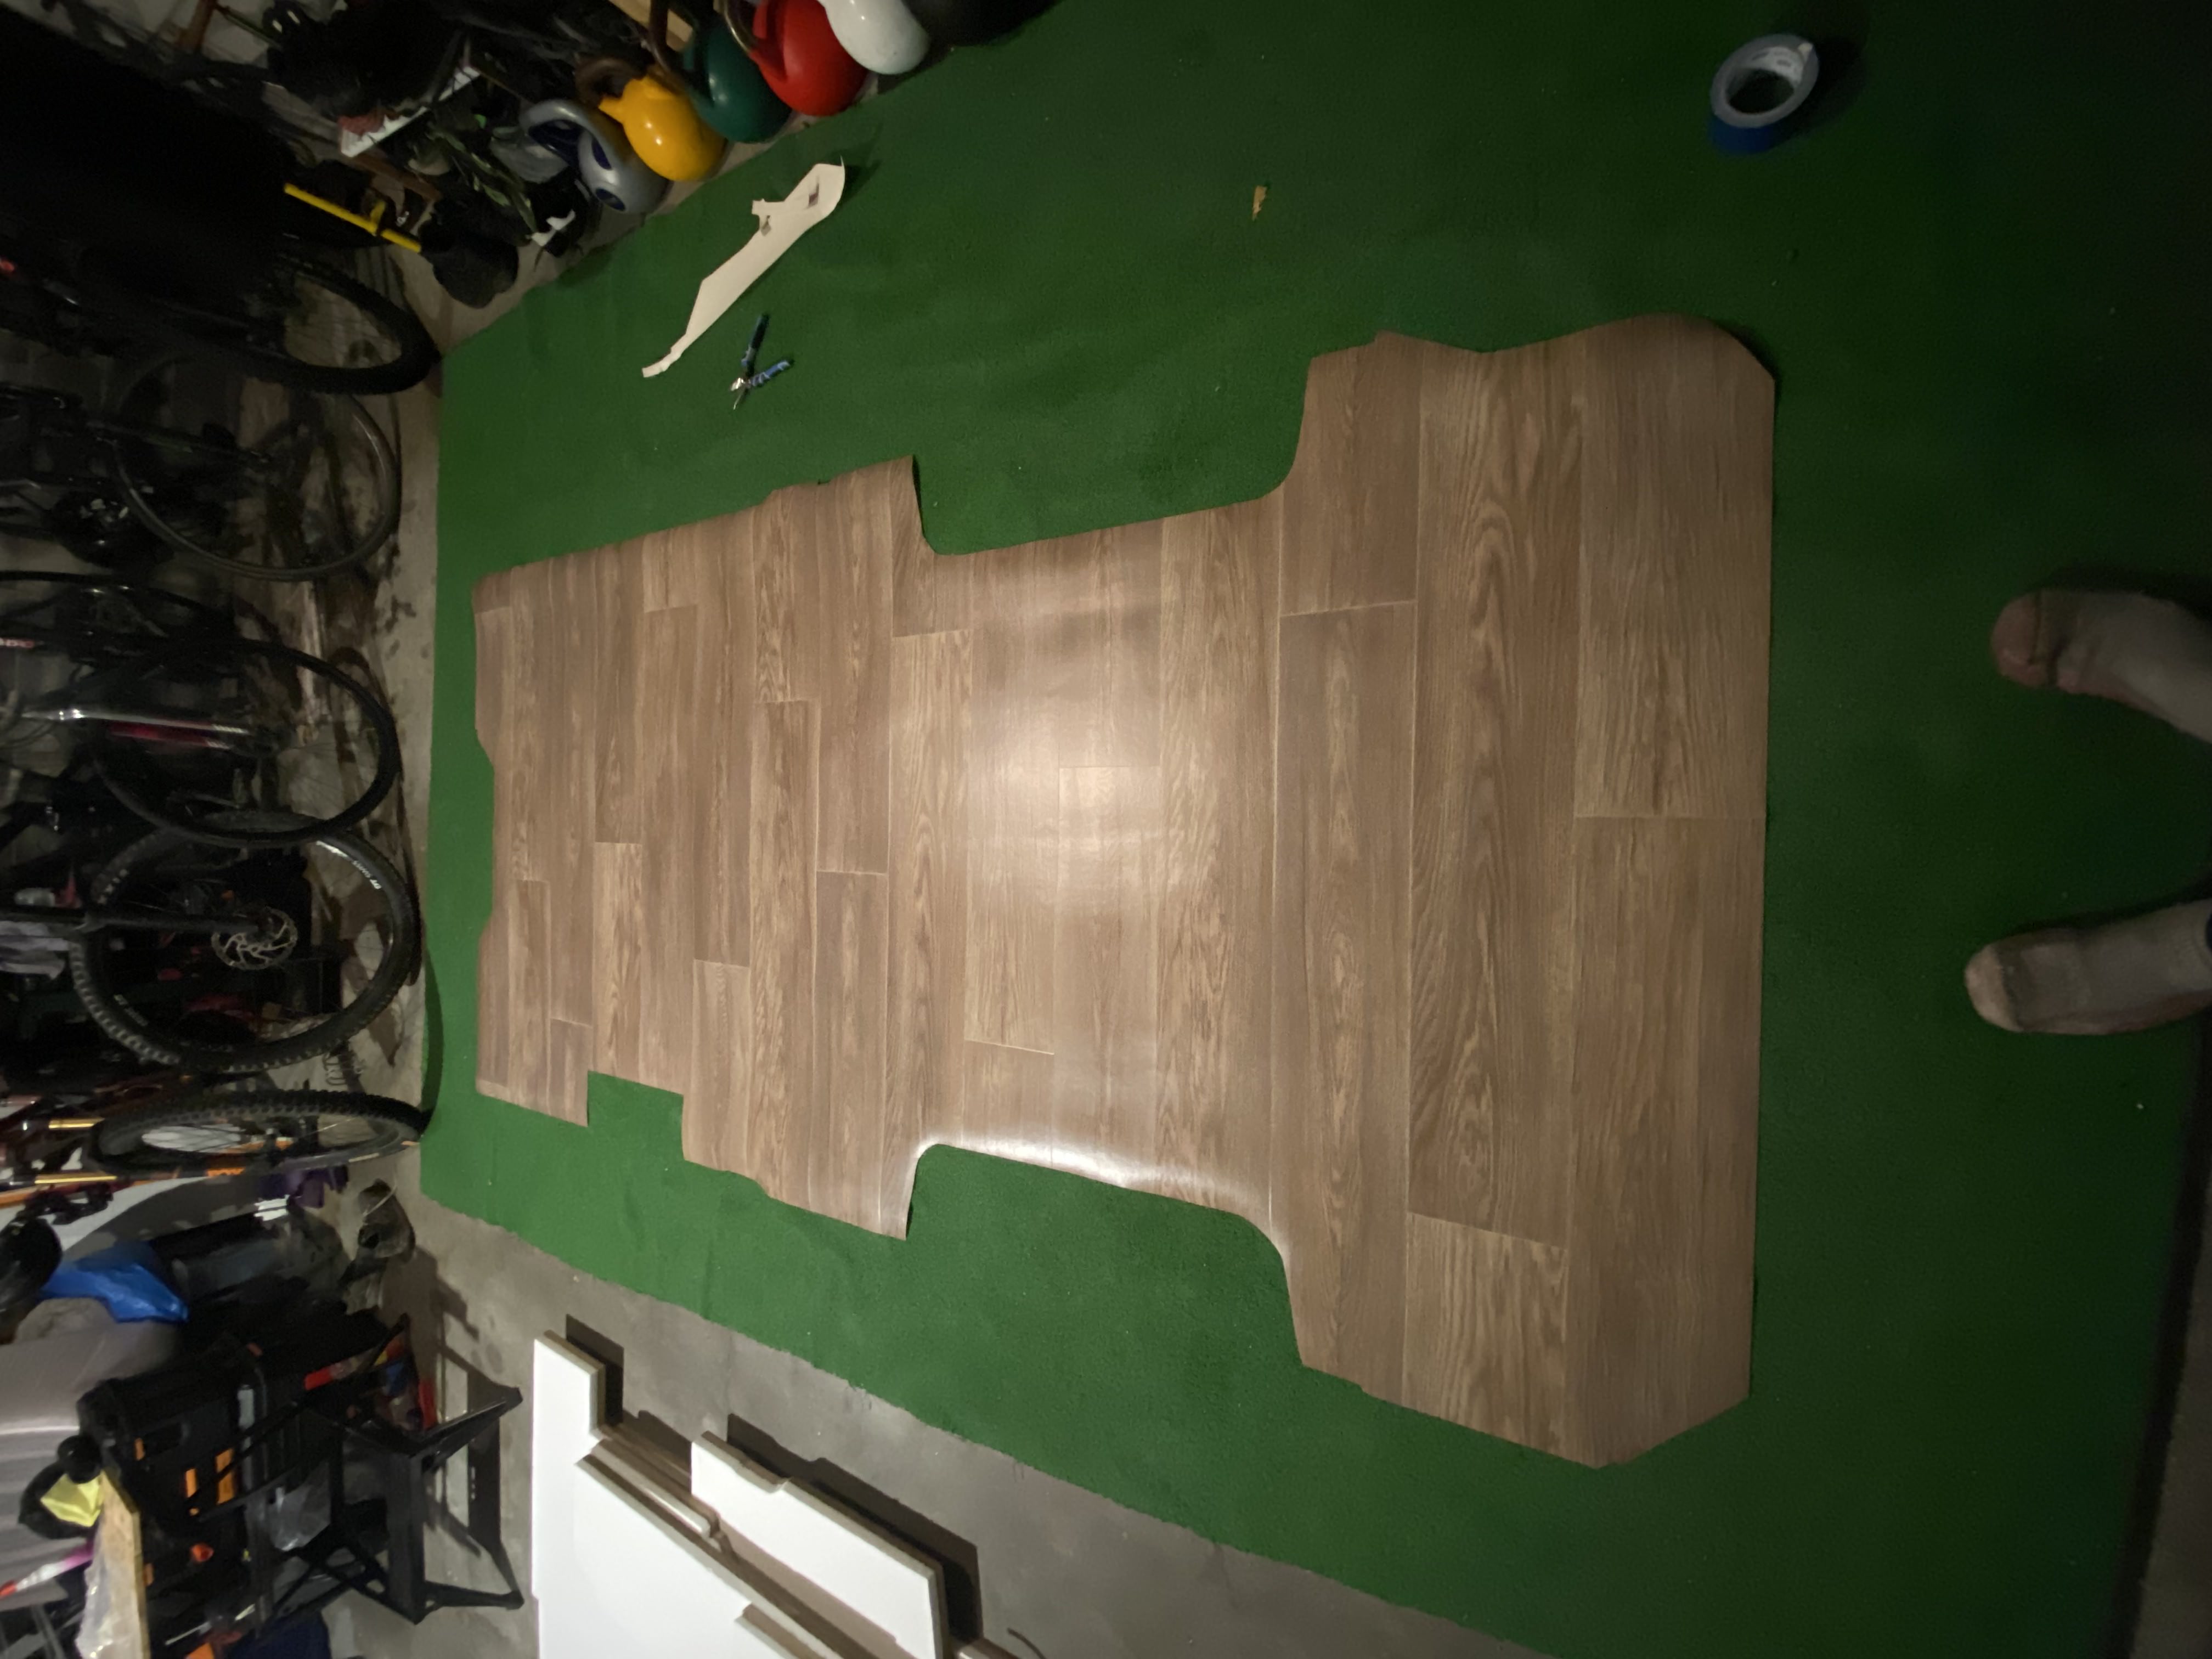
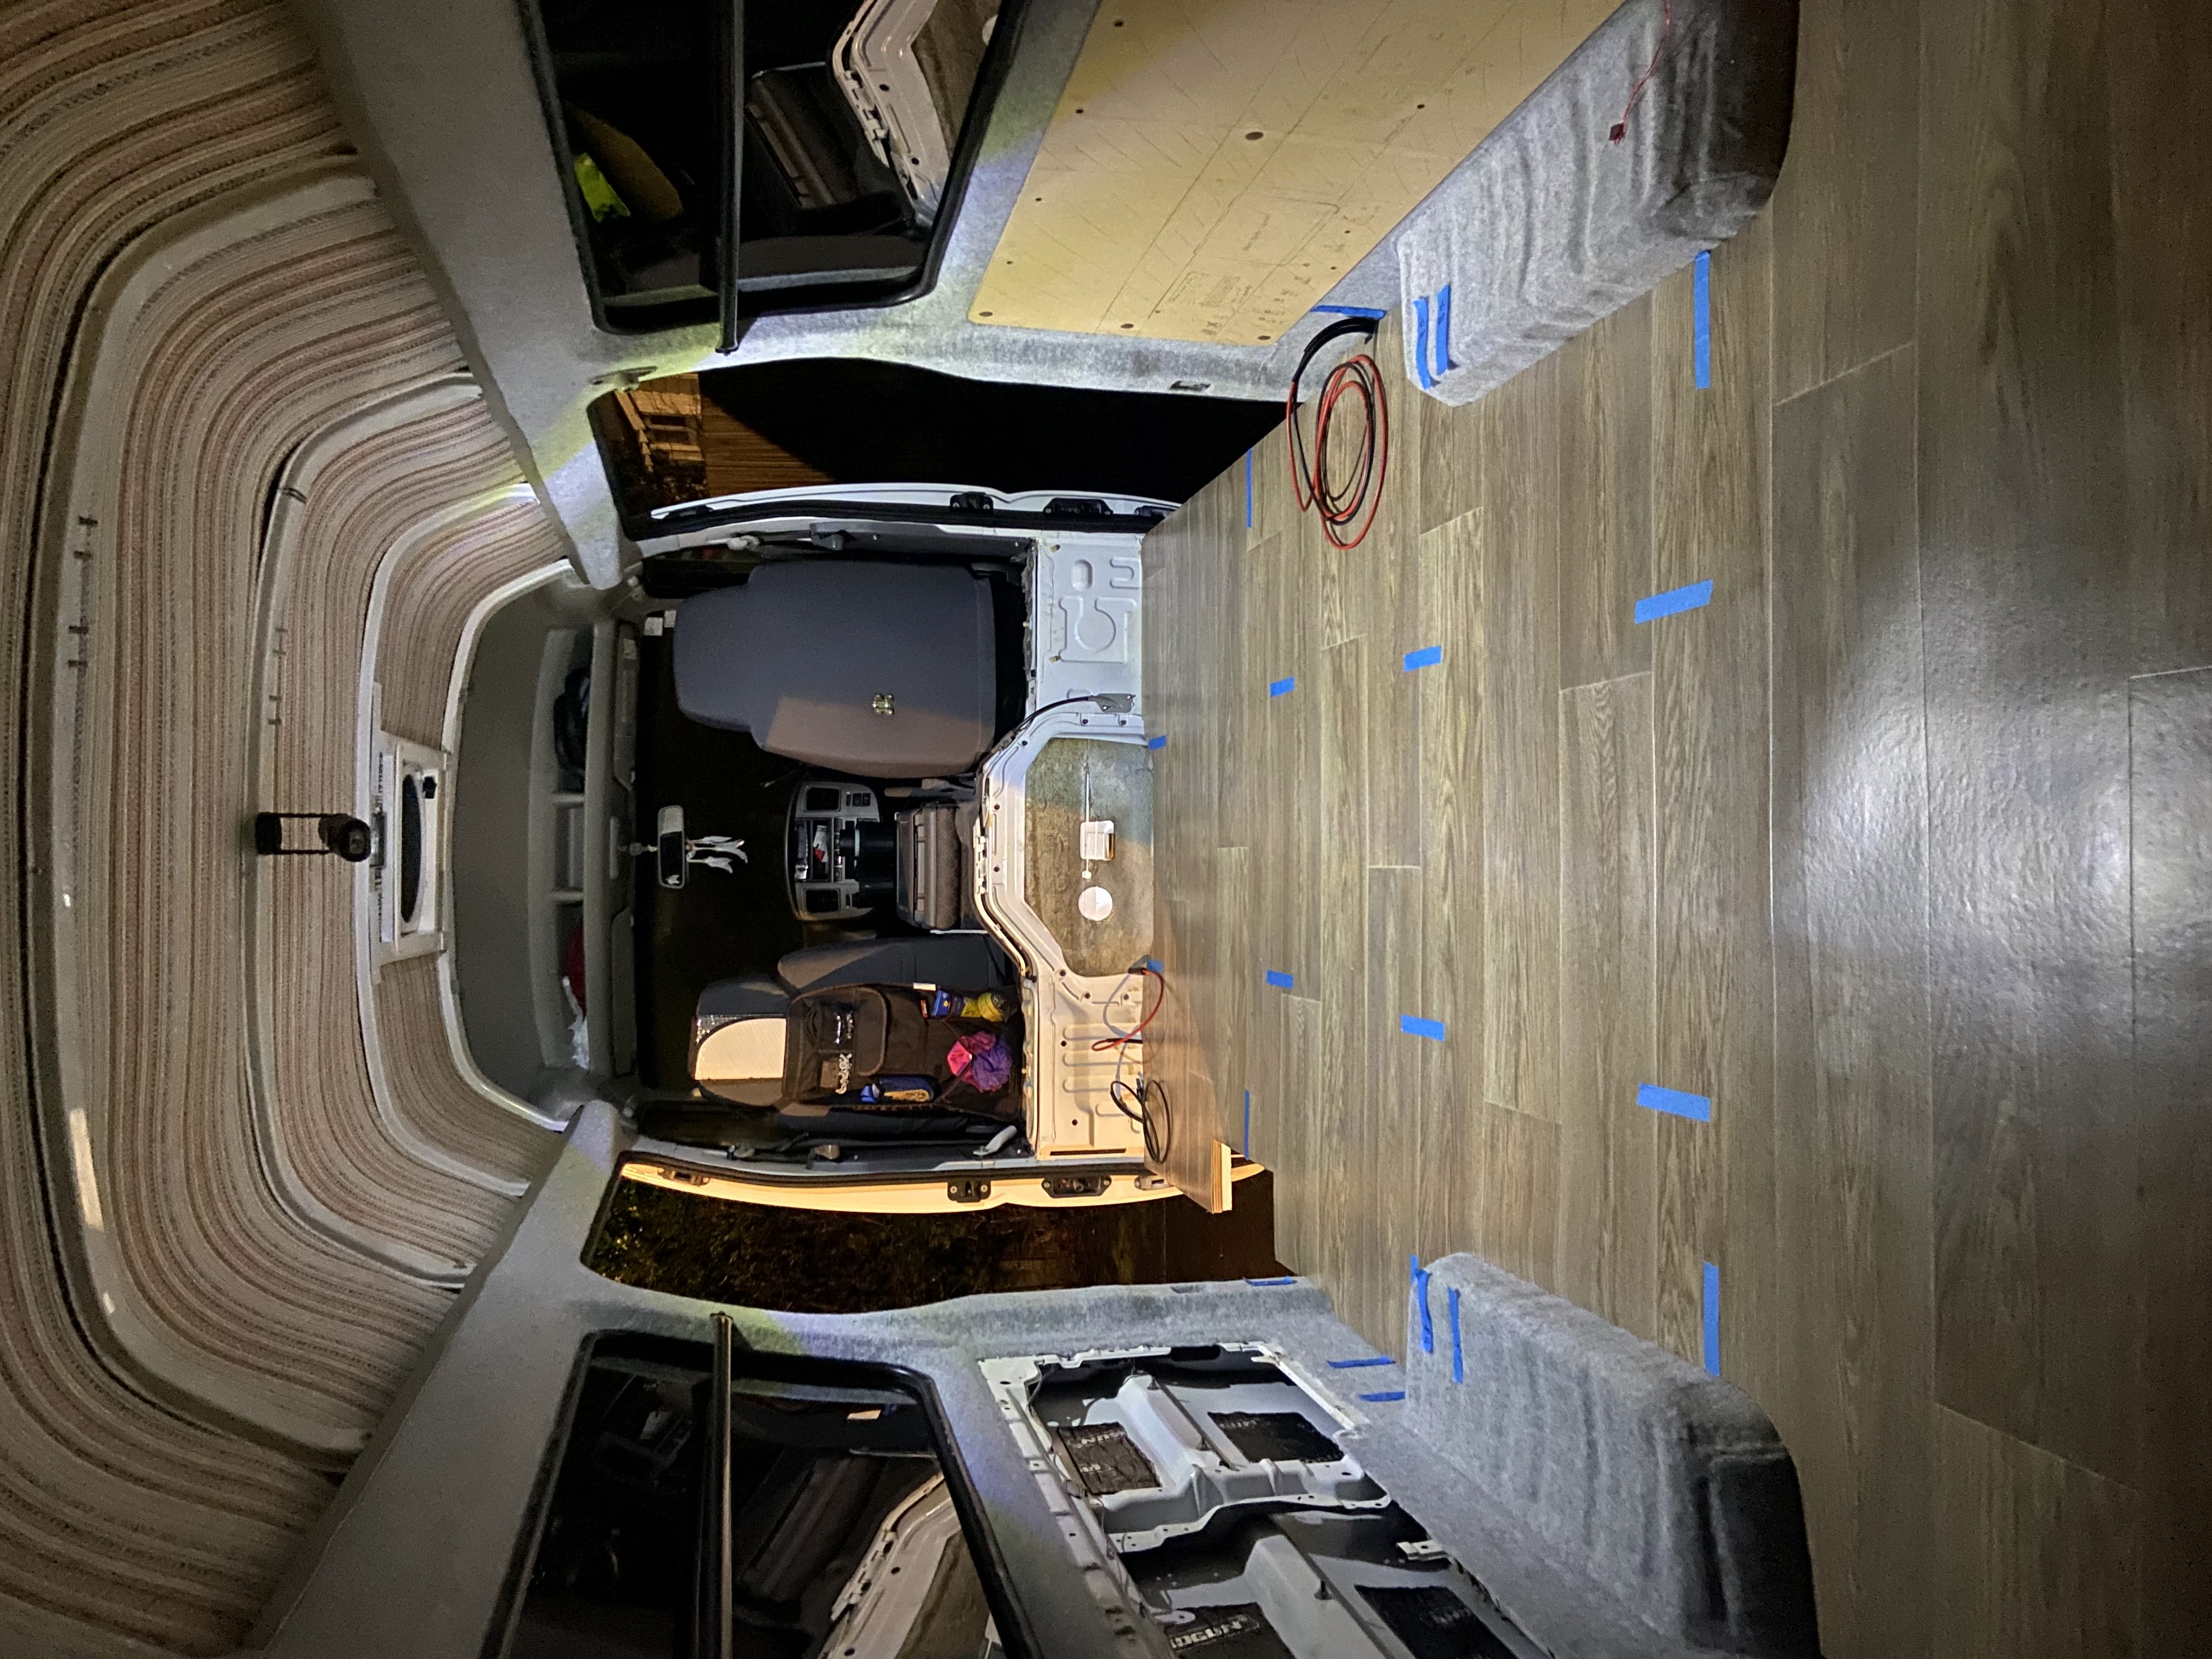
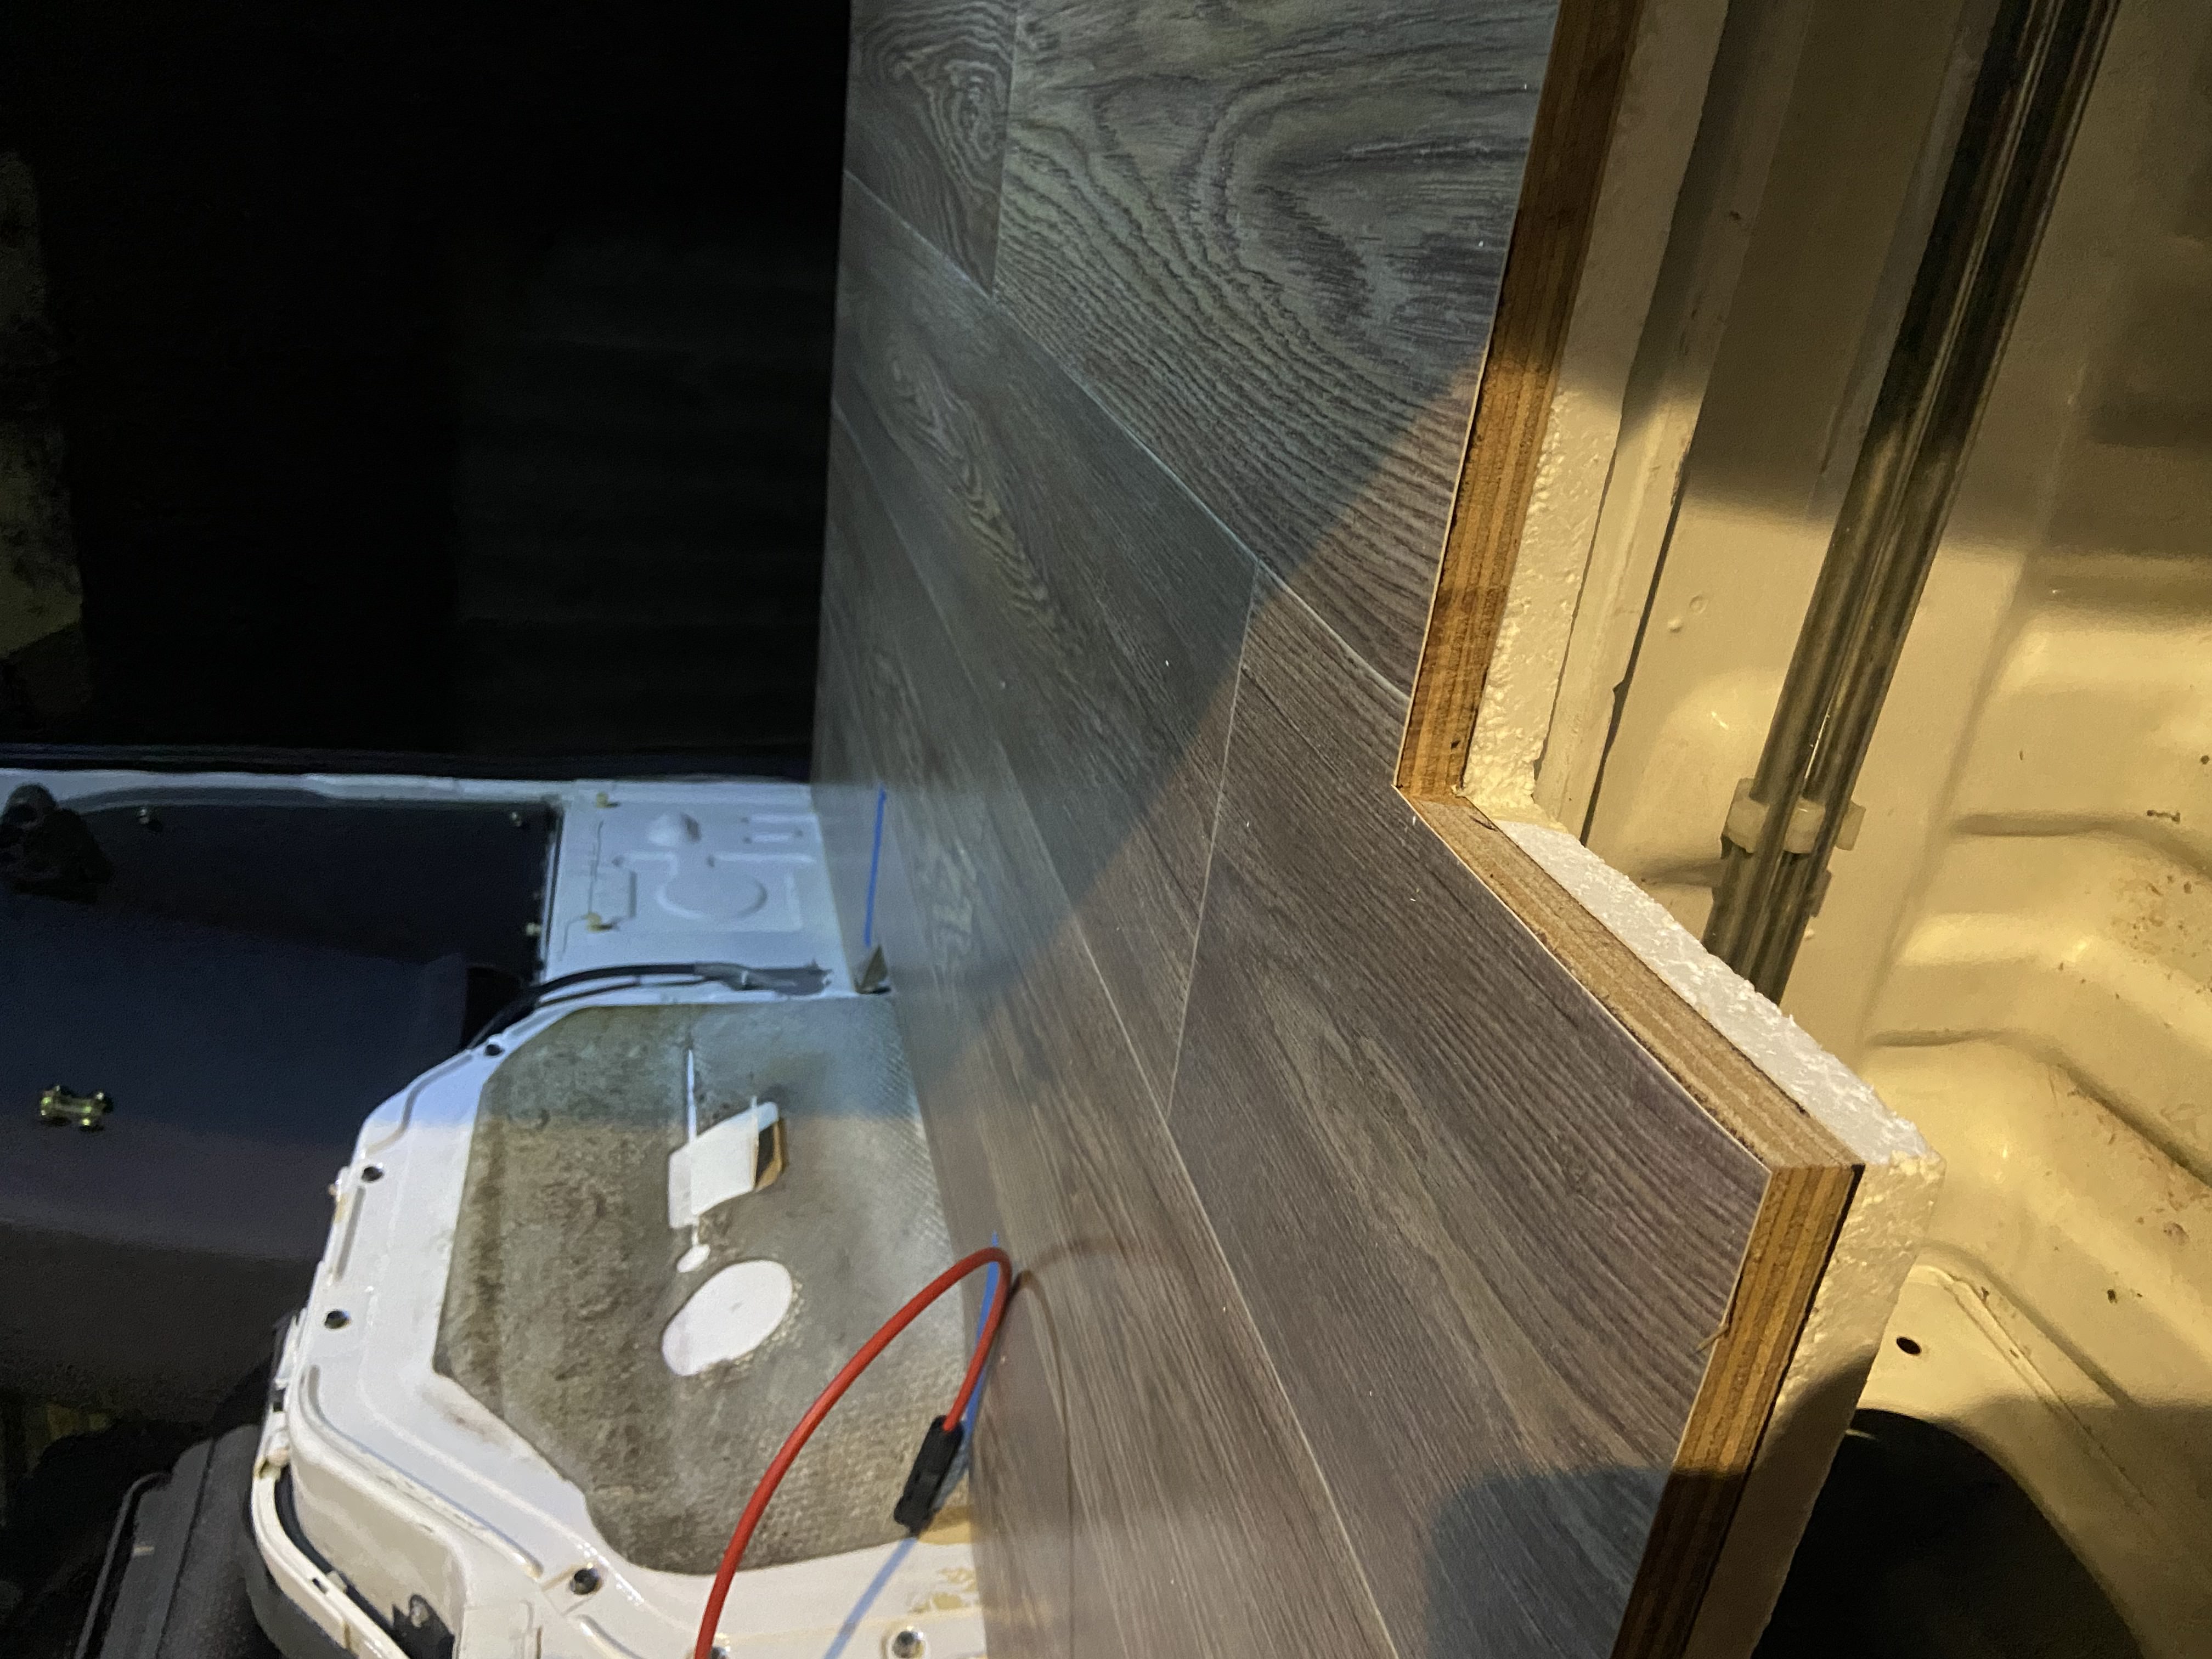
May 2023, after returning from holiday I started working on the floor. First step was preparing the floor for repainting to prevent any rust in the future. After painting, I was able to glue some wooden battens to the surface, which would be used to screw in the plywood boards. Next step was cutting the plywood to shape, followed by attaching 30mm polystyrene insulation to the underside. I had to route out some channels in some sections of the insulation to accommodate some cable conduits. Next step was to cut the vinyl flooring to shape. Once installed, I was then able to drill the holes through the floor required for the diesel heater intake and exhaust pipes.
Preparing the floor for painting:
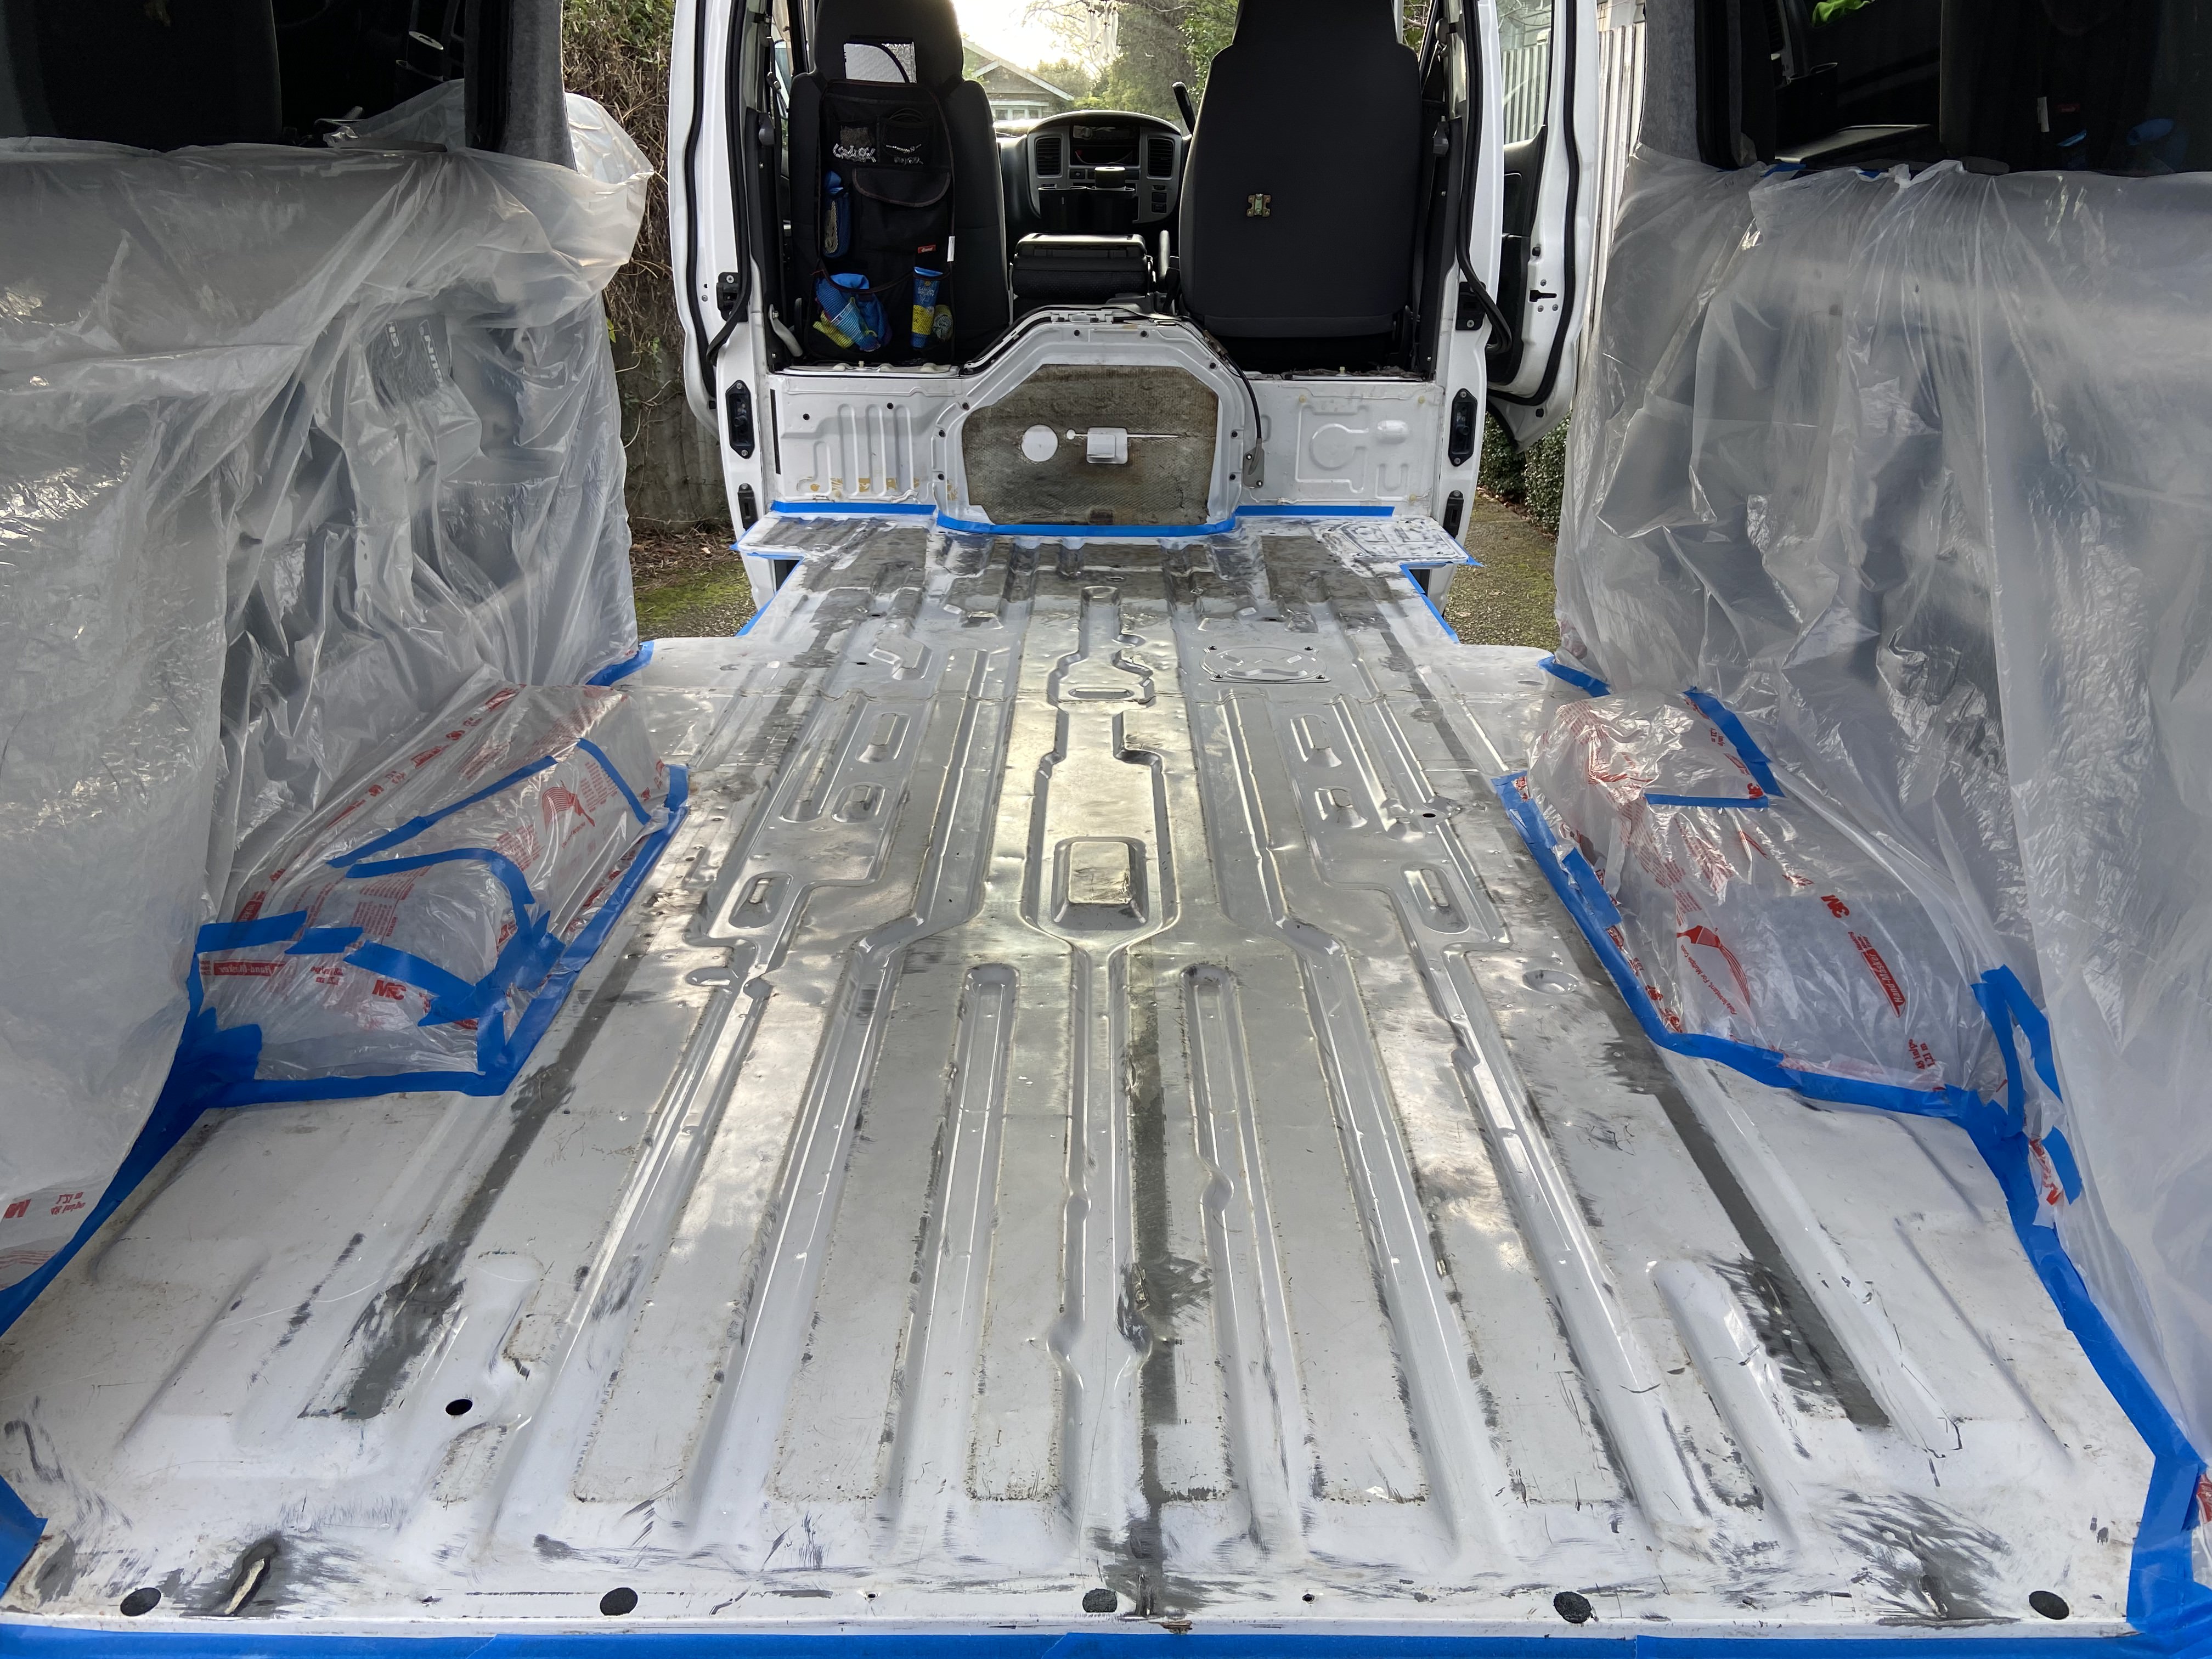
Freshly painted floor:
Installing floor batons:
Routing out space for cable conduits:
Cutting out vinyl flooring:
Installing plywood floor boards:
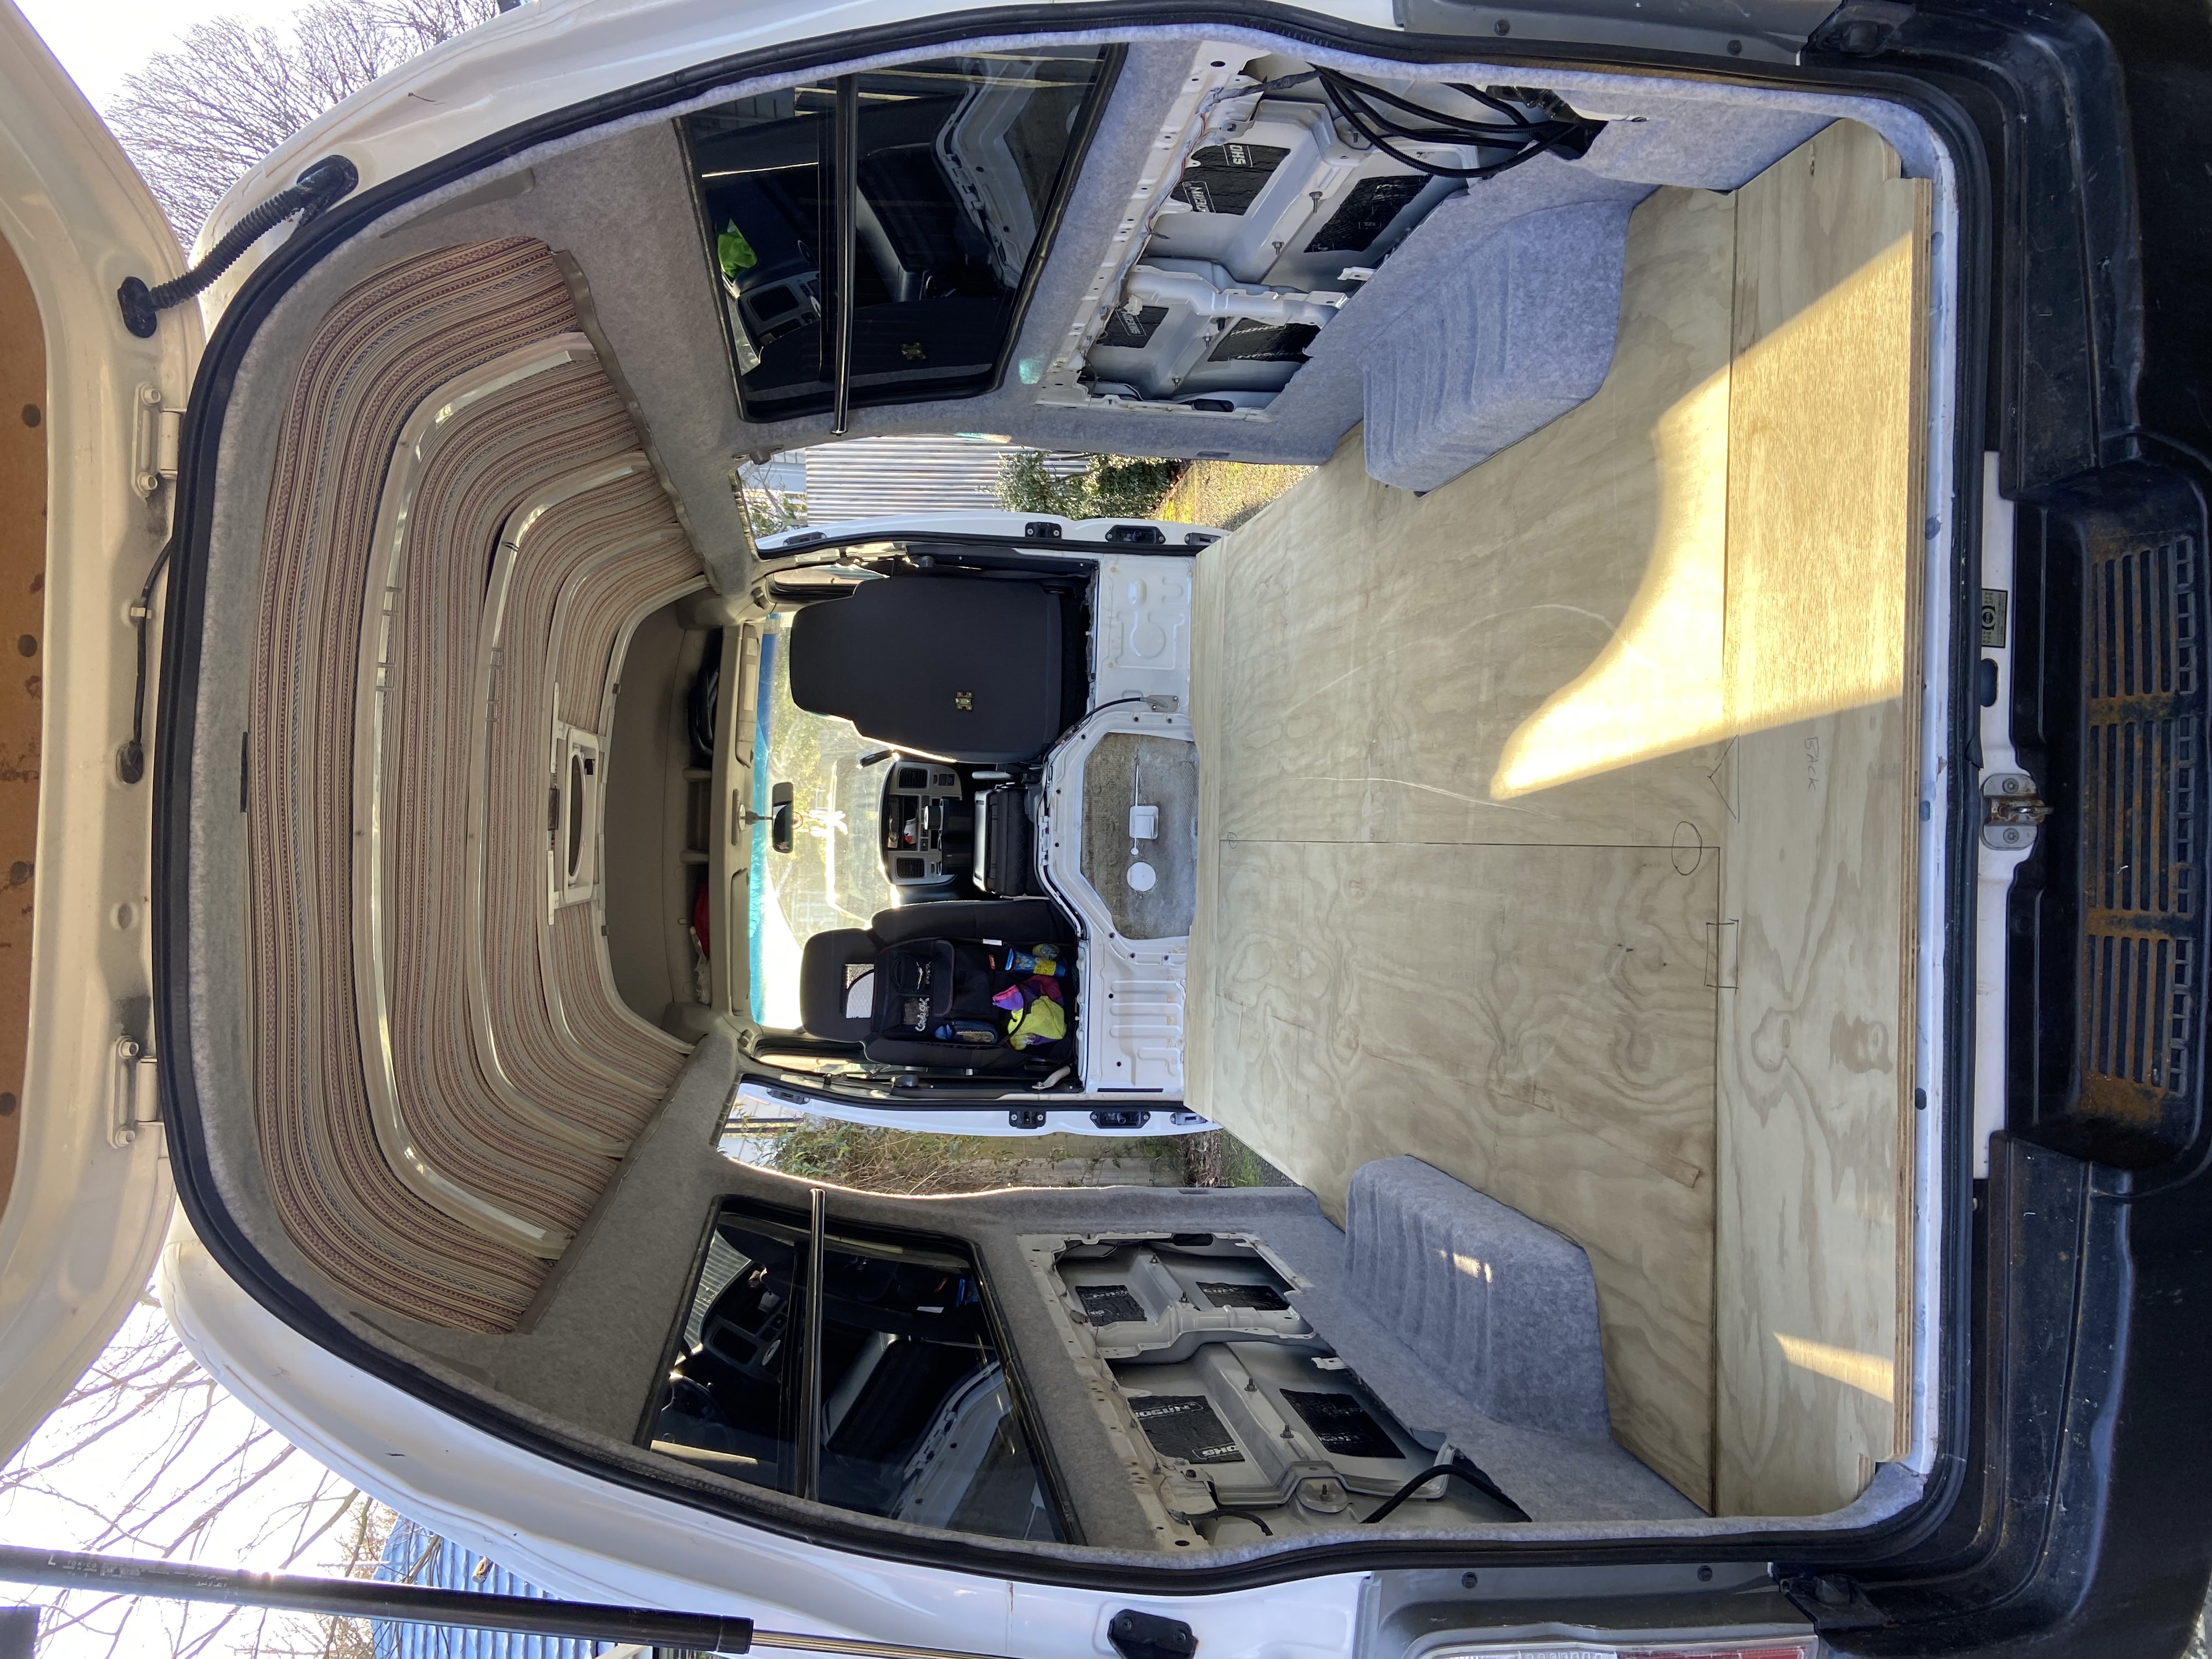
Finished floor:
Finished floor edge detail:
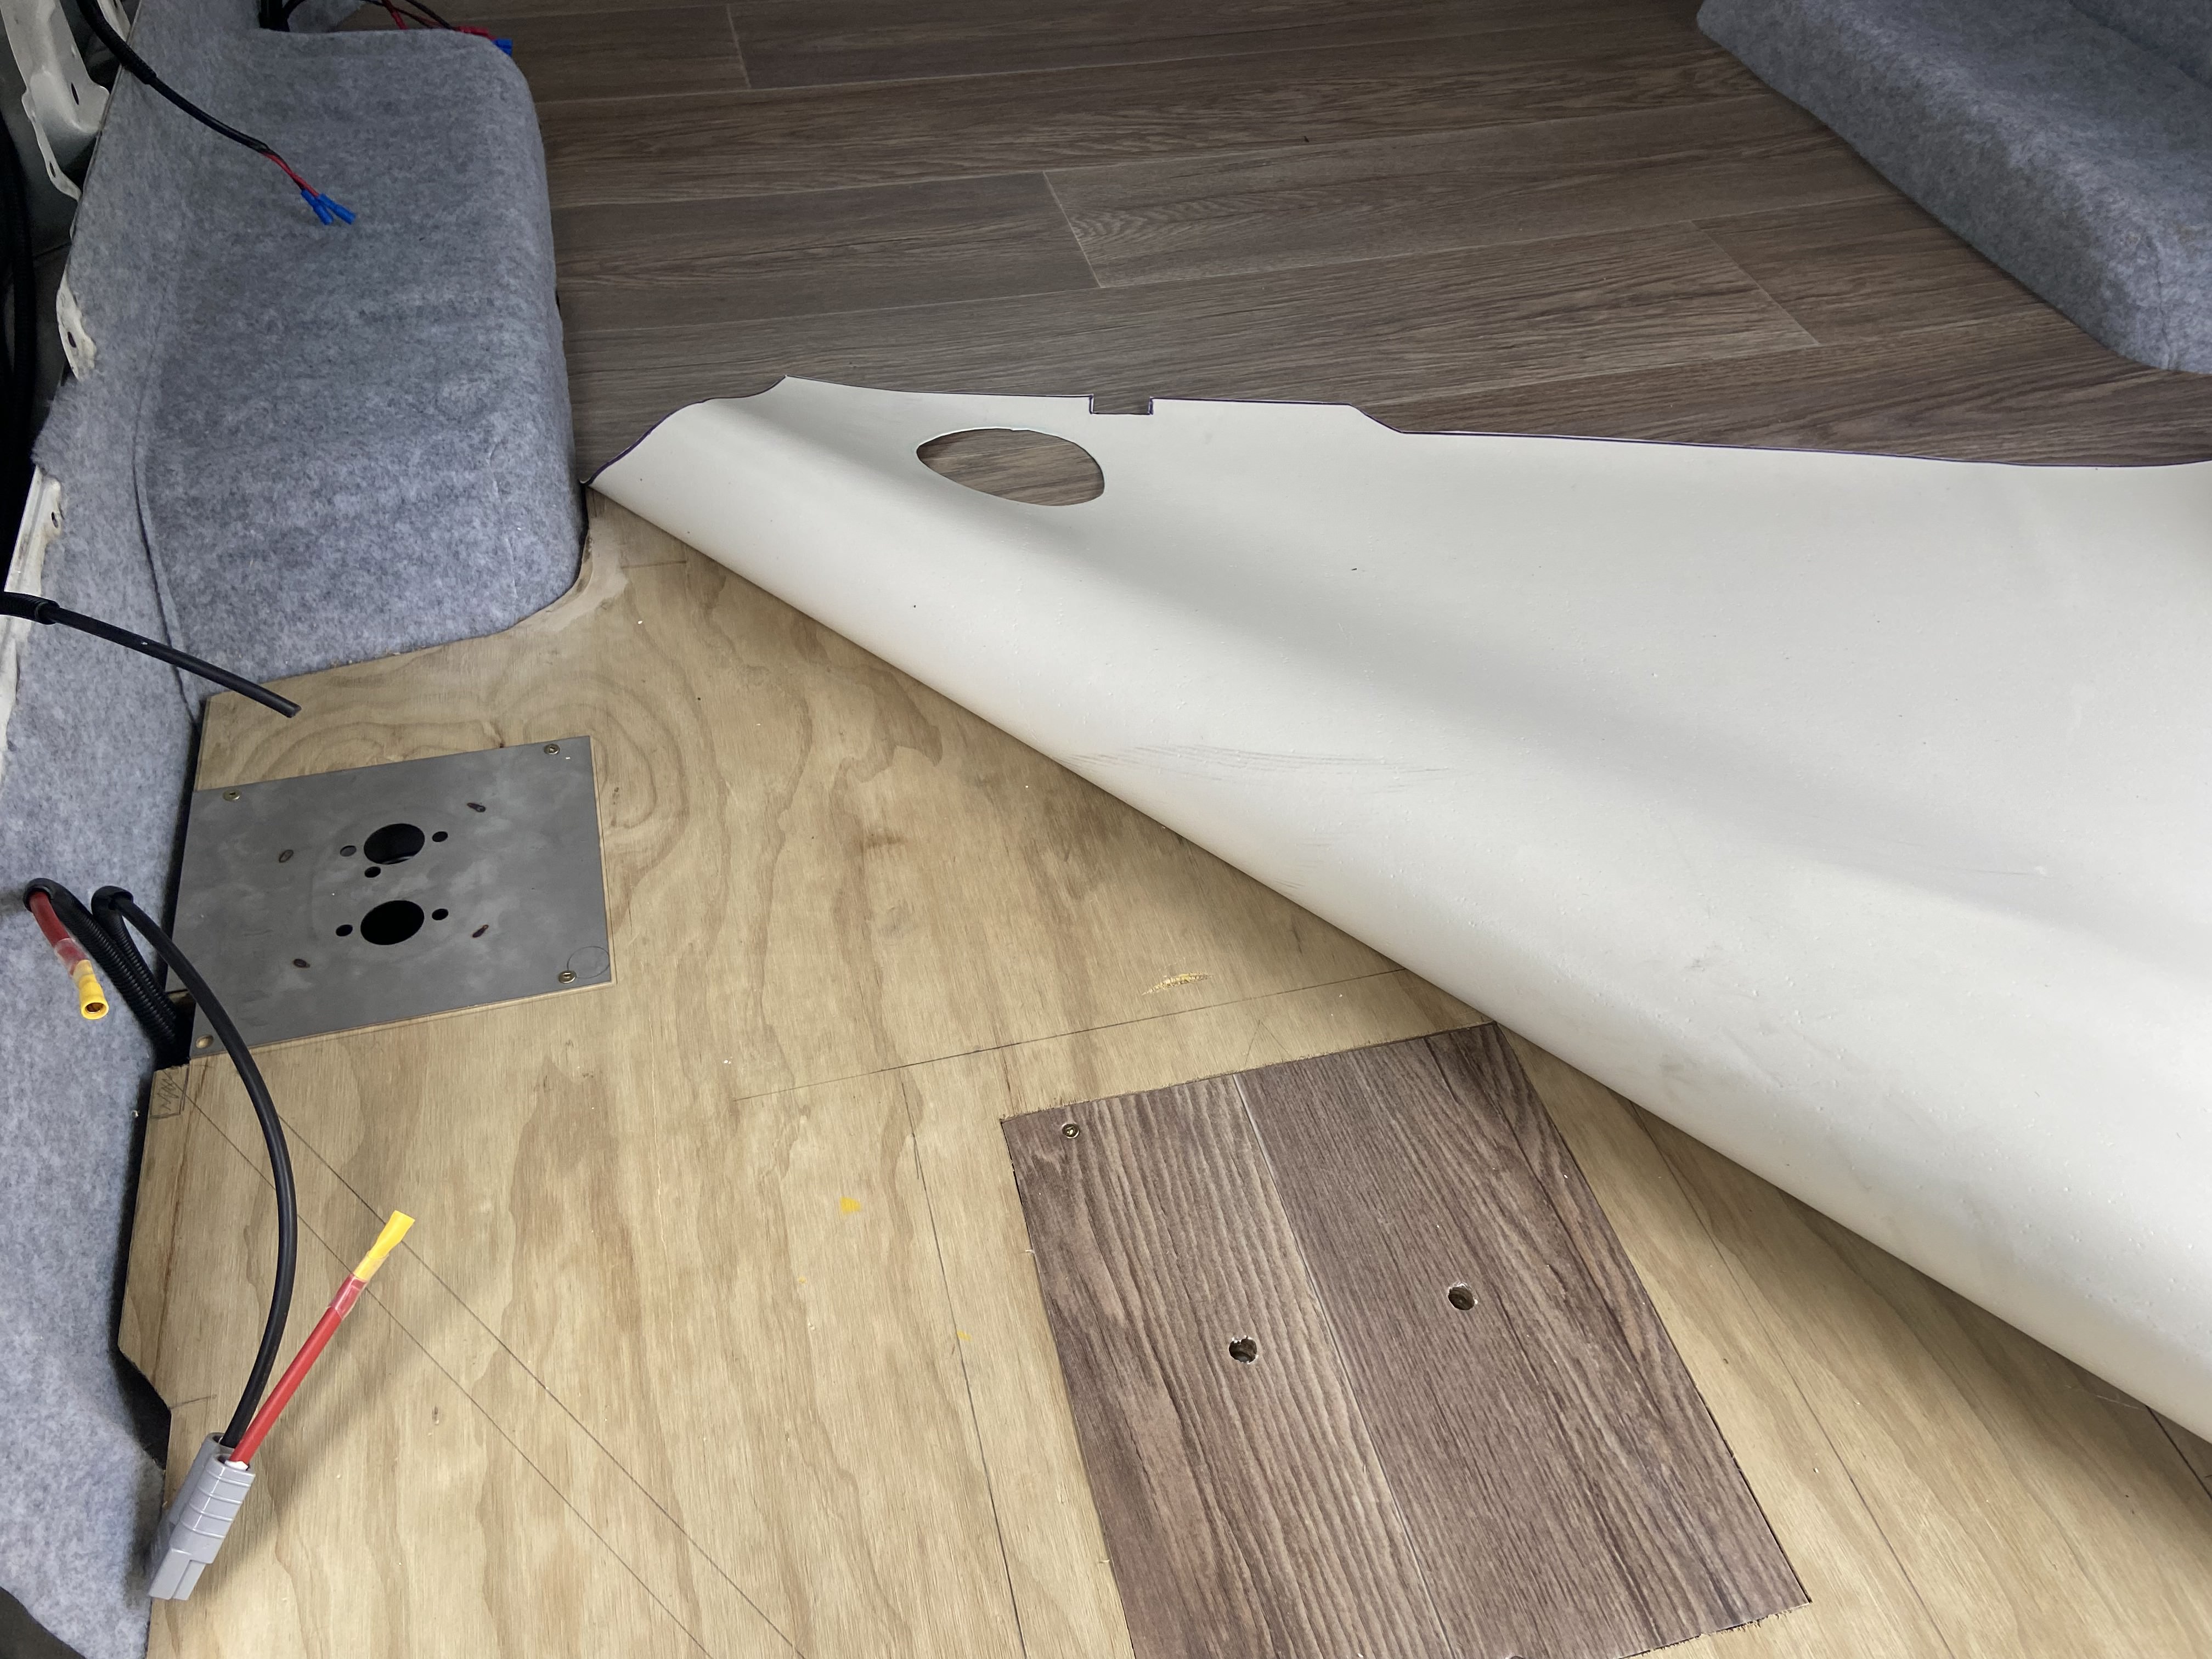
Drilling floor holes for diesel heater intake and exhaust: