Michael Fortune
Engineer & Maker
Campervan Build Diary
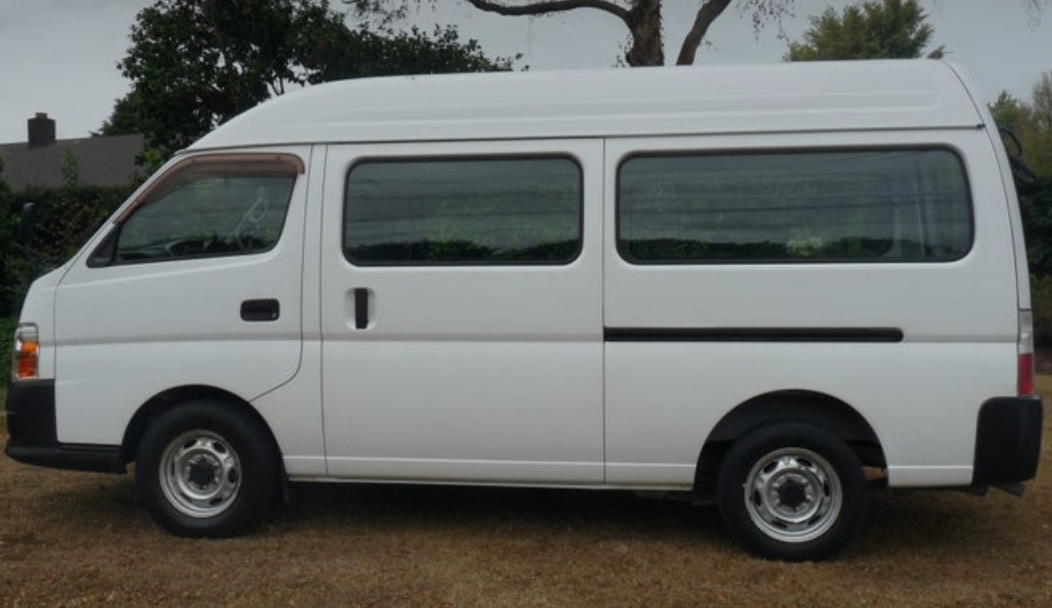
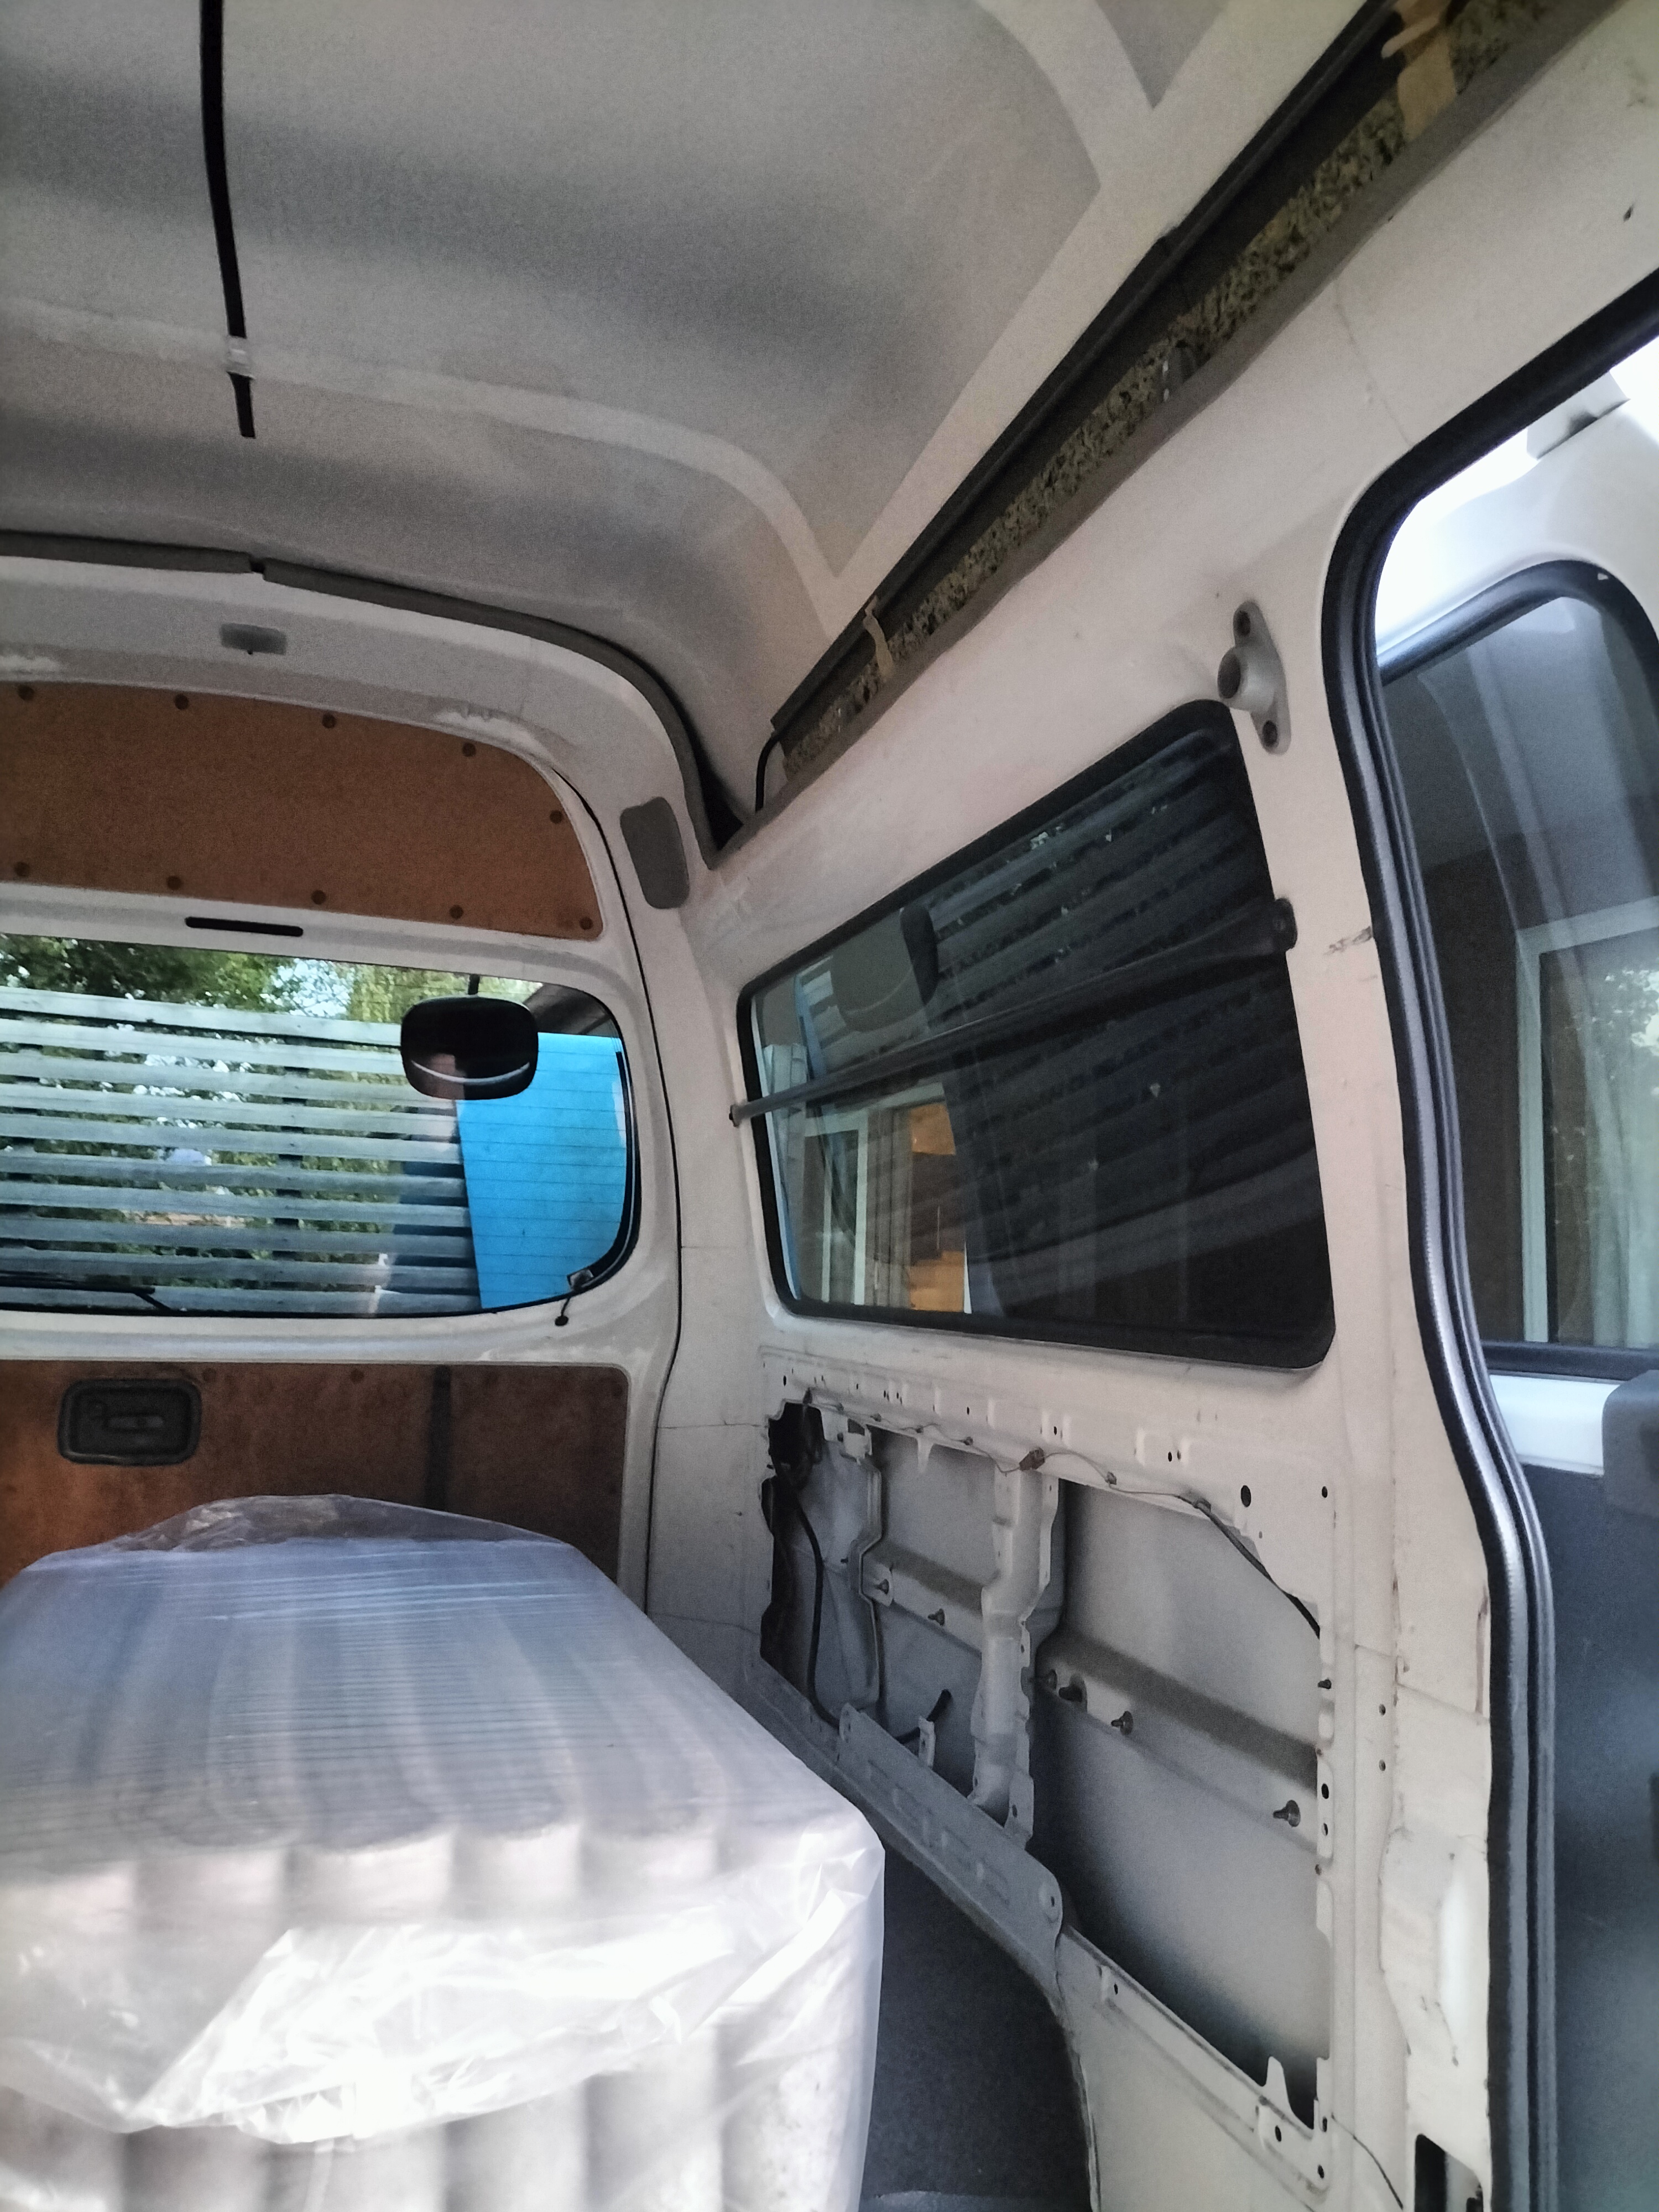
Empty Van
February 2023, I purchased the van from a dealer in Christchurch. It was previously a tradies van and had never been used as a campervan before.
Outside
Inside
Design Snippets
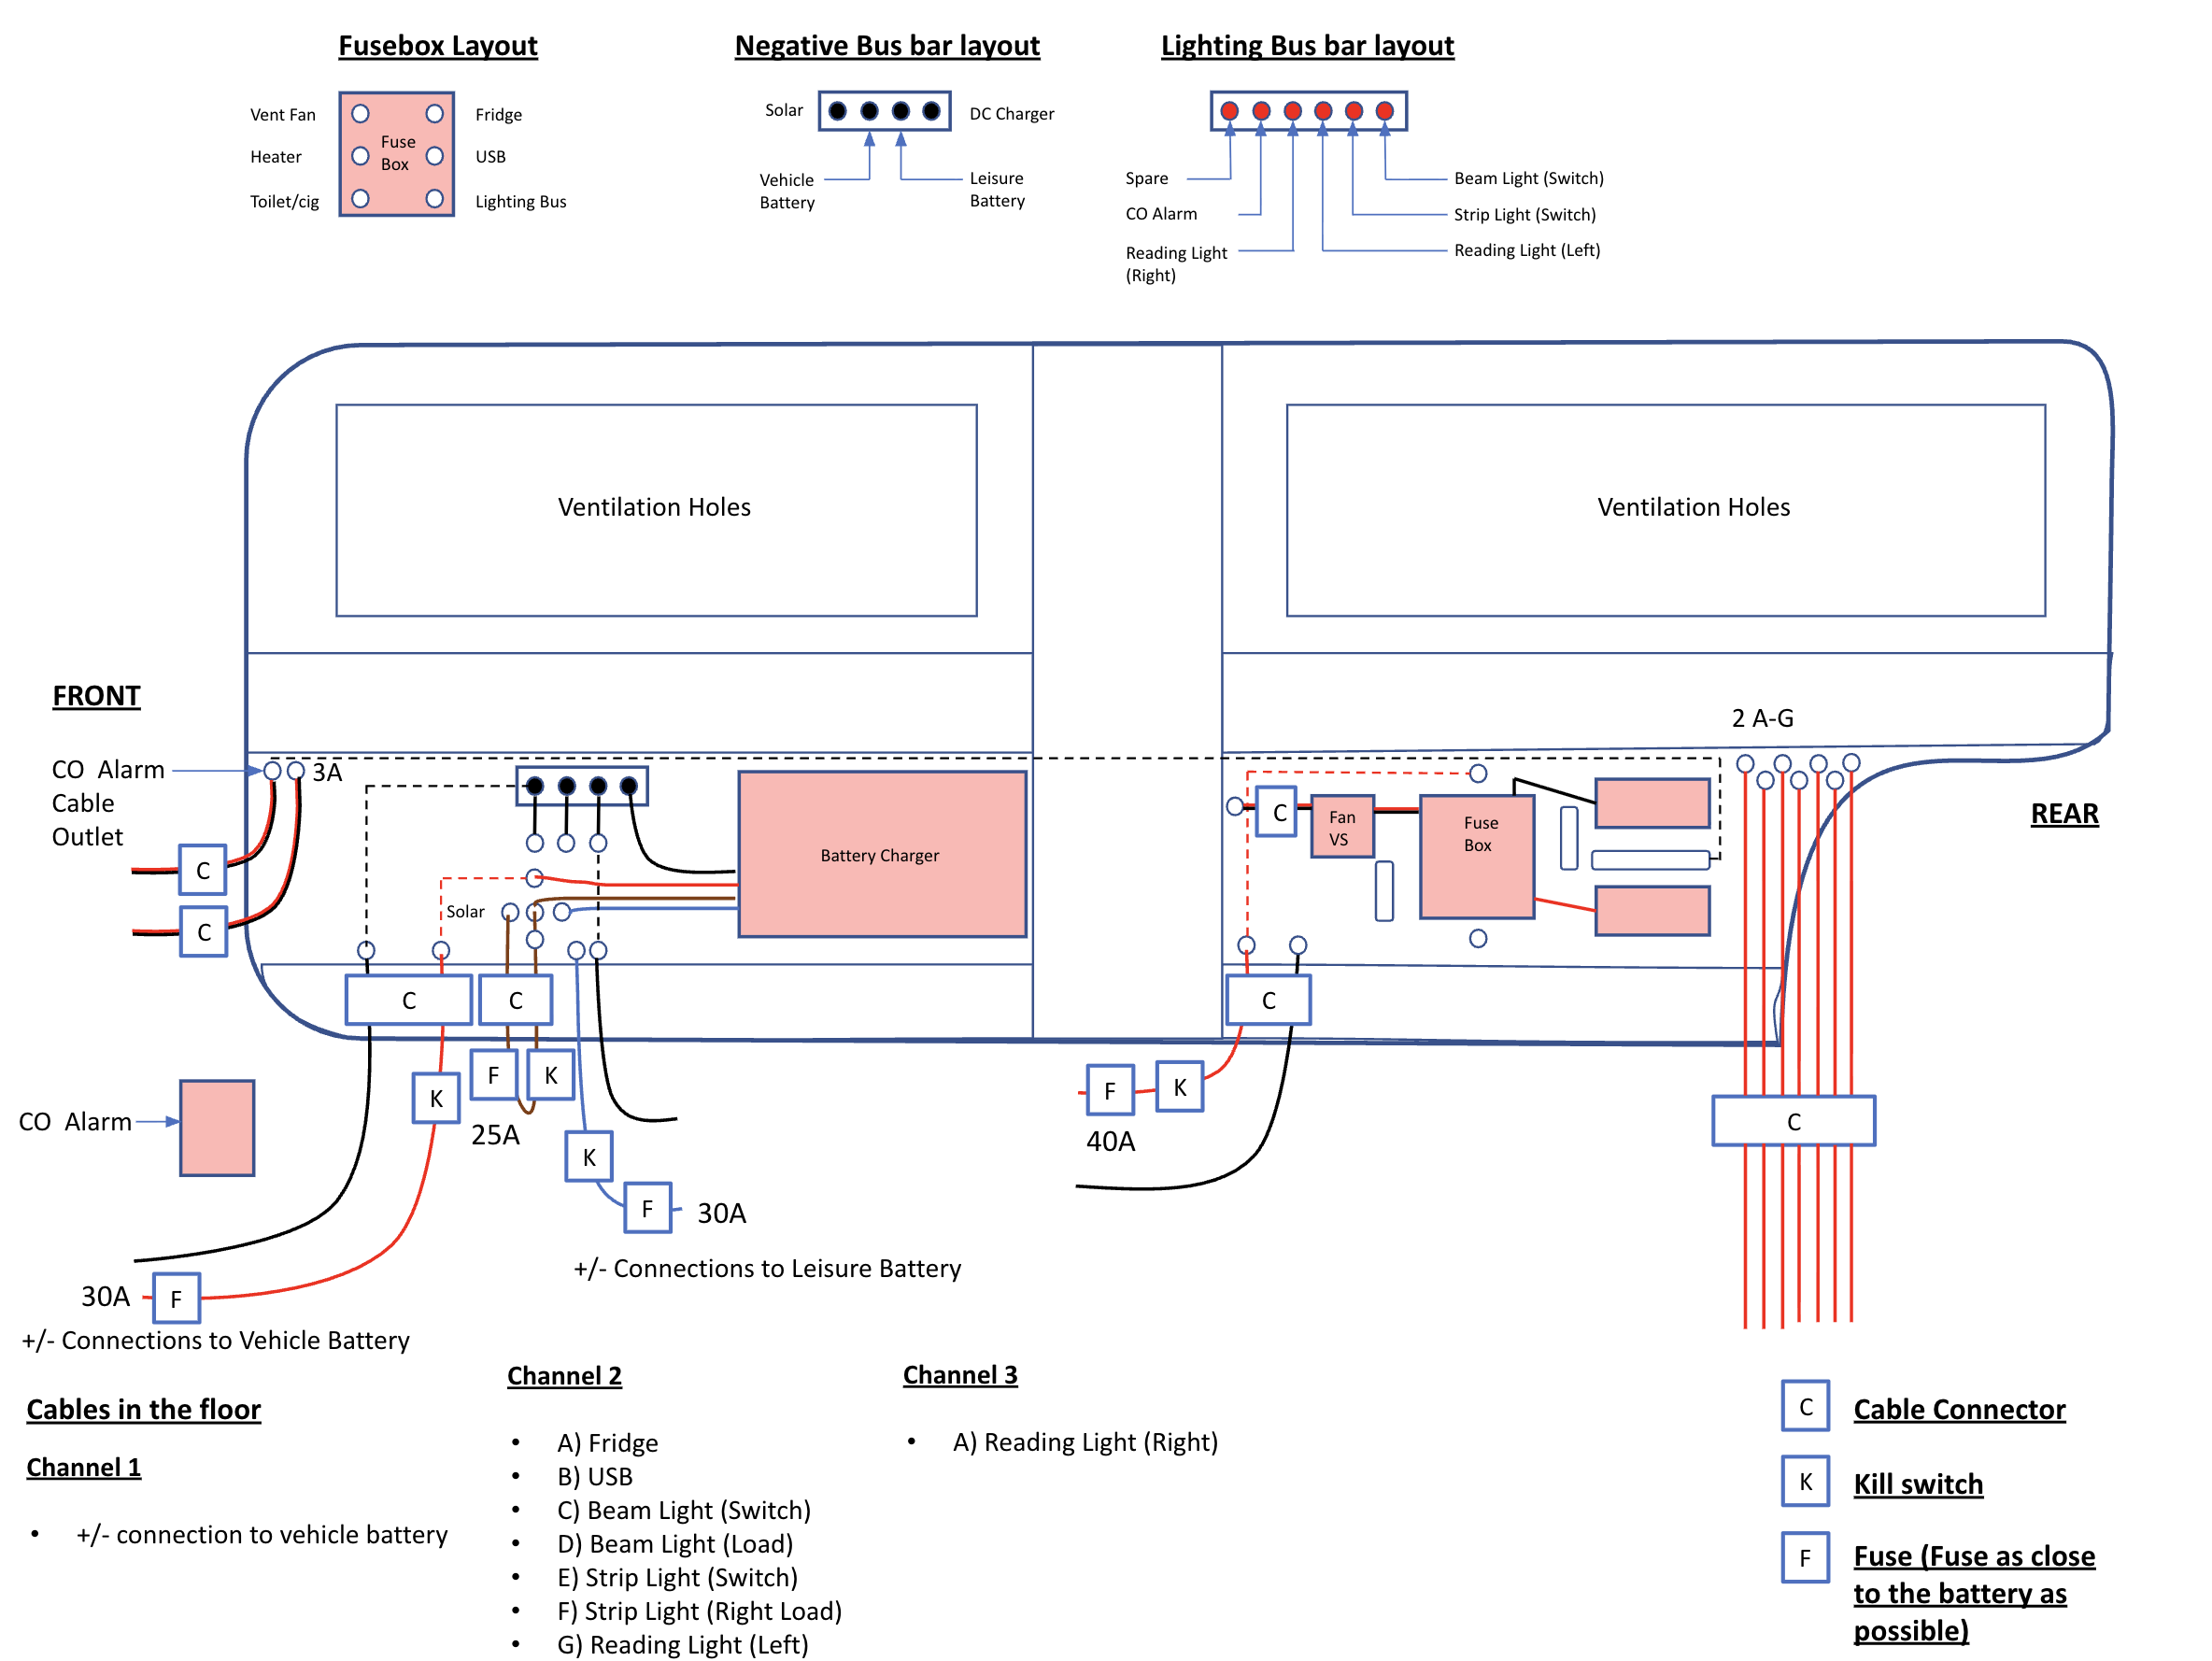
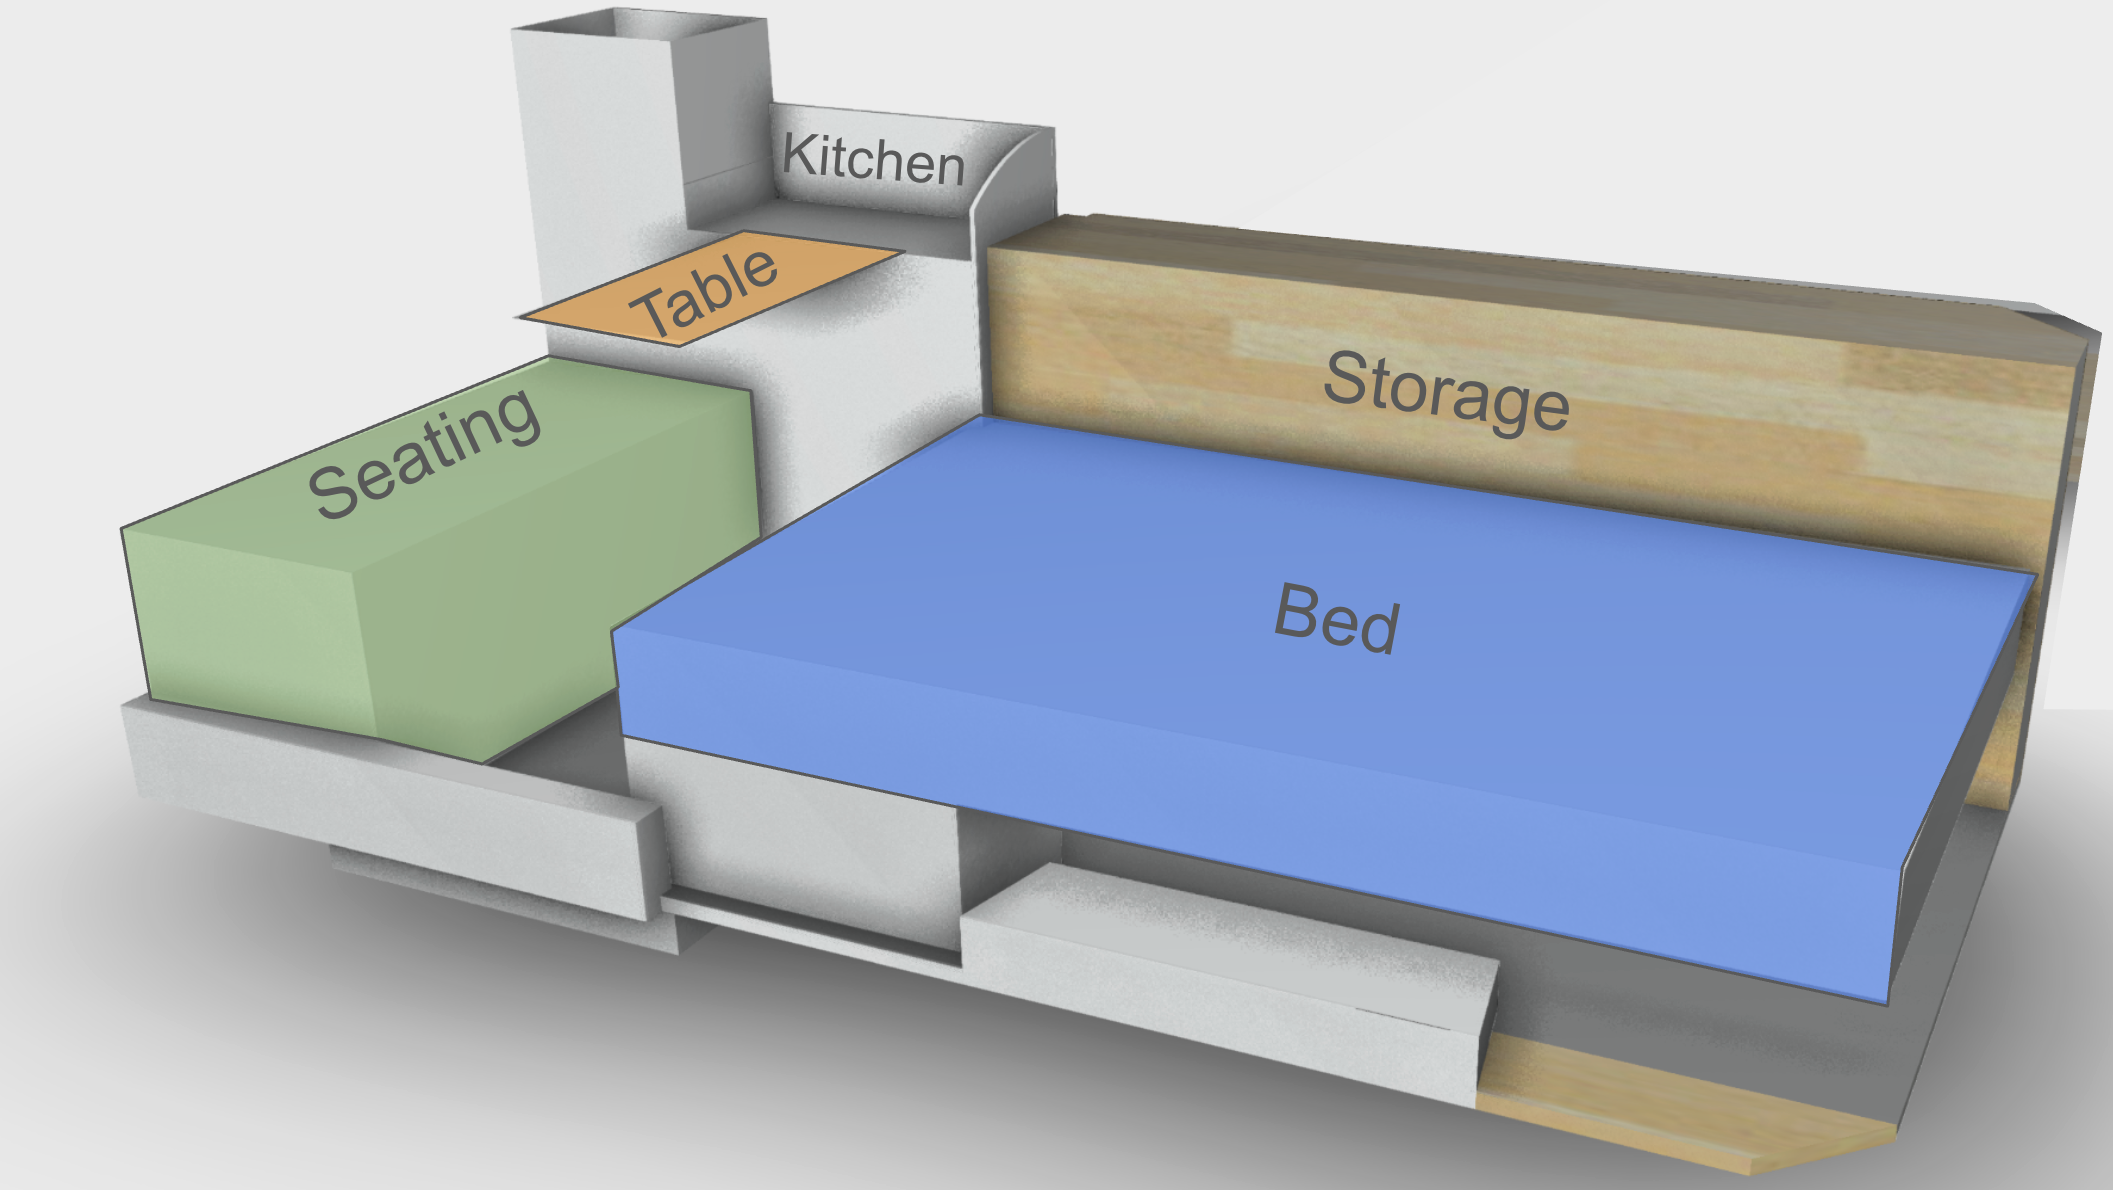
Here’s a few examples of the CAD work I did before starting the build. Schematic was made in Powerpoint and the 3D model (to scale) in Google Sketchup.
Electrical Schematic
Google Sketch-up Layout
Build
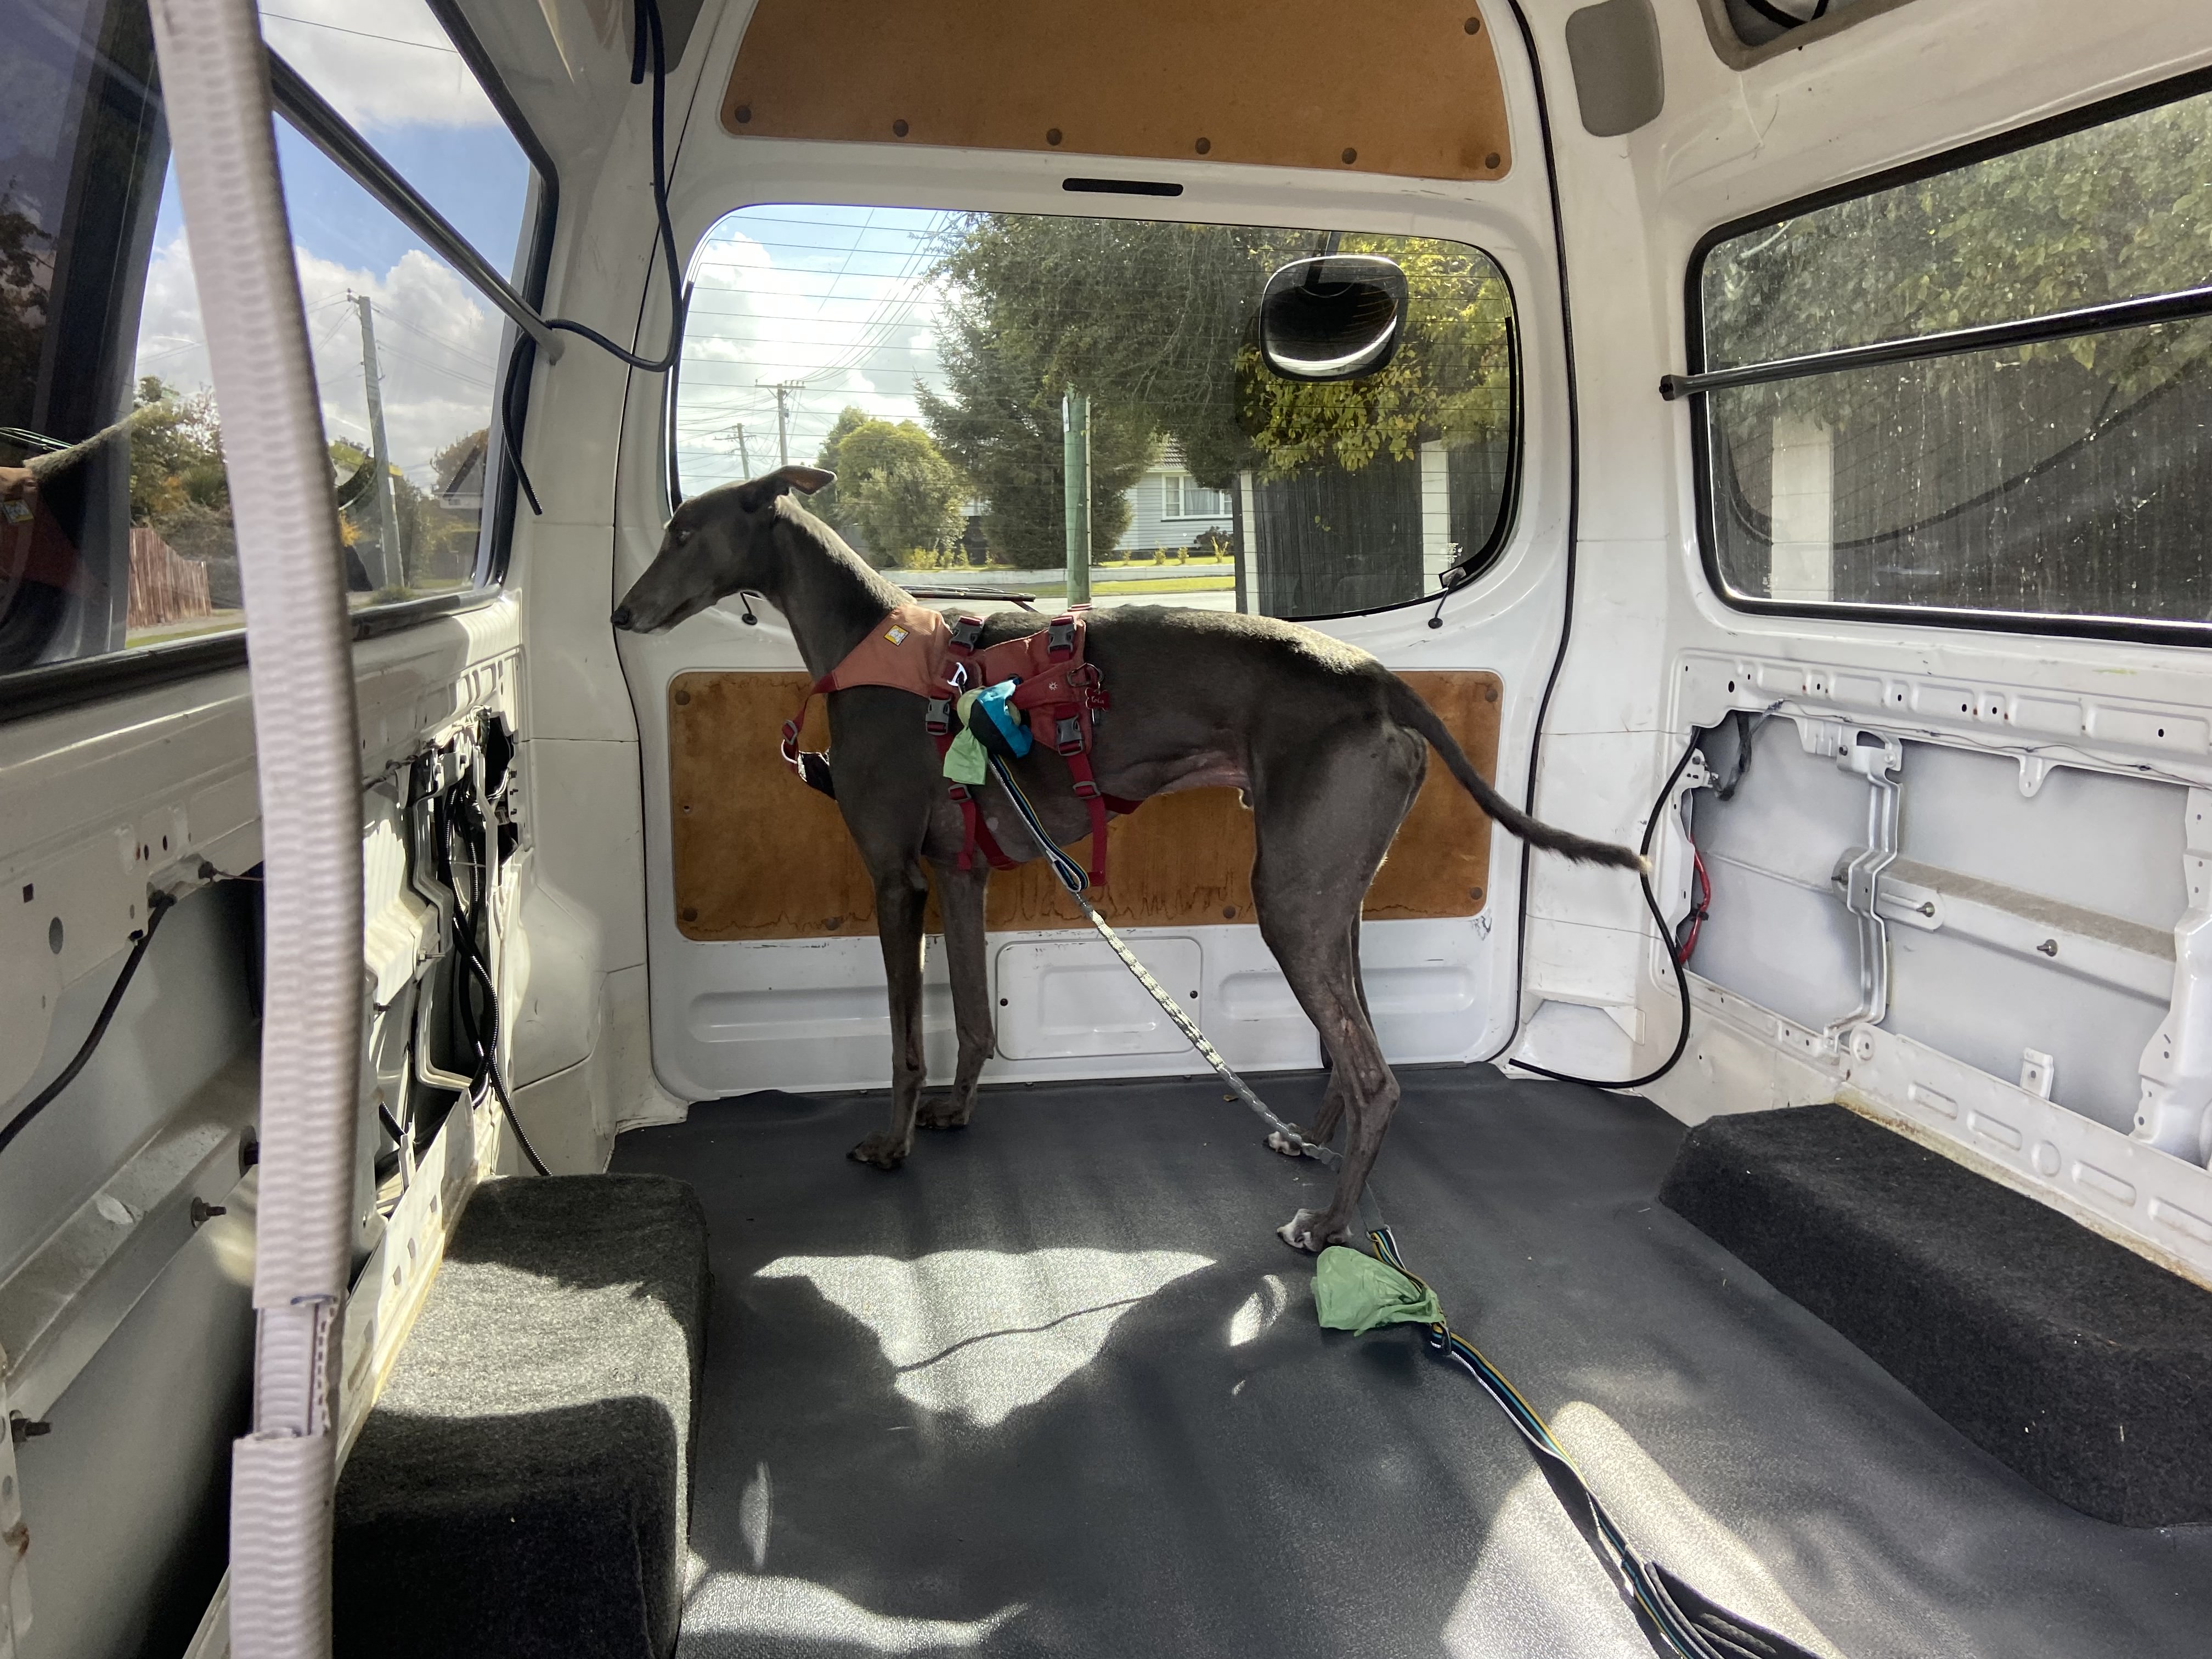
I had some help with the build aspects of the project. Mostly from this guy 😀
Quality Control Inspector
Roof
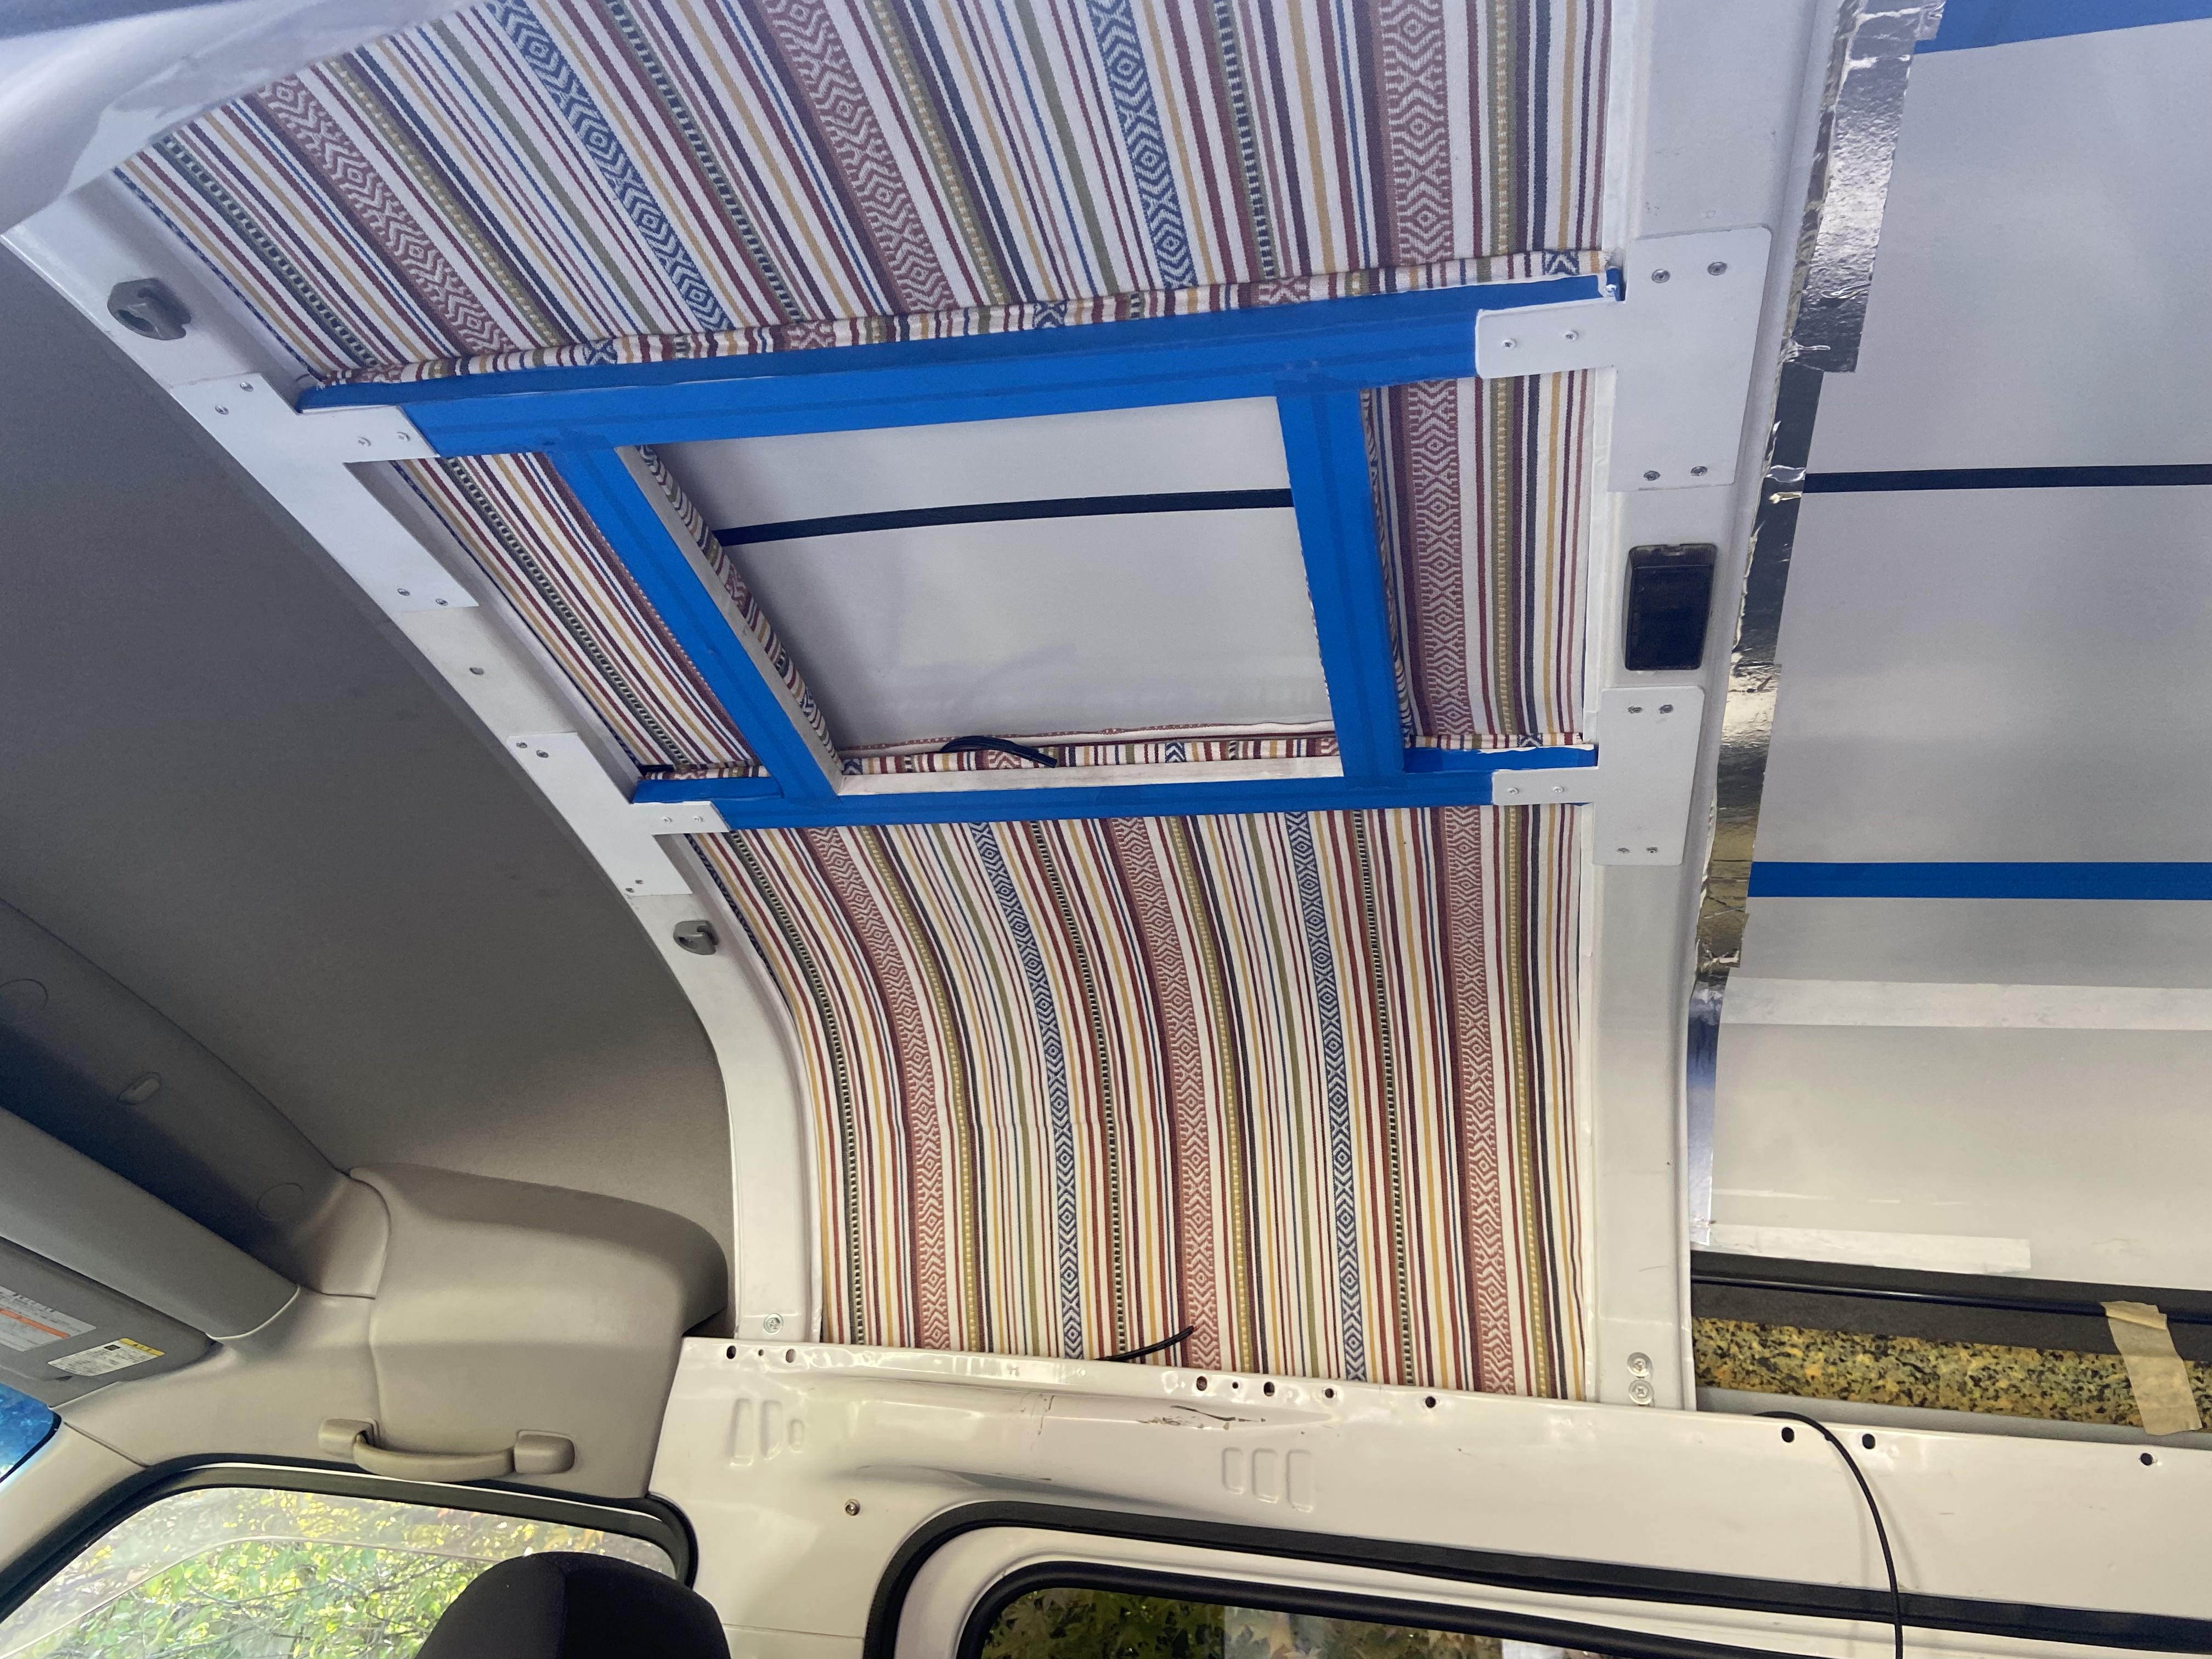
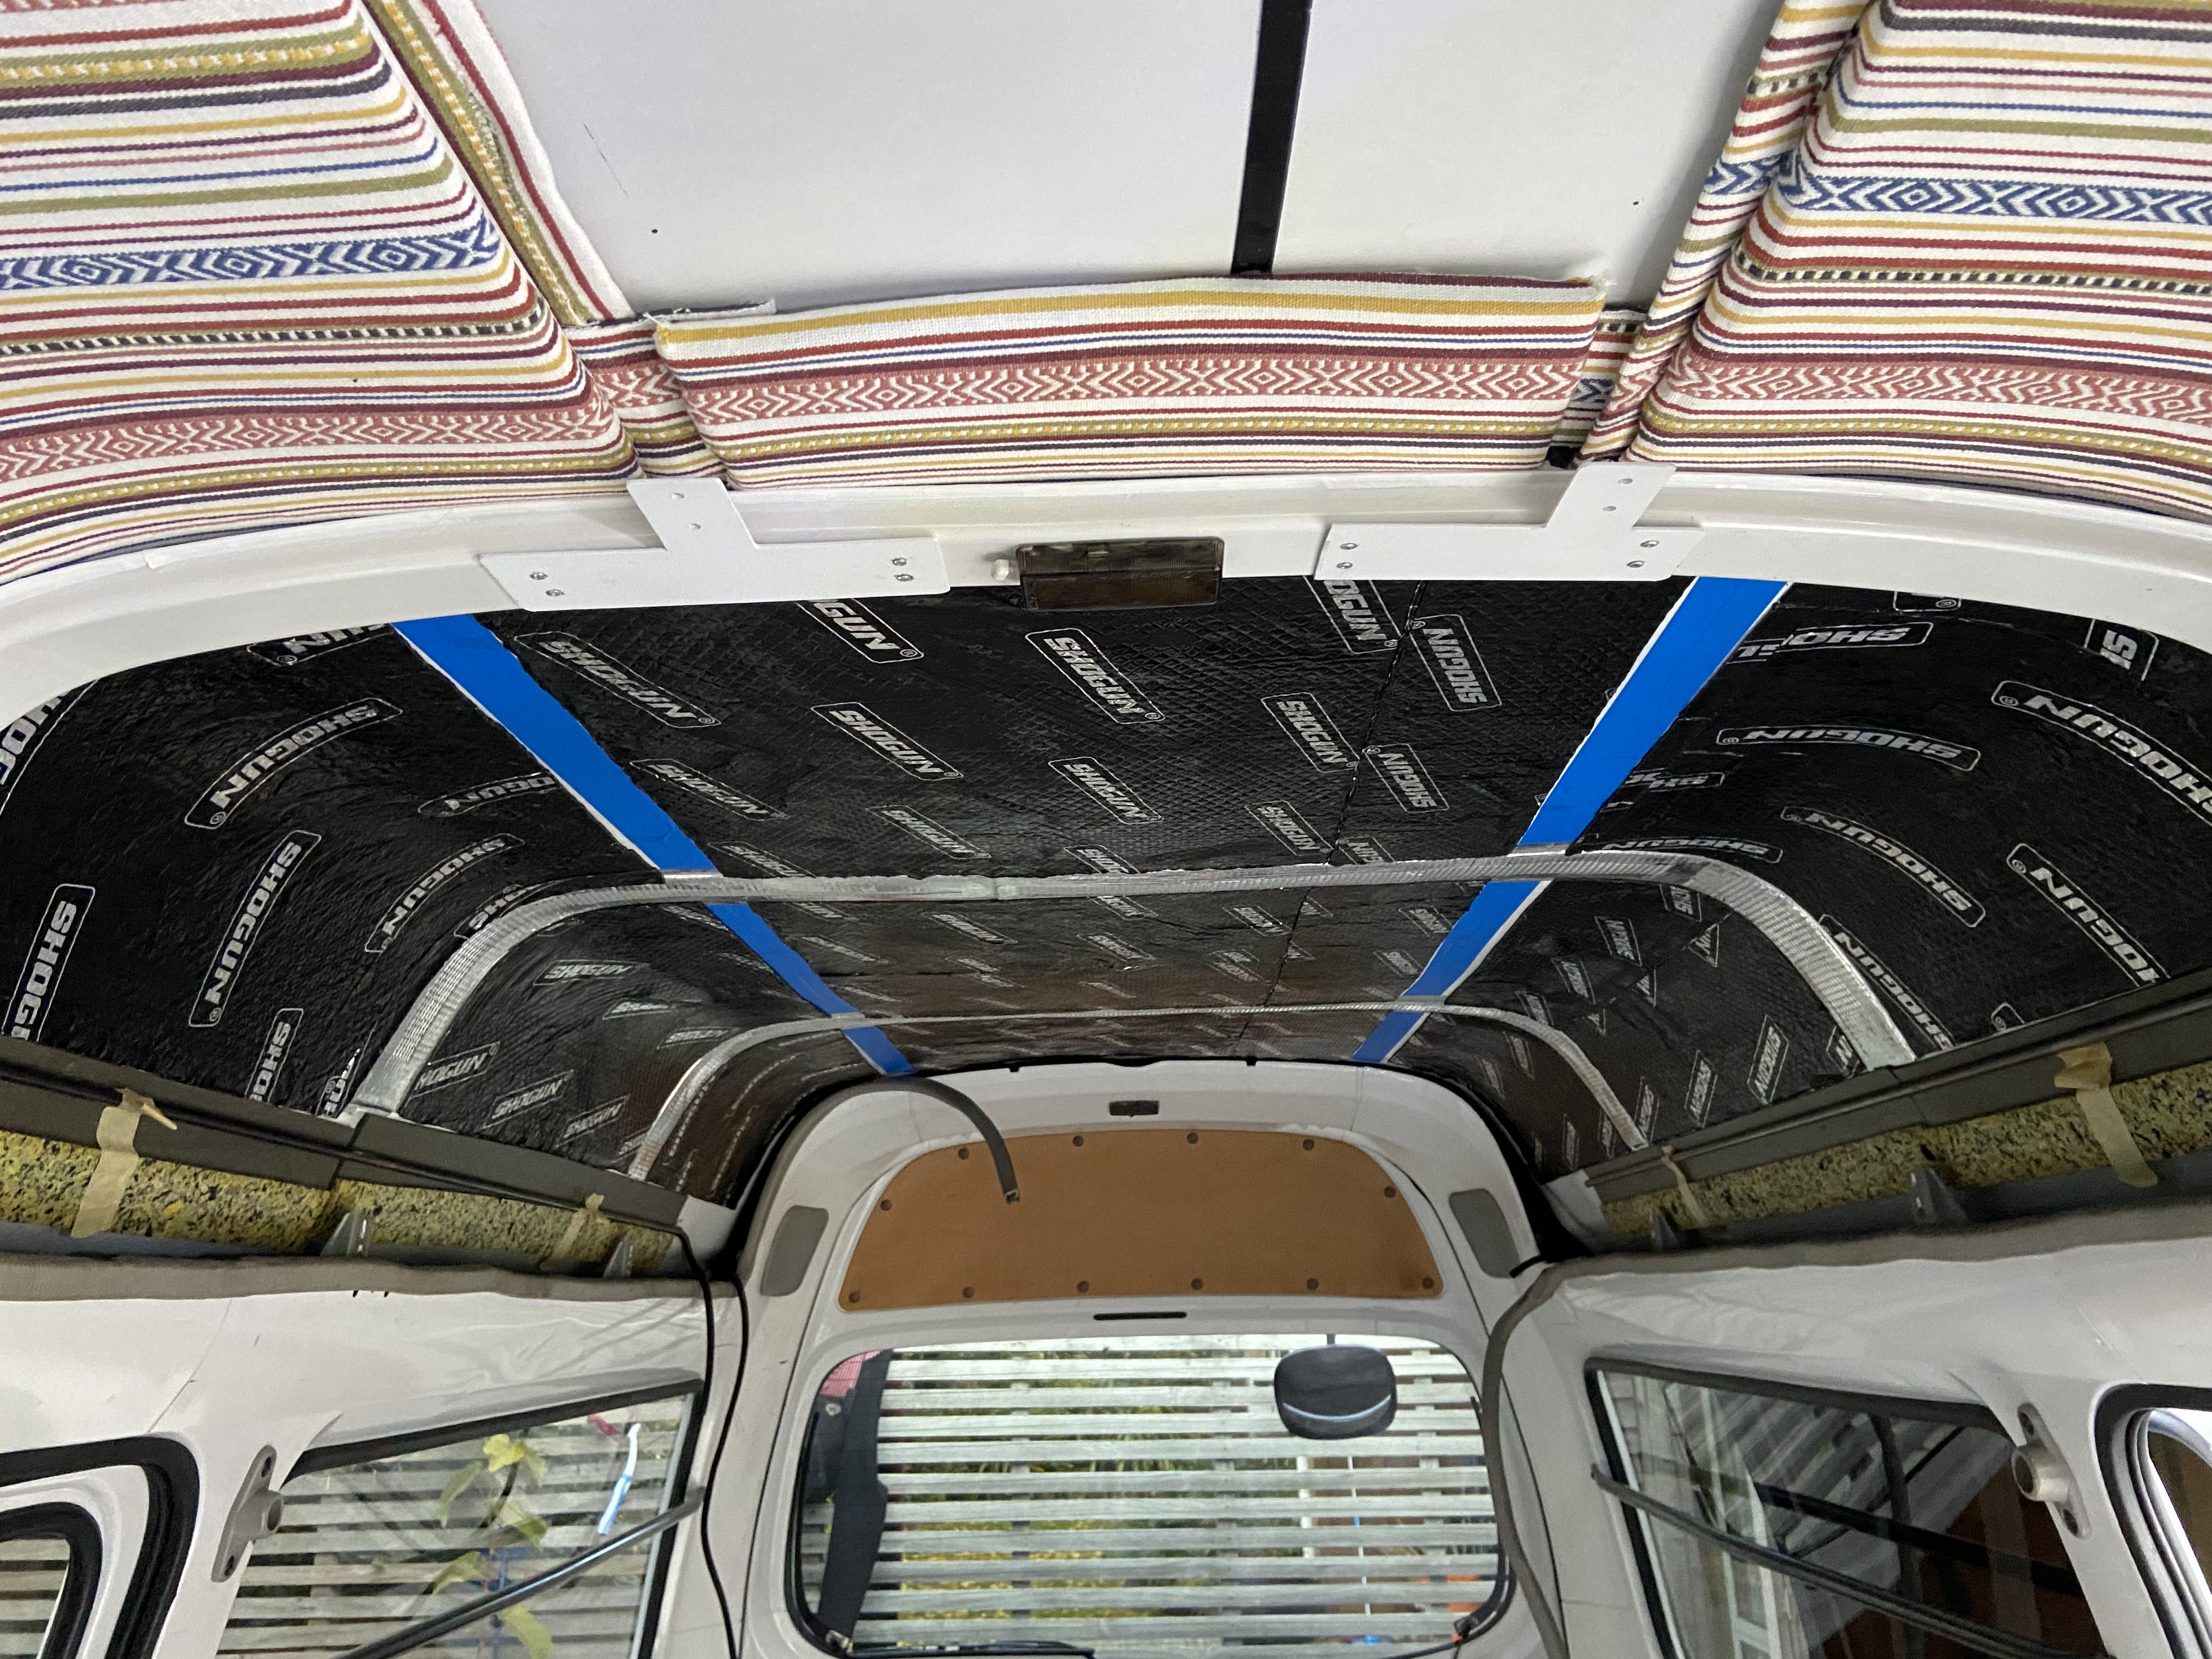
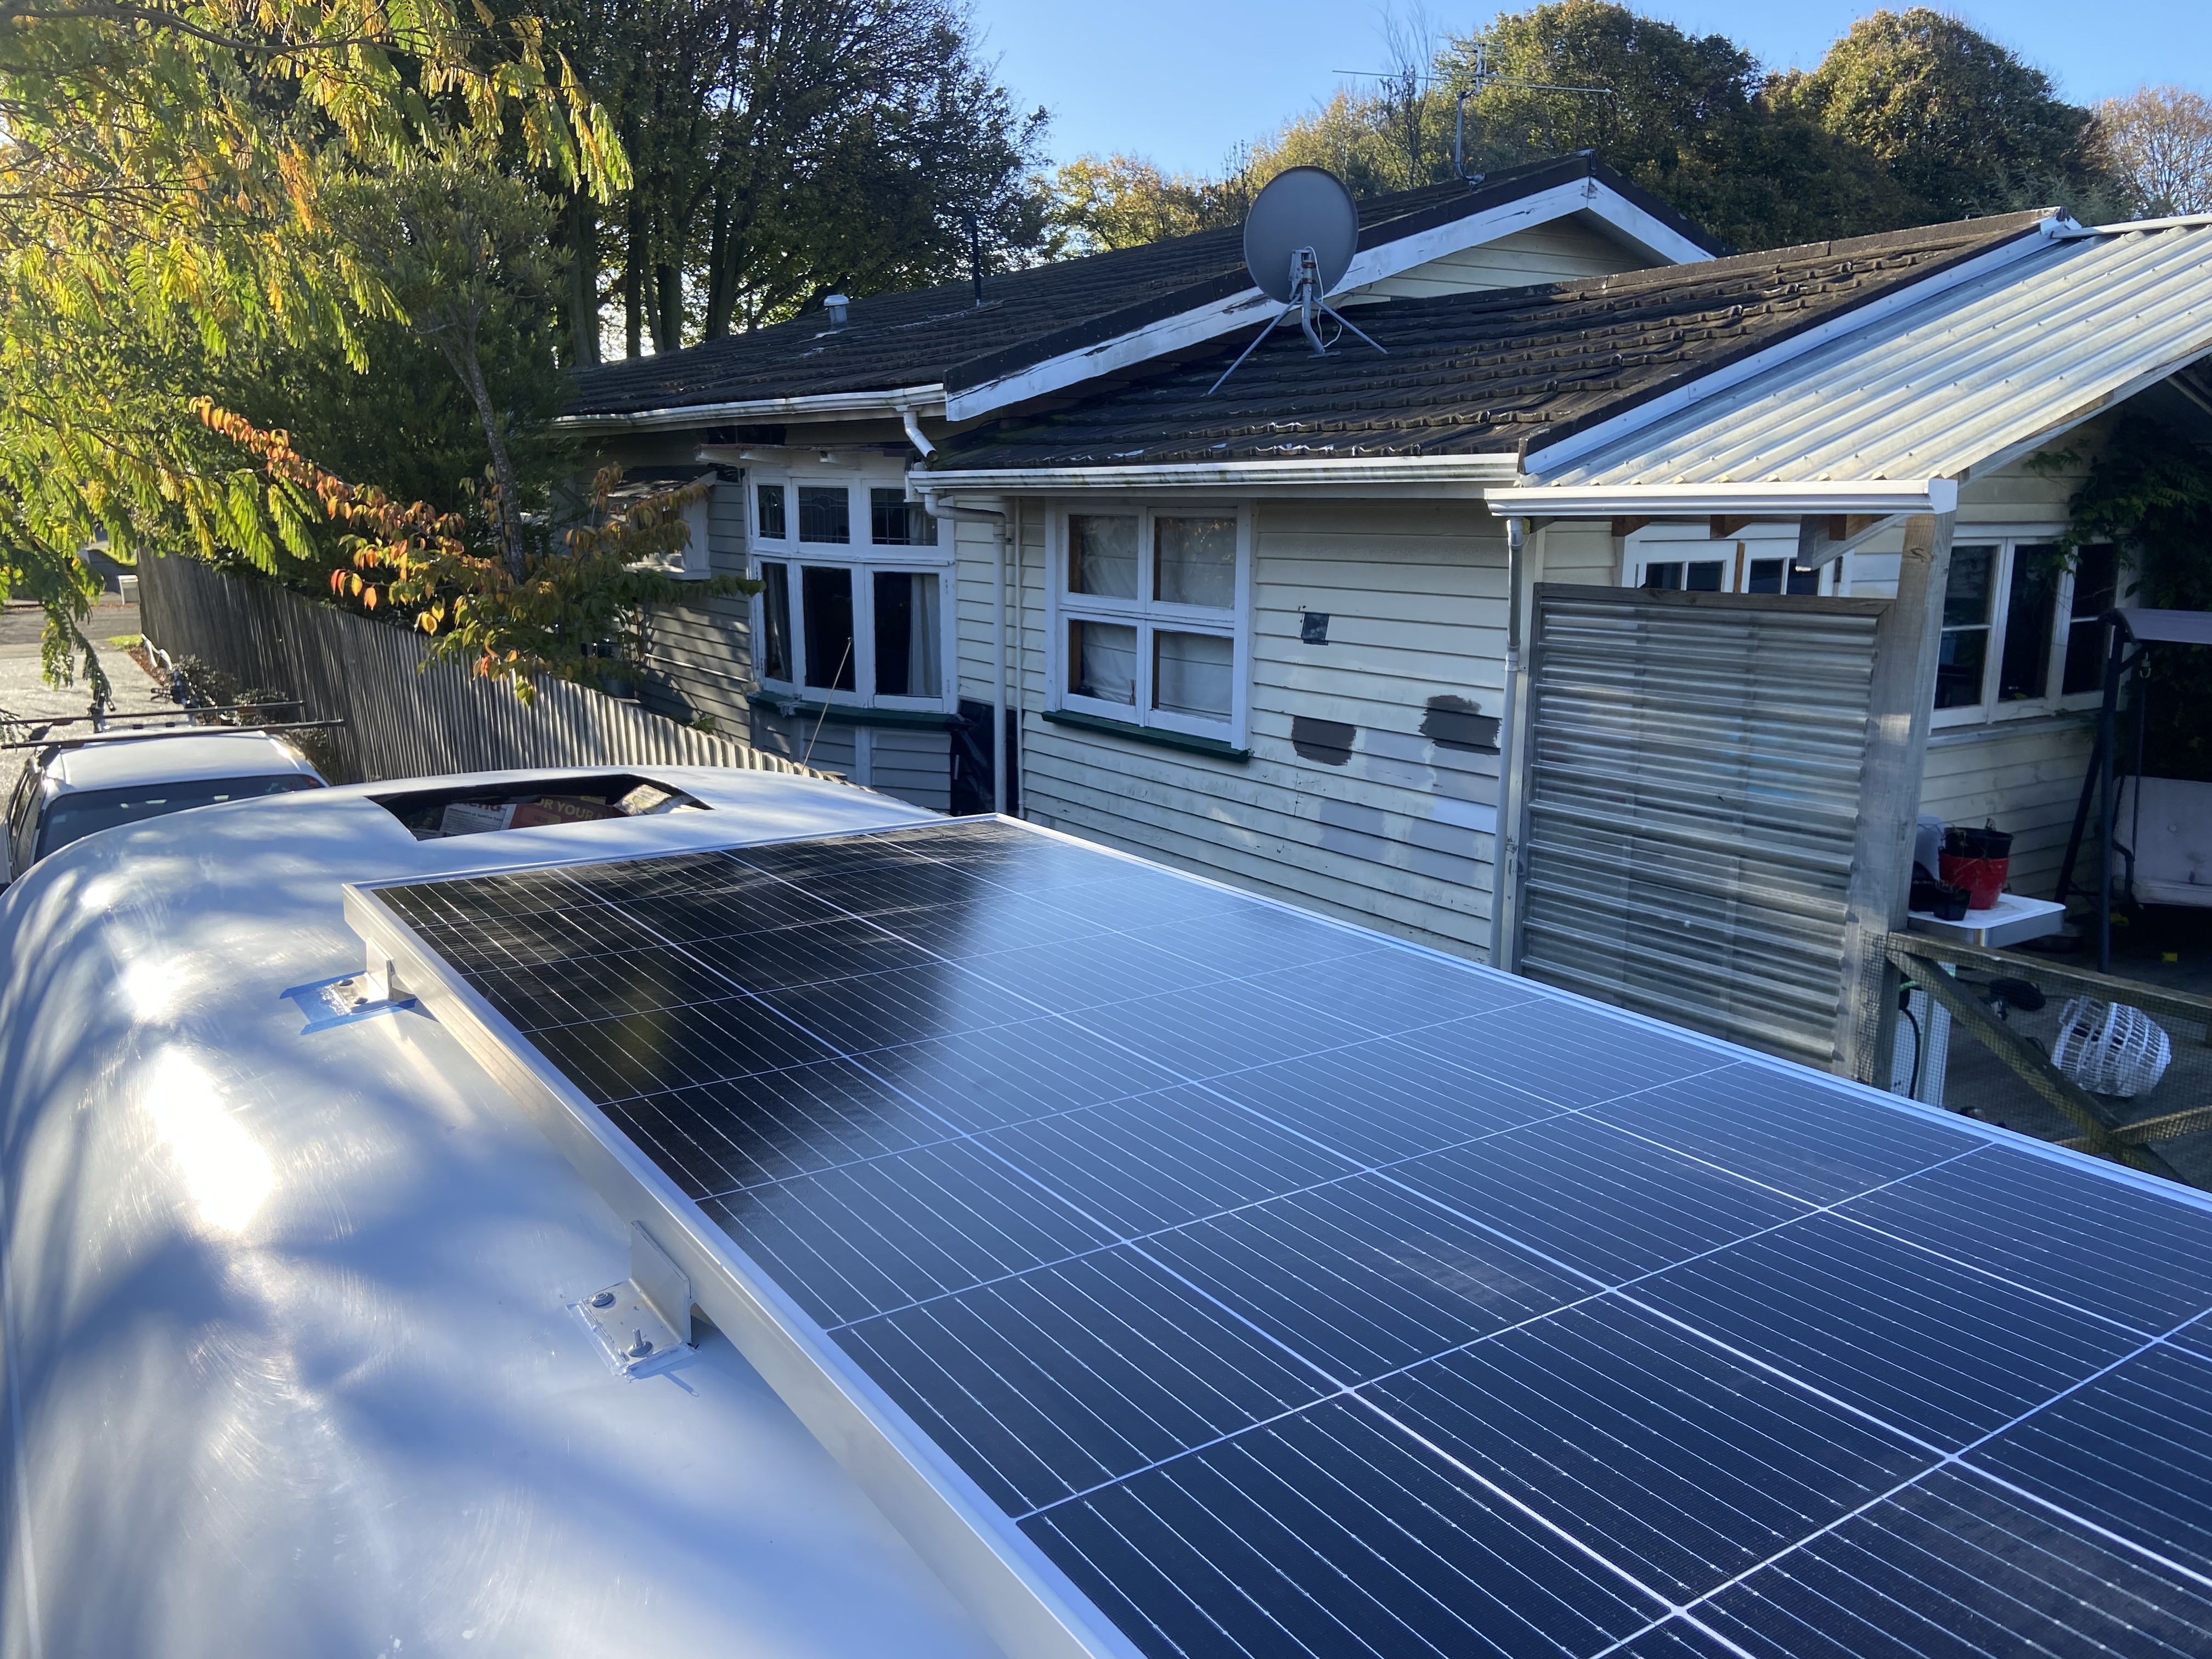
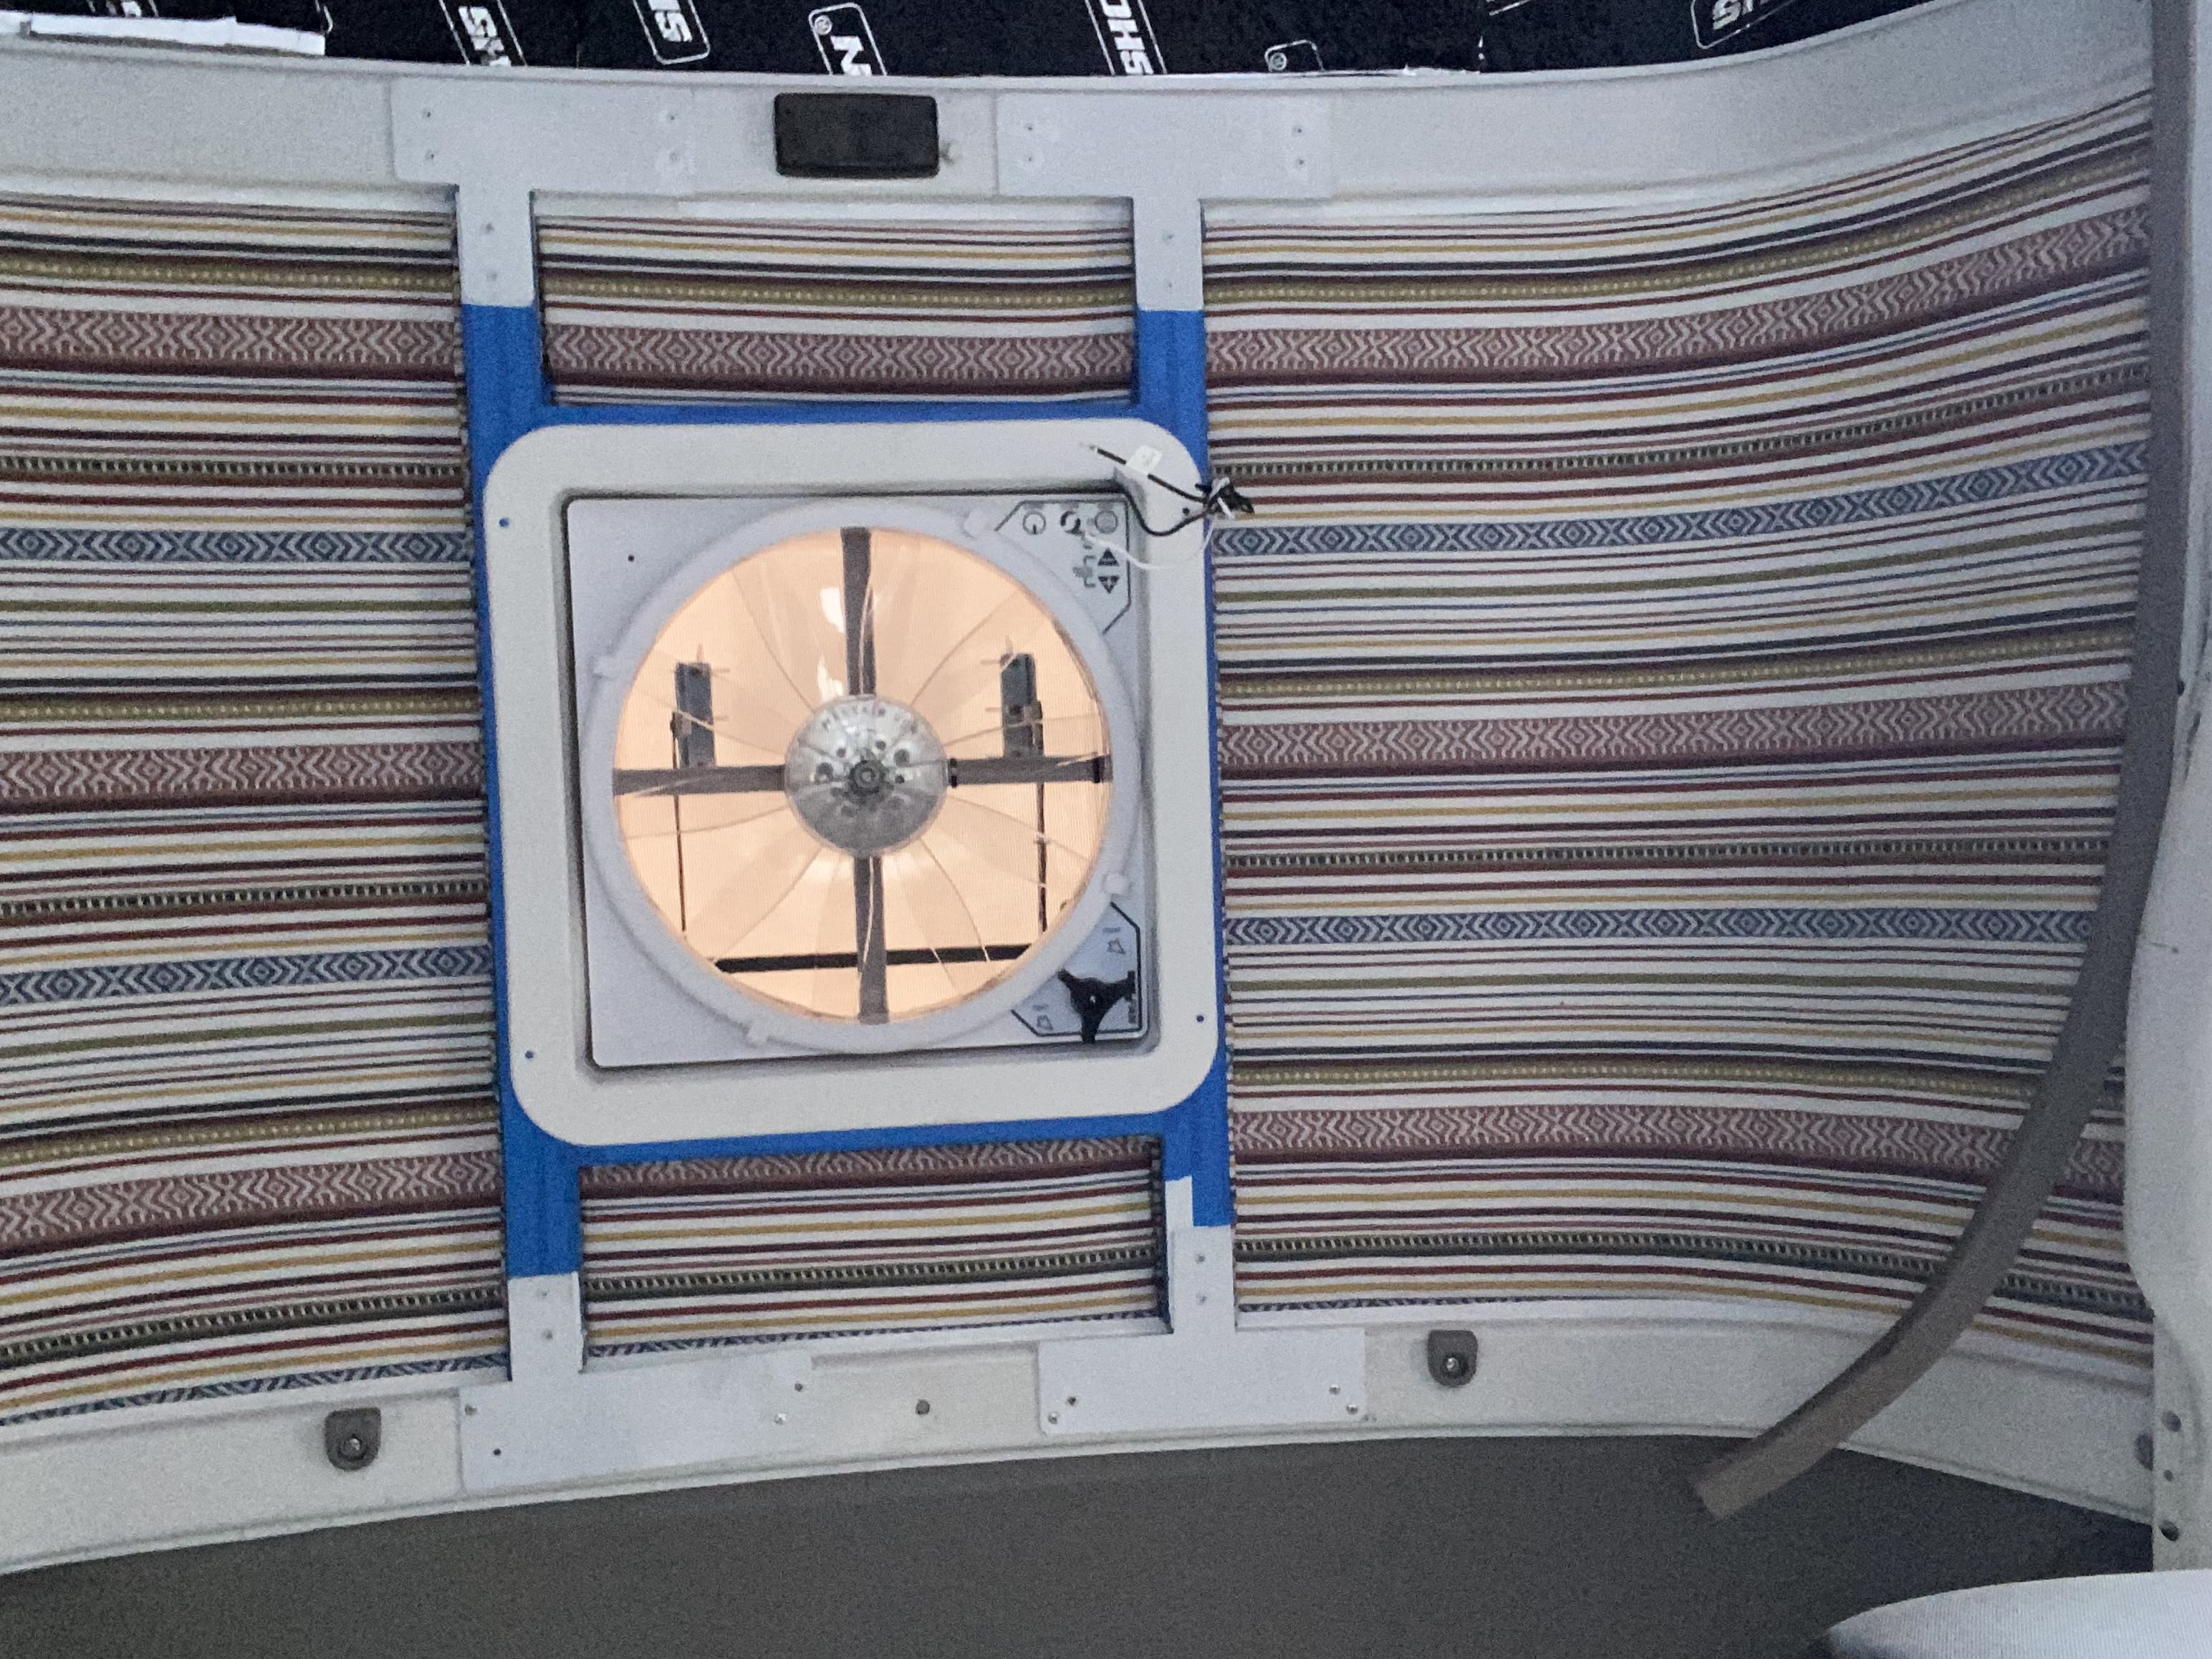
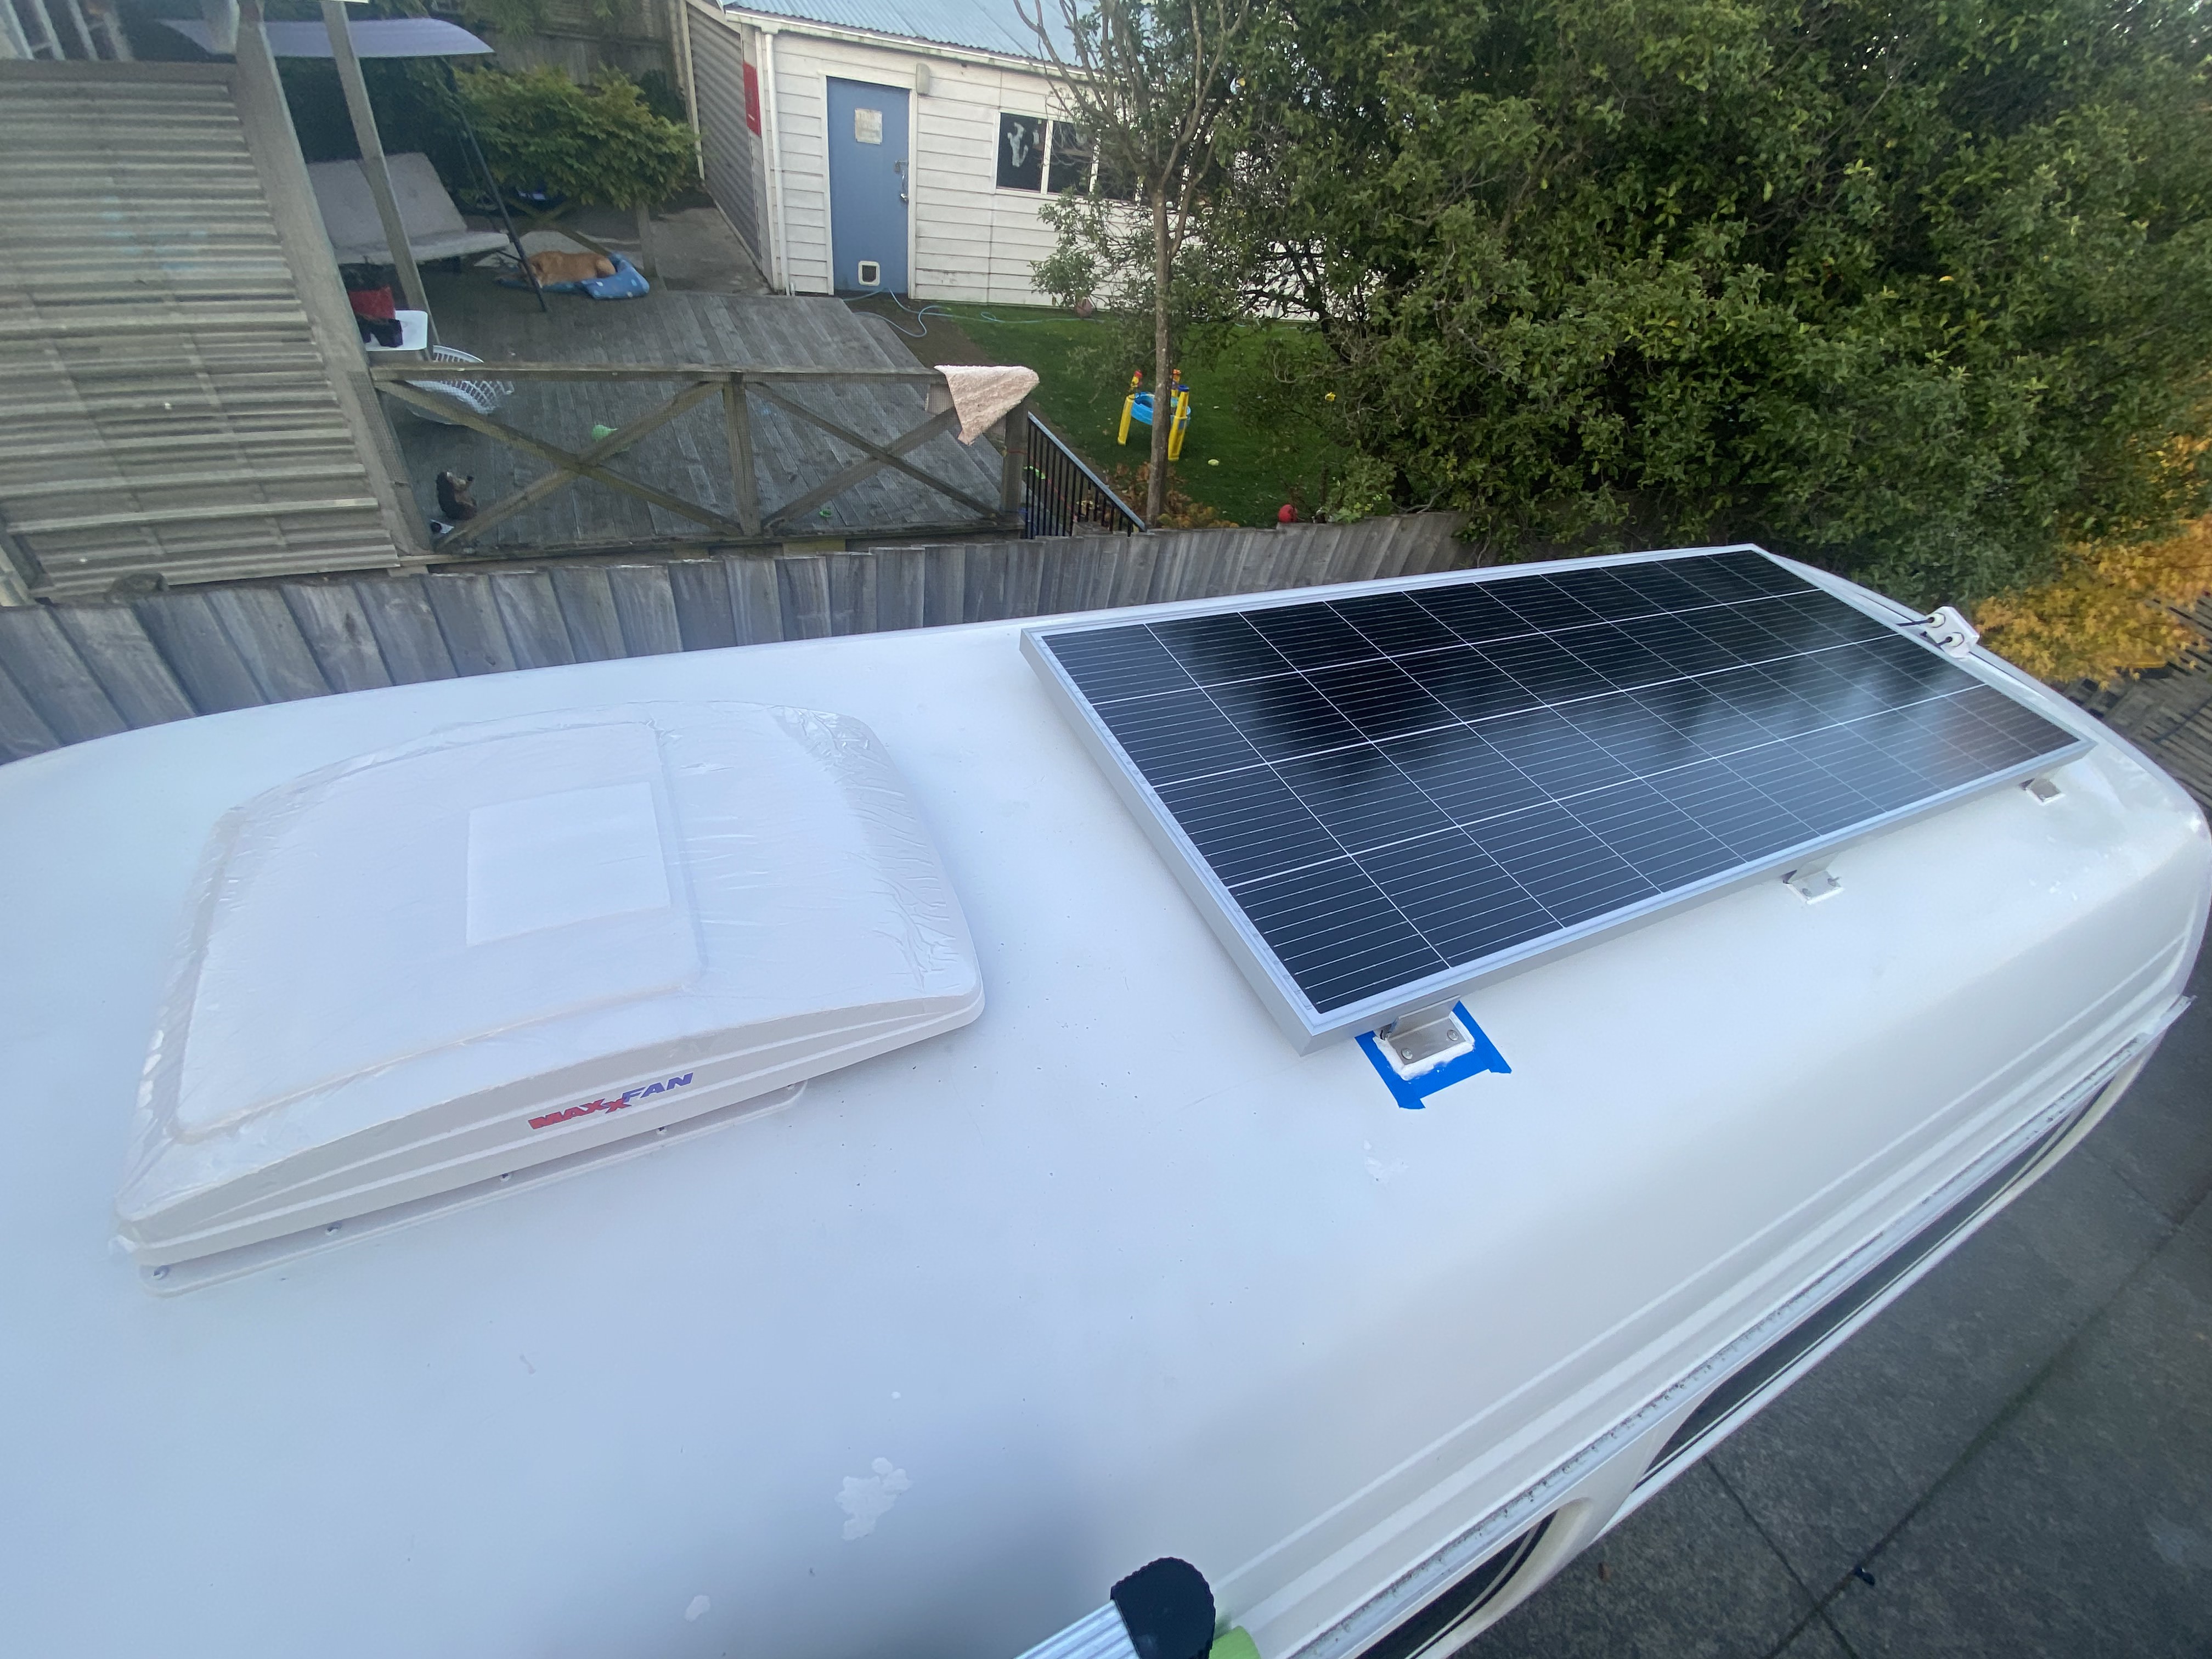
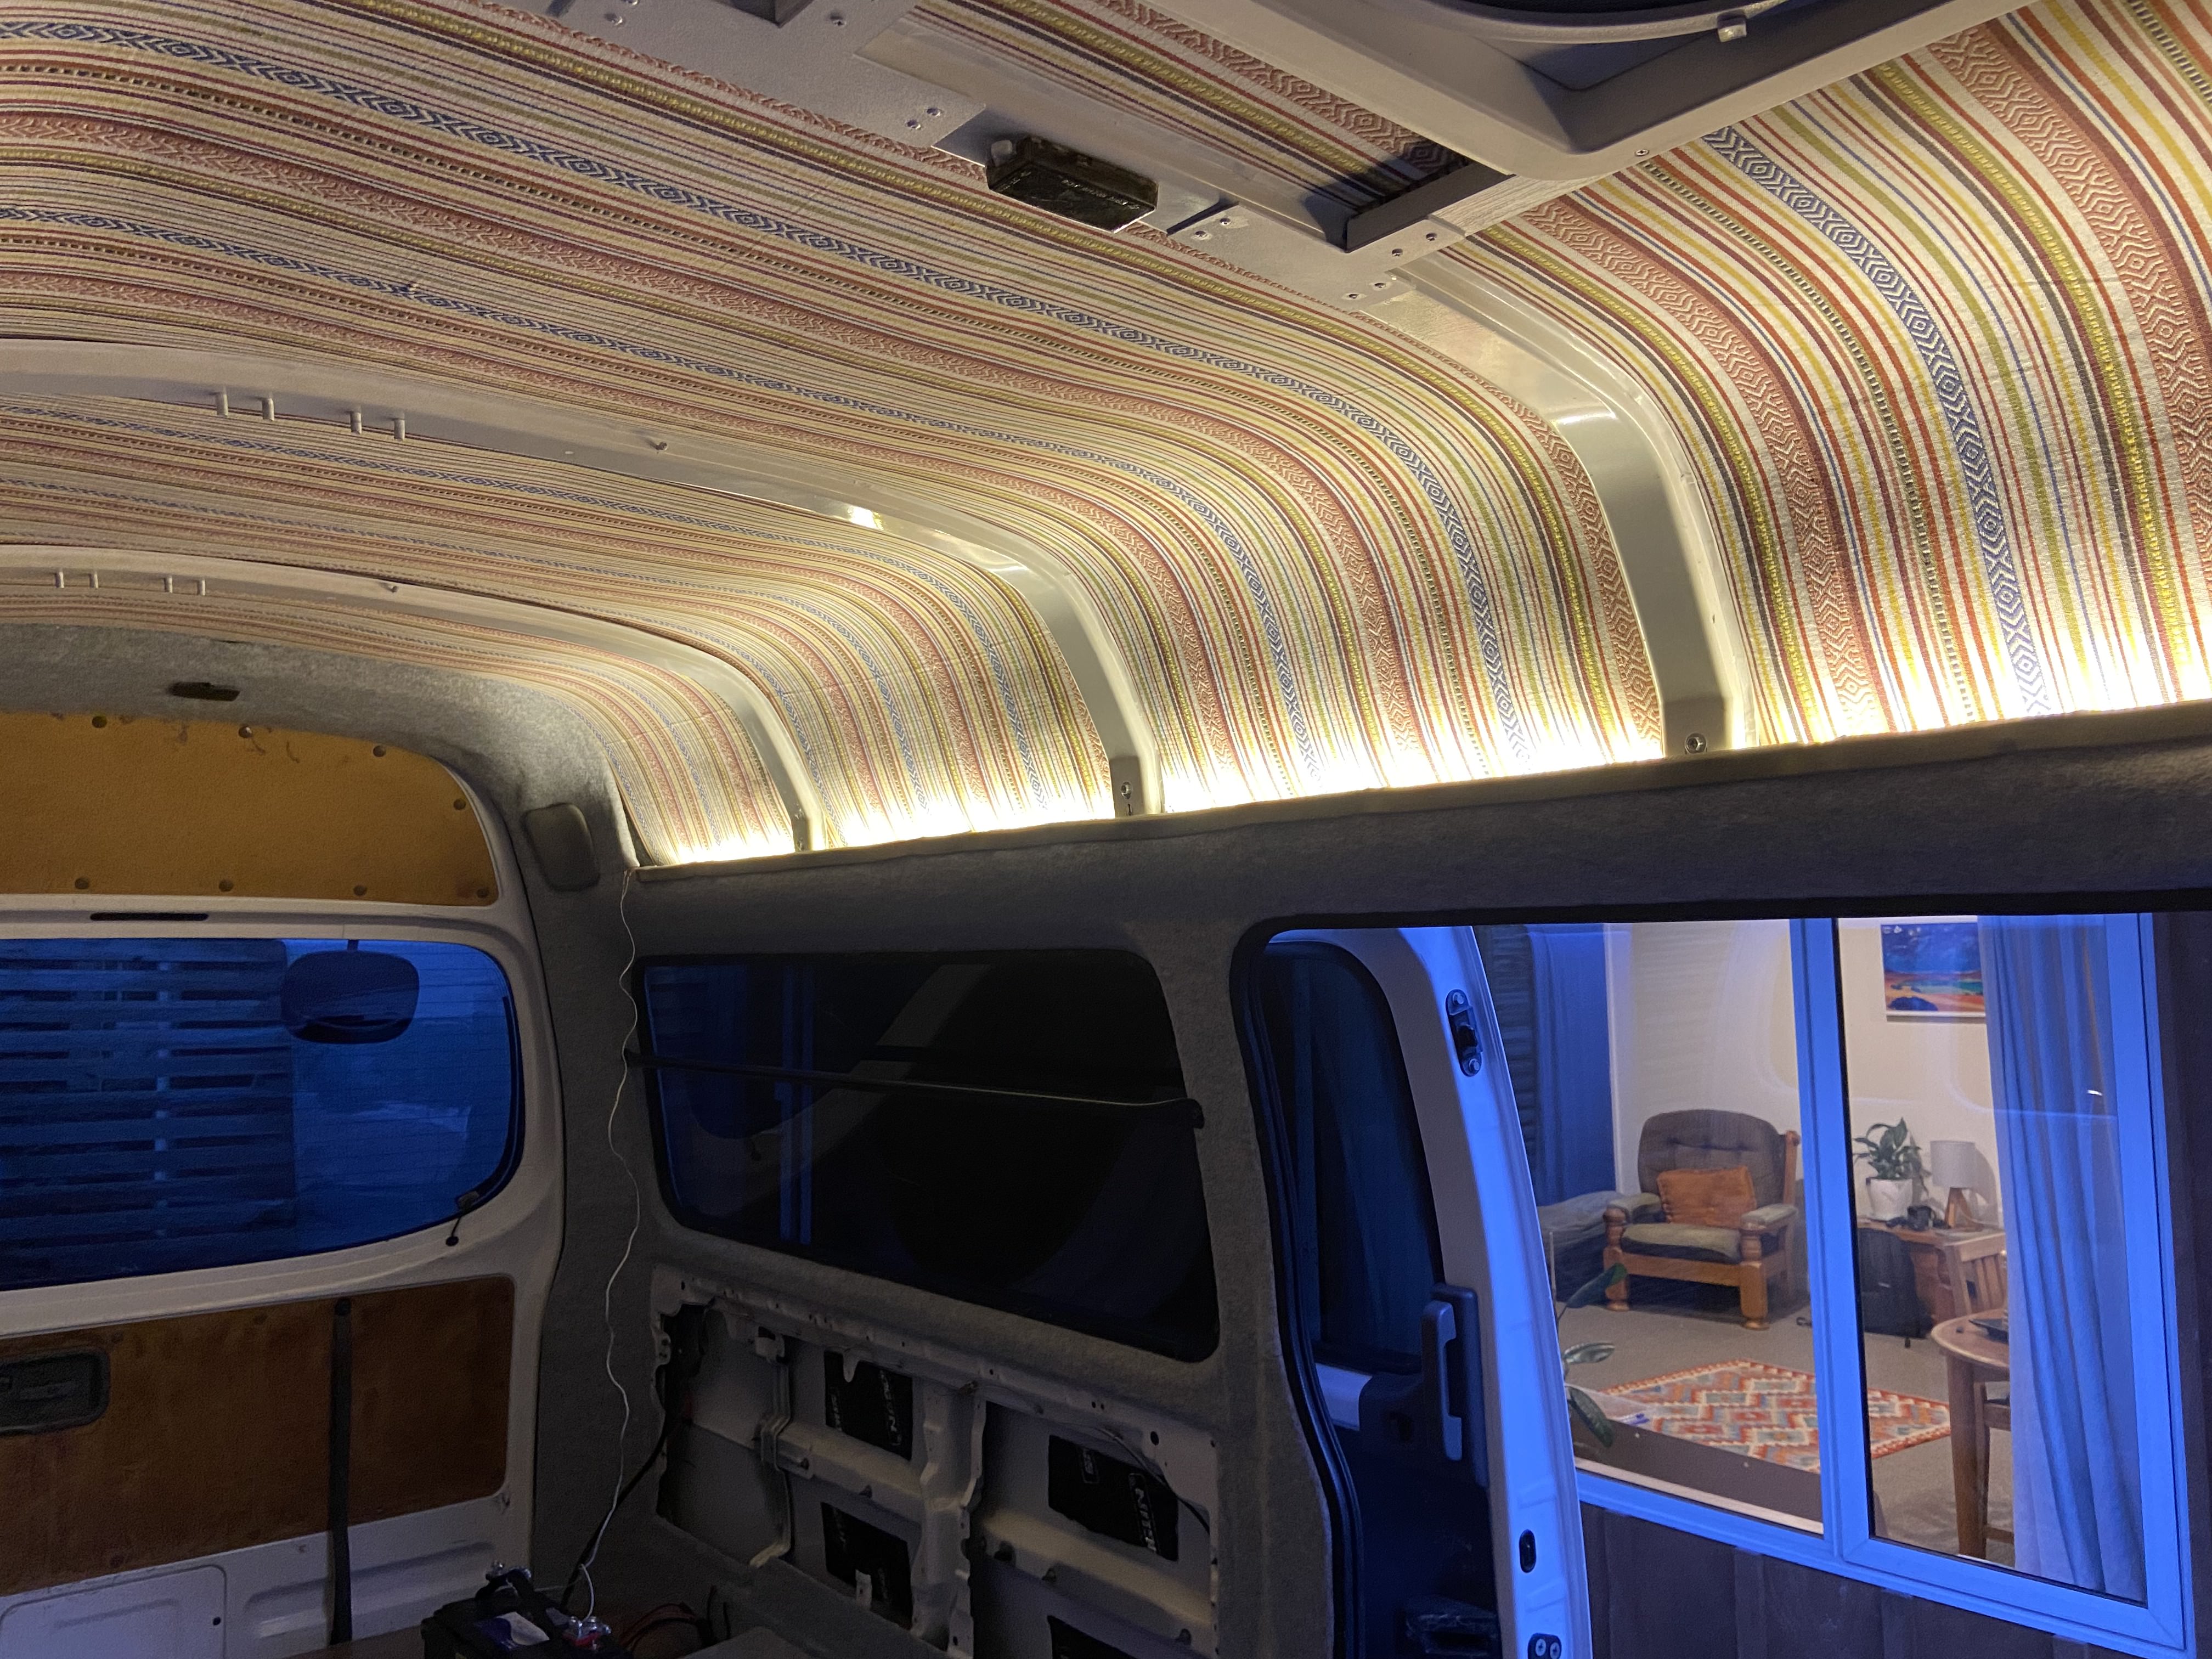
March 2023, I started the build of the project by working on the roof. The first step was to remove the original roof linings. I insulated the underside with 10mm foam and the inside with a funky moroccan fabric. I designed a custom detail and frame to support the fan, which was tricky with the curved roof! I was very happy with the result. I also repainted and then soundproofed the underside of the metal roof to prevent rust and noise ingress into the van. On the external roof I installed the solar panel and ventilation fan.
Insulation and roof fabric lining
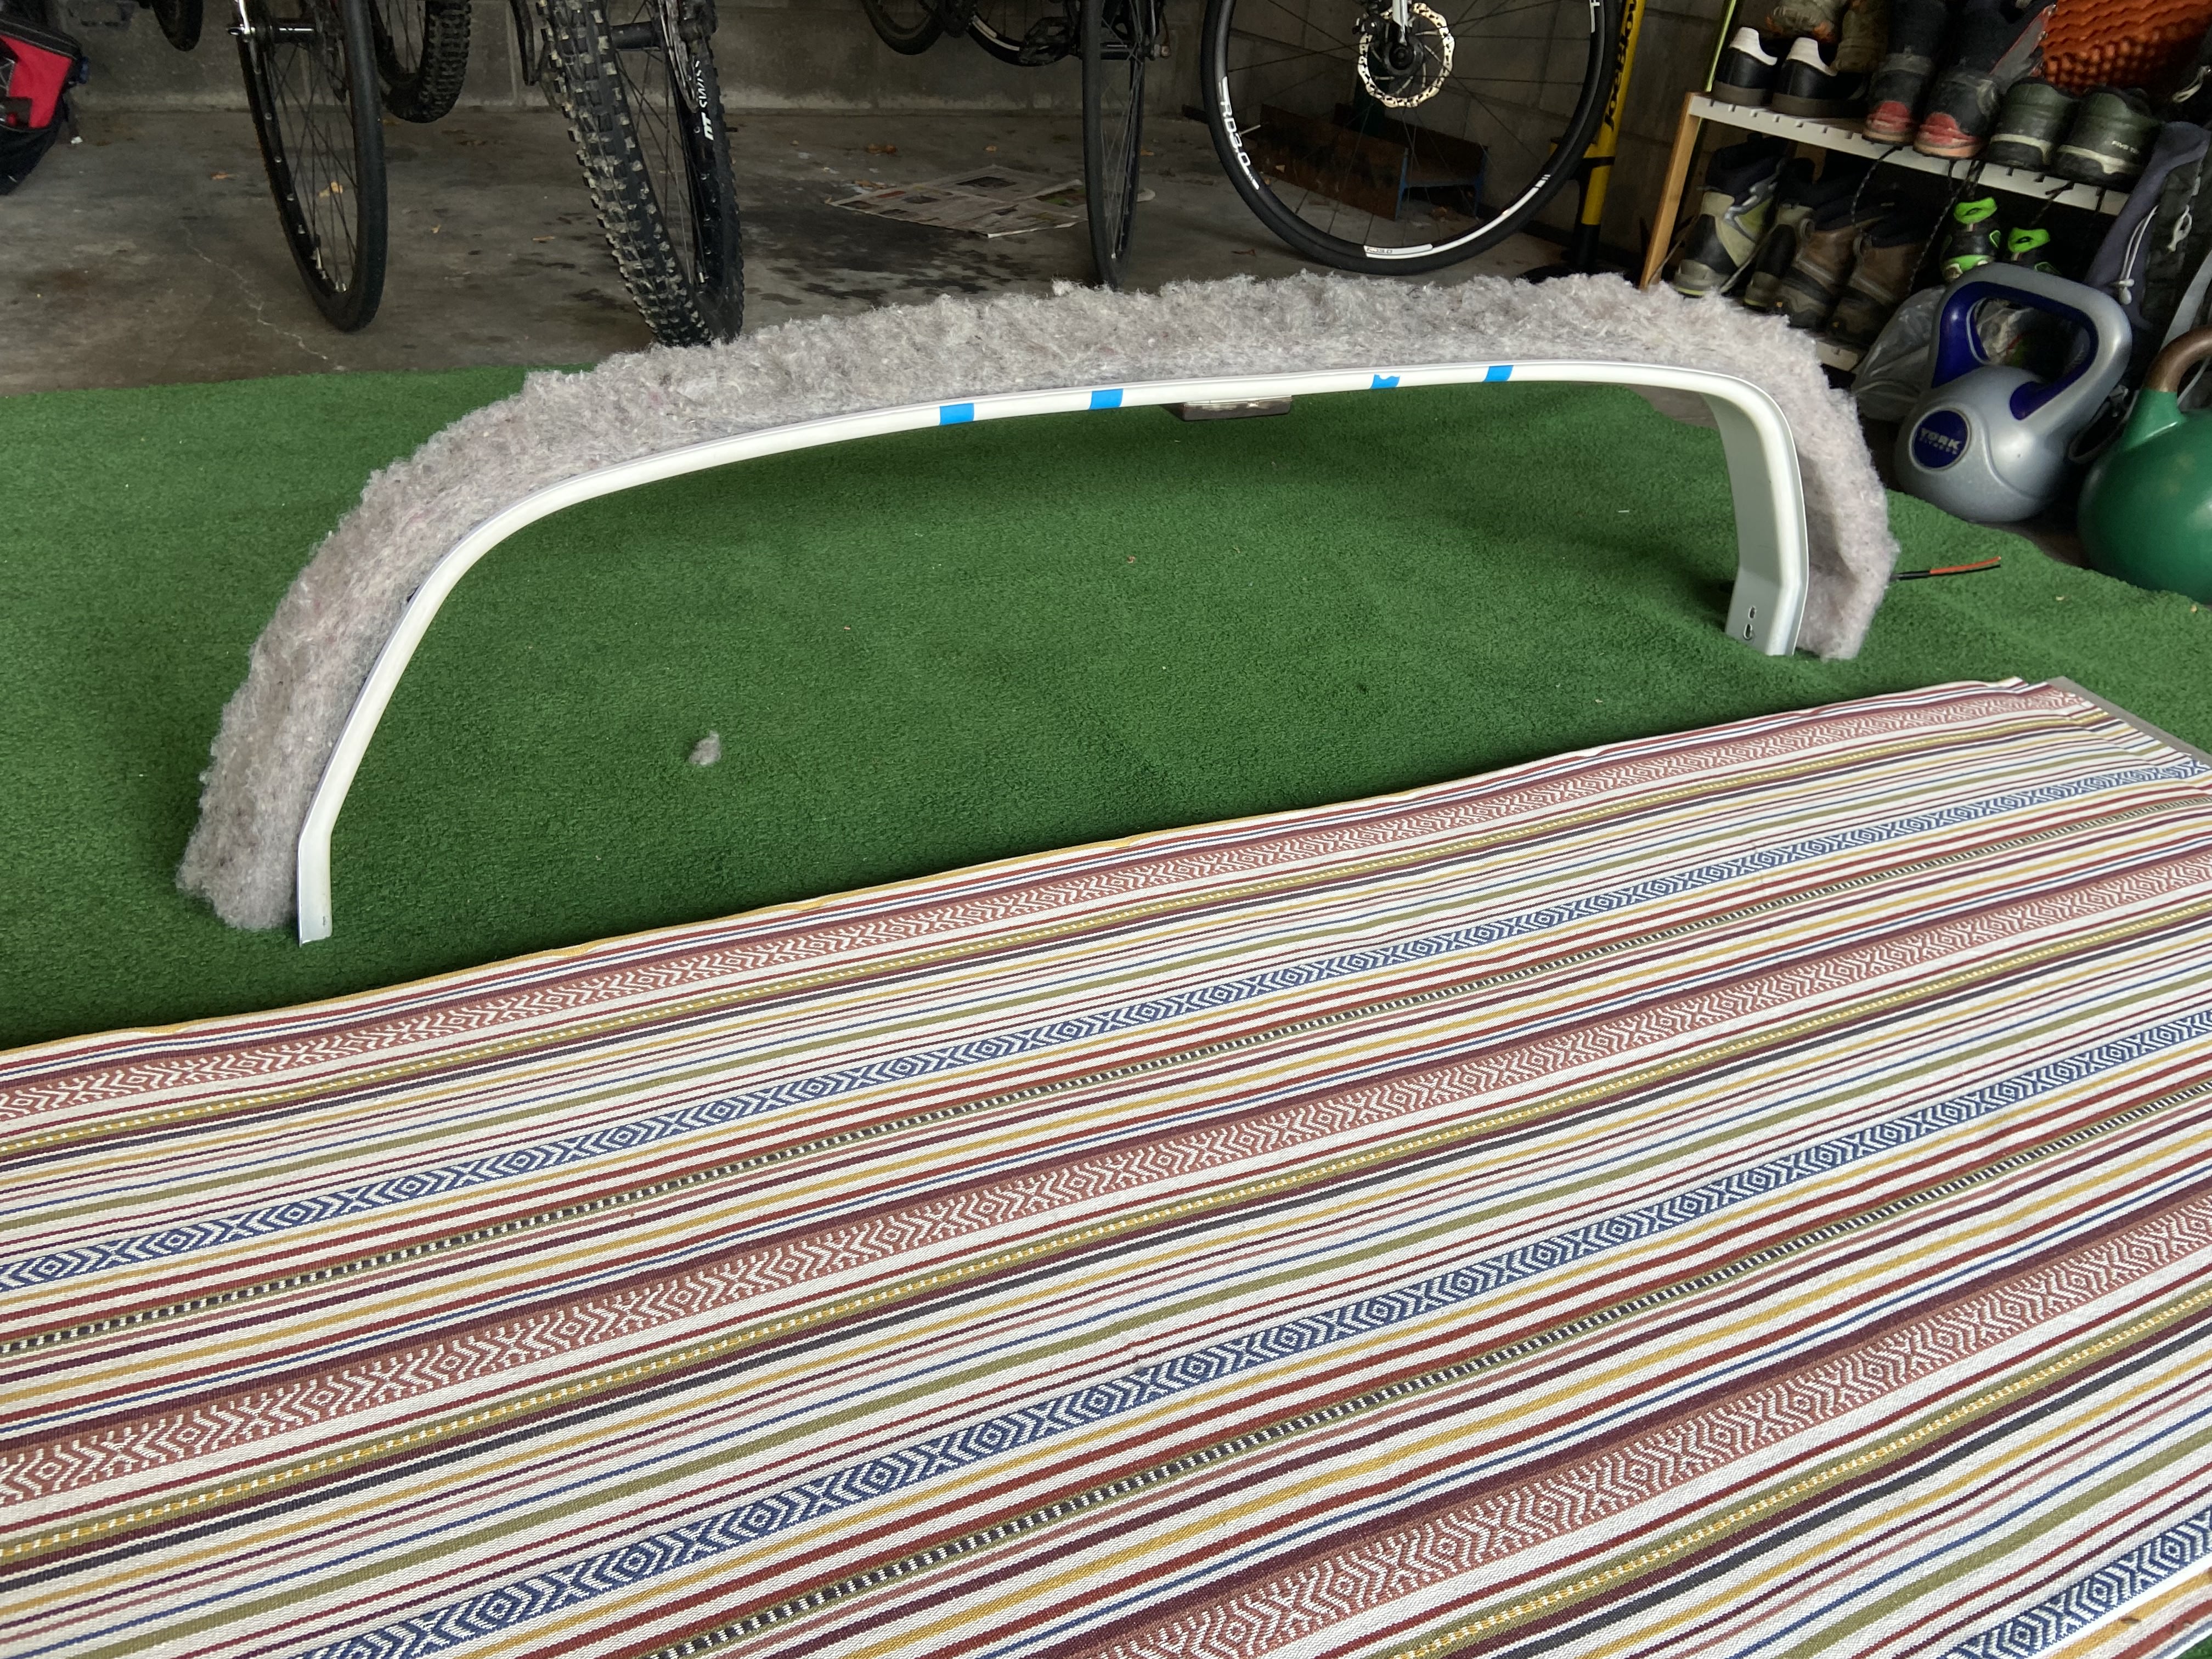
Roof fan framing detail
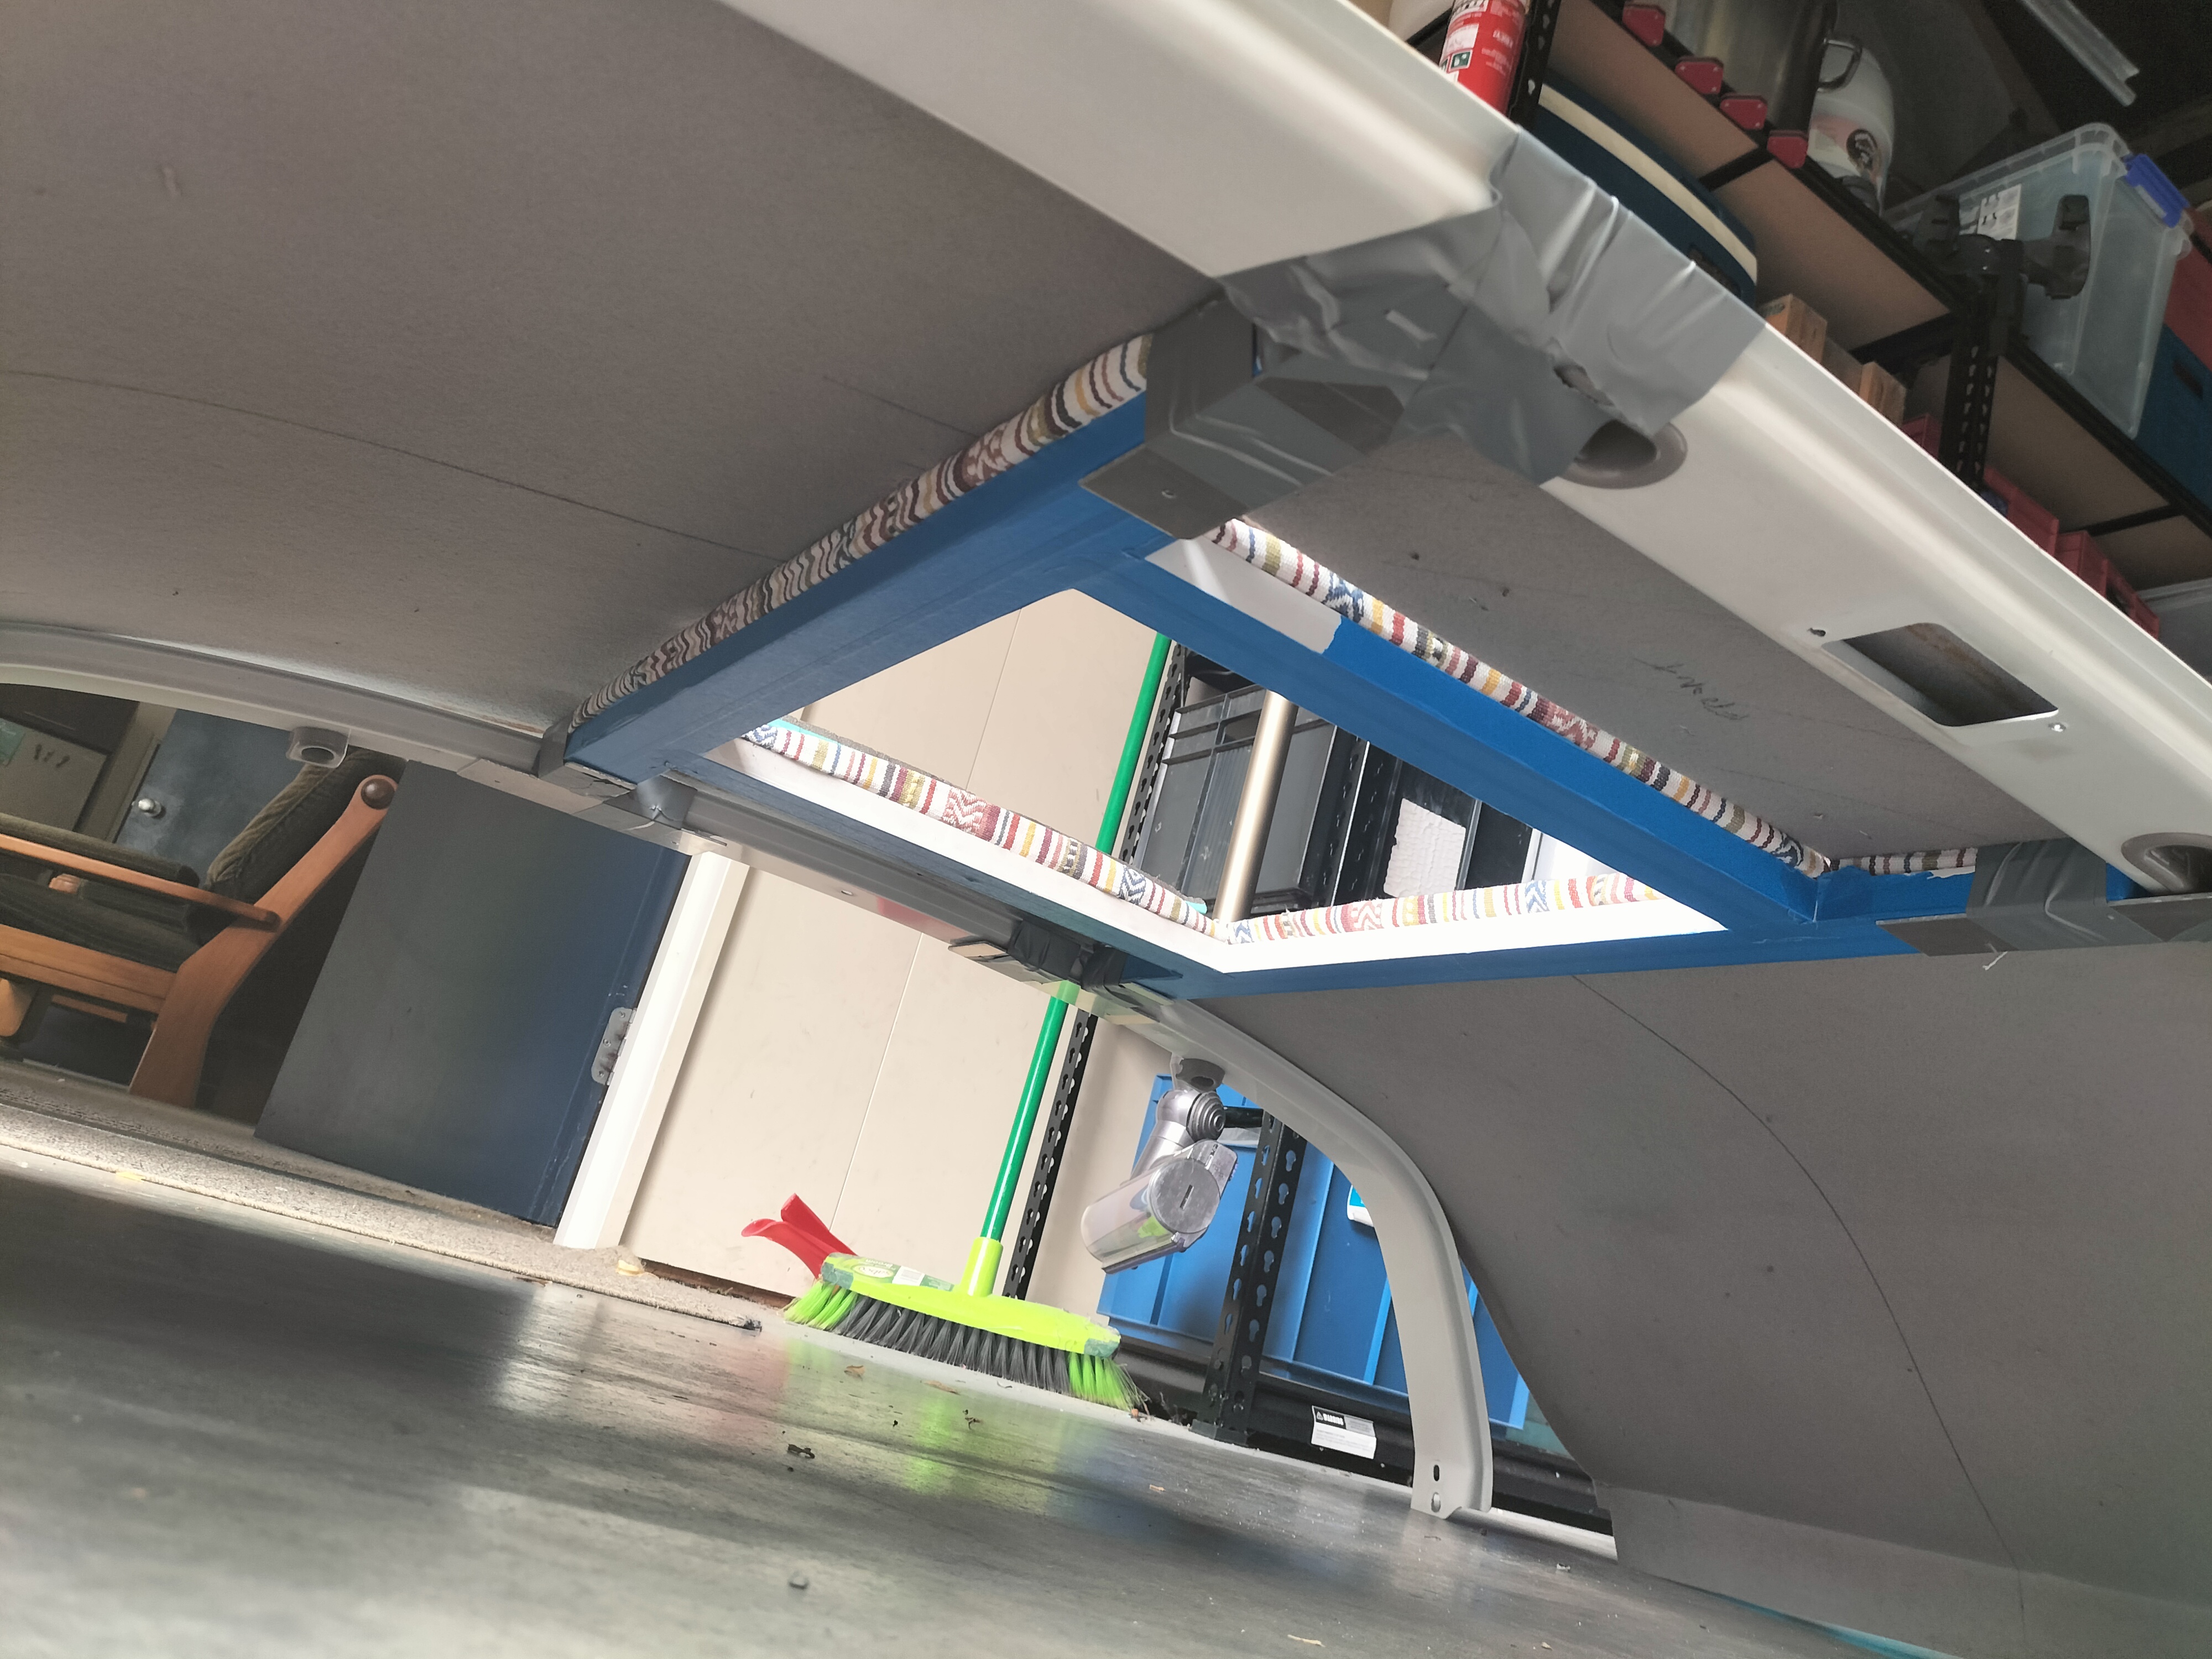
First section installed
Acoustic rubber lining installed to reduce noise
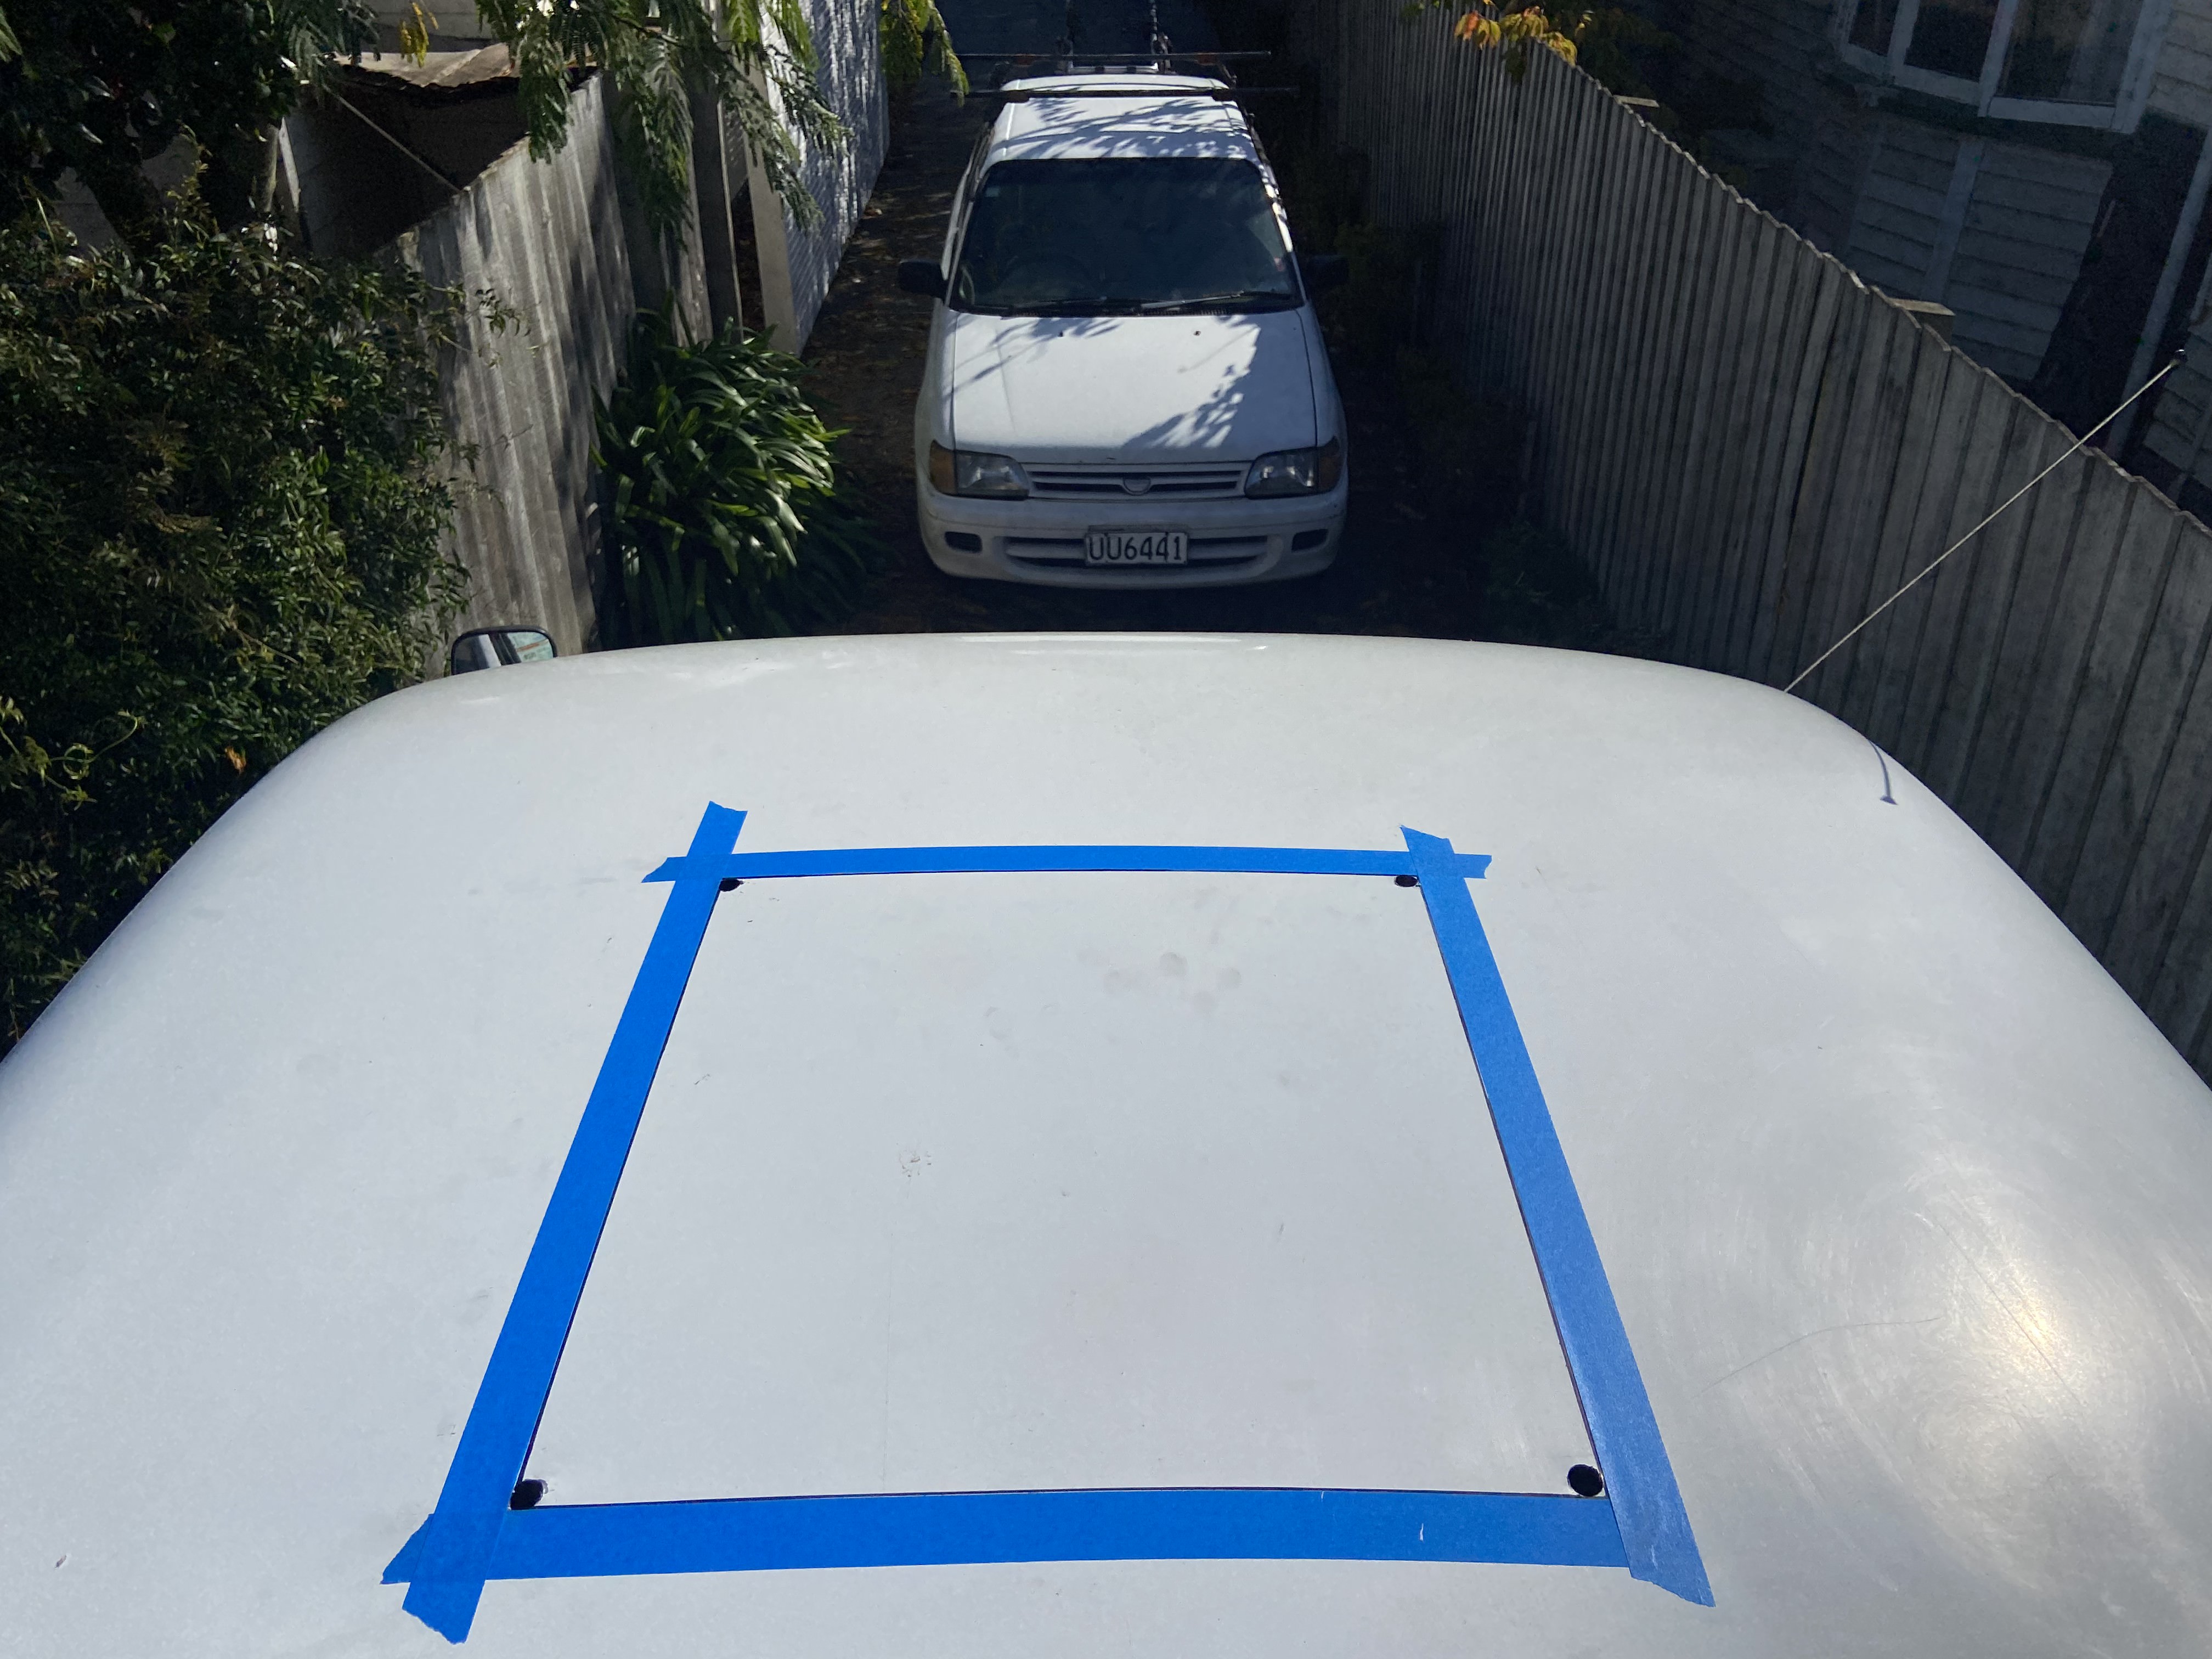
Marking out hole for roof fan
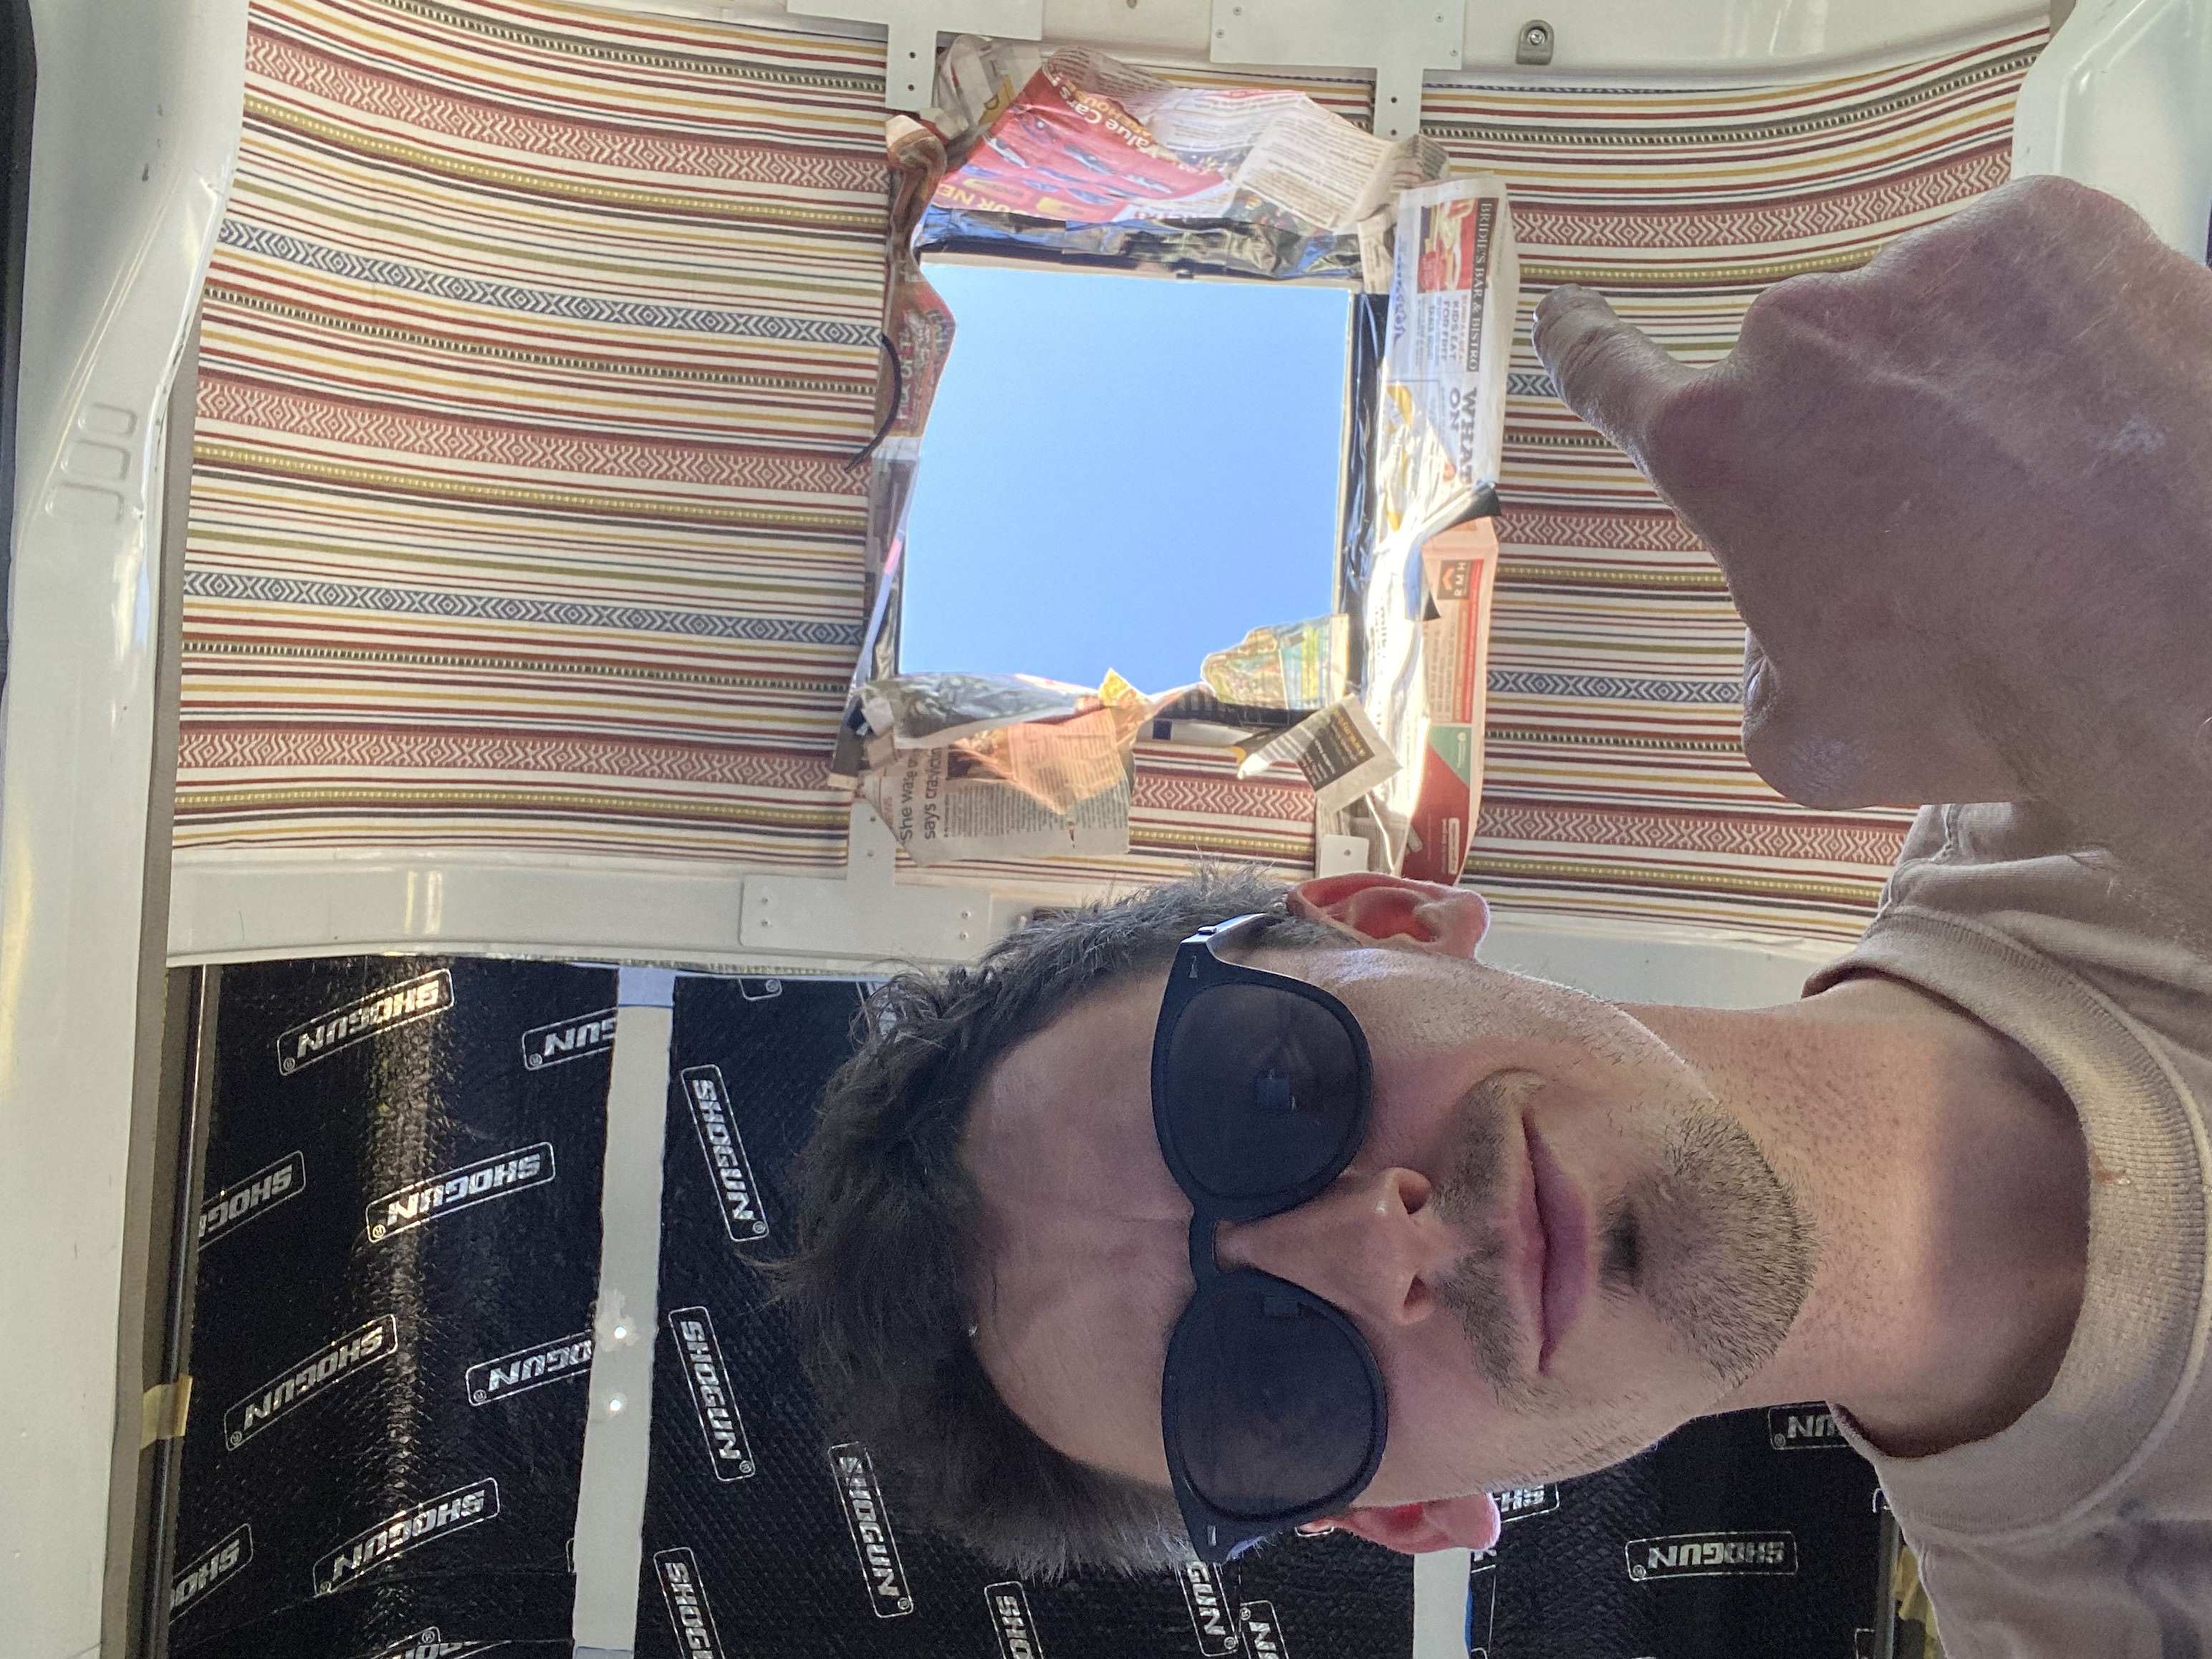
Made the cut!
Solar panel installation
Roof fan install
View from the roof
Floor
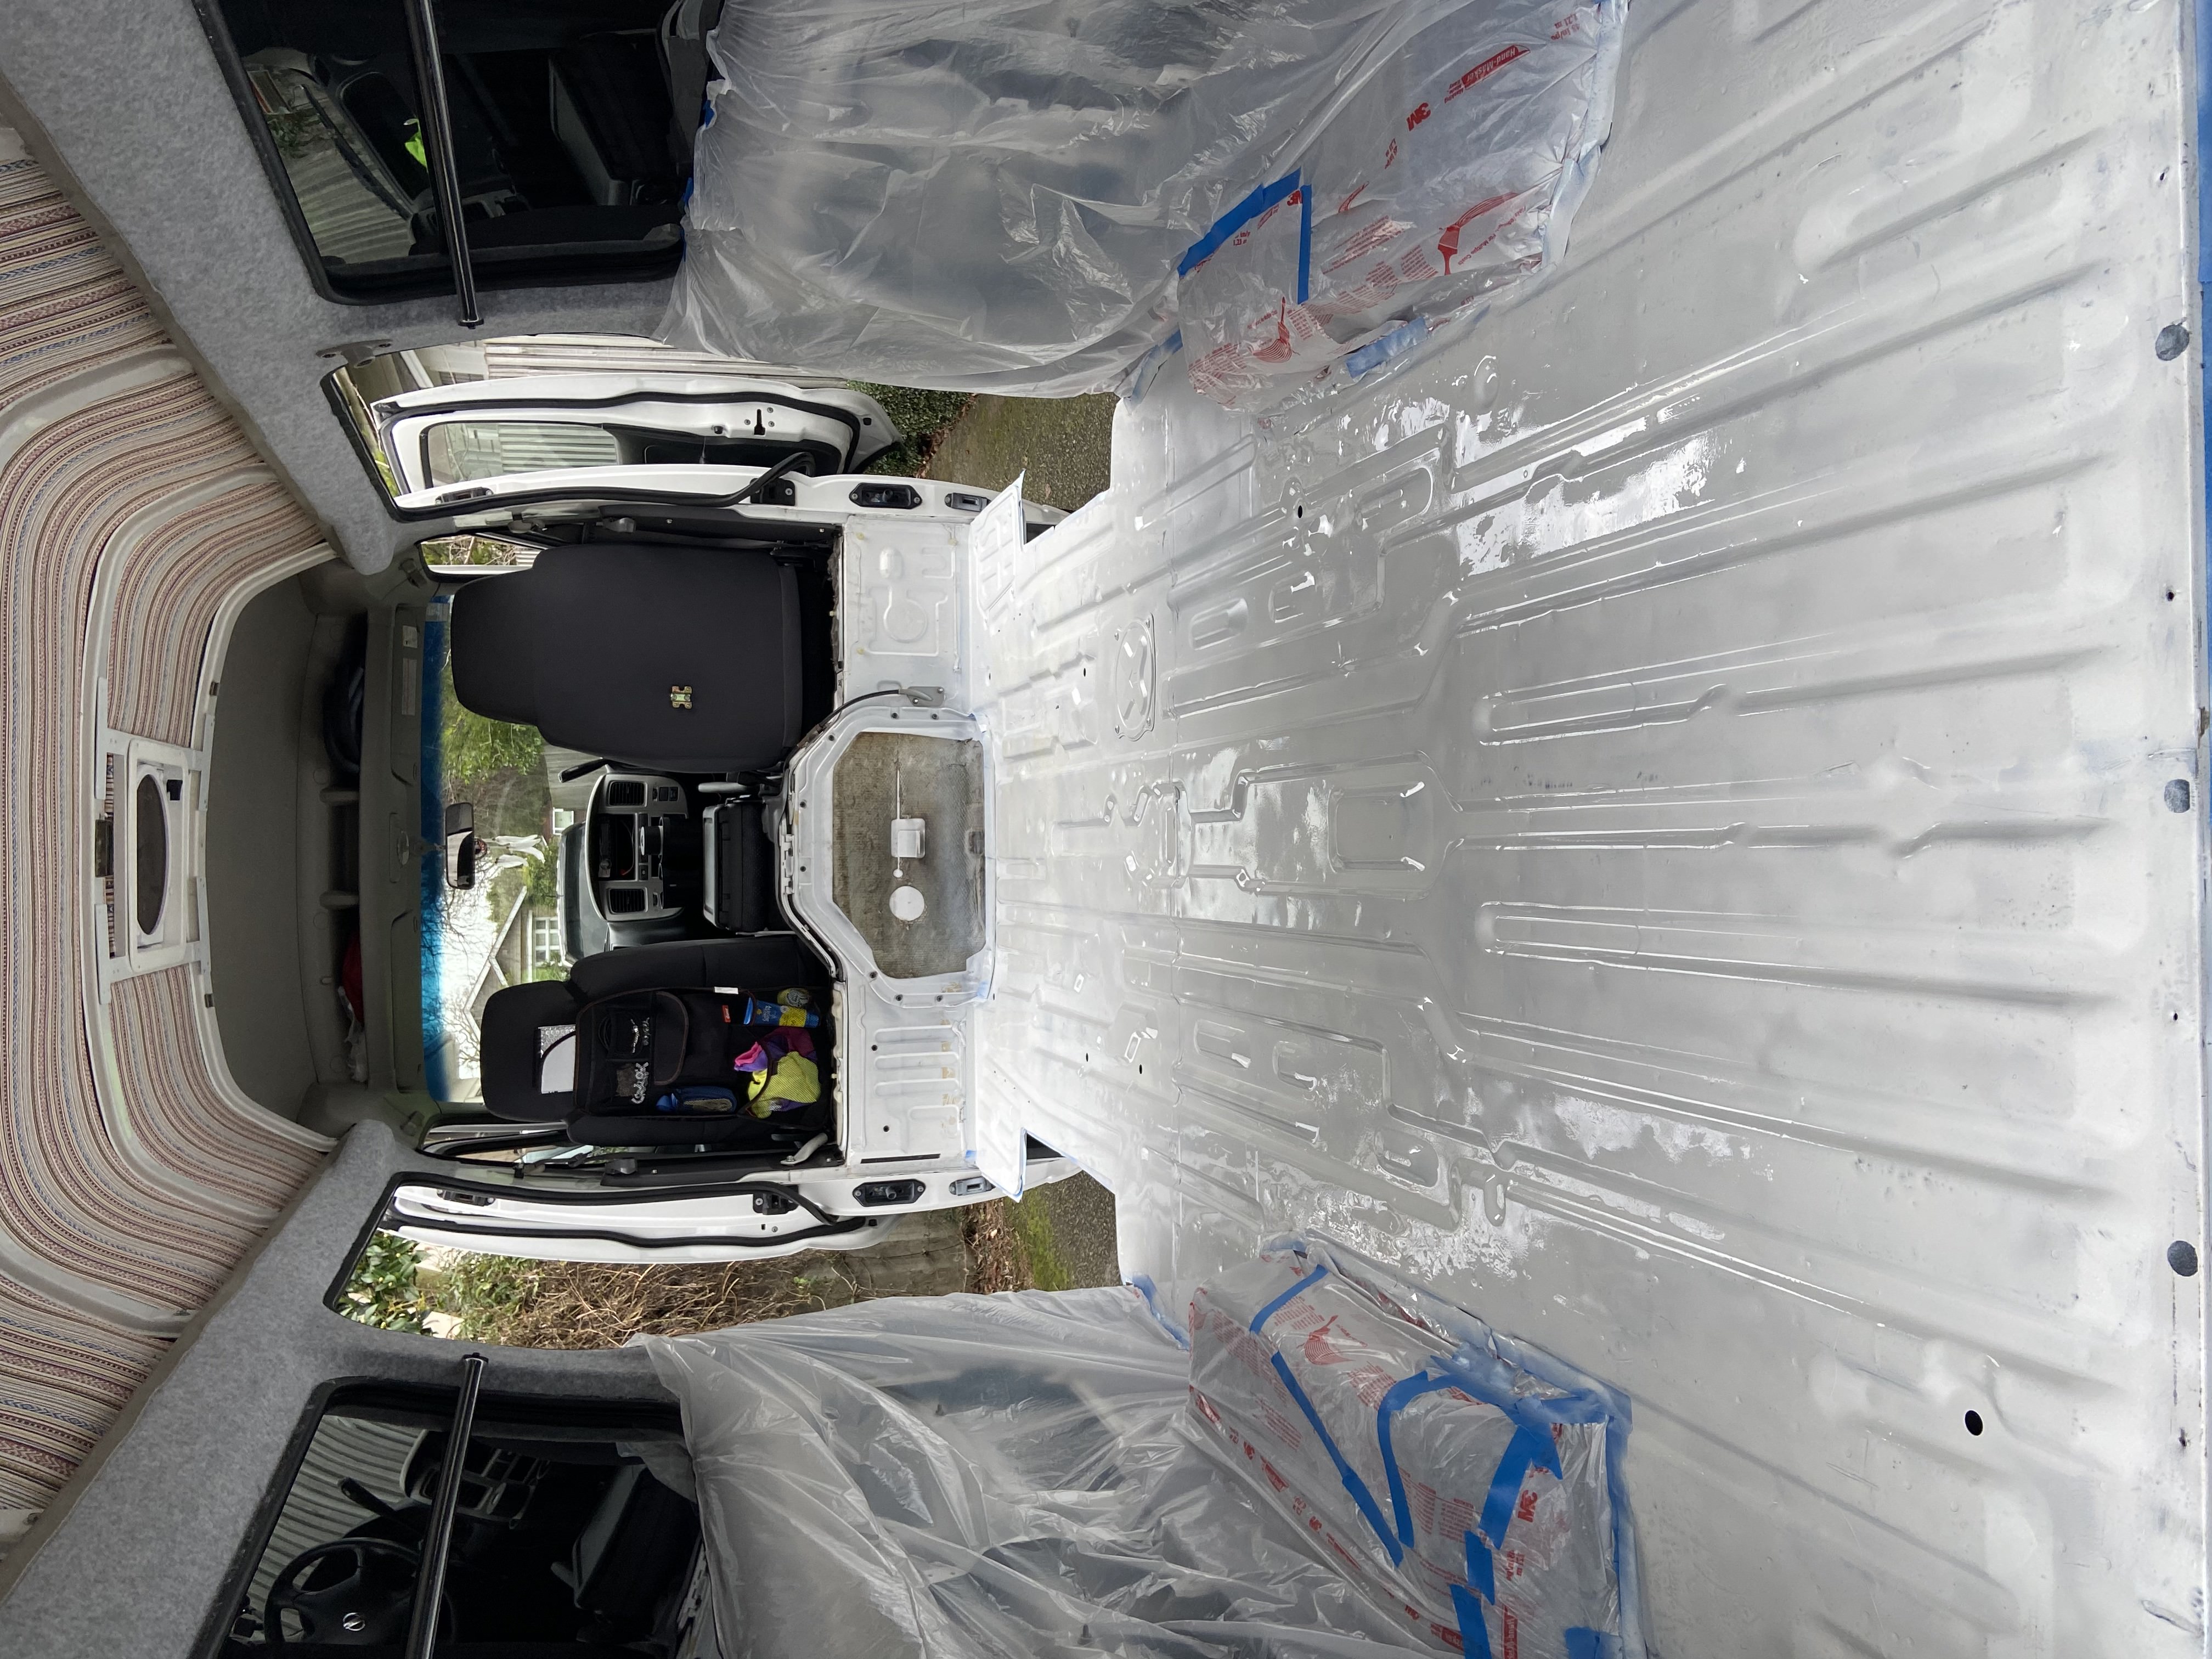
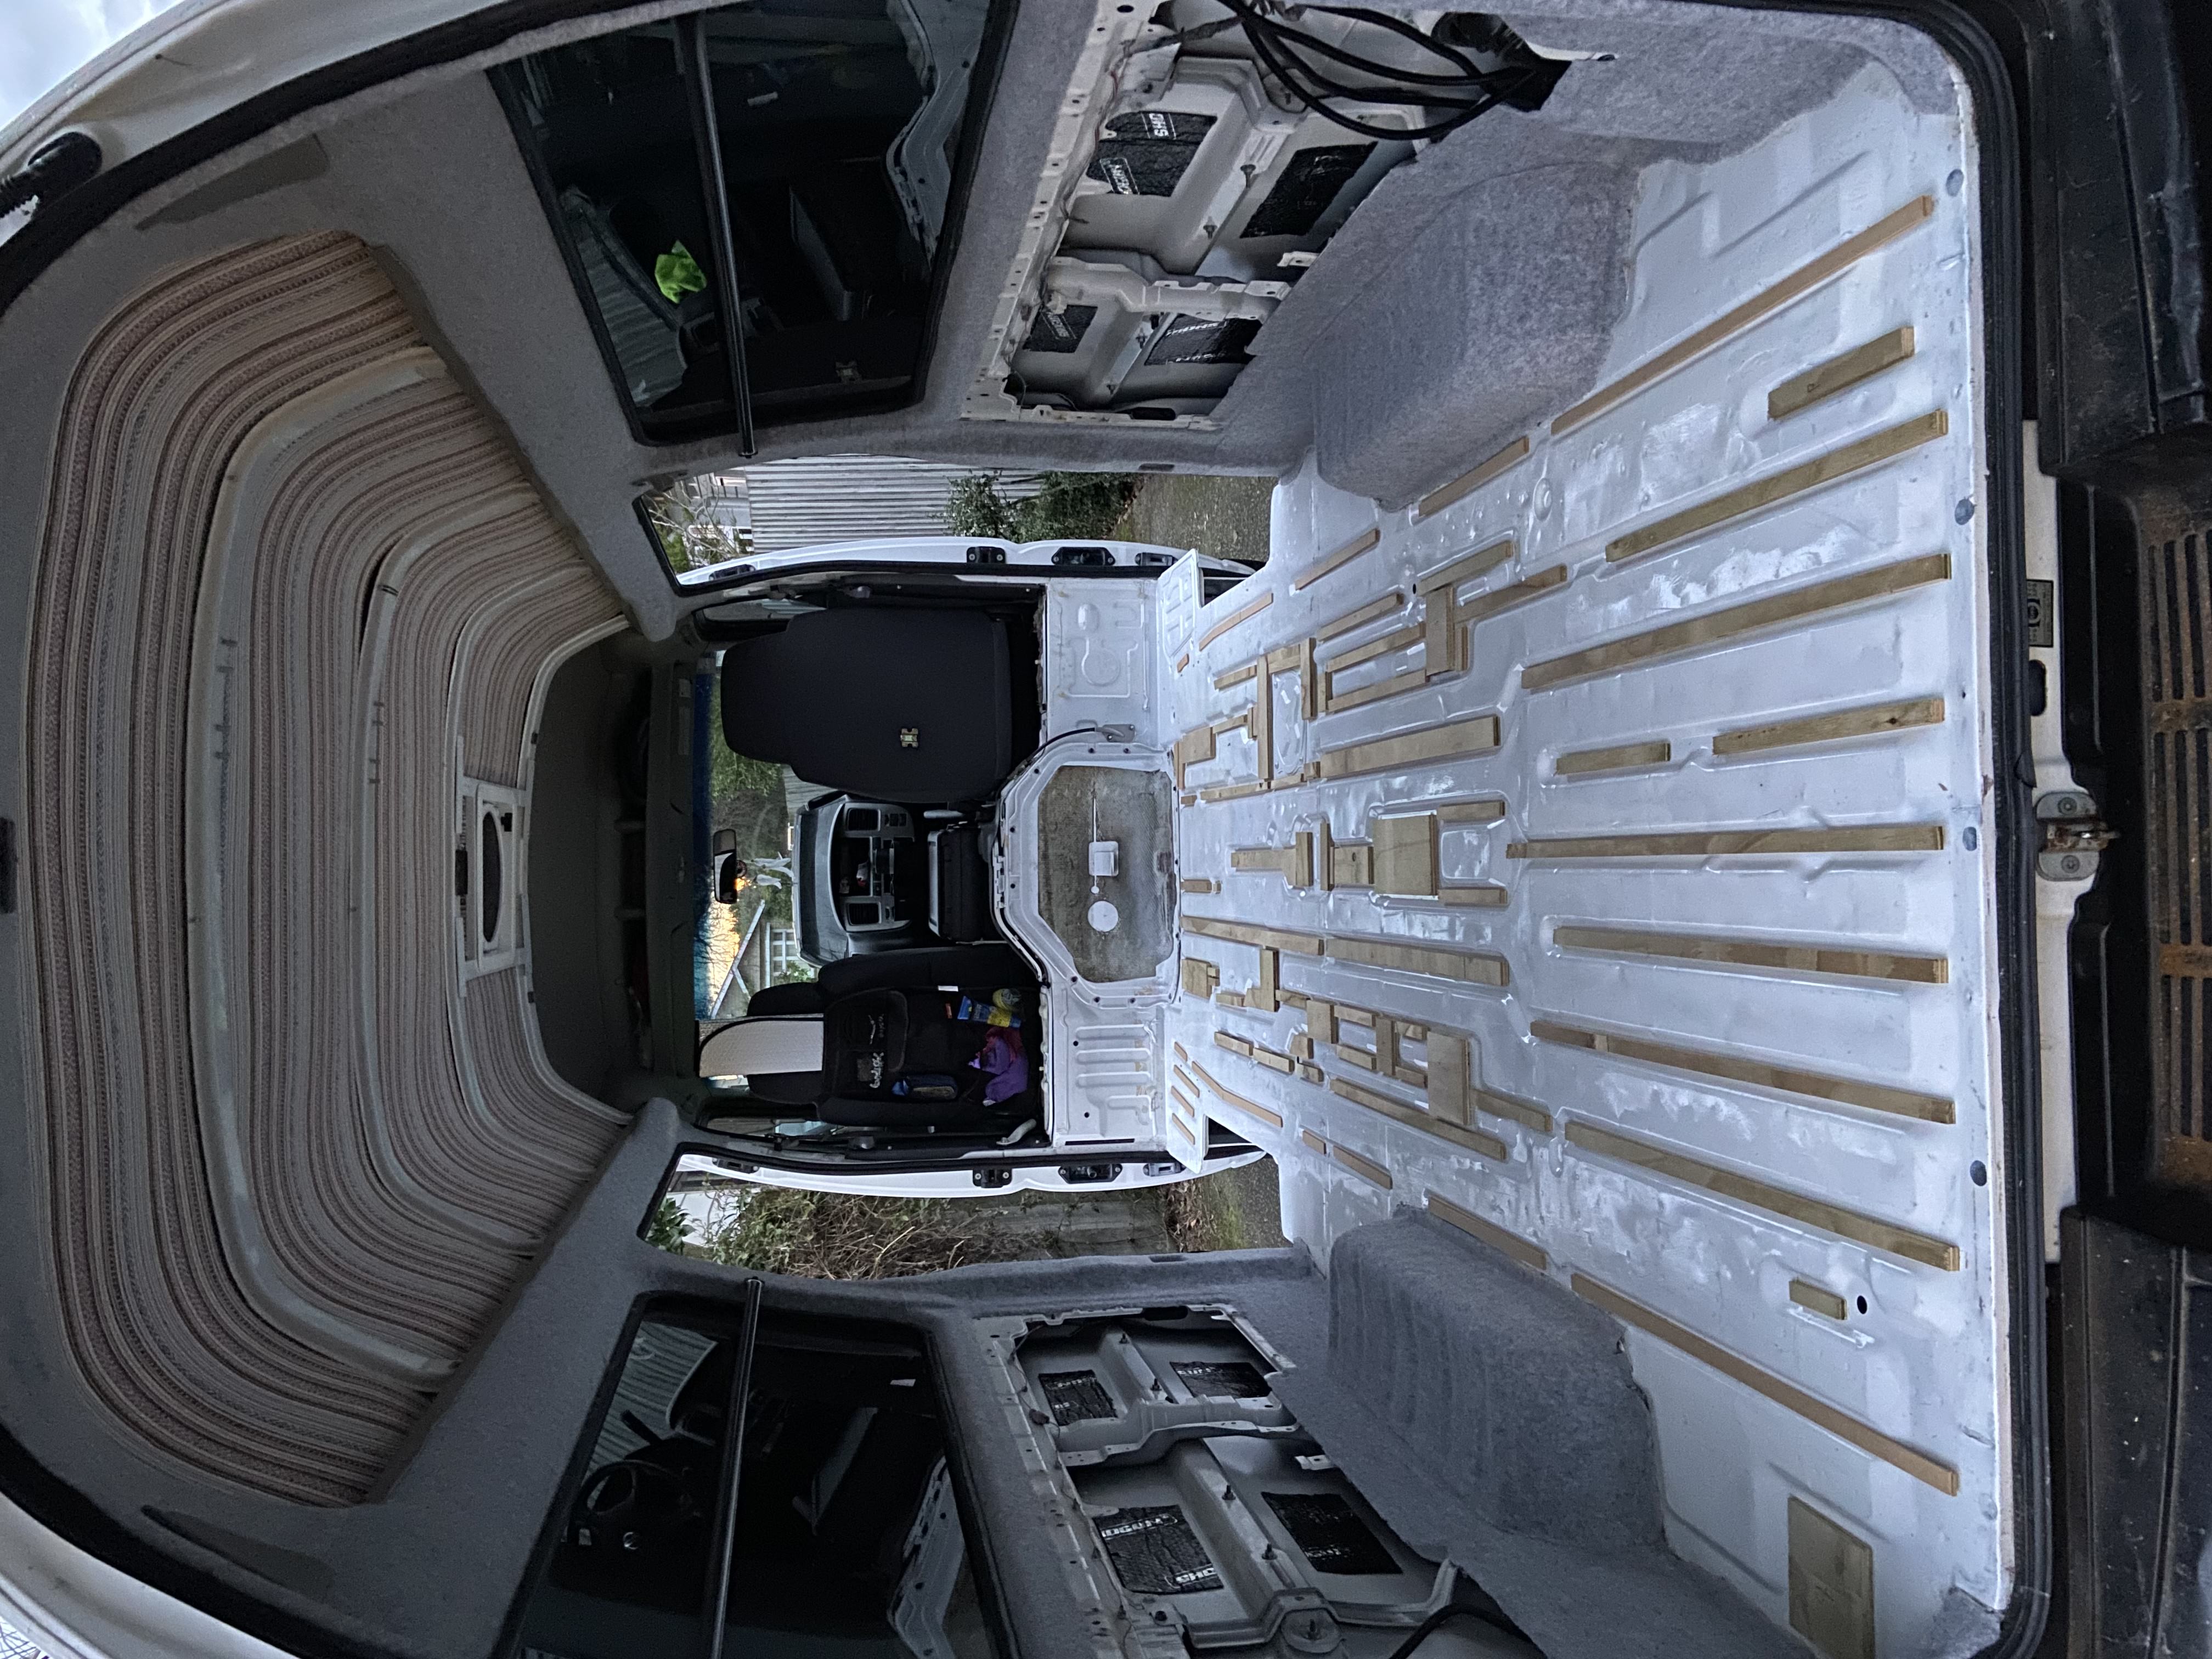
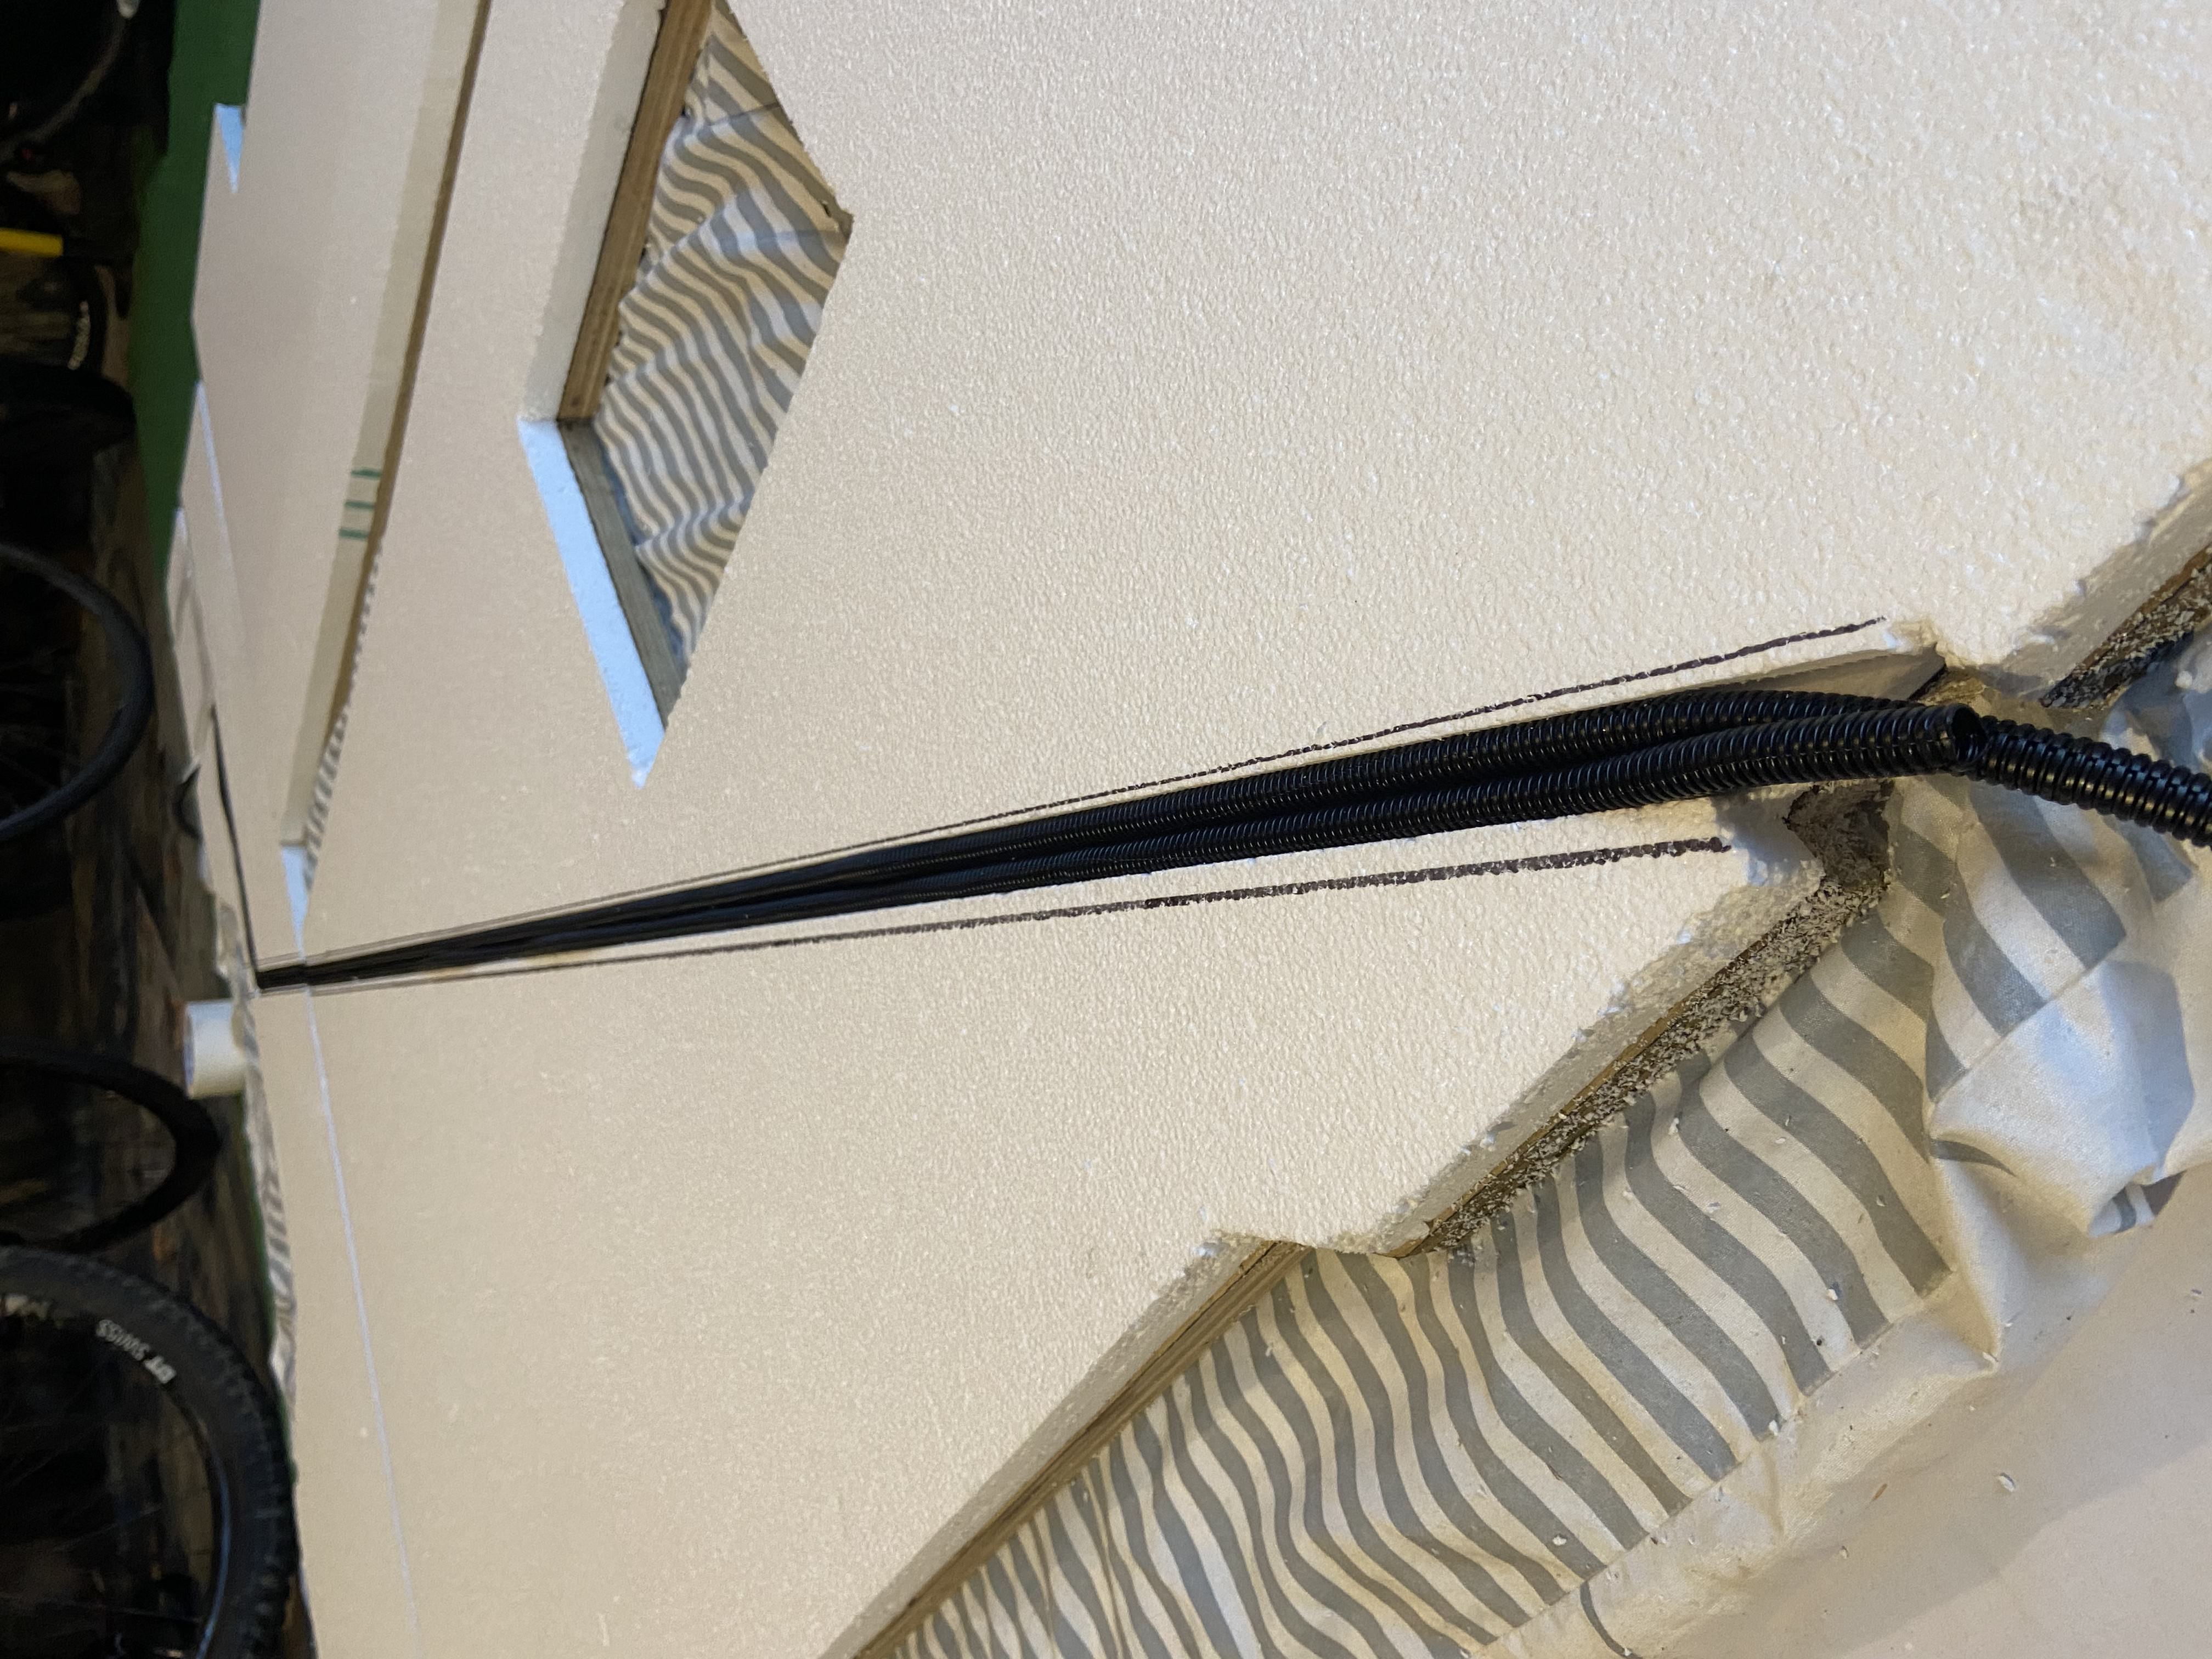
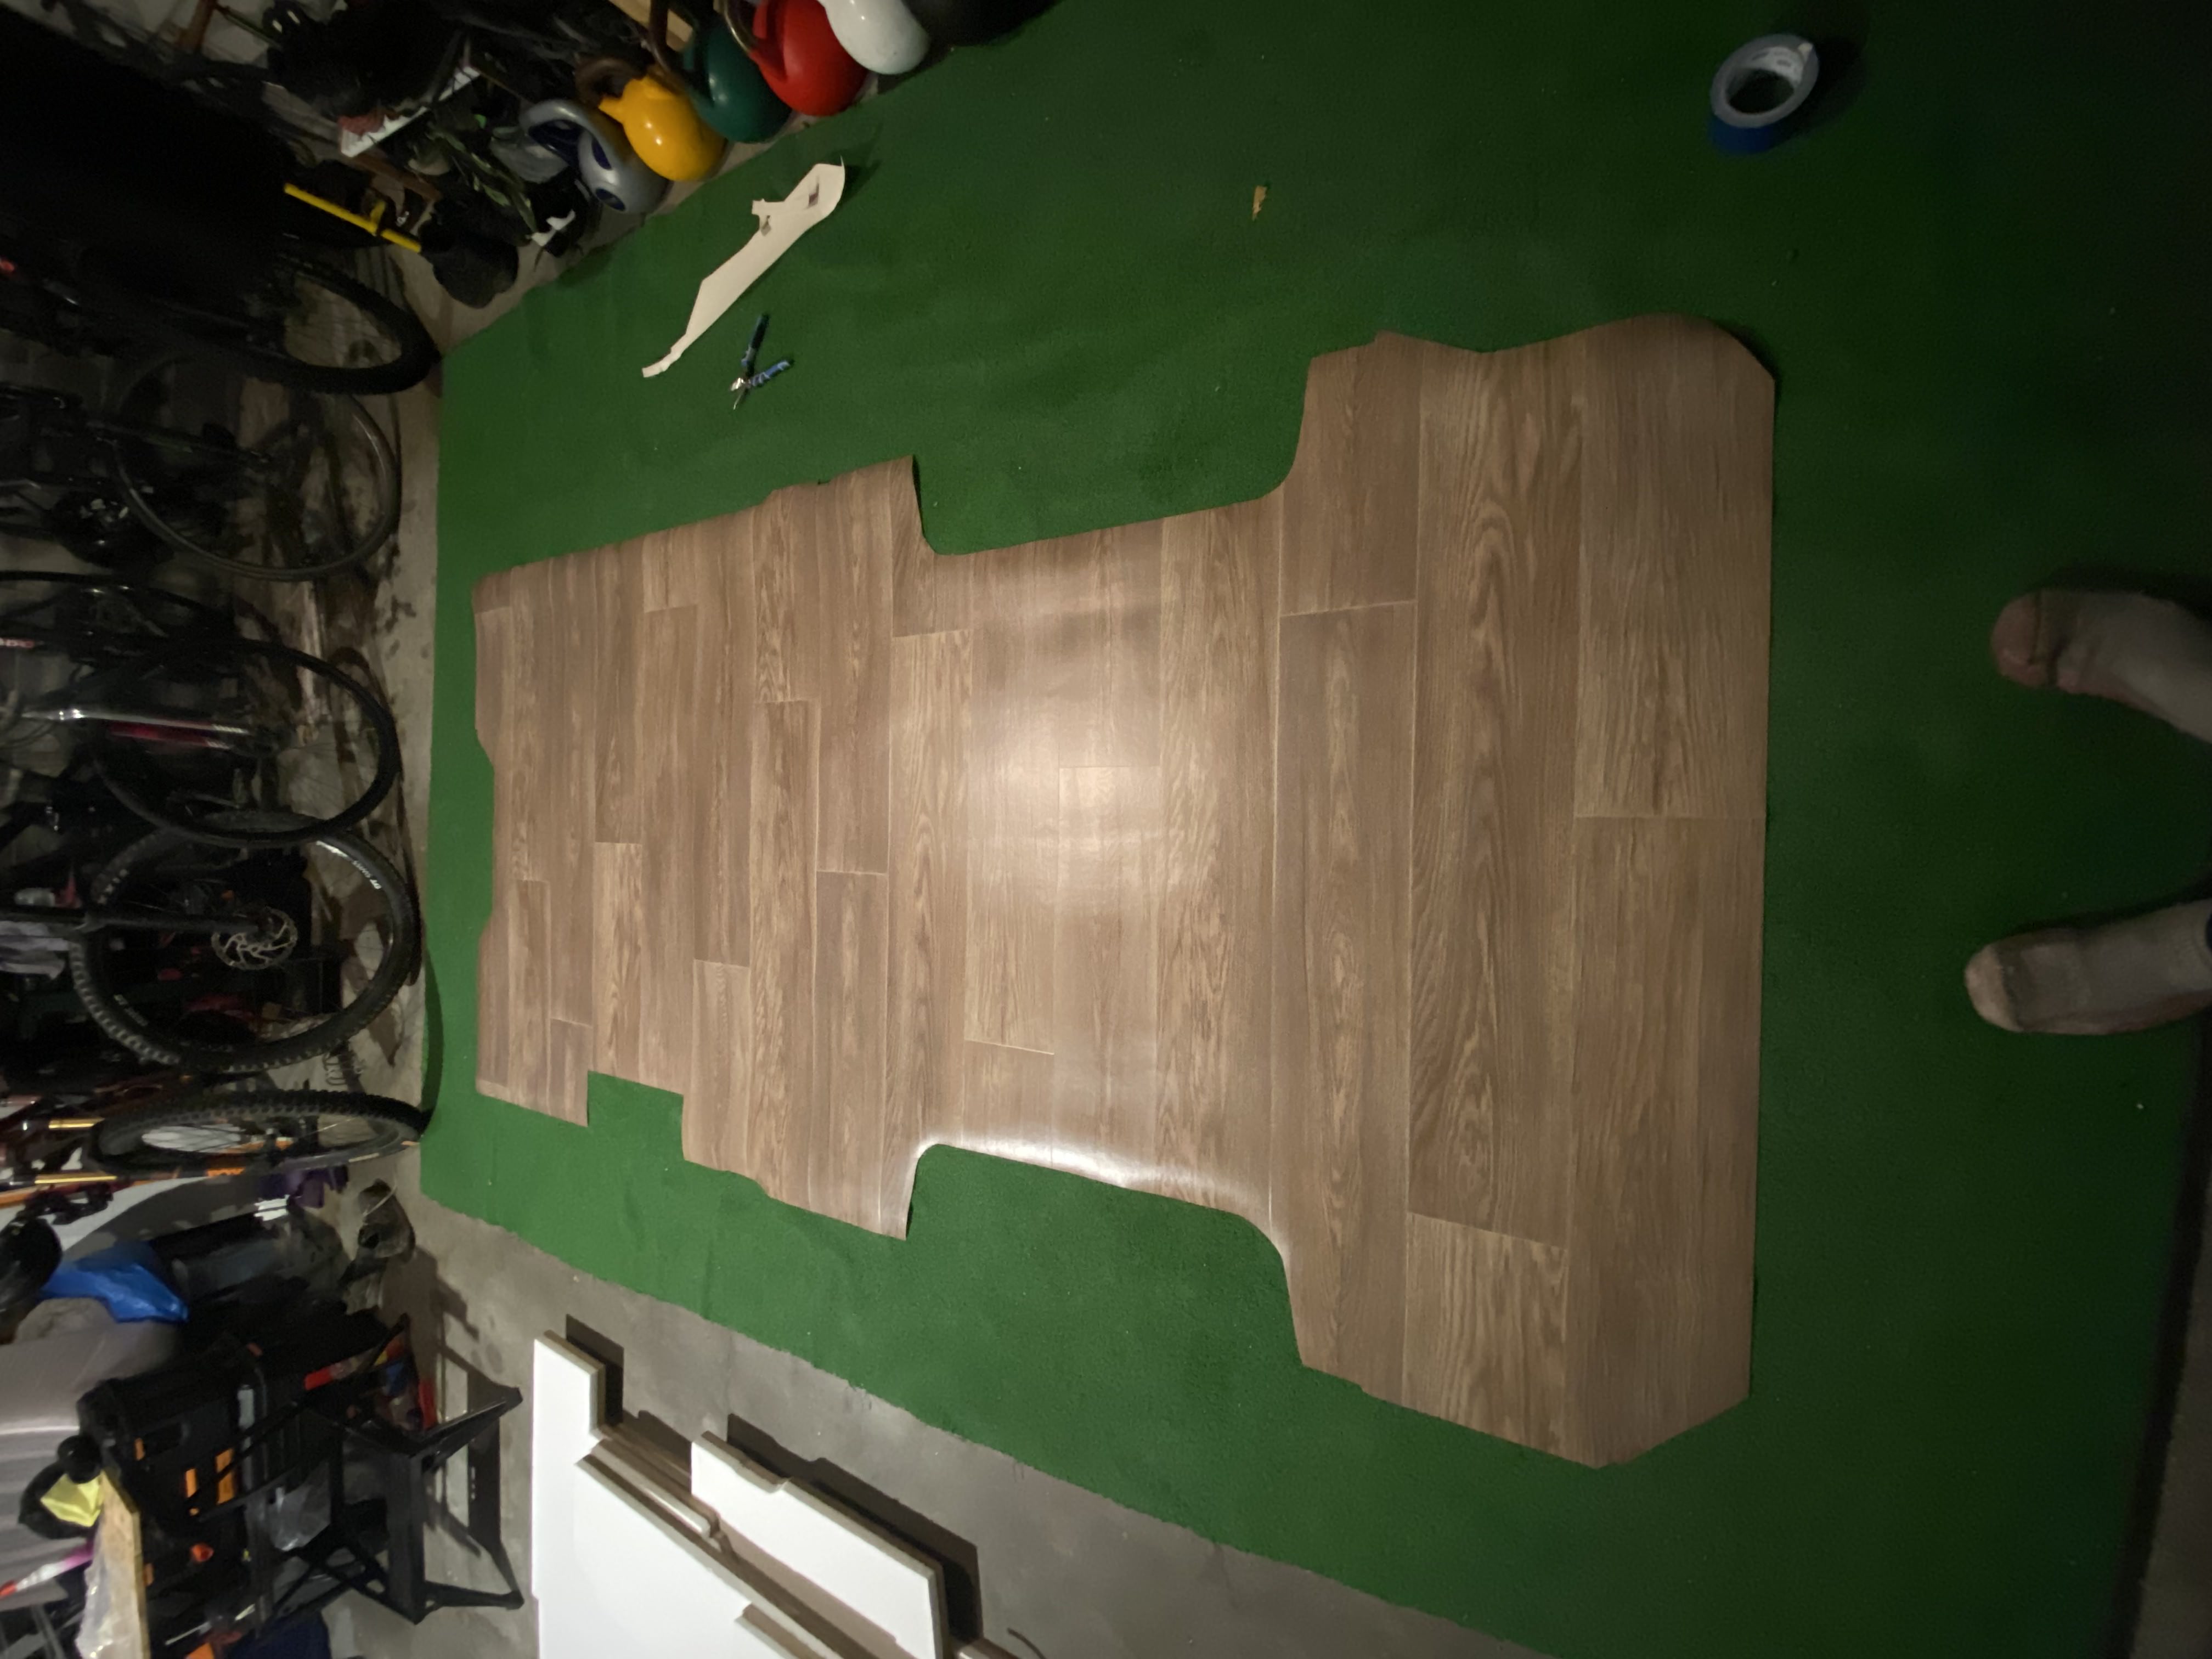
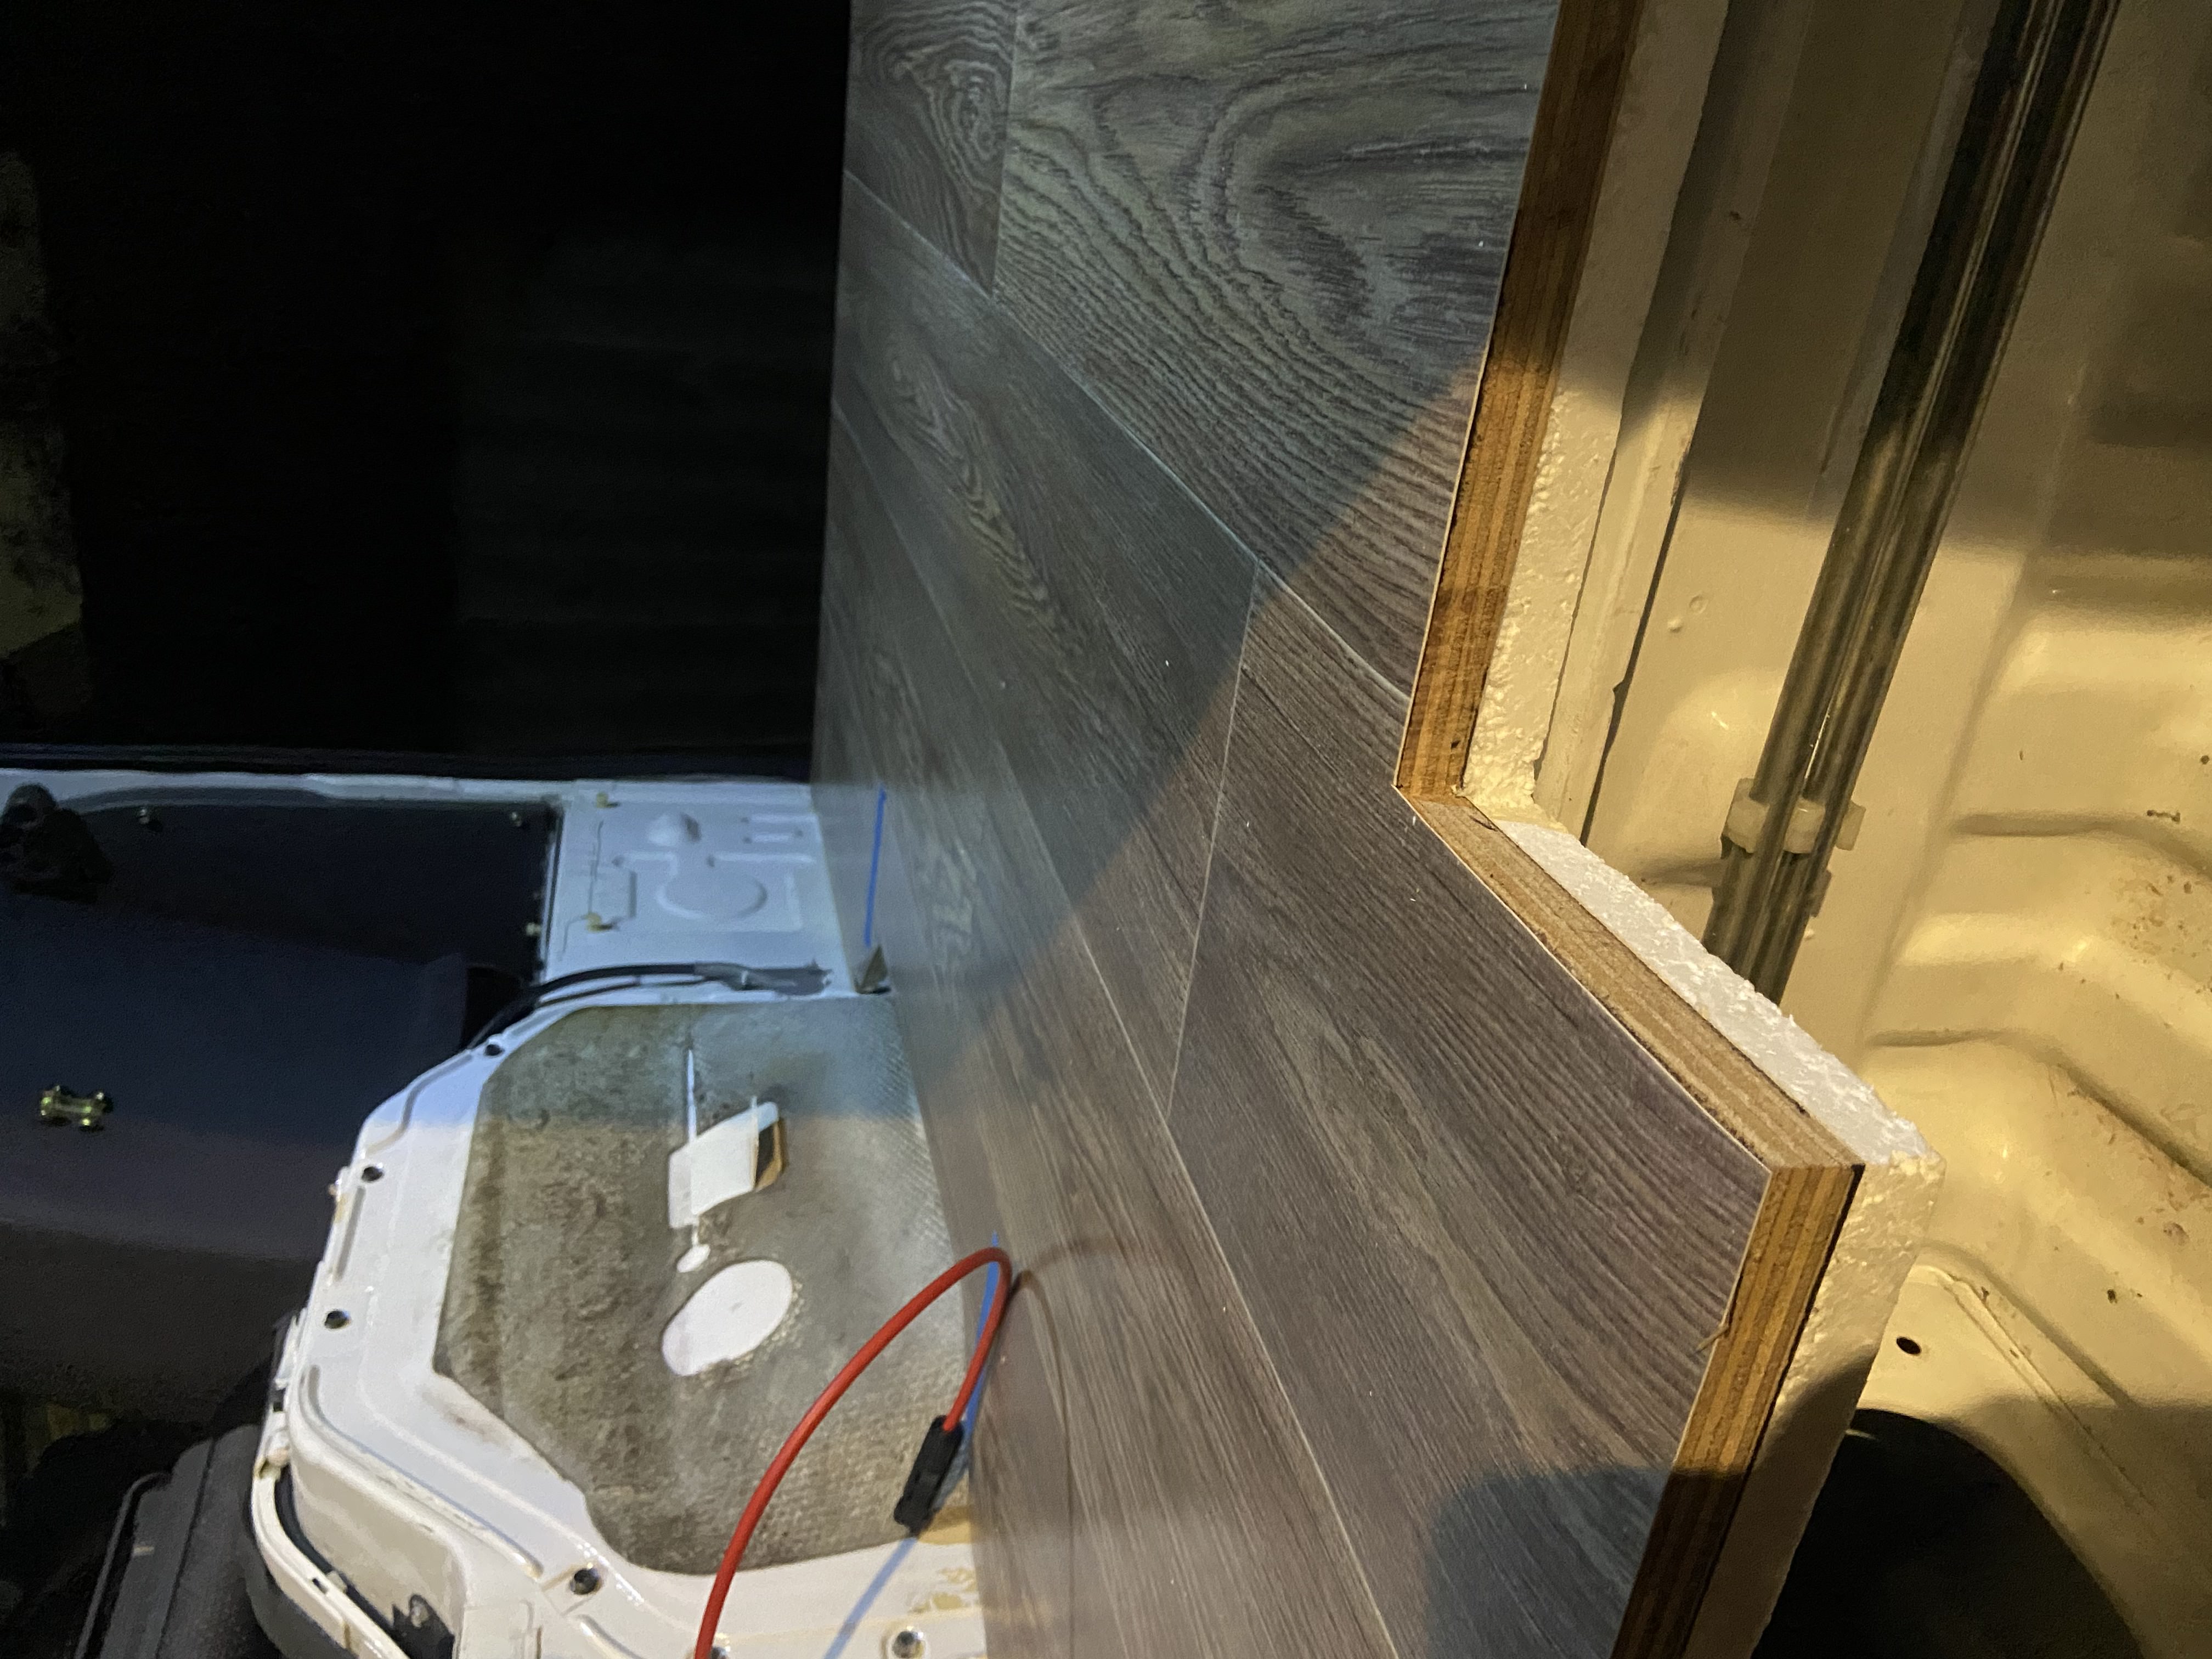
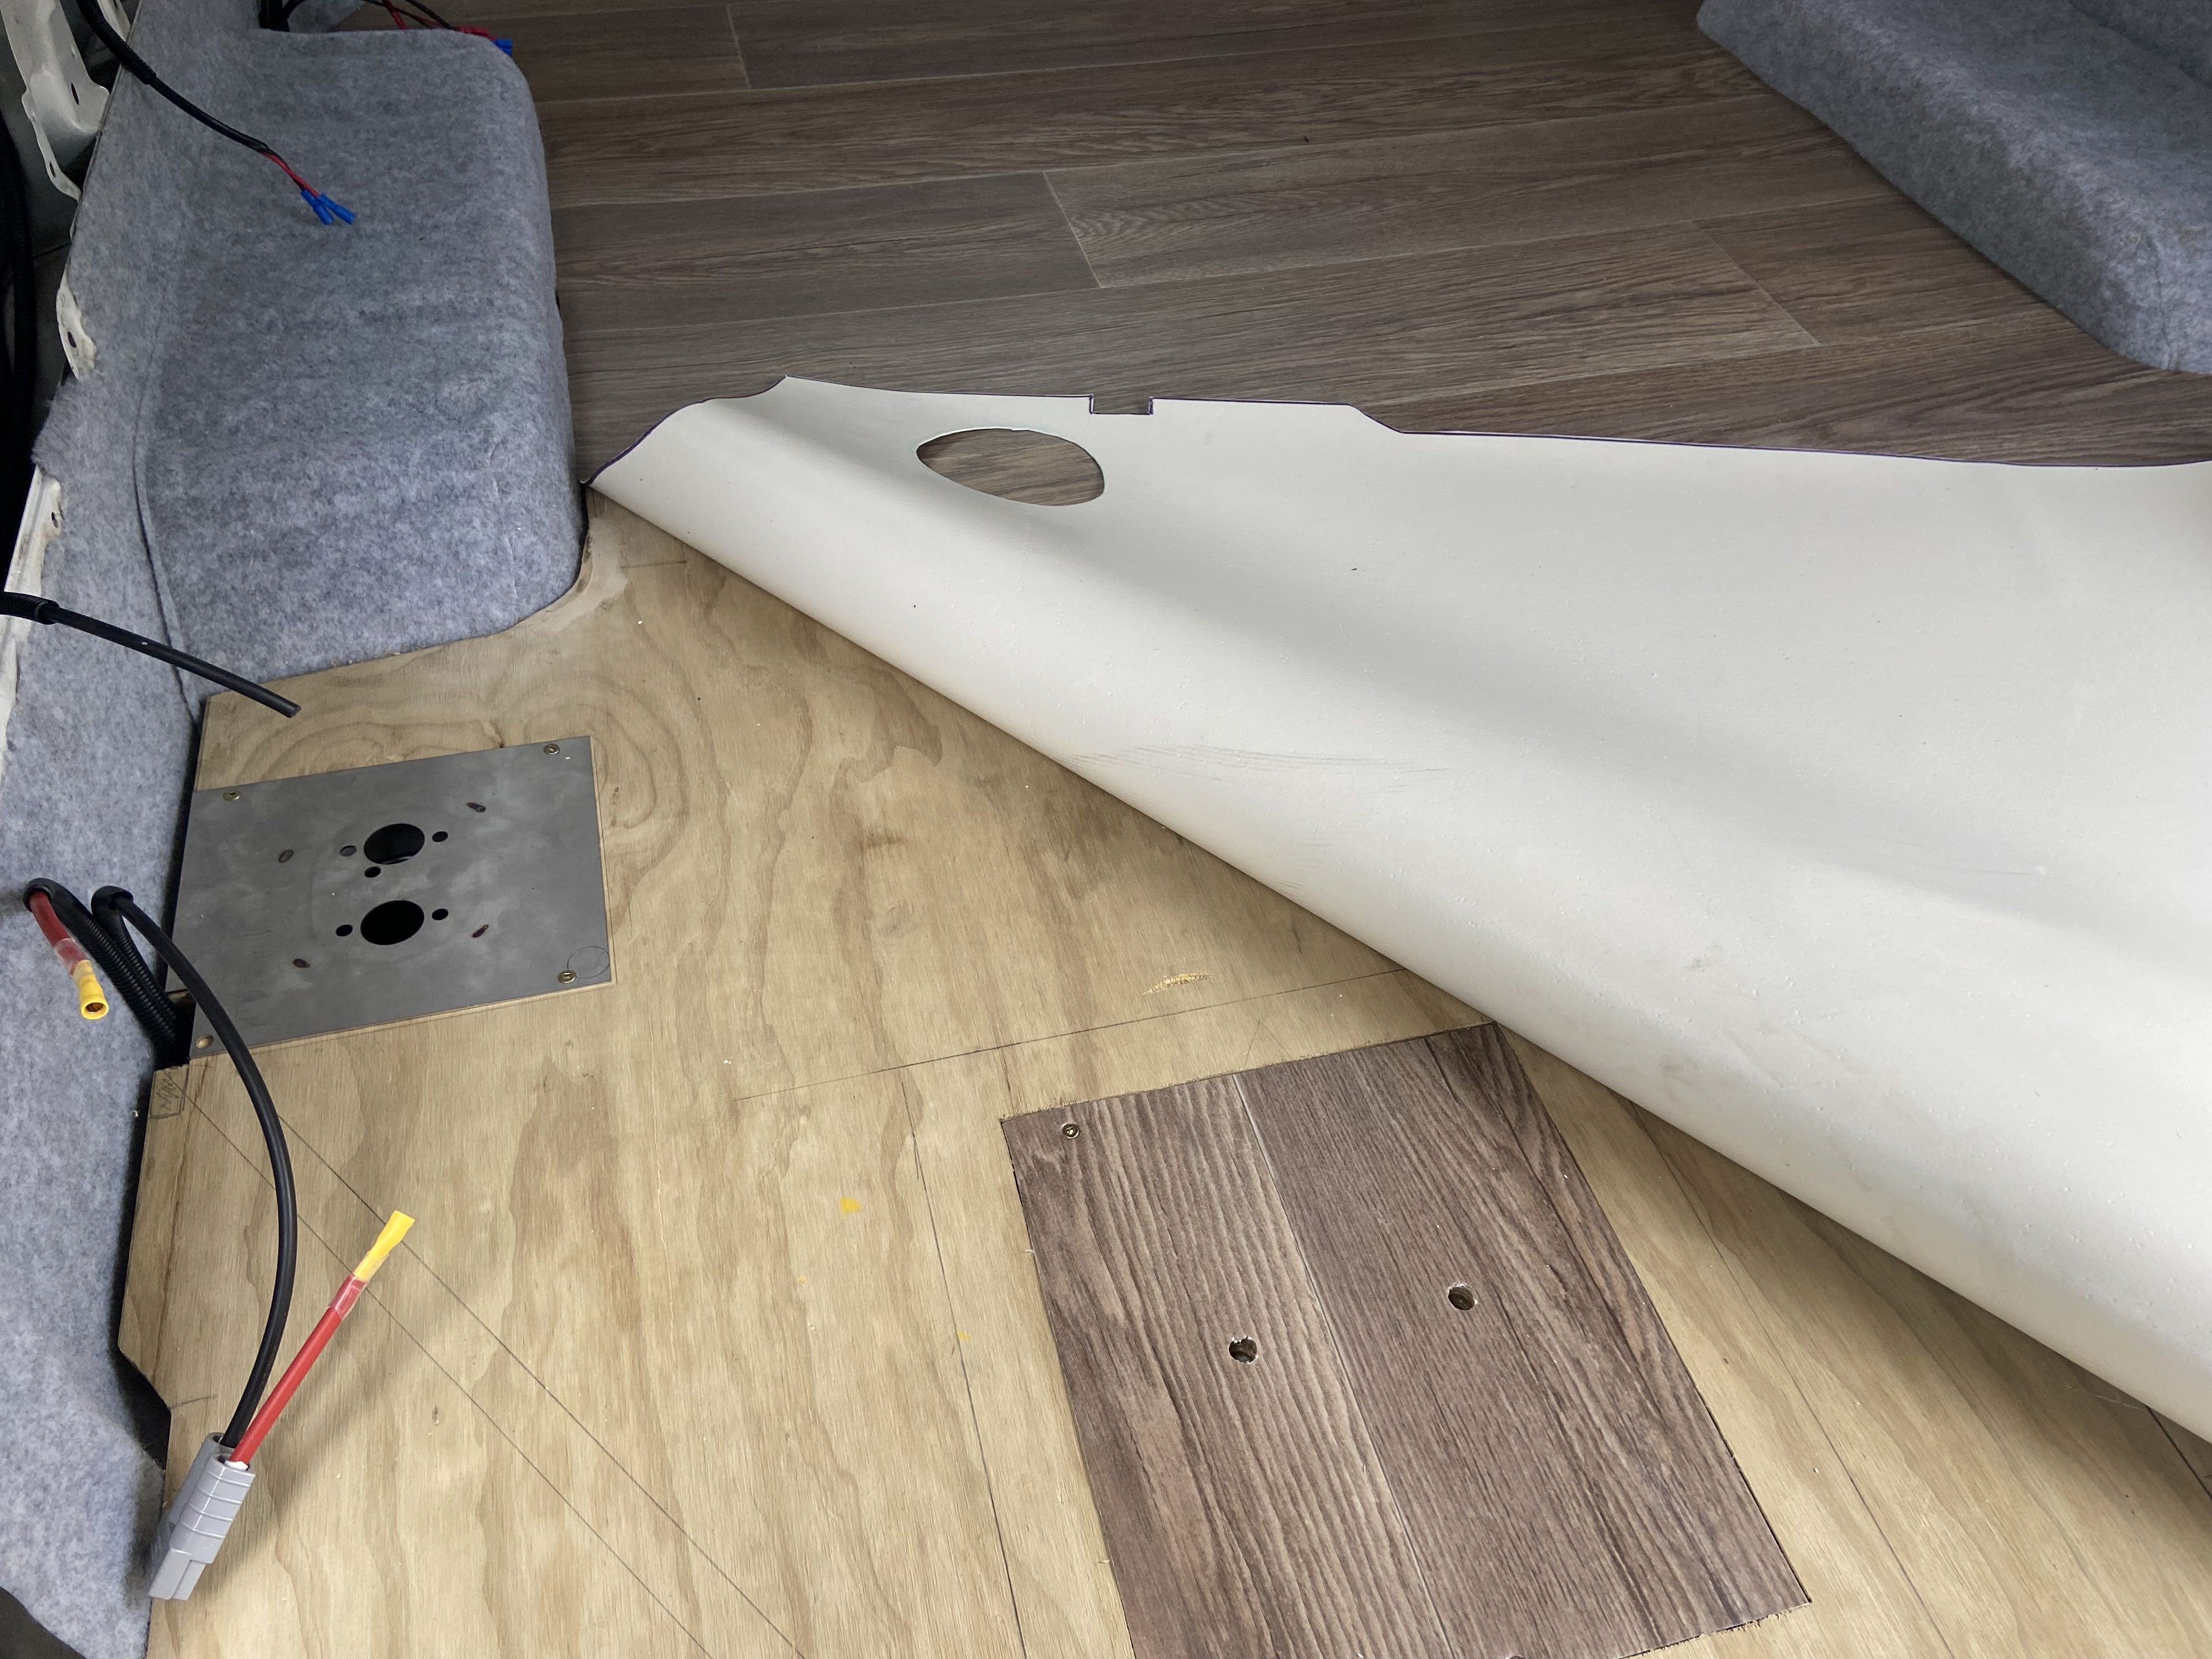
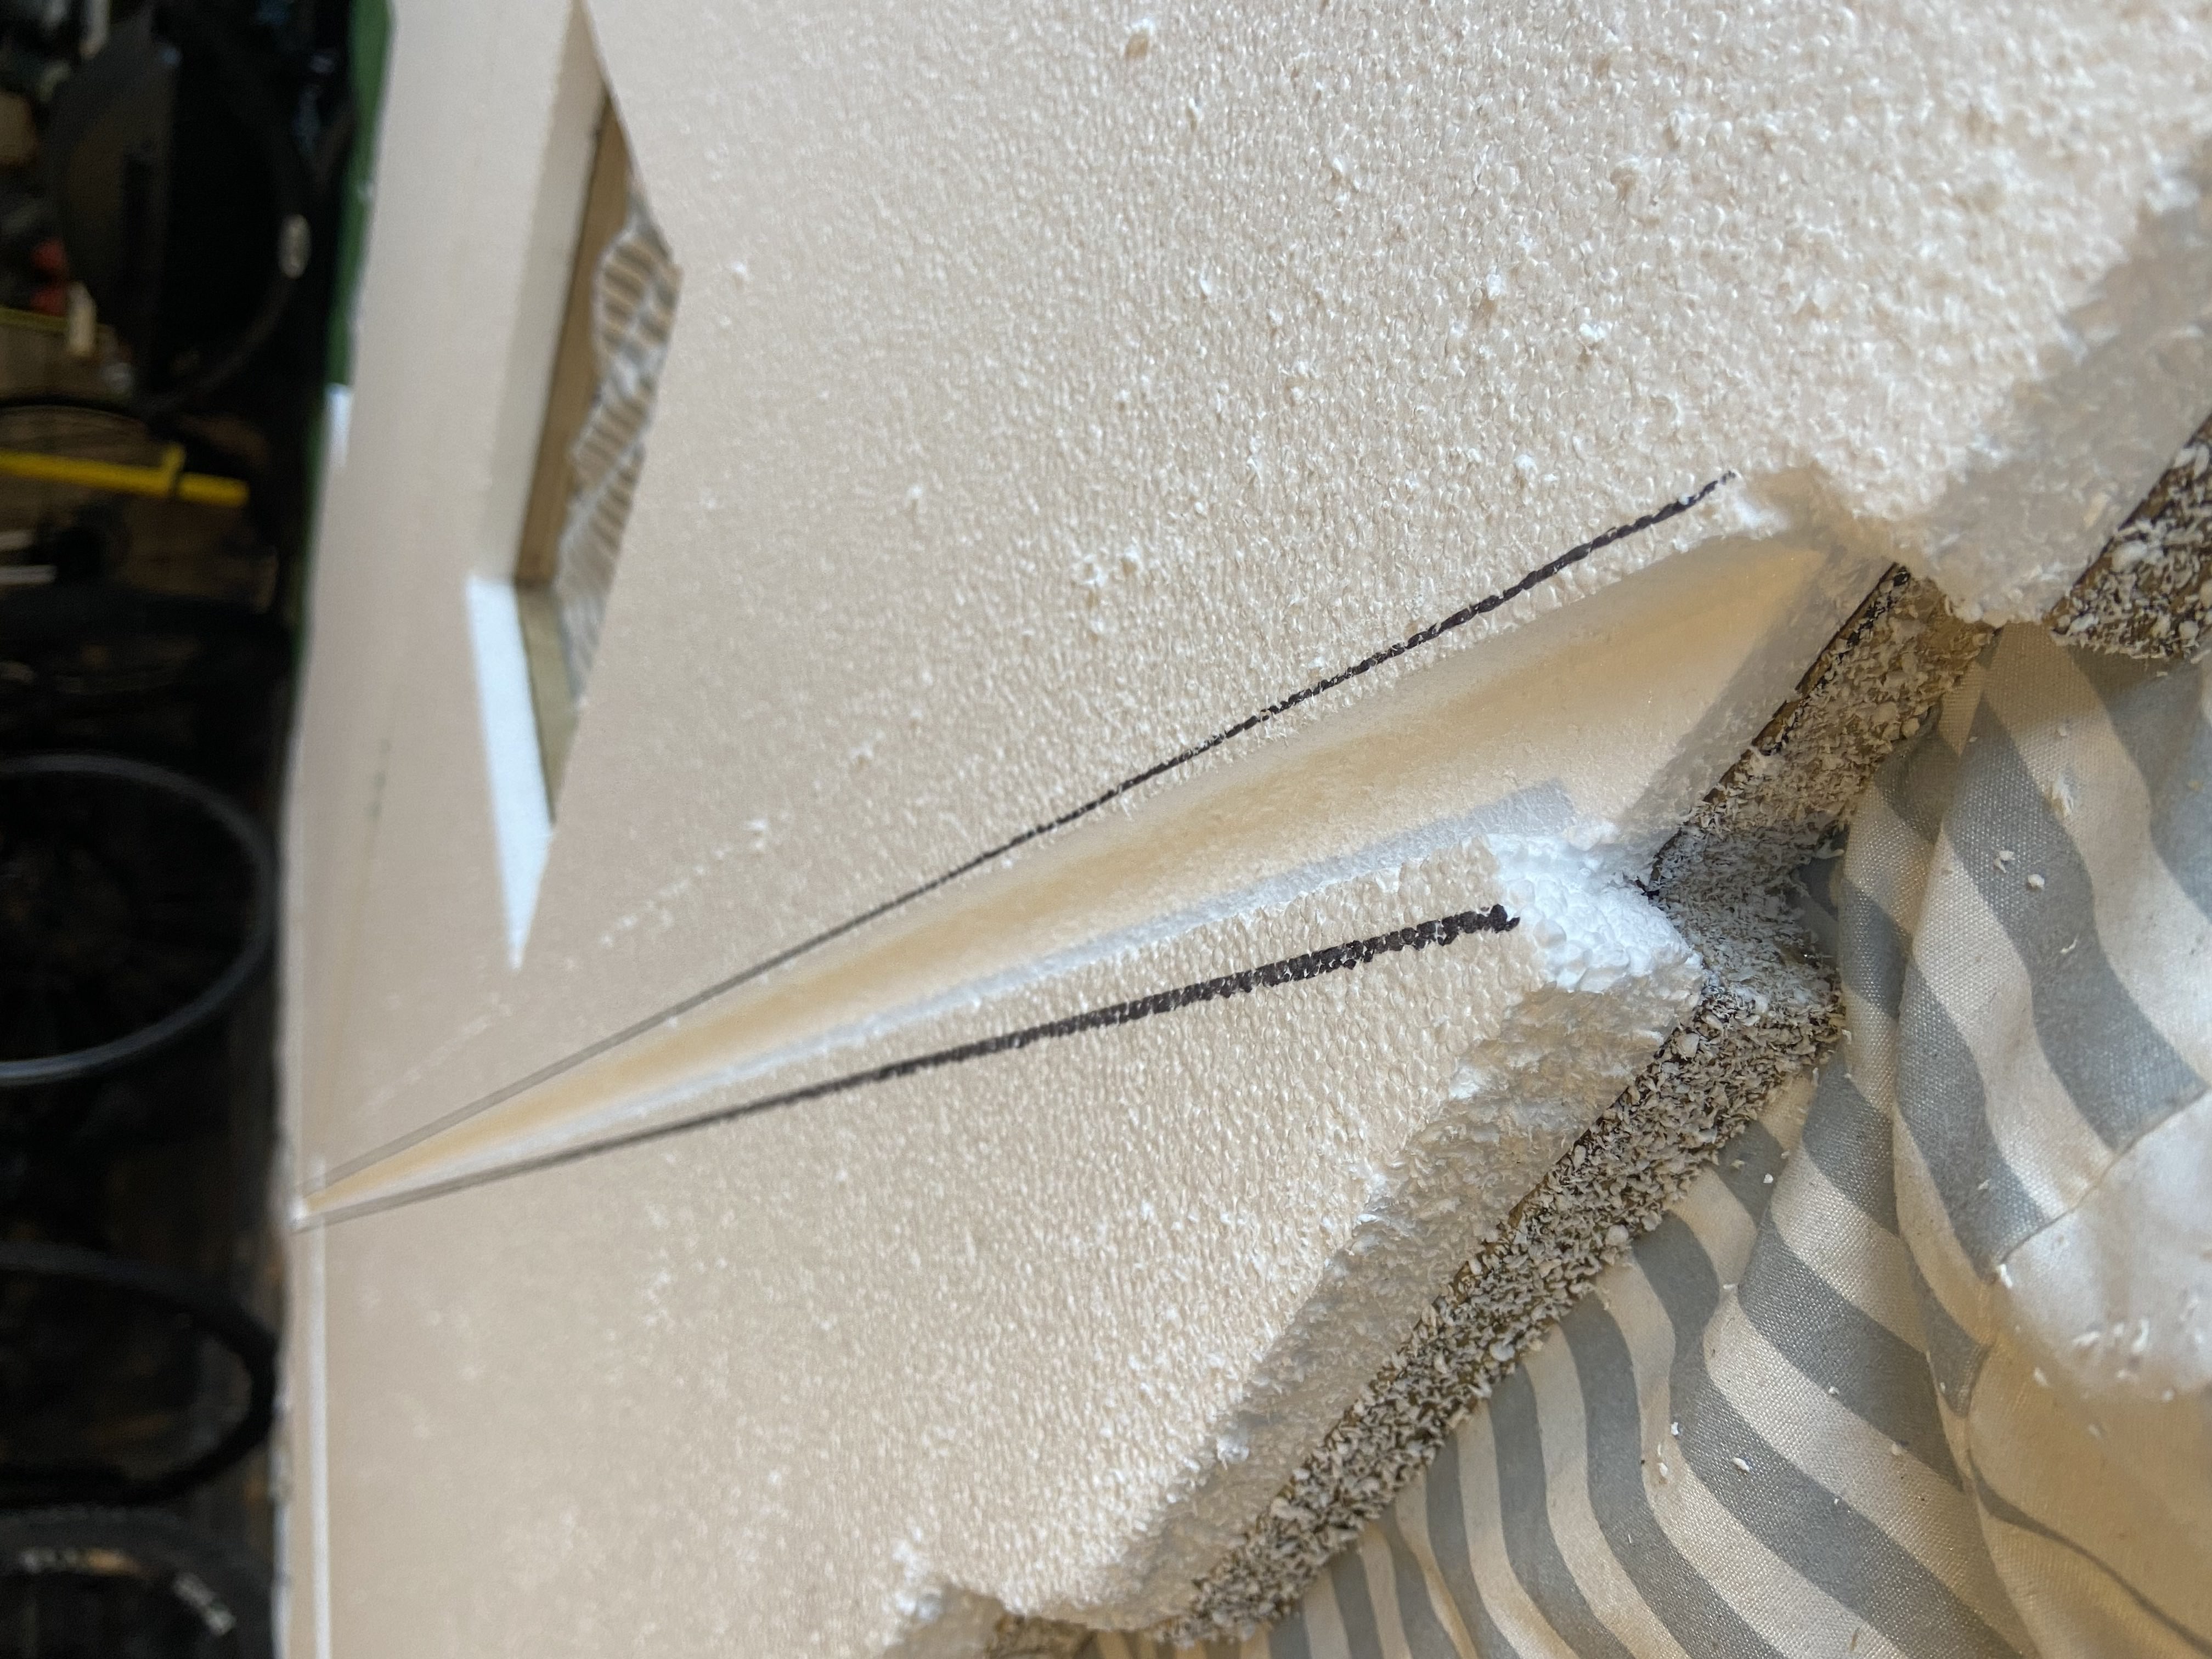
May 2023, after returning from holiday I started working on the floor. First step was preparing the floor for repainting to prevent any rust in the future. After painting, I was able to glue some wooden battens to the surface, which would be used to screw in the plywood boards. Next step was cutting the plywood to shape, followed by attaching 30mm polystyrene insulation to the underside. I had to route out some channels in some sections of the insulation to accommodate some cable conduits. Next step was to cut the vinyl flooring to shape. Once installed, I was then able to drill the holes through the floor required for the diesel heater intake and exhaust pipes.
Preparing the floor for painting
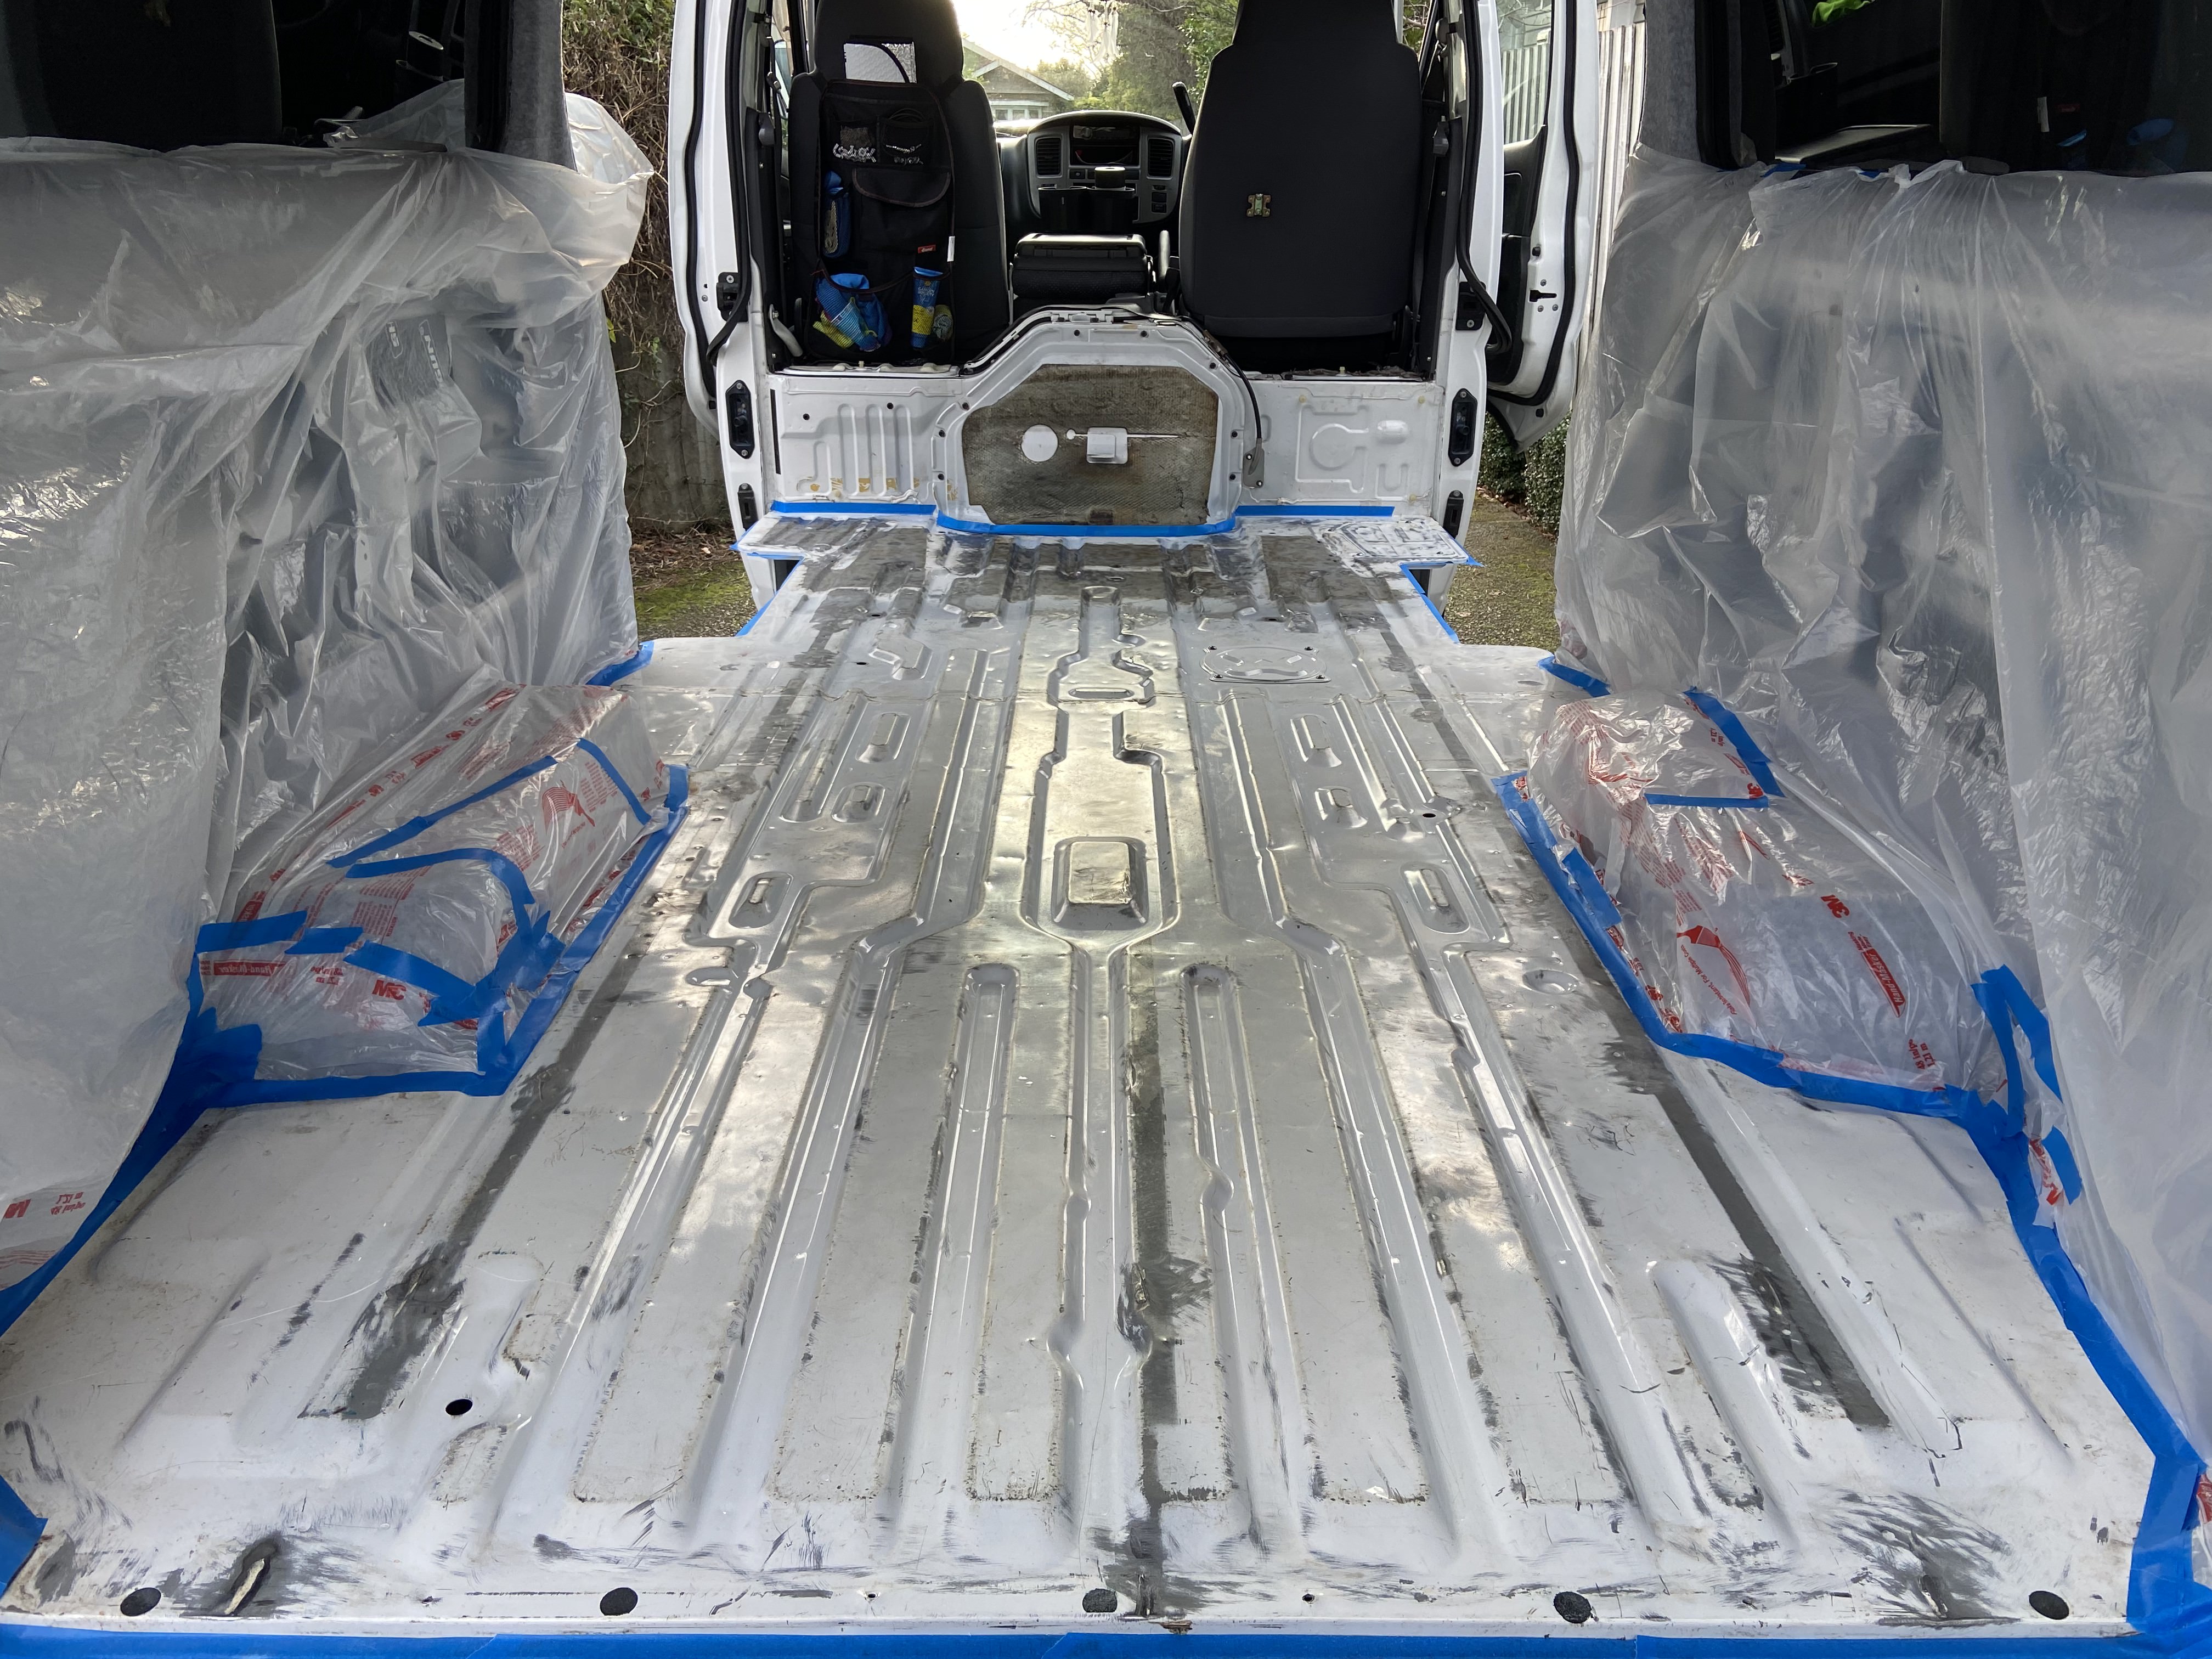
Freshly painted floor
Installing floor batons
Routing out space for cable conduits
Cutting out vinyl flooring
Installing plywood floor boards
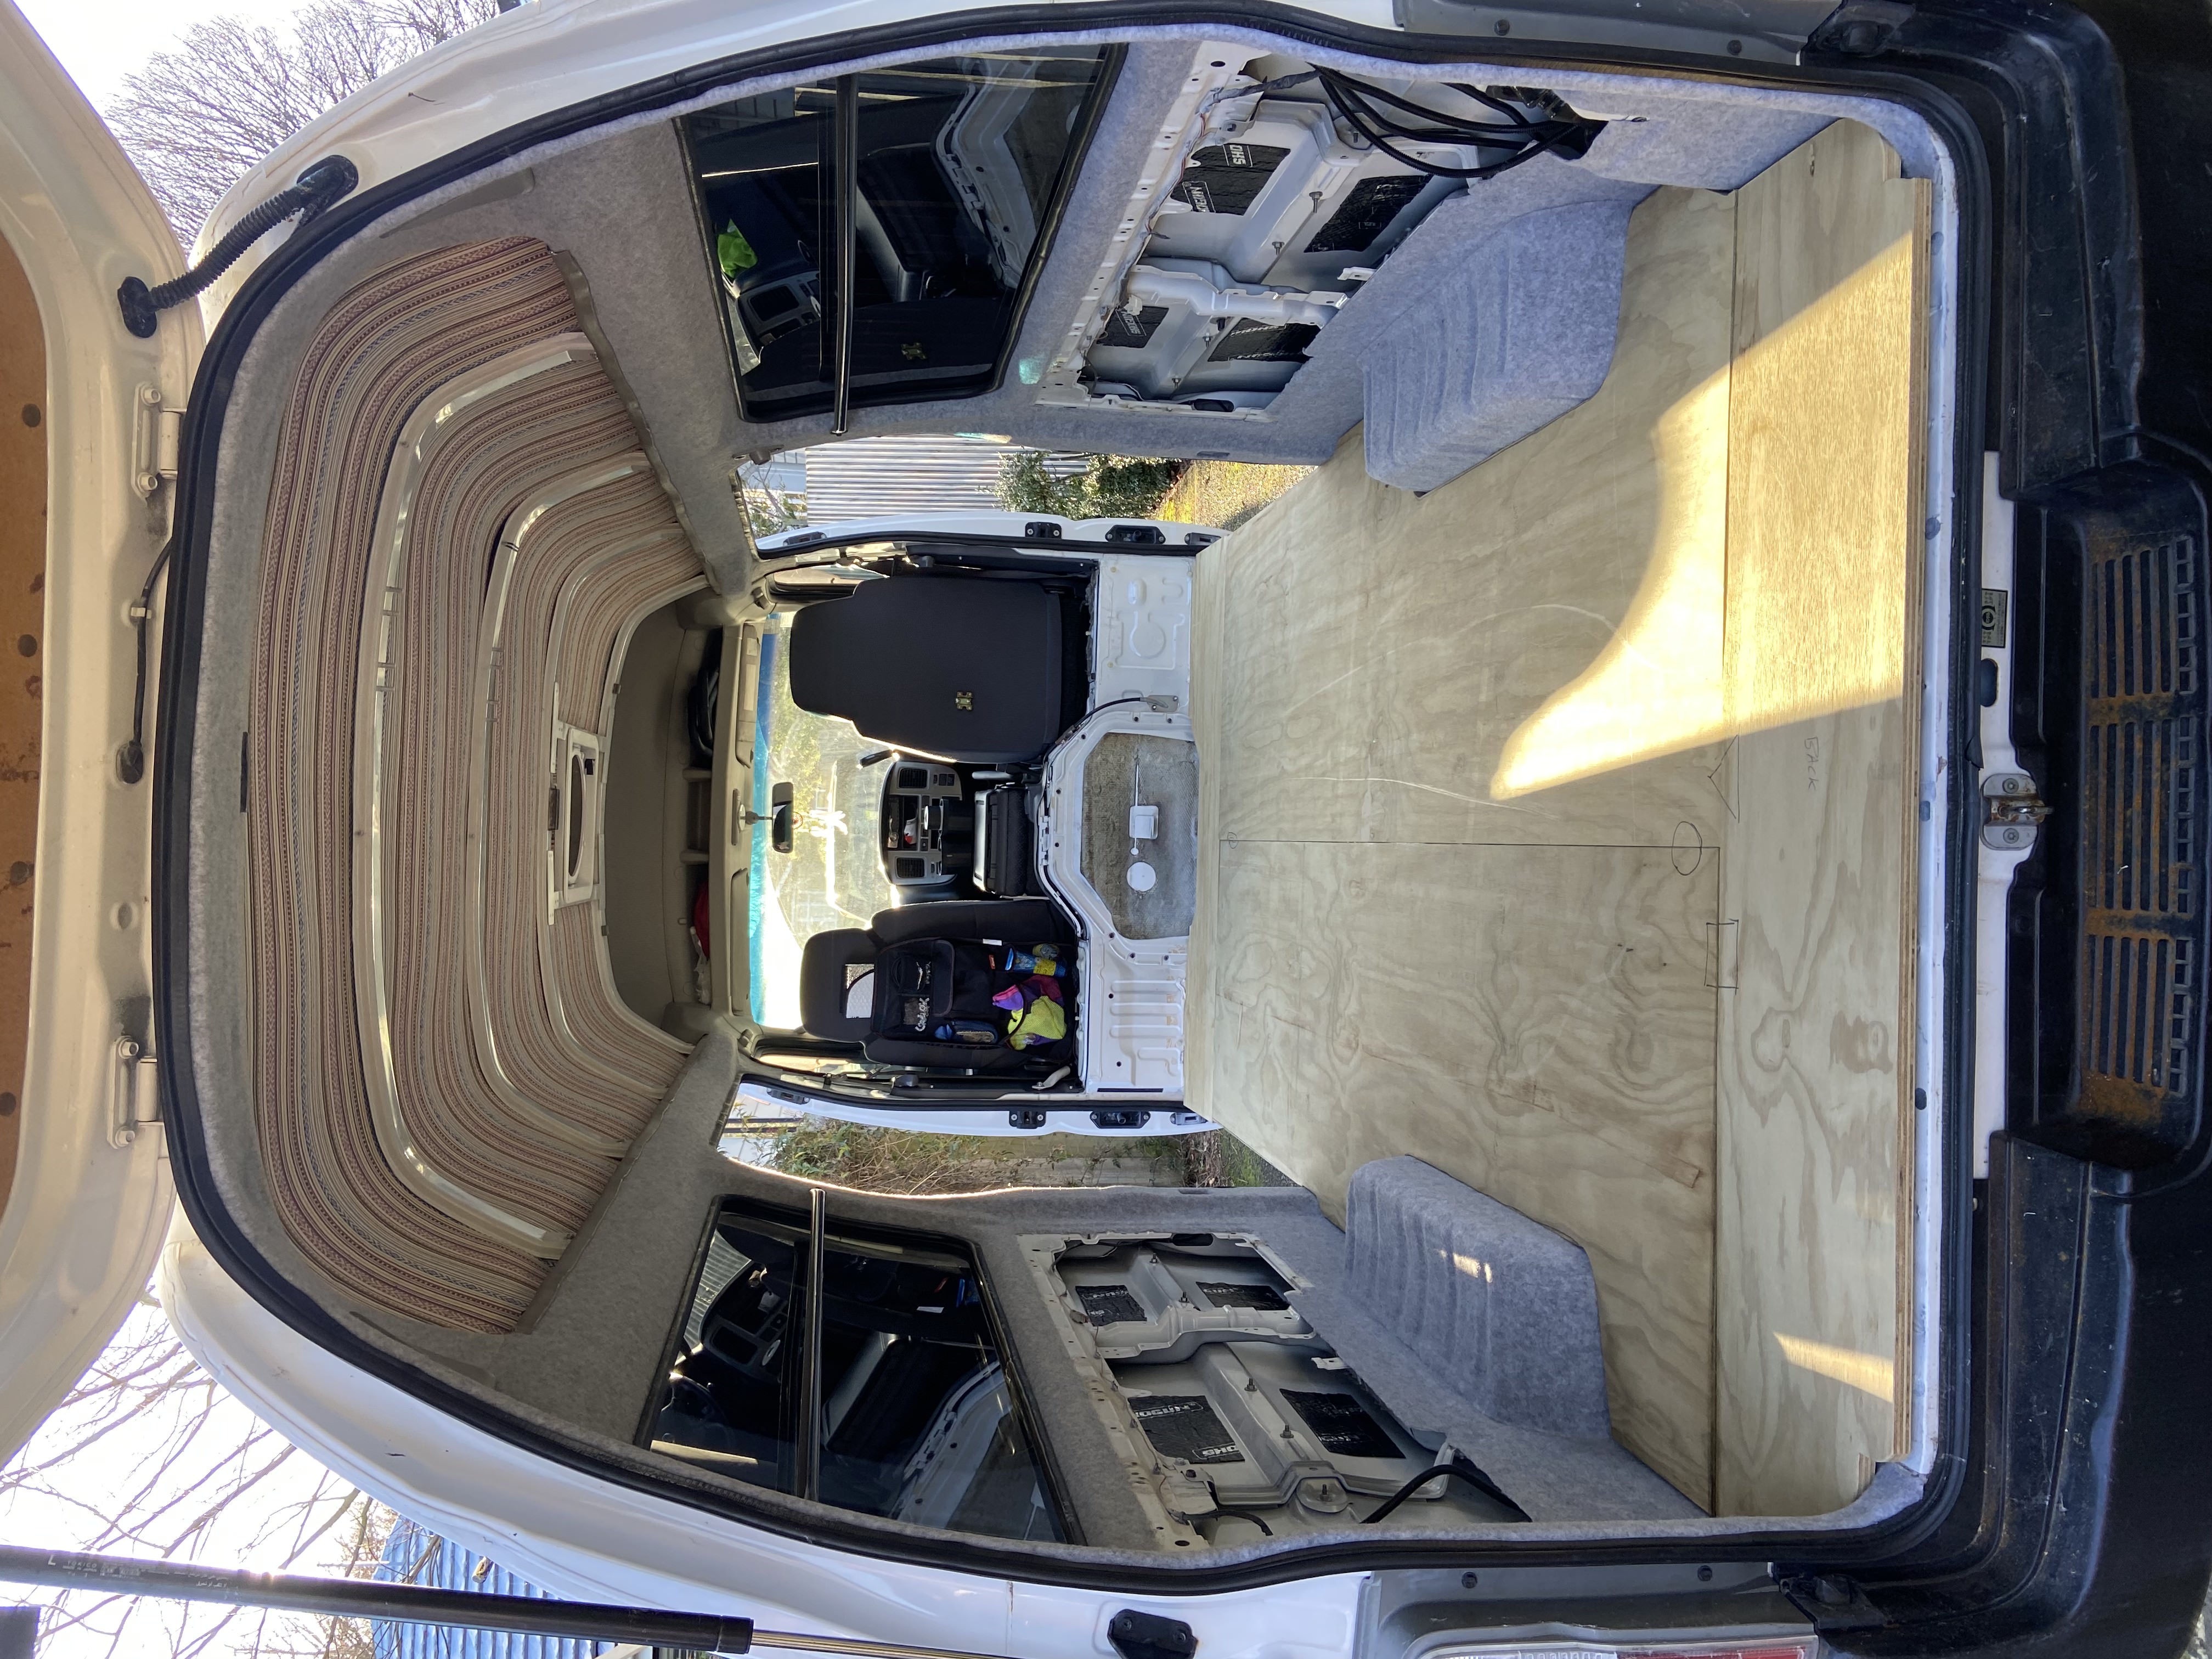
Finished floor
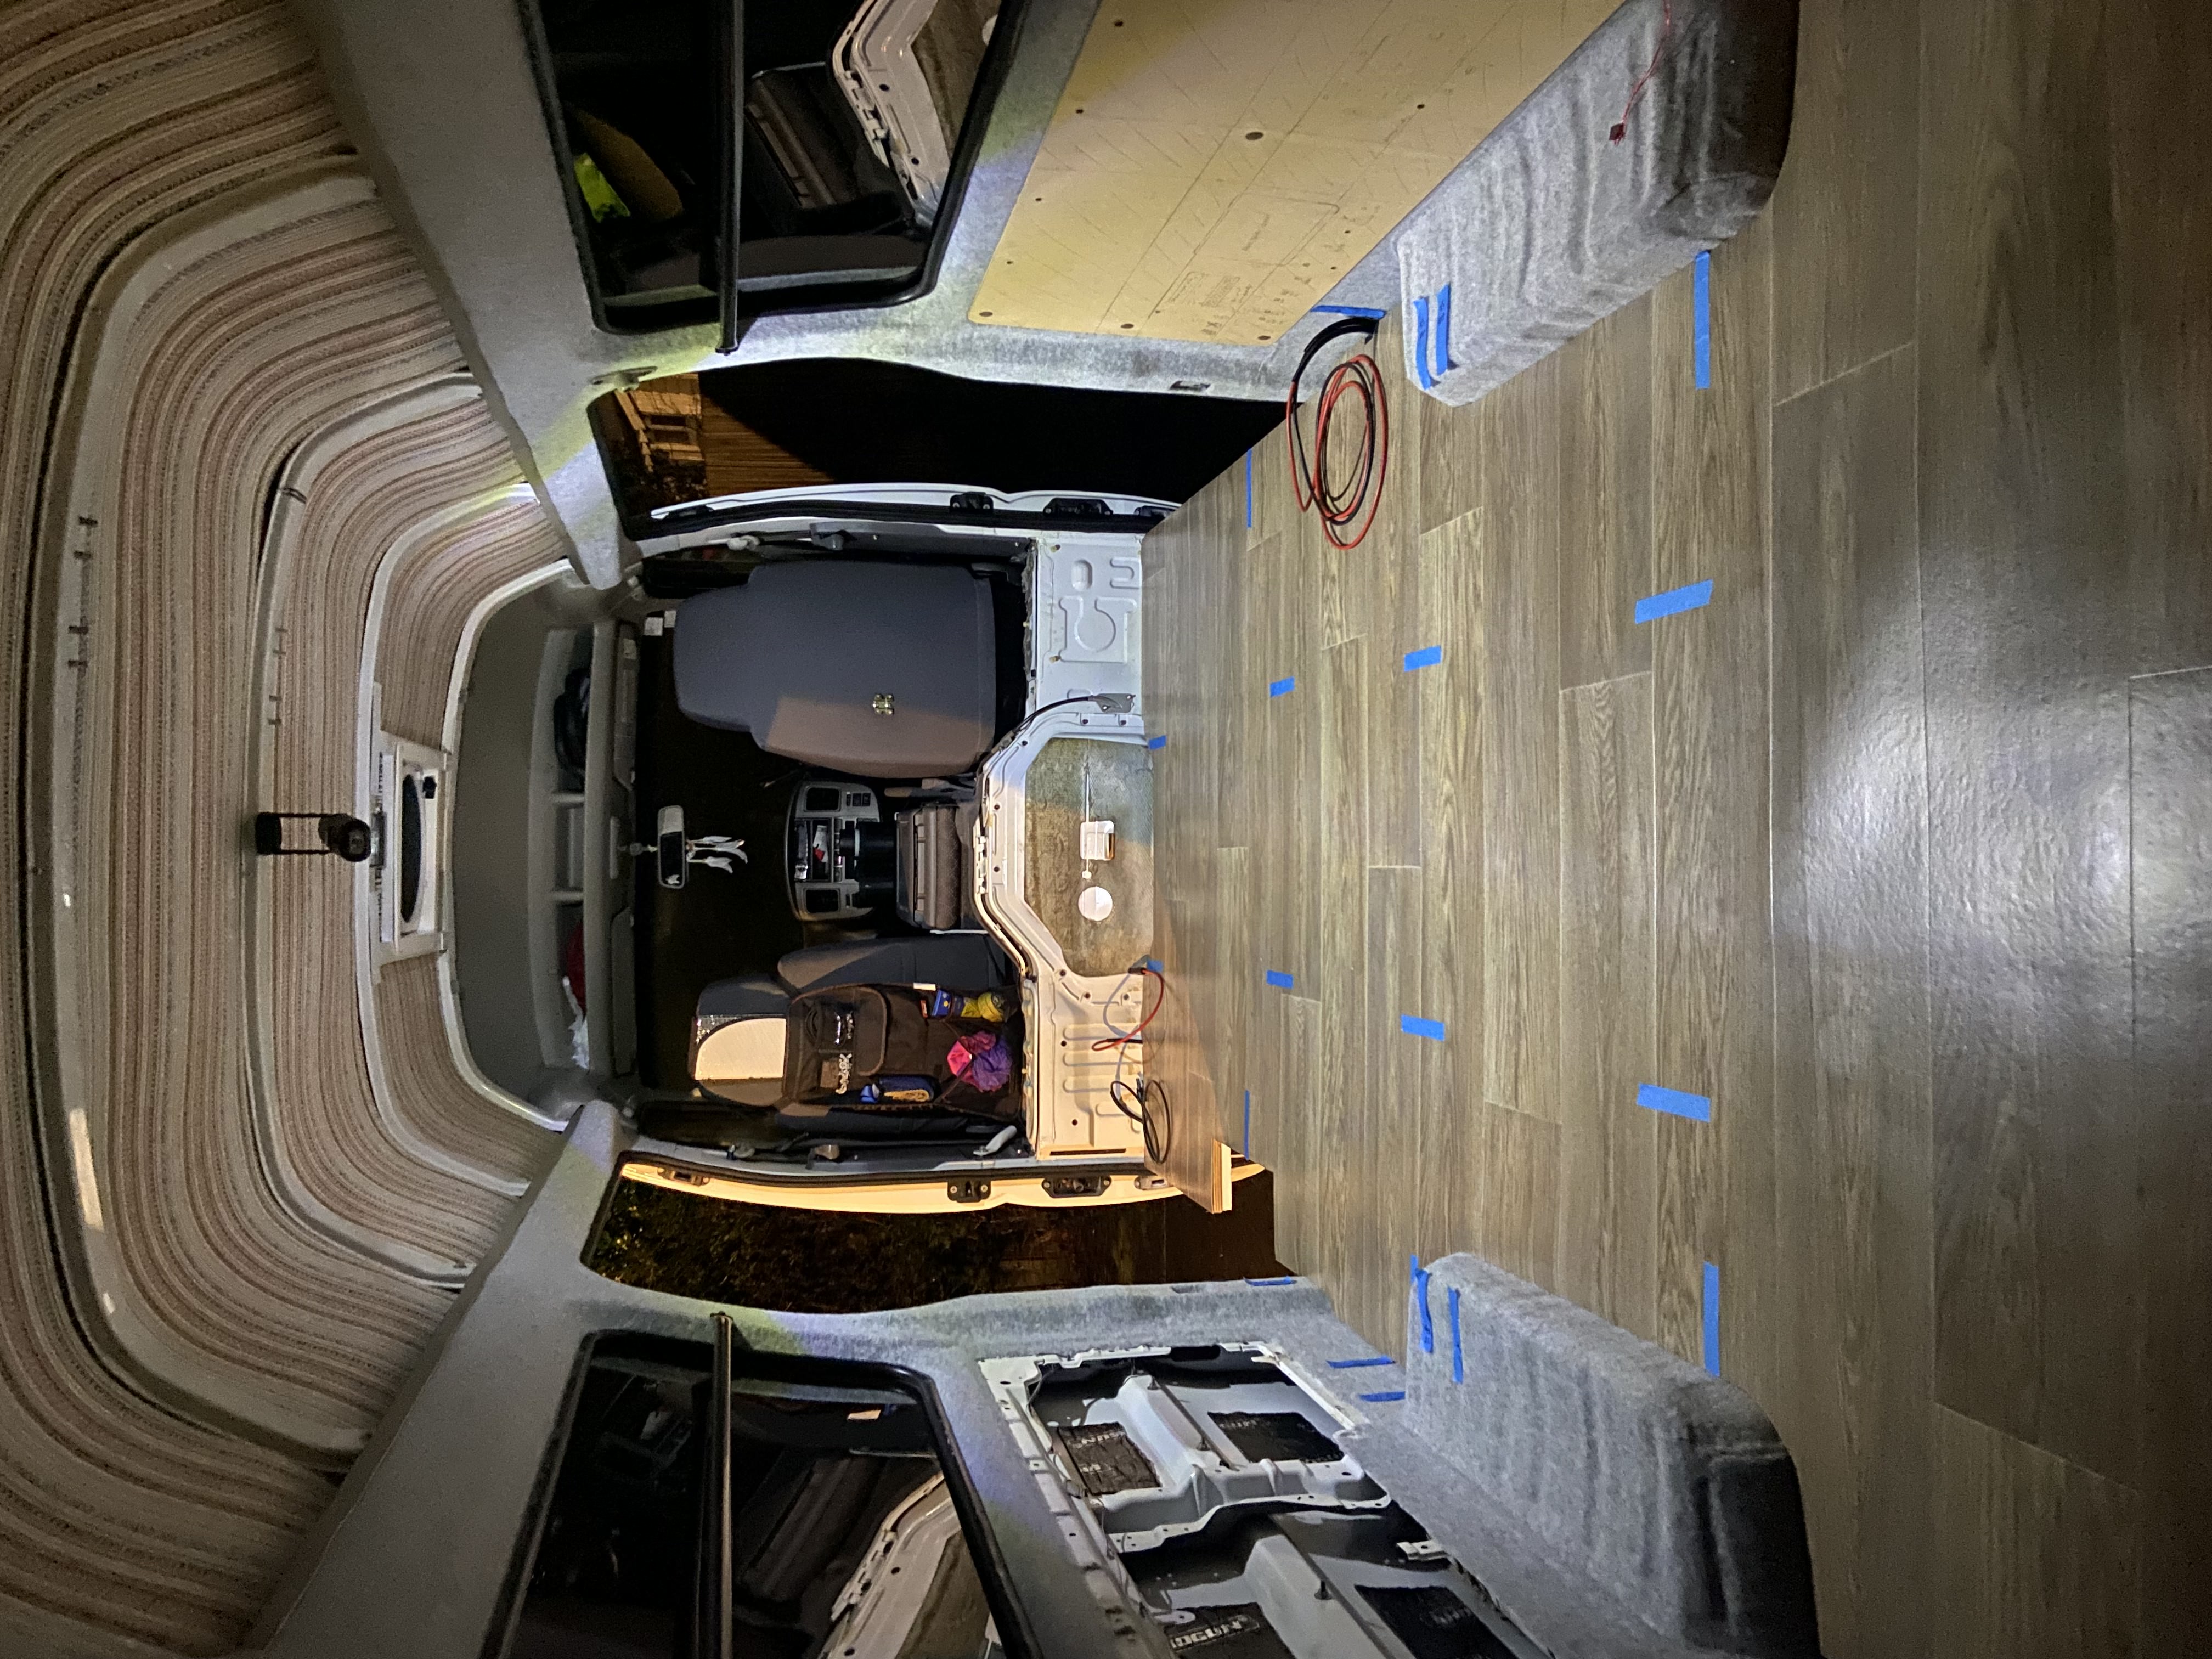
Finished floor edge detail
Drilling floor holes for diesel heater intake and exhaust
Insulation
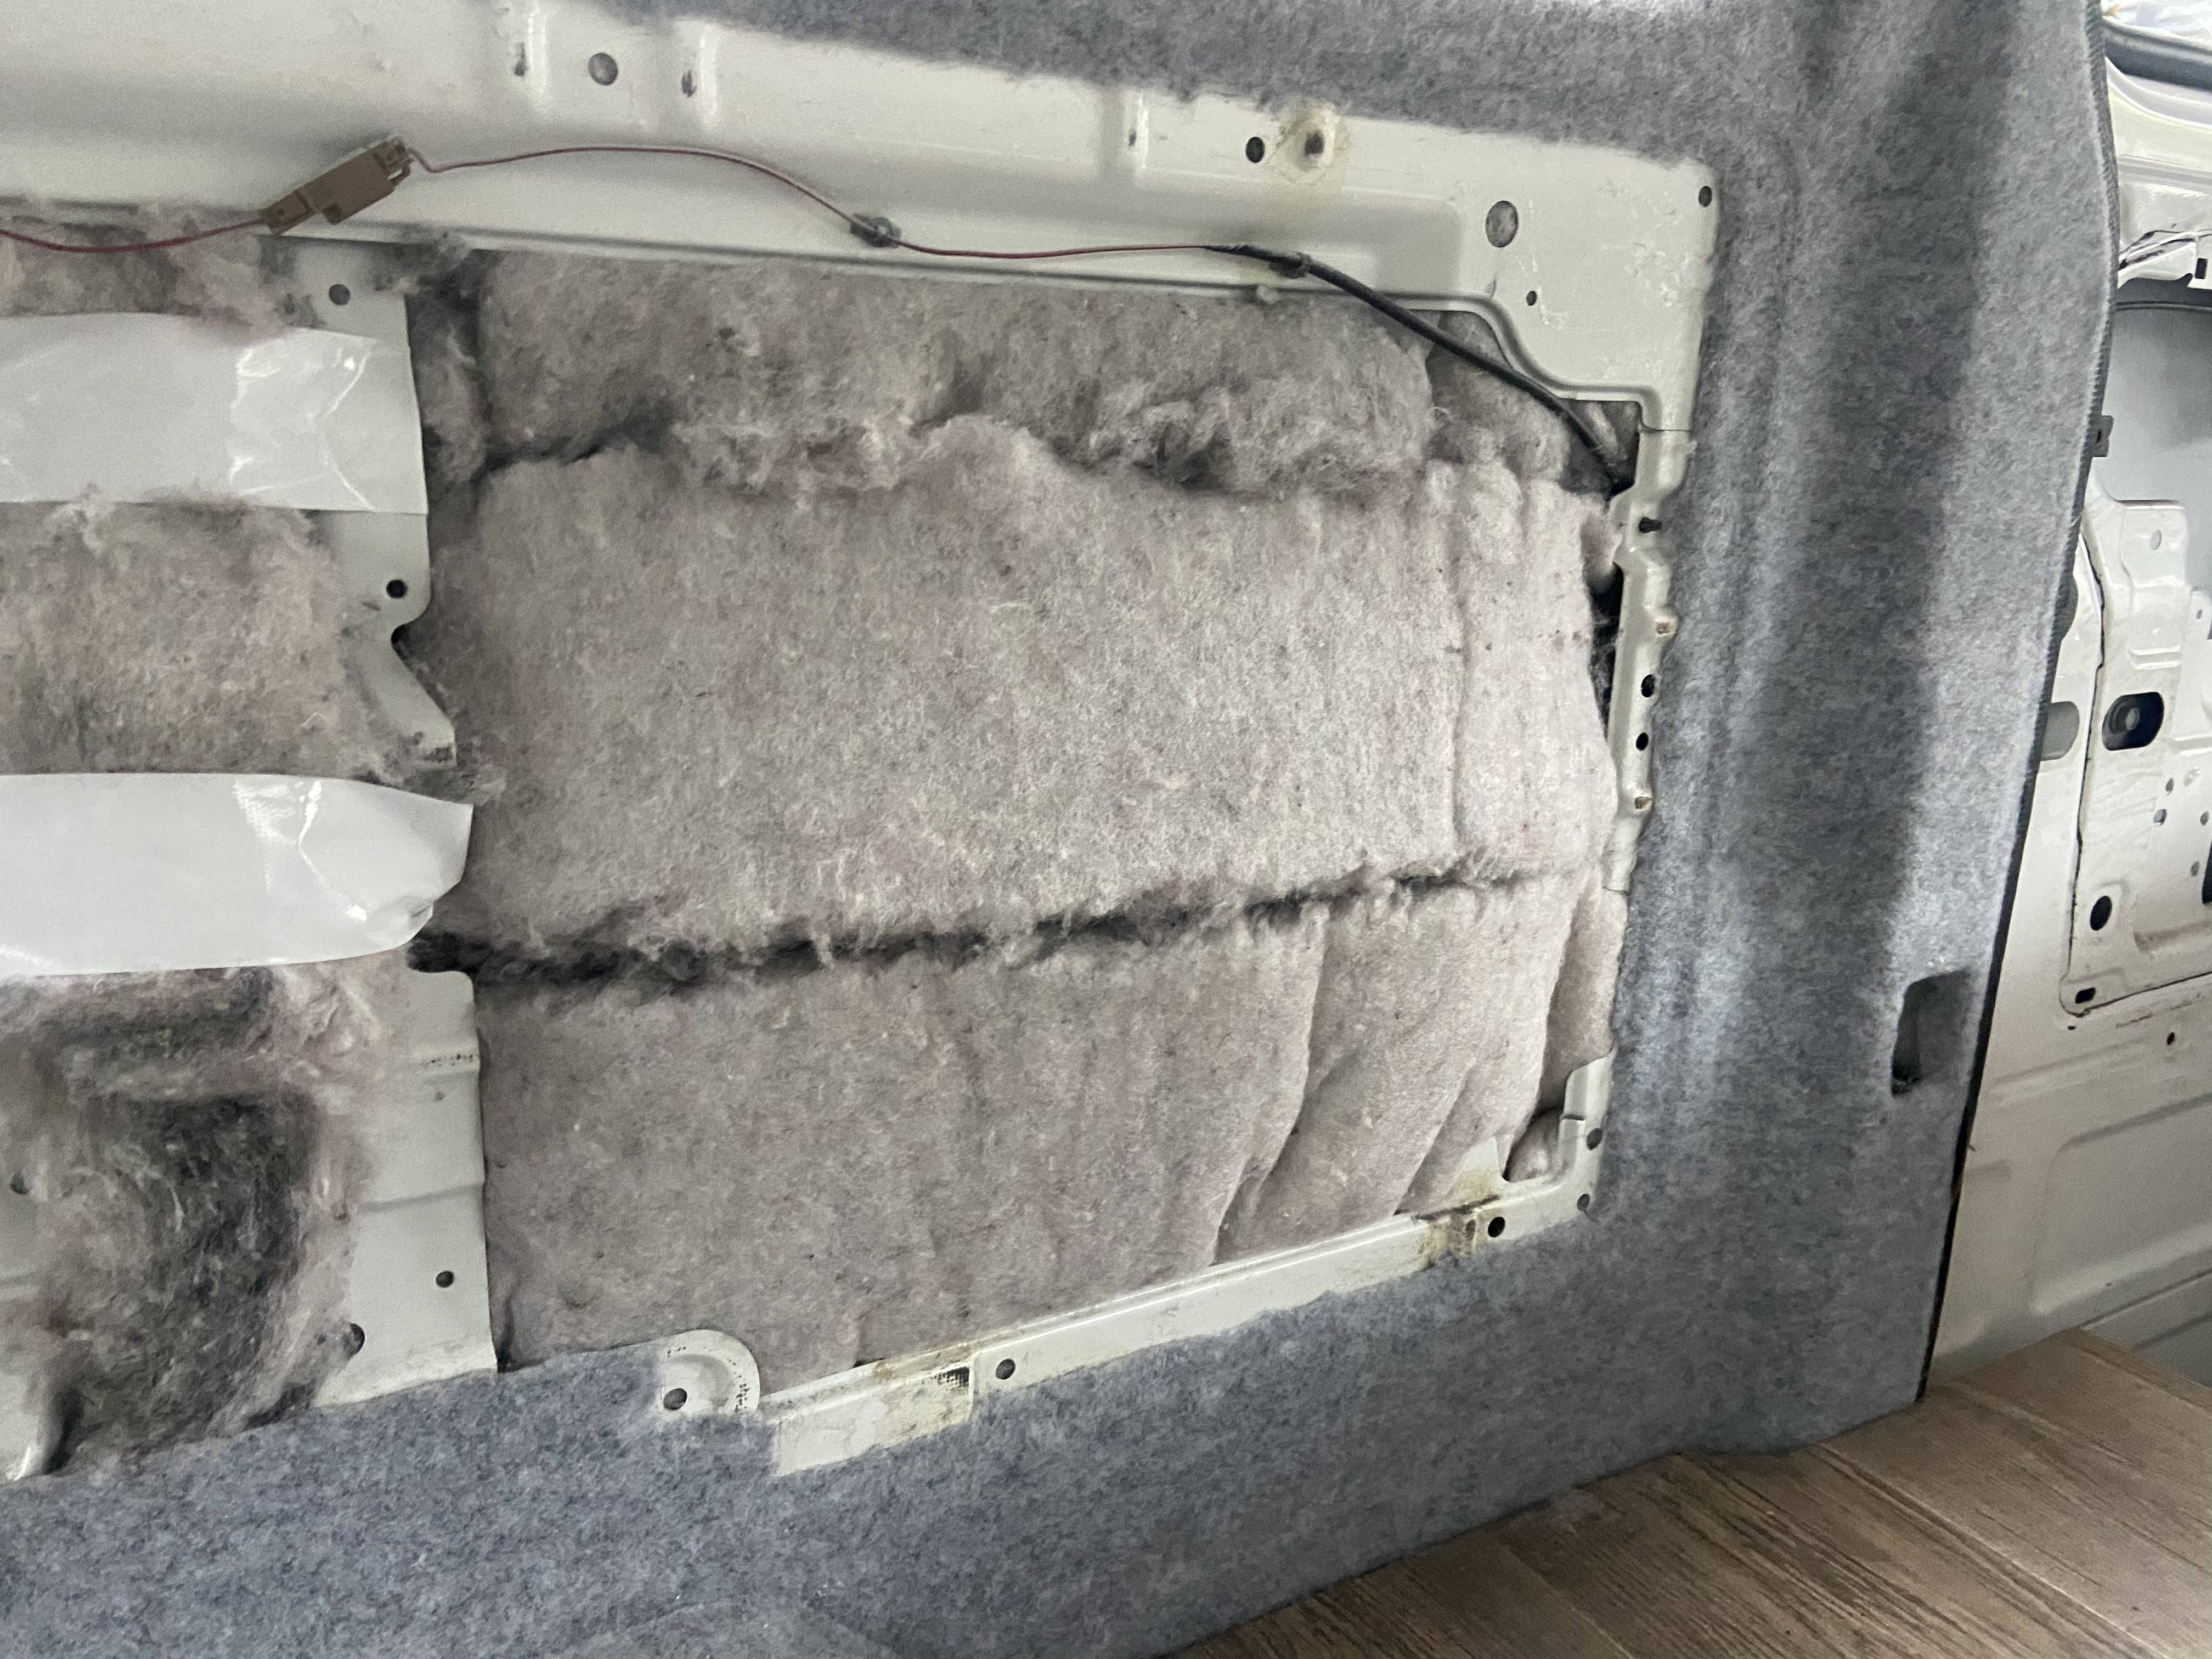
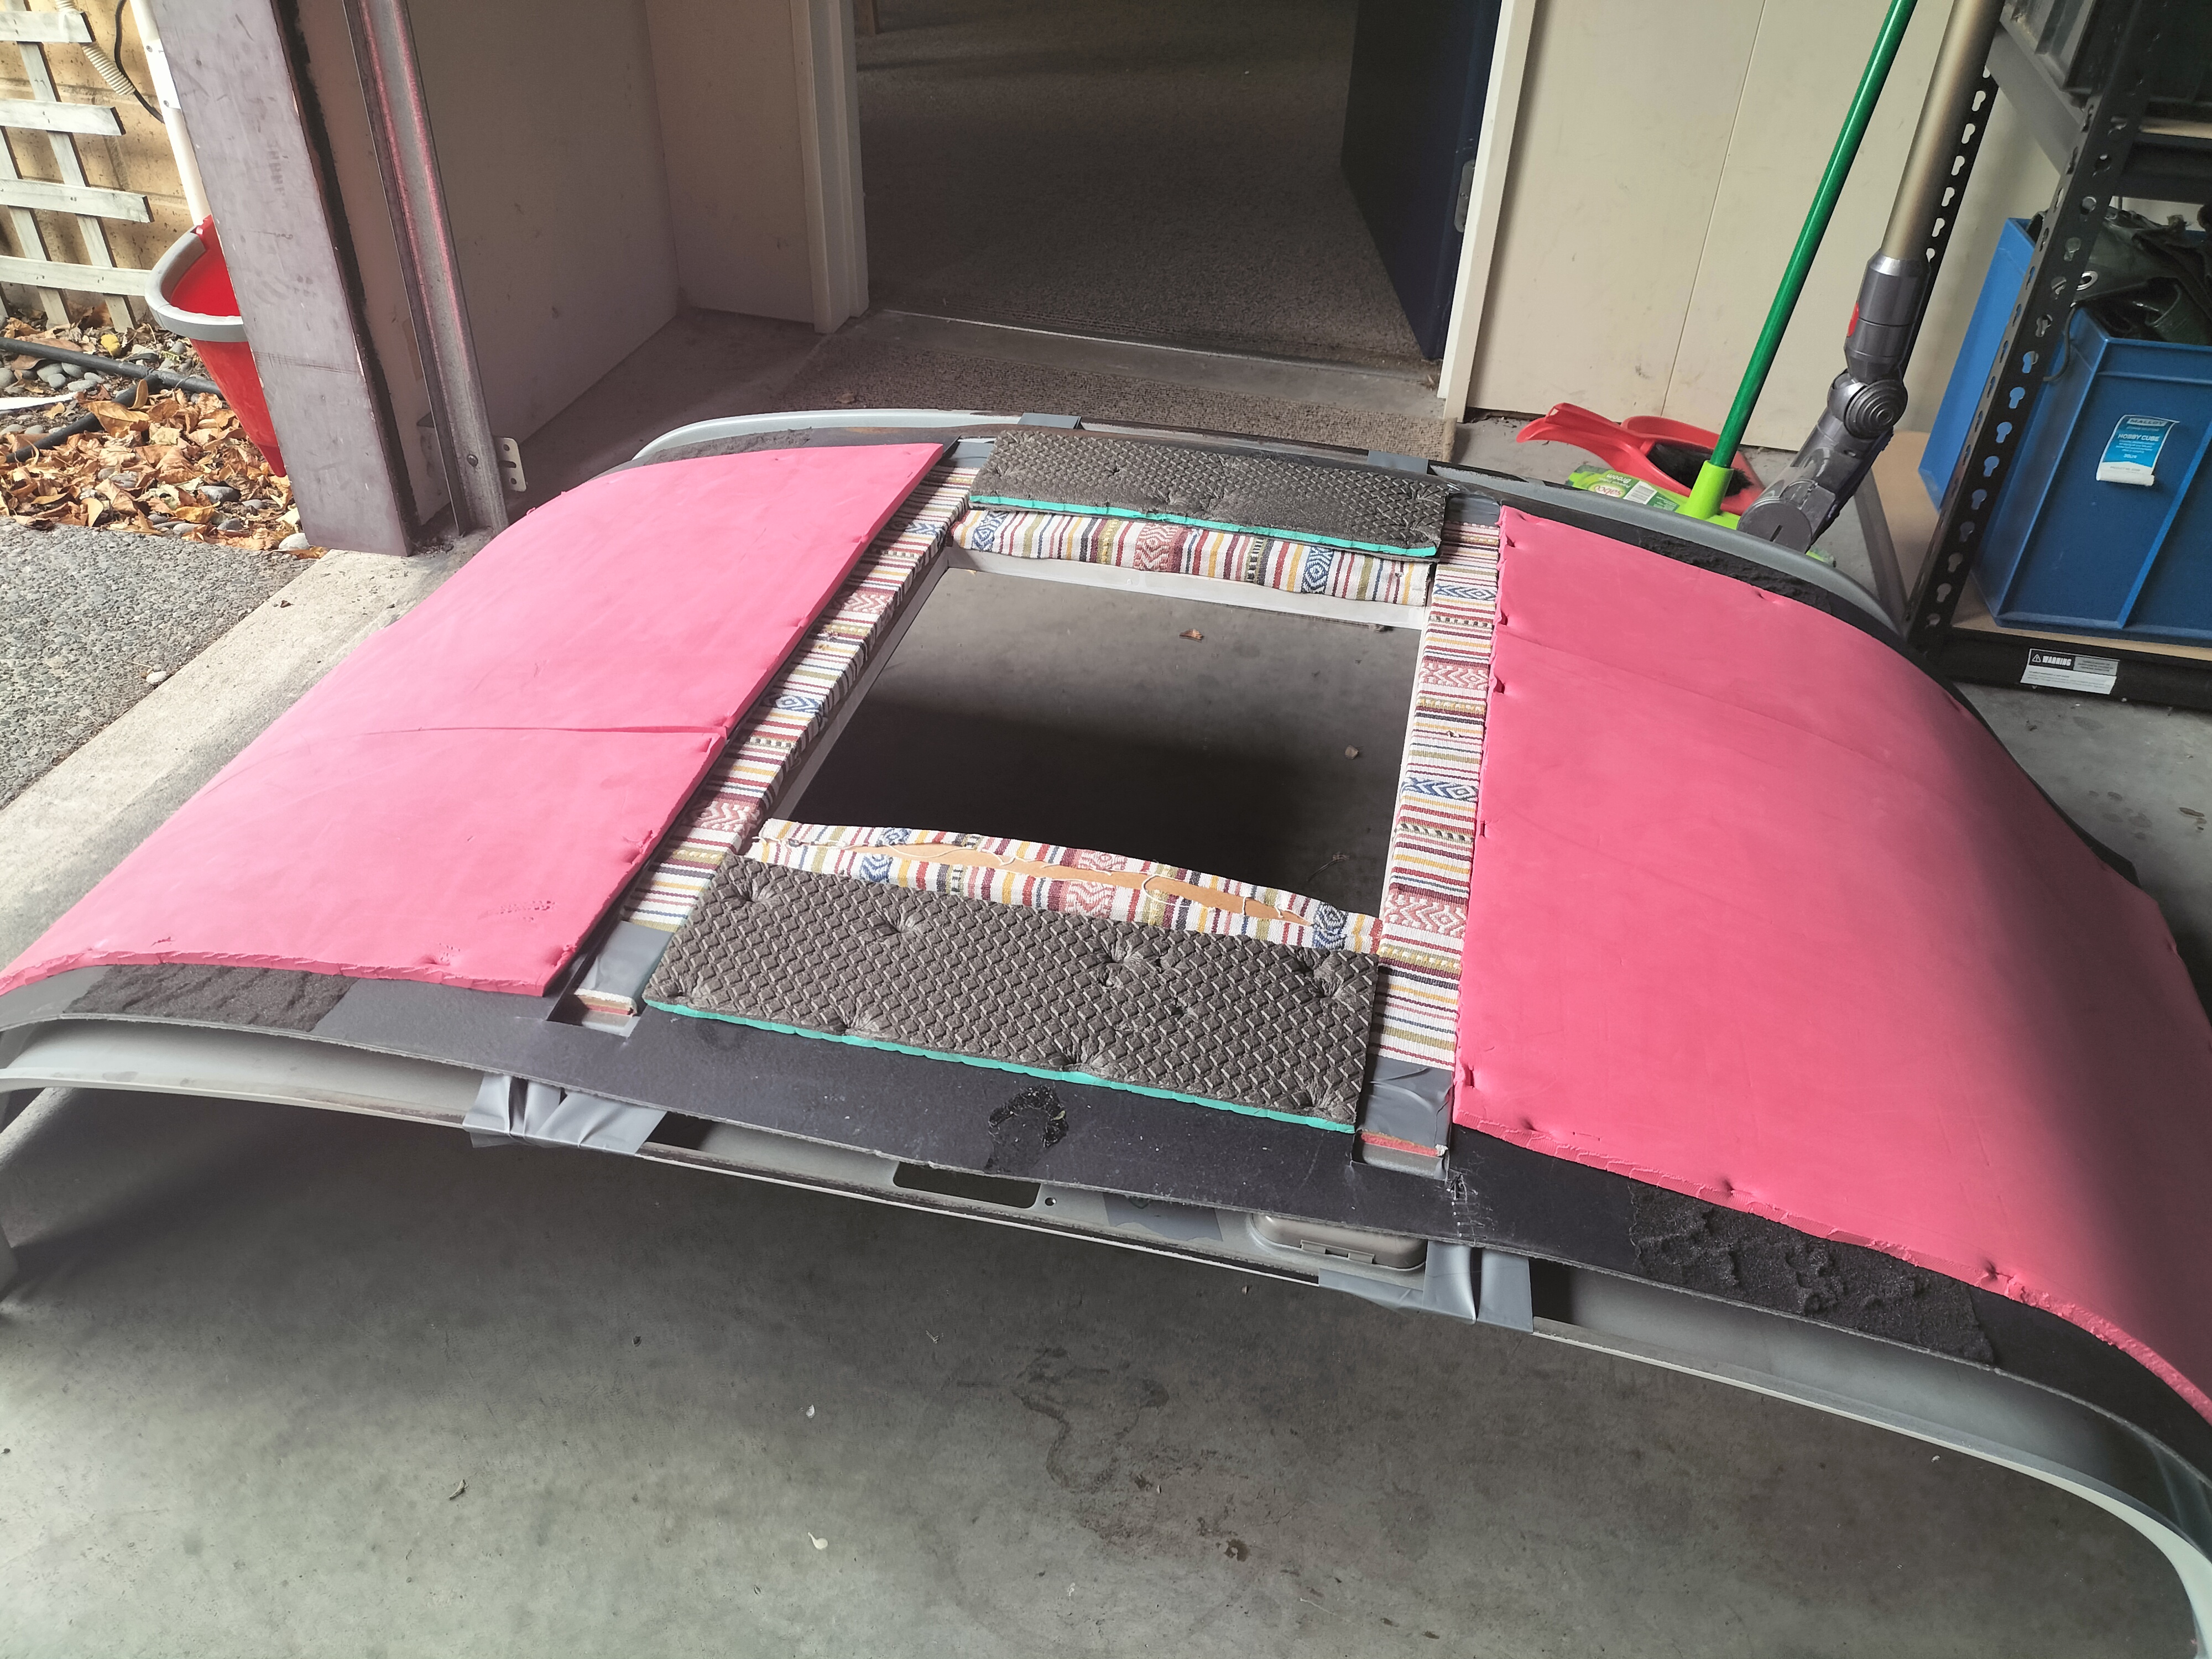
June 2023, I started work on the insulation. For the floor, I used 25mm polystyrene glued to the underside of the plywood. For the roof, 10mm closed cell foam and for the walls, 75mm sheeps wool. Sheeps wool is an excellent choice, as it helps maintain balanced humidity levels by absorbing moisture from damp air and releasing it when the air becomes dry.
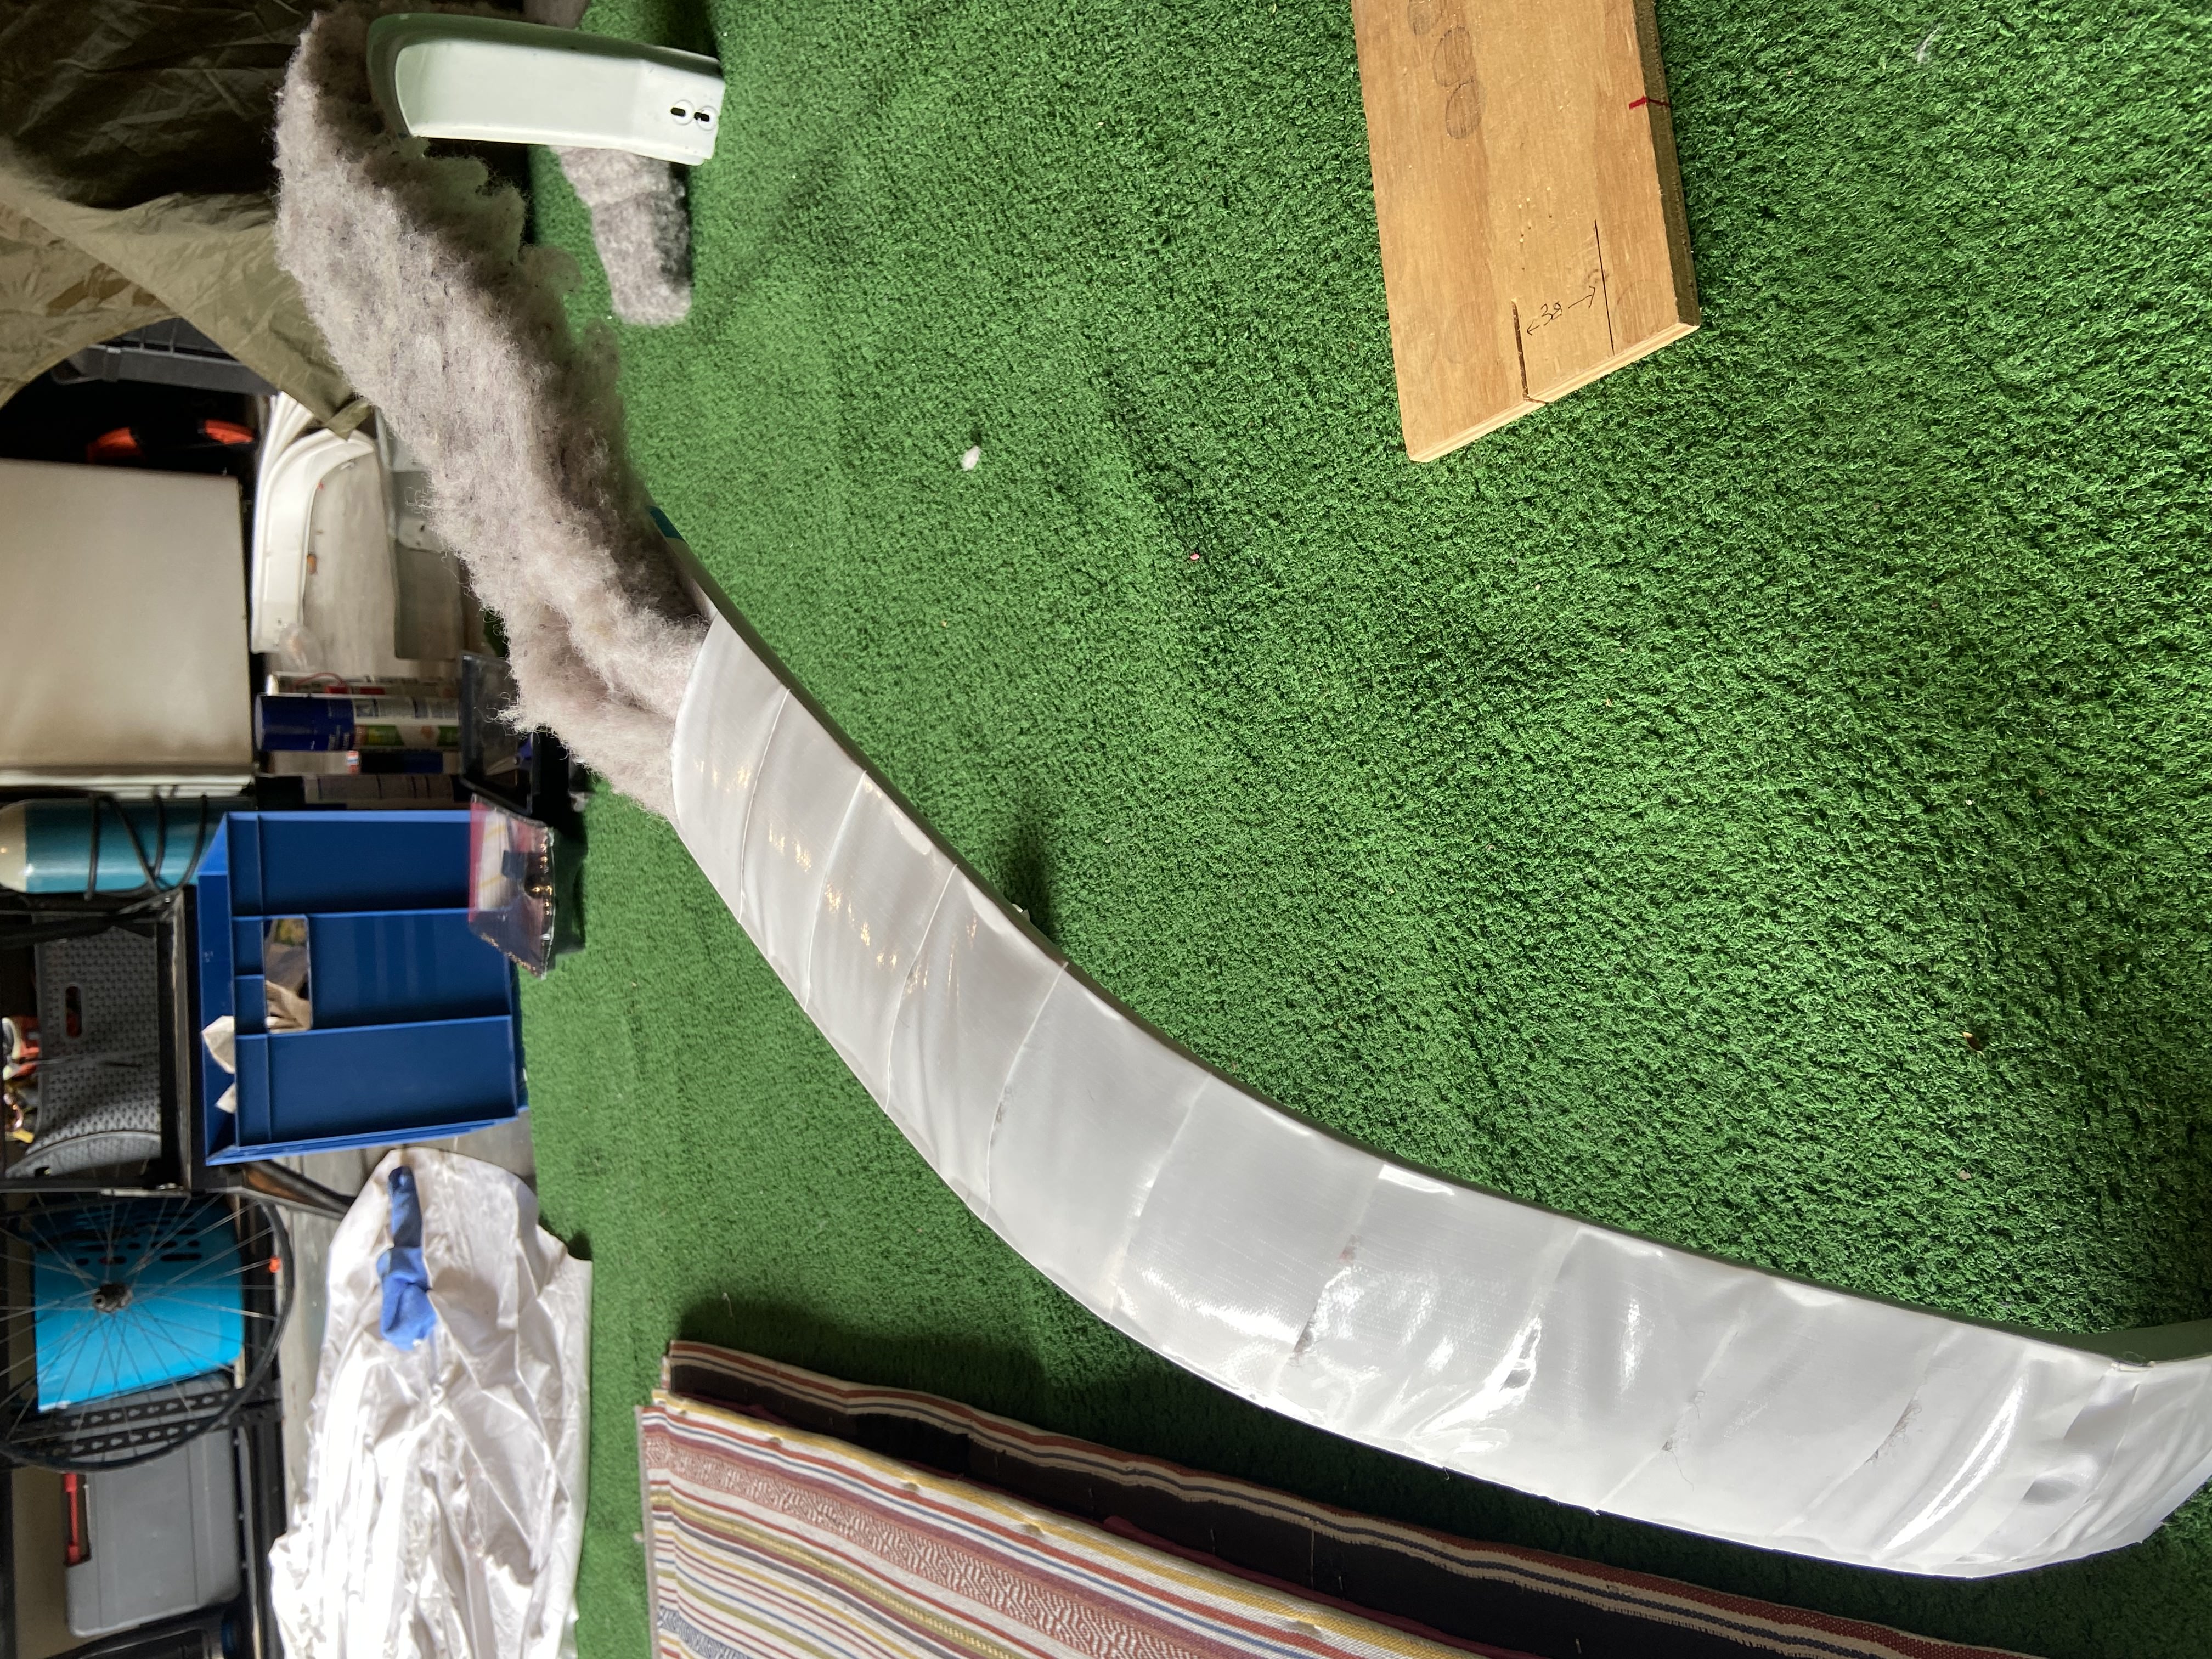
Roof beam insulation
Floor insulation
Sheeps wool wall insulation
Roof insulation fixed to inside of roof fabric cards
Electronics
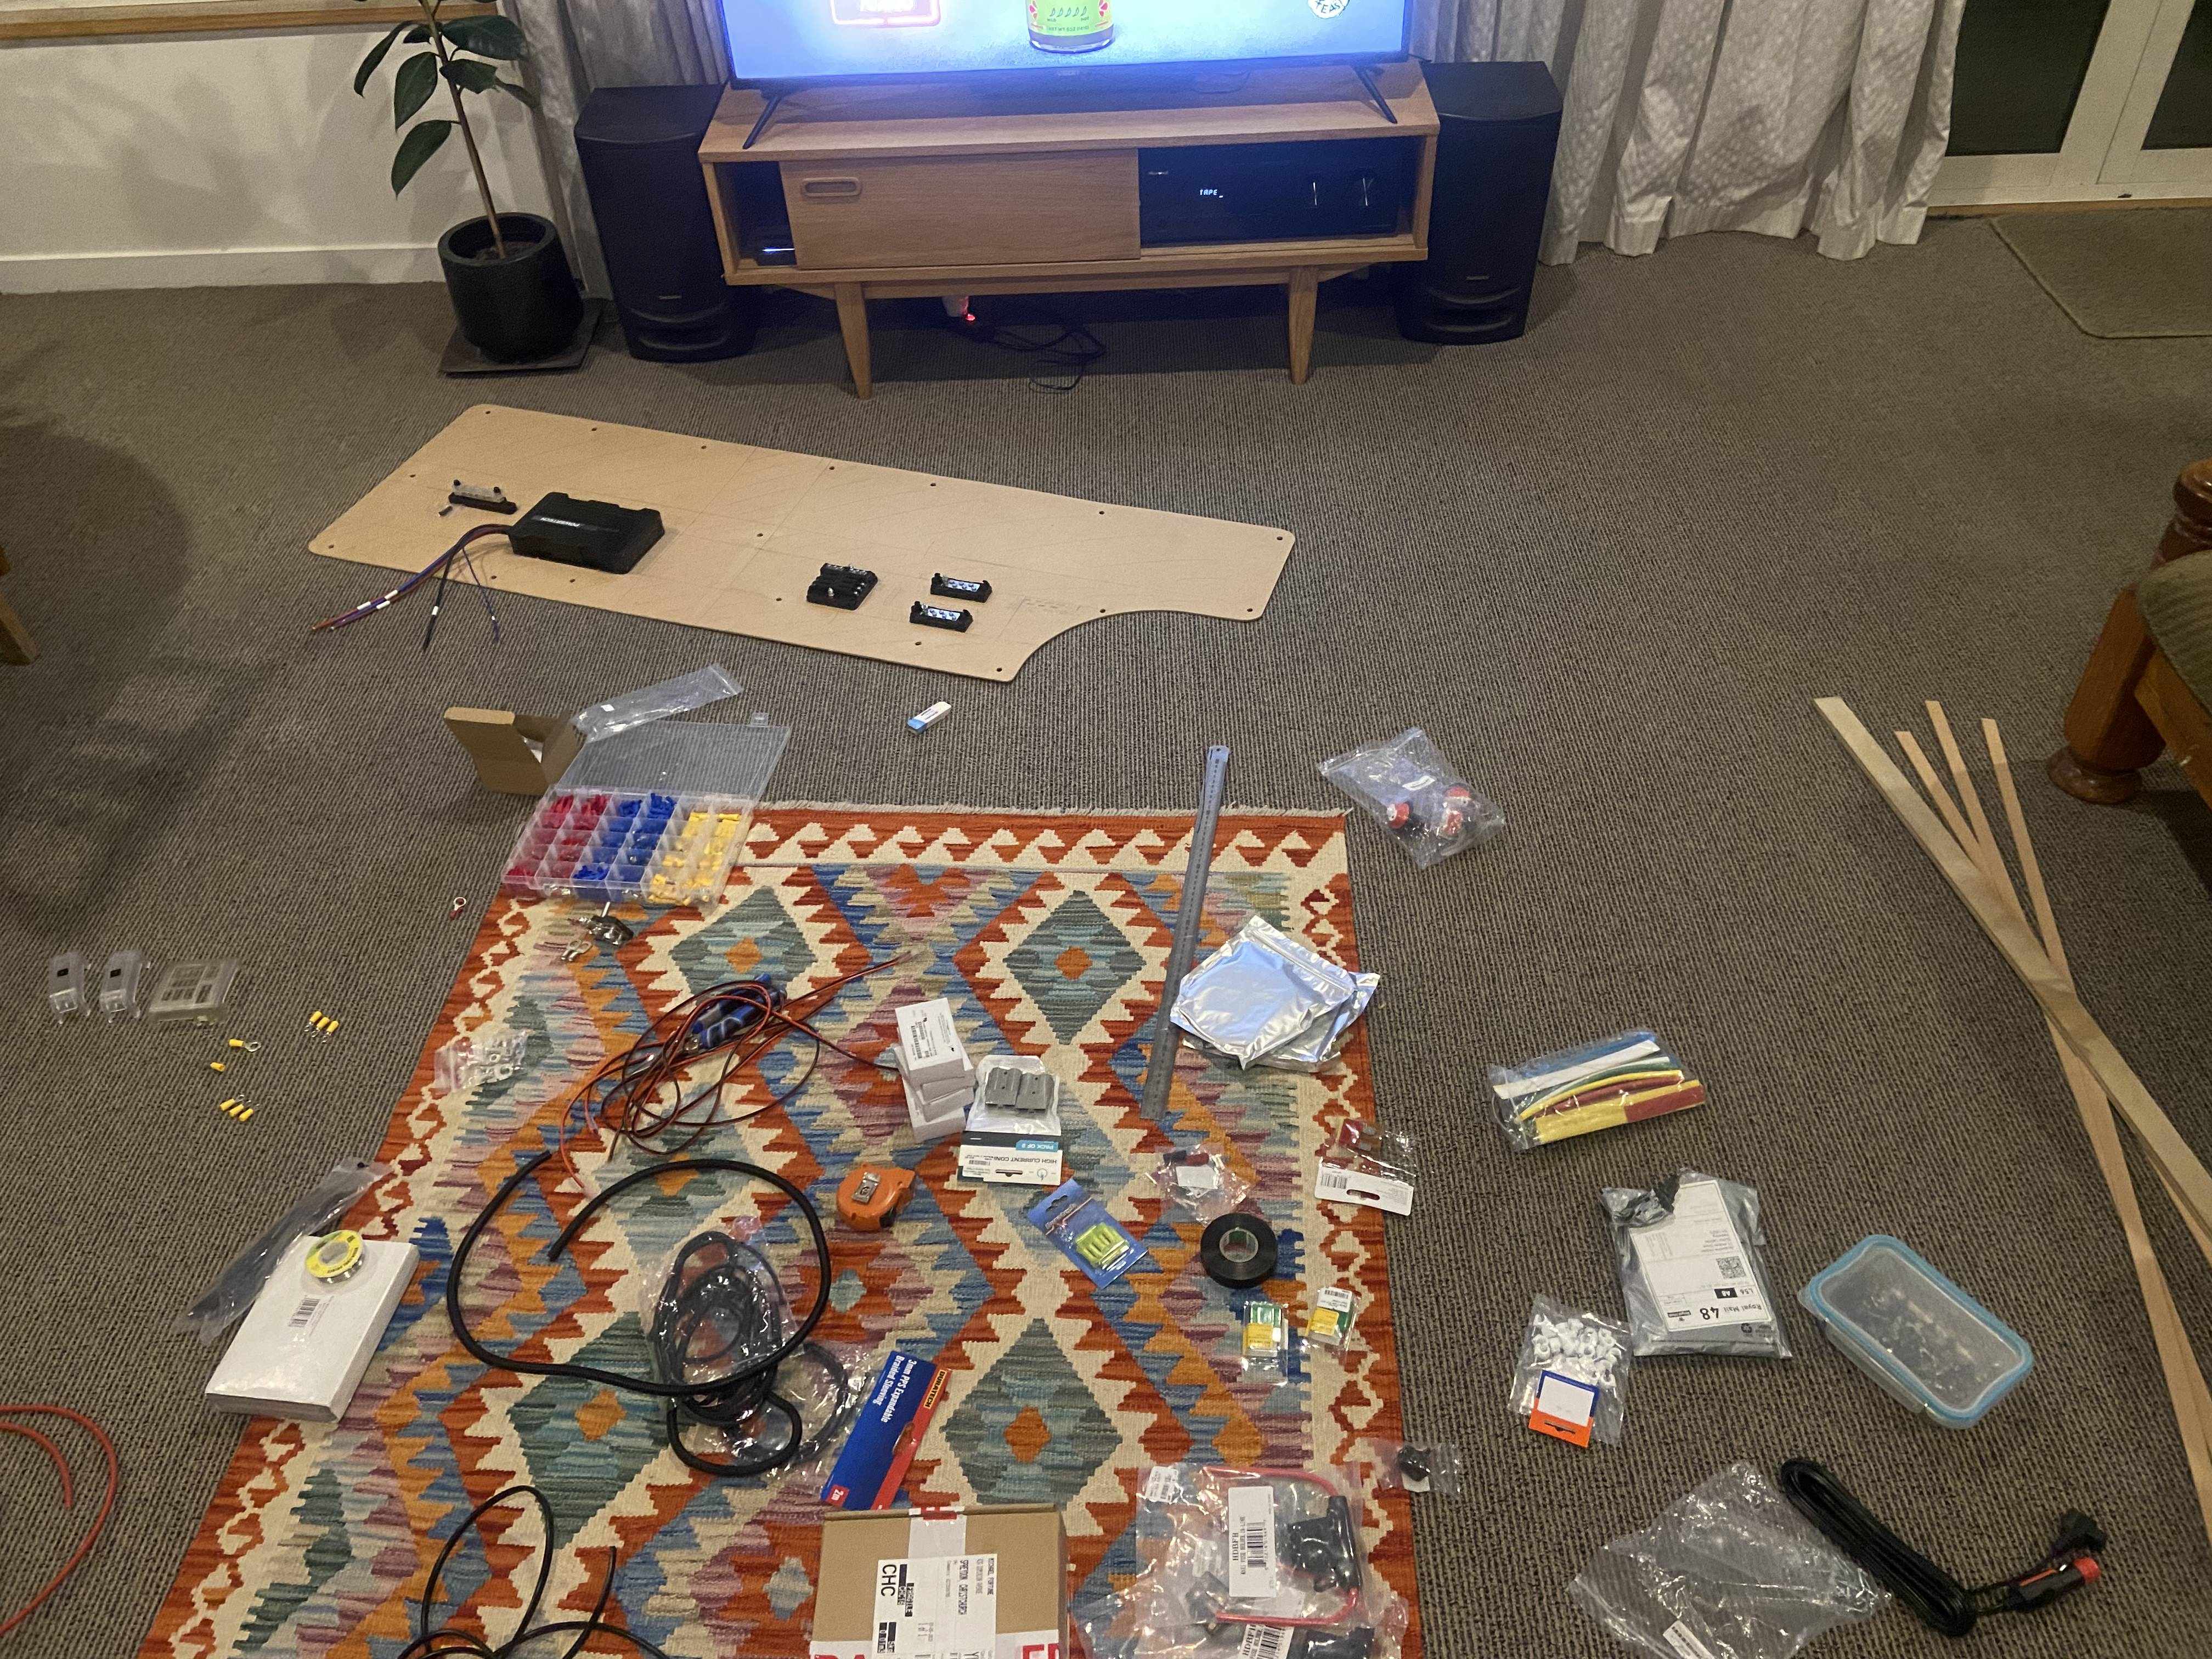
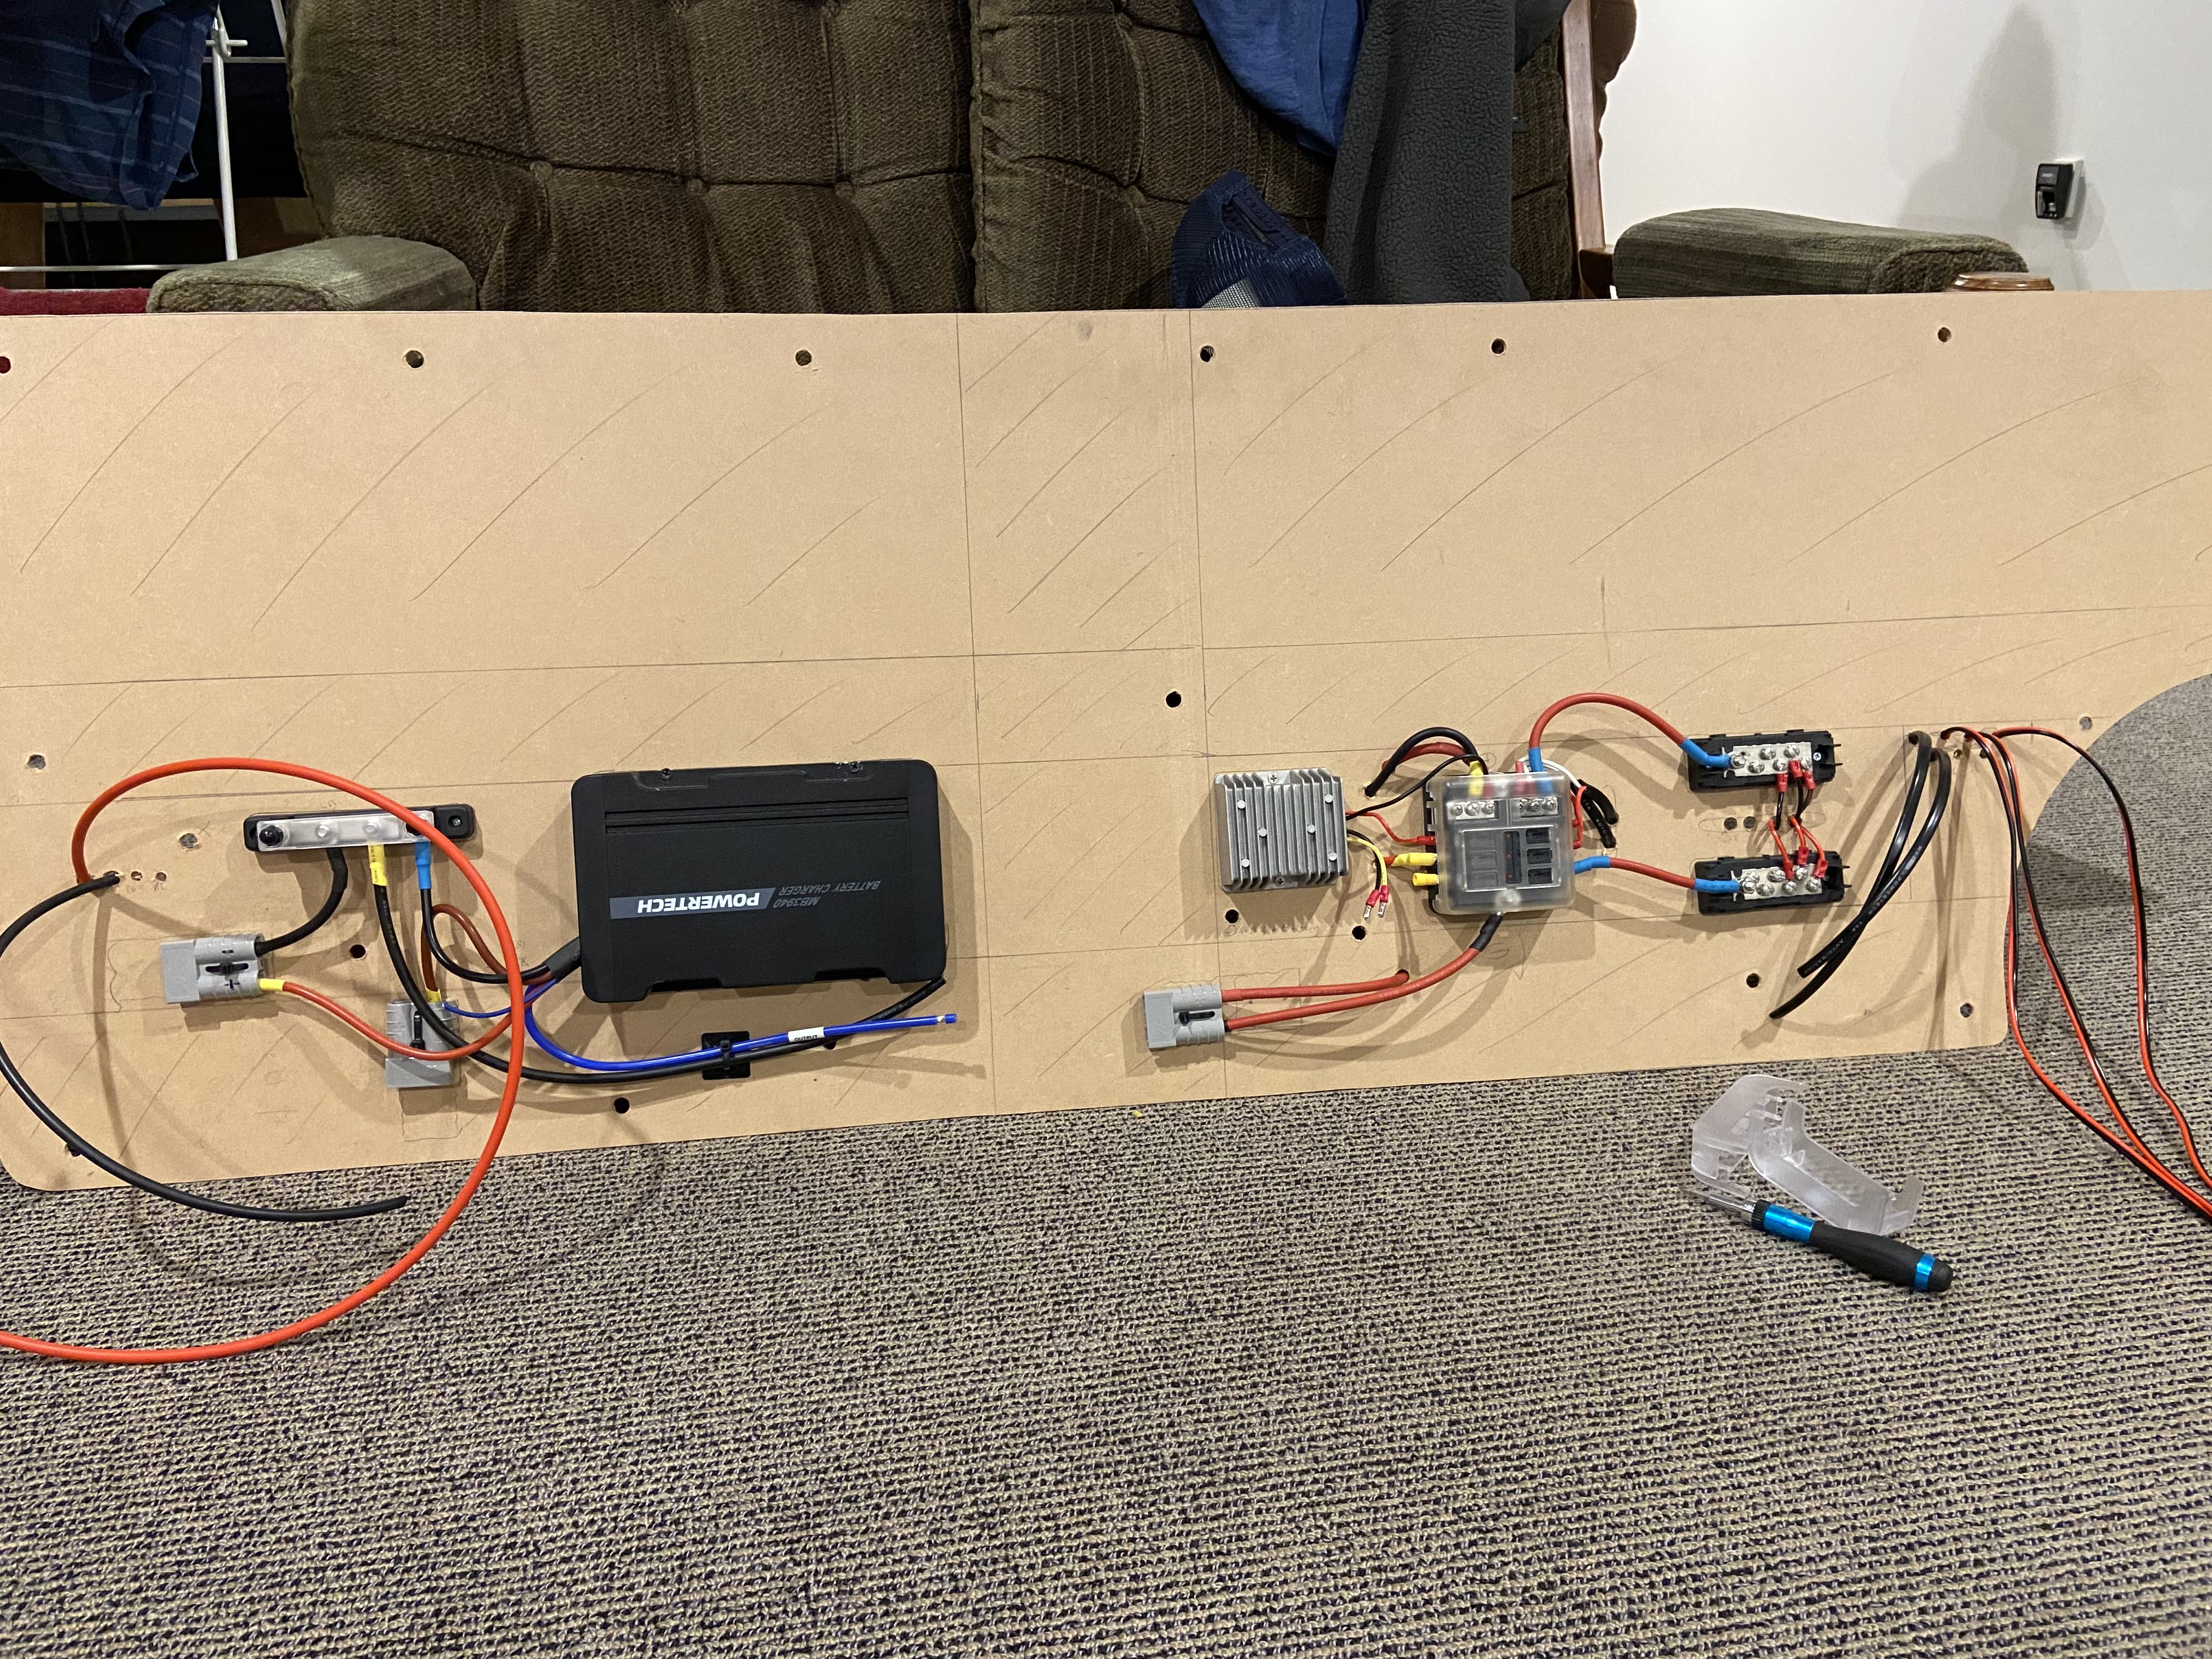
July 2023, I started work on the electrics design and build. It was peak NZ winter, so an excellent time for inside jobs! Many of the cables I had prerouted in the van before installing the insulation.
Wiring up the Electrical board in the living room
Electrical board installation
Success! Testing the lights
Curtains and Blinds
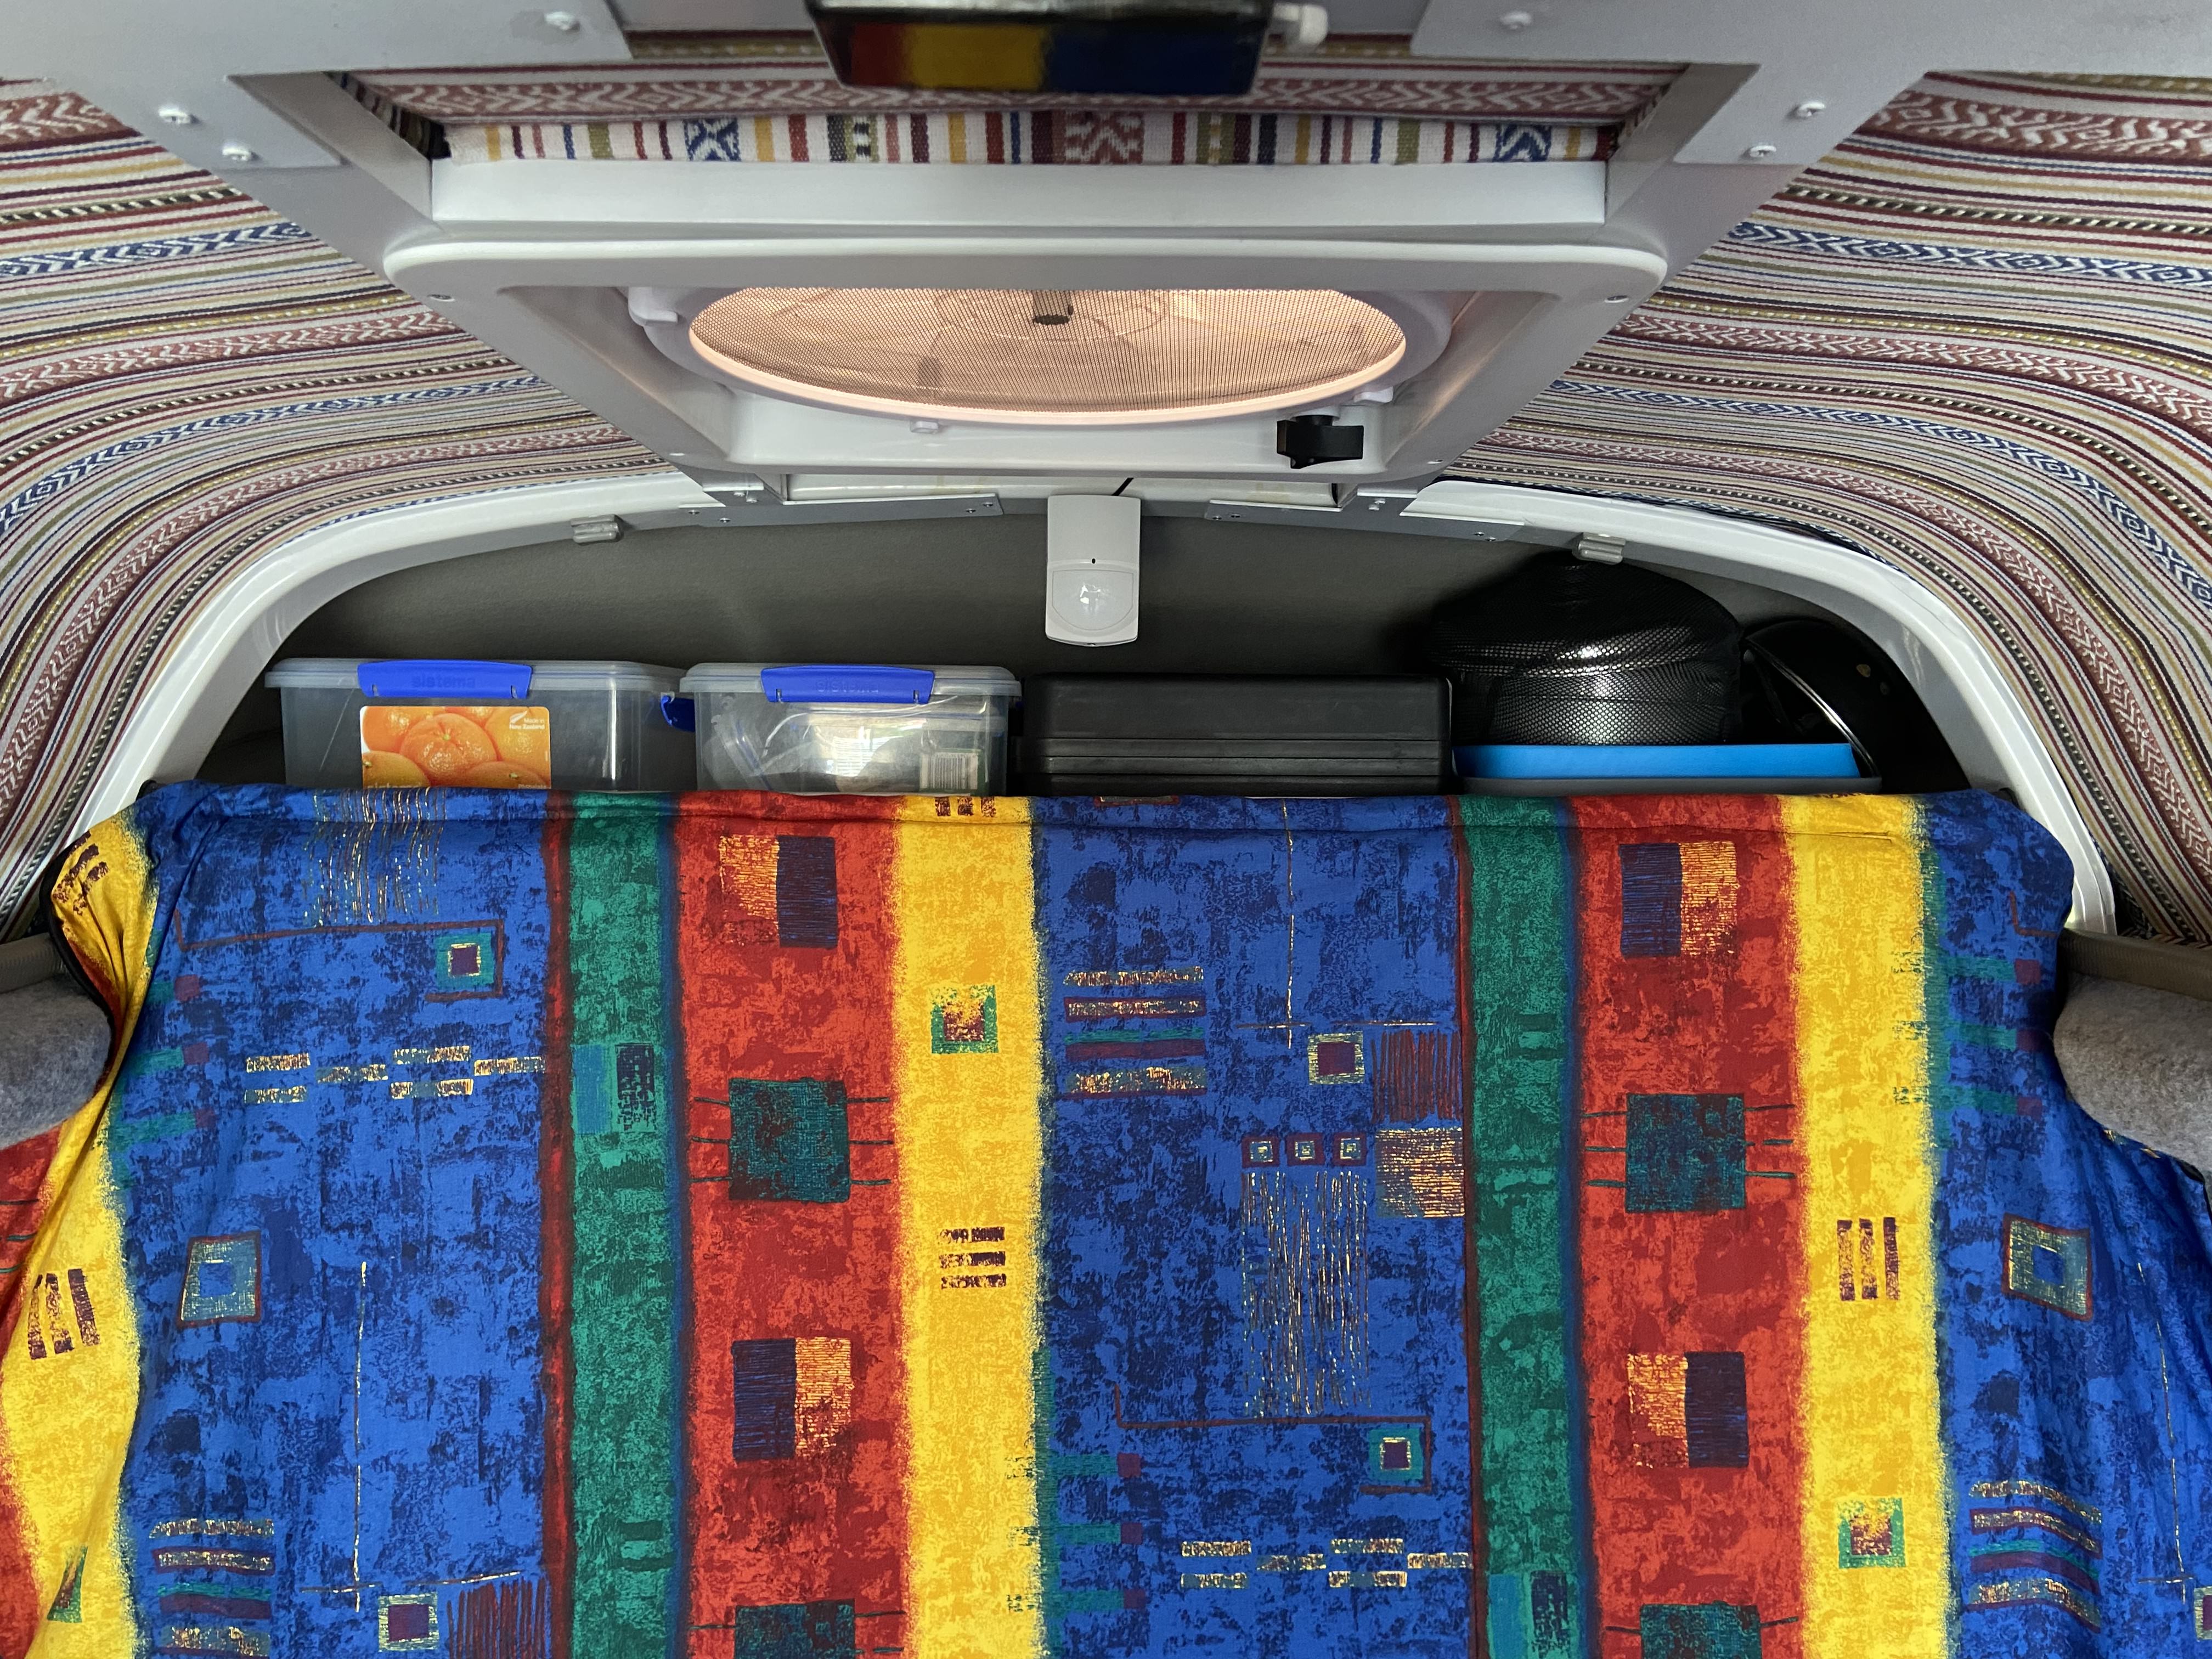
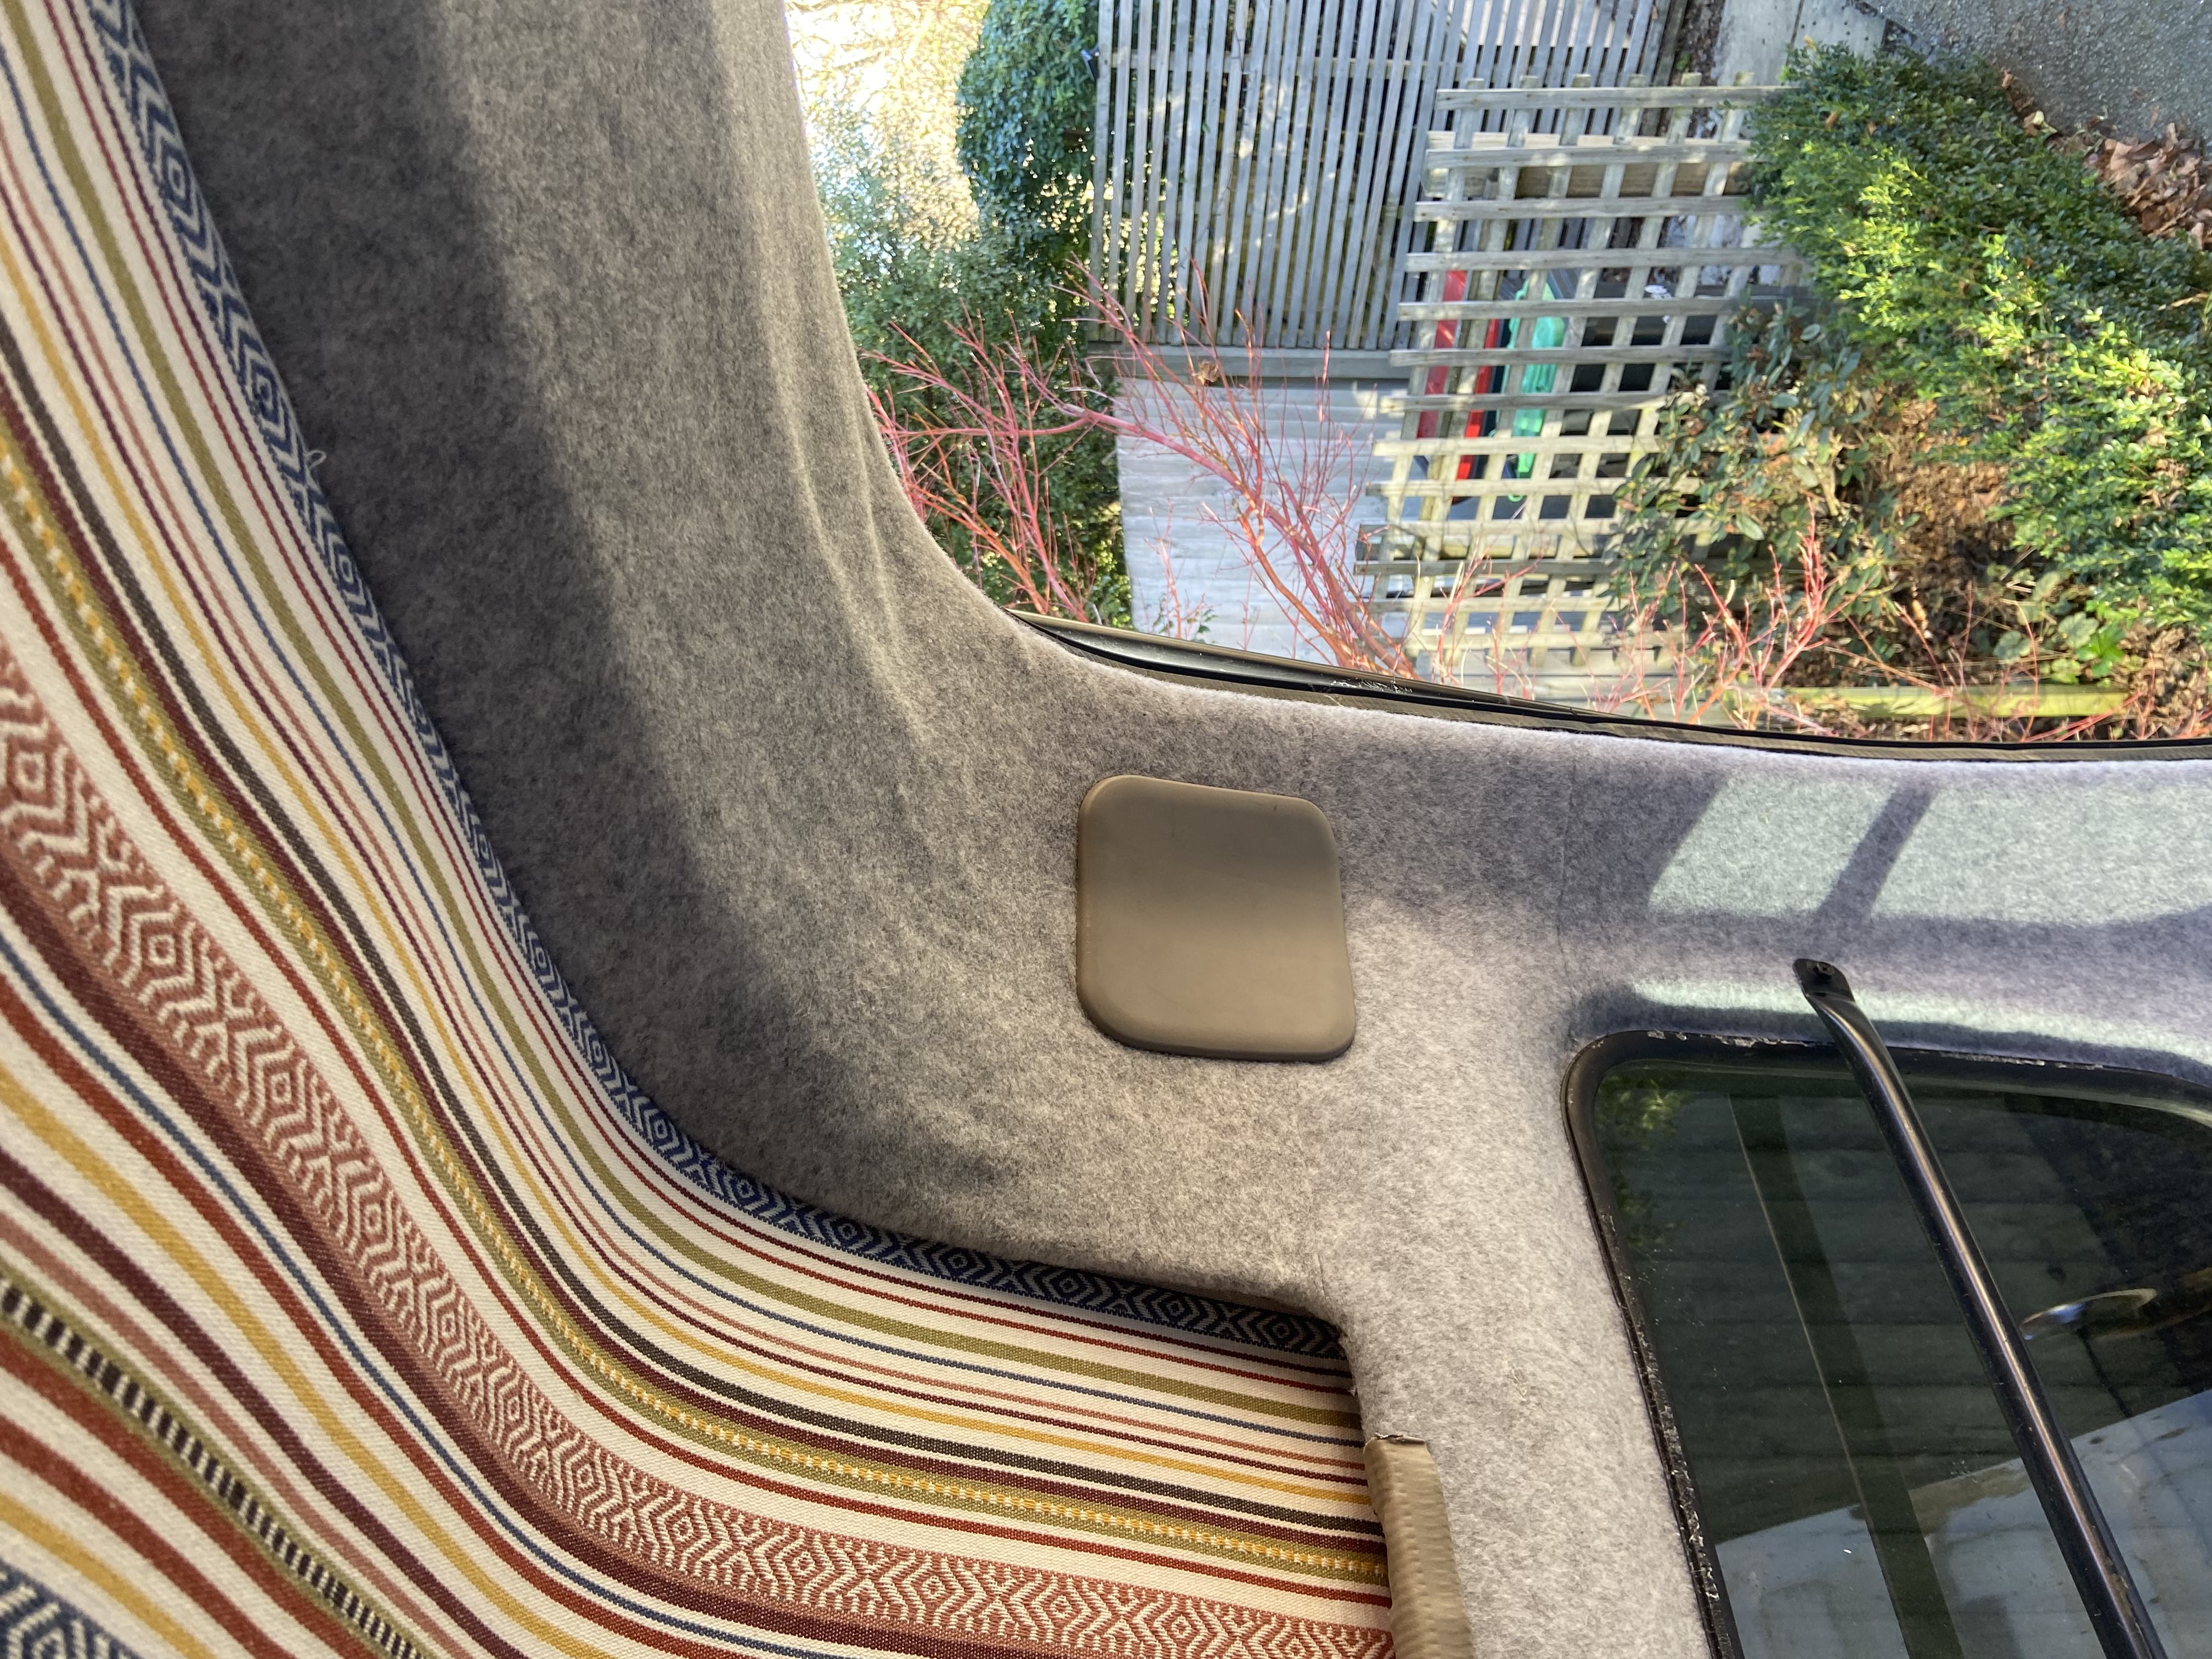
Thanks to Clare for all her help on this one! In August 2023 we cracked on with the carpet lining. This involved cutting the fabric to size, and using a spray adhesive to attach to the walls. Tricky but satisfying work! Clare picked up some super funky curtain fabric from the op shop which we used to make the blinds. I purchased a second hand sewing machine which was running flat out over a full weekend. Each blind had suction cups, carboard inners for stability and wa insulated using left over sheeps wool from the walls. We were super happy with the results!
Front cab blind
Carpet lining detail 1
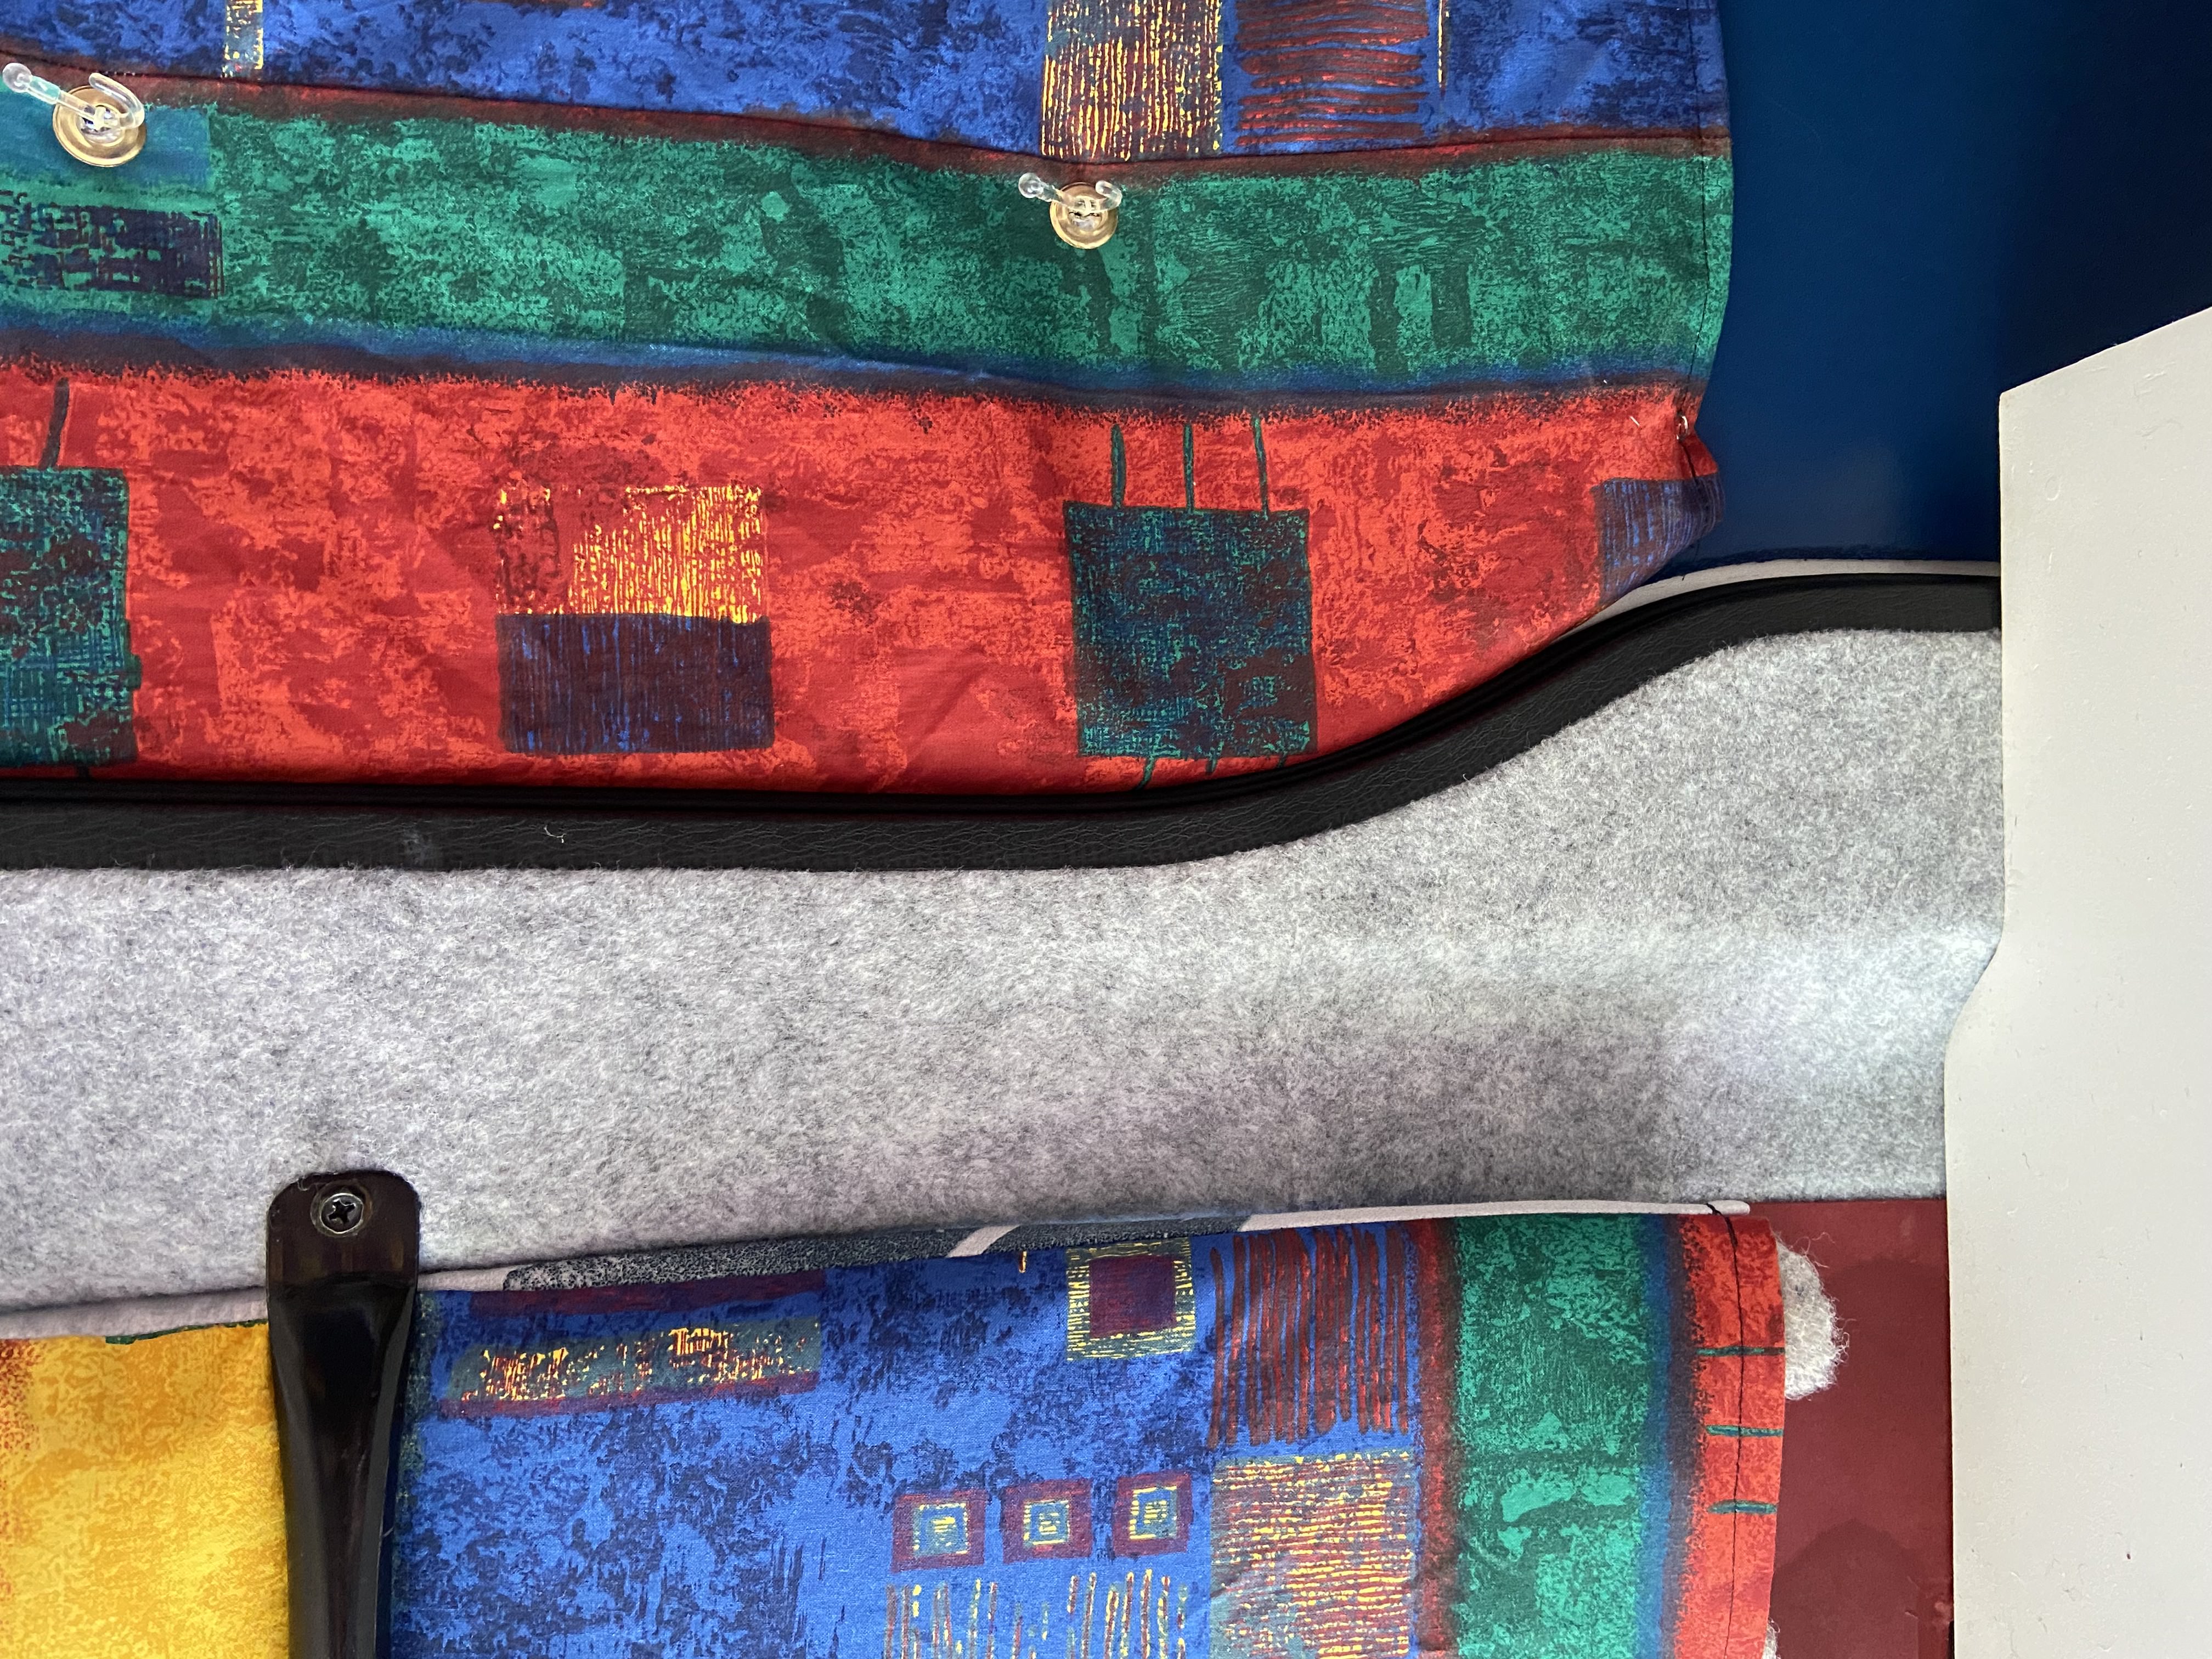
Carpet lining detail 2
Awning
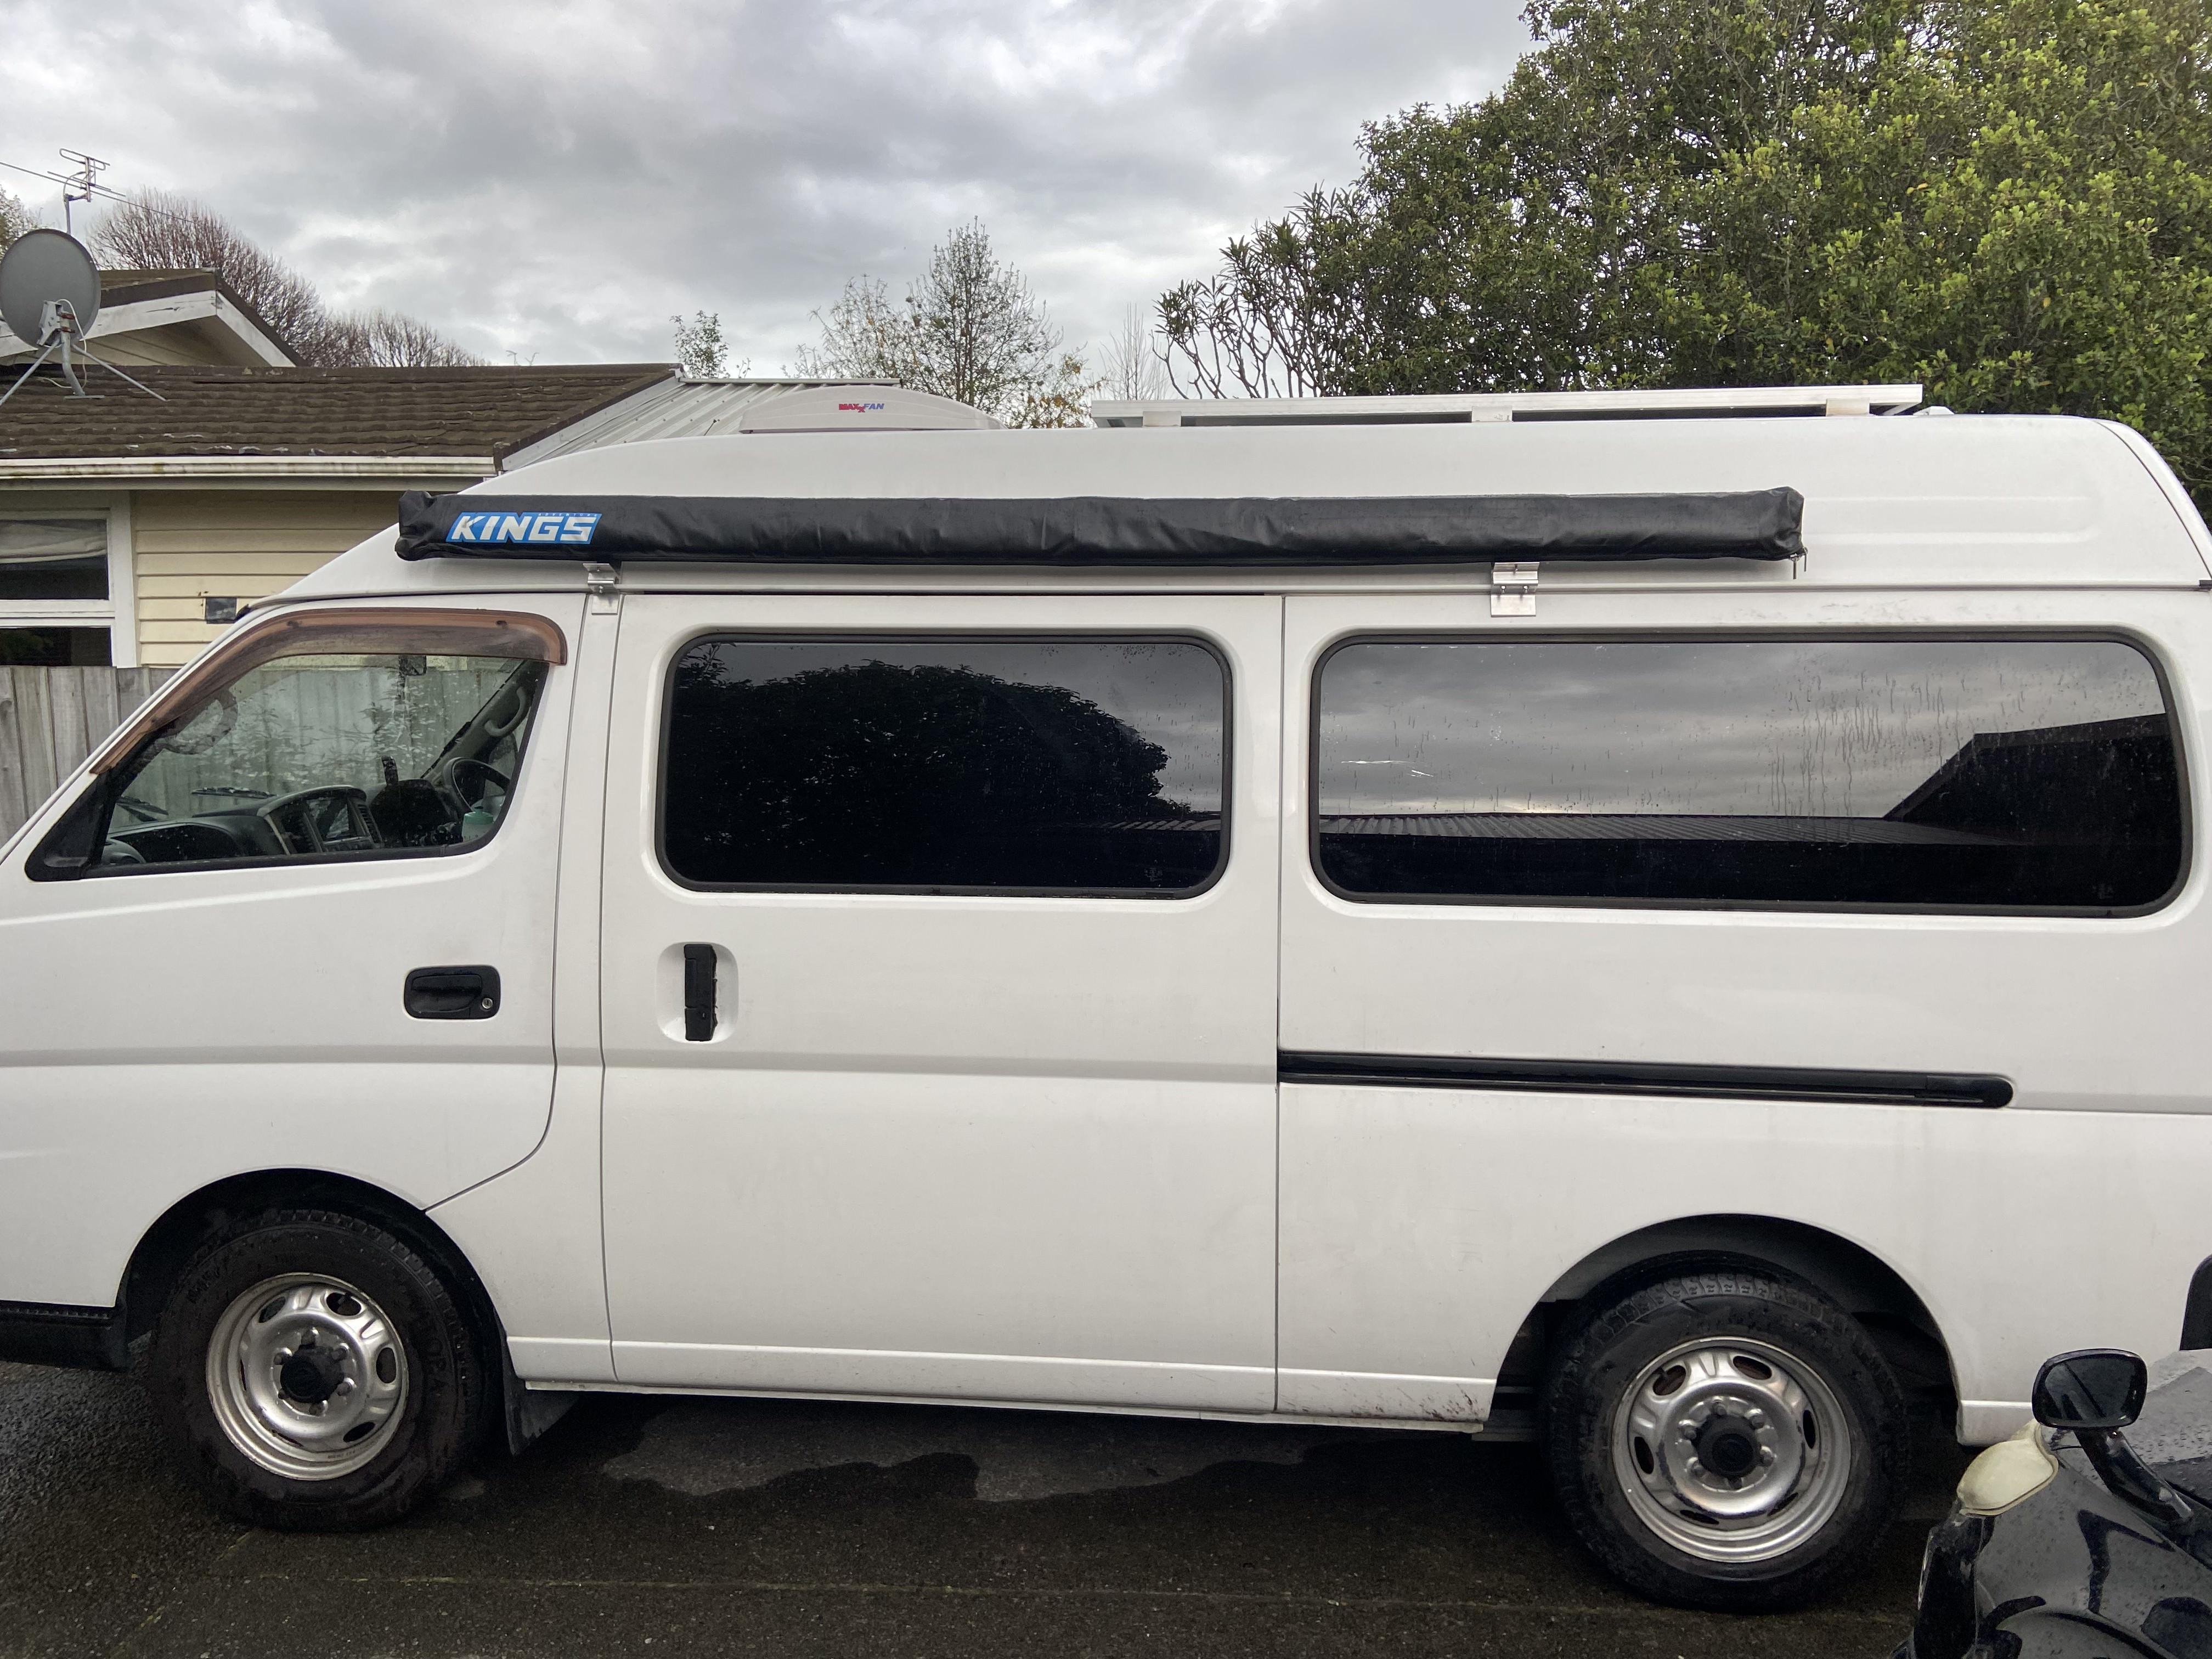
September 2023. Next step was the awning. Easy job this one. Drill two brackets and done.
Adventure Kings awning
Progress Check
September 2023, at this point we had a (useable) empty shell of a campervan 😀
Inside shell
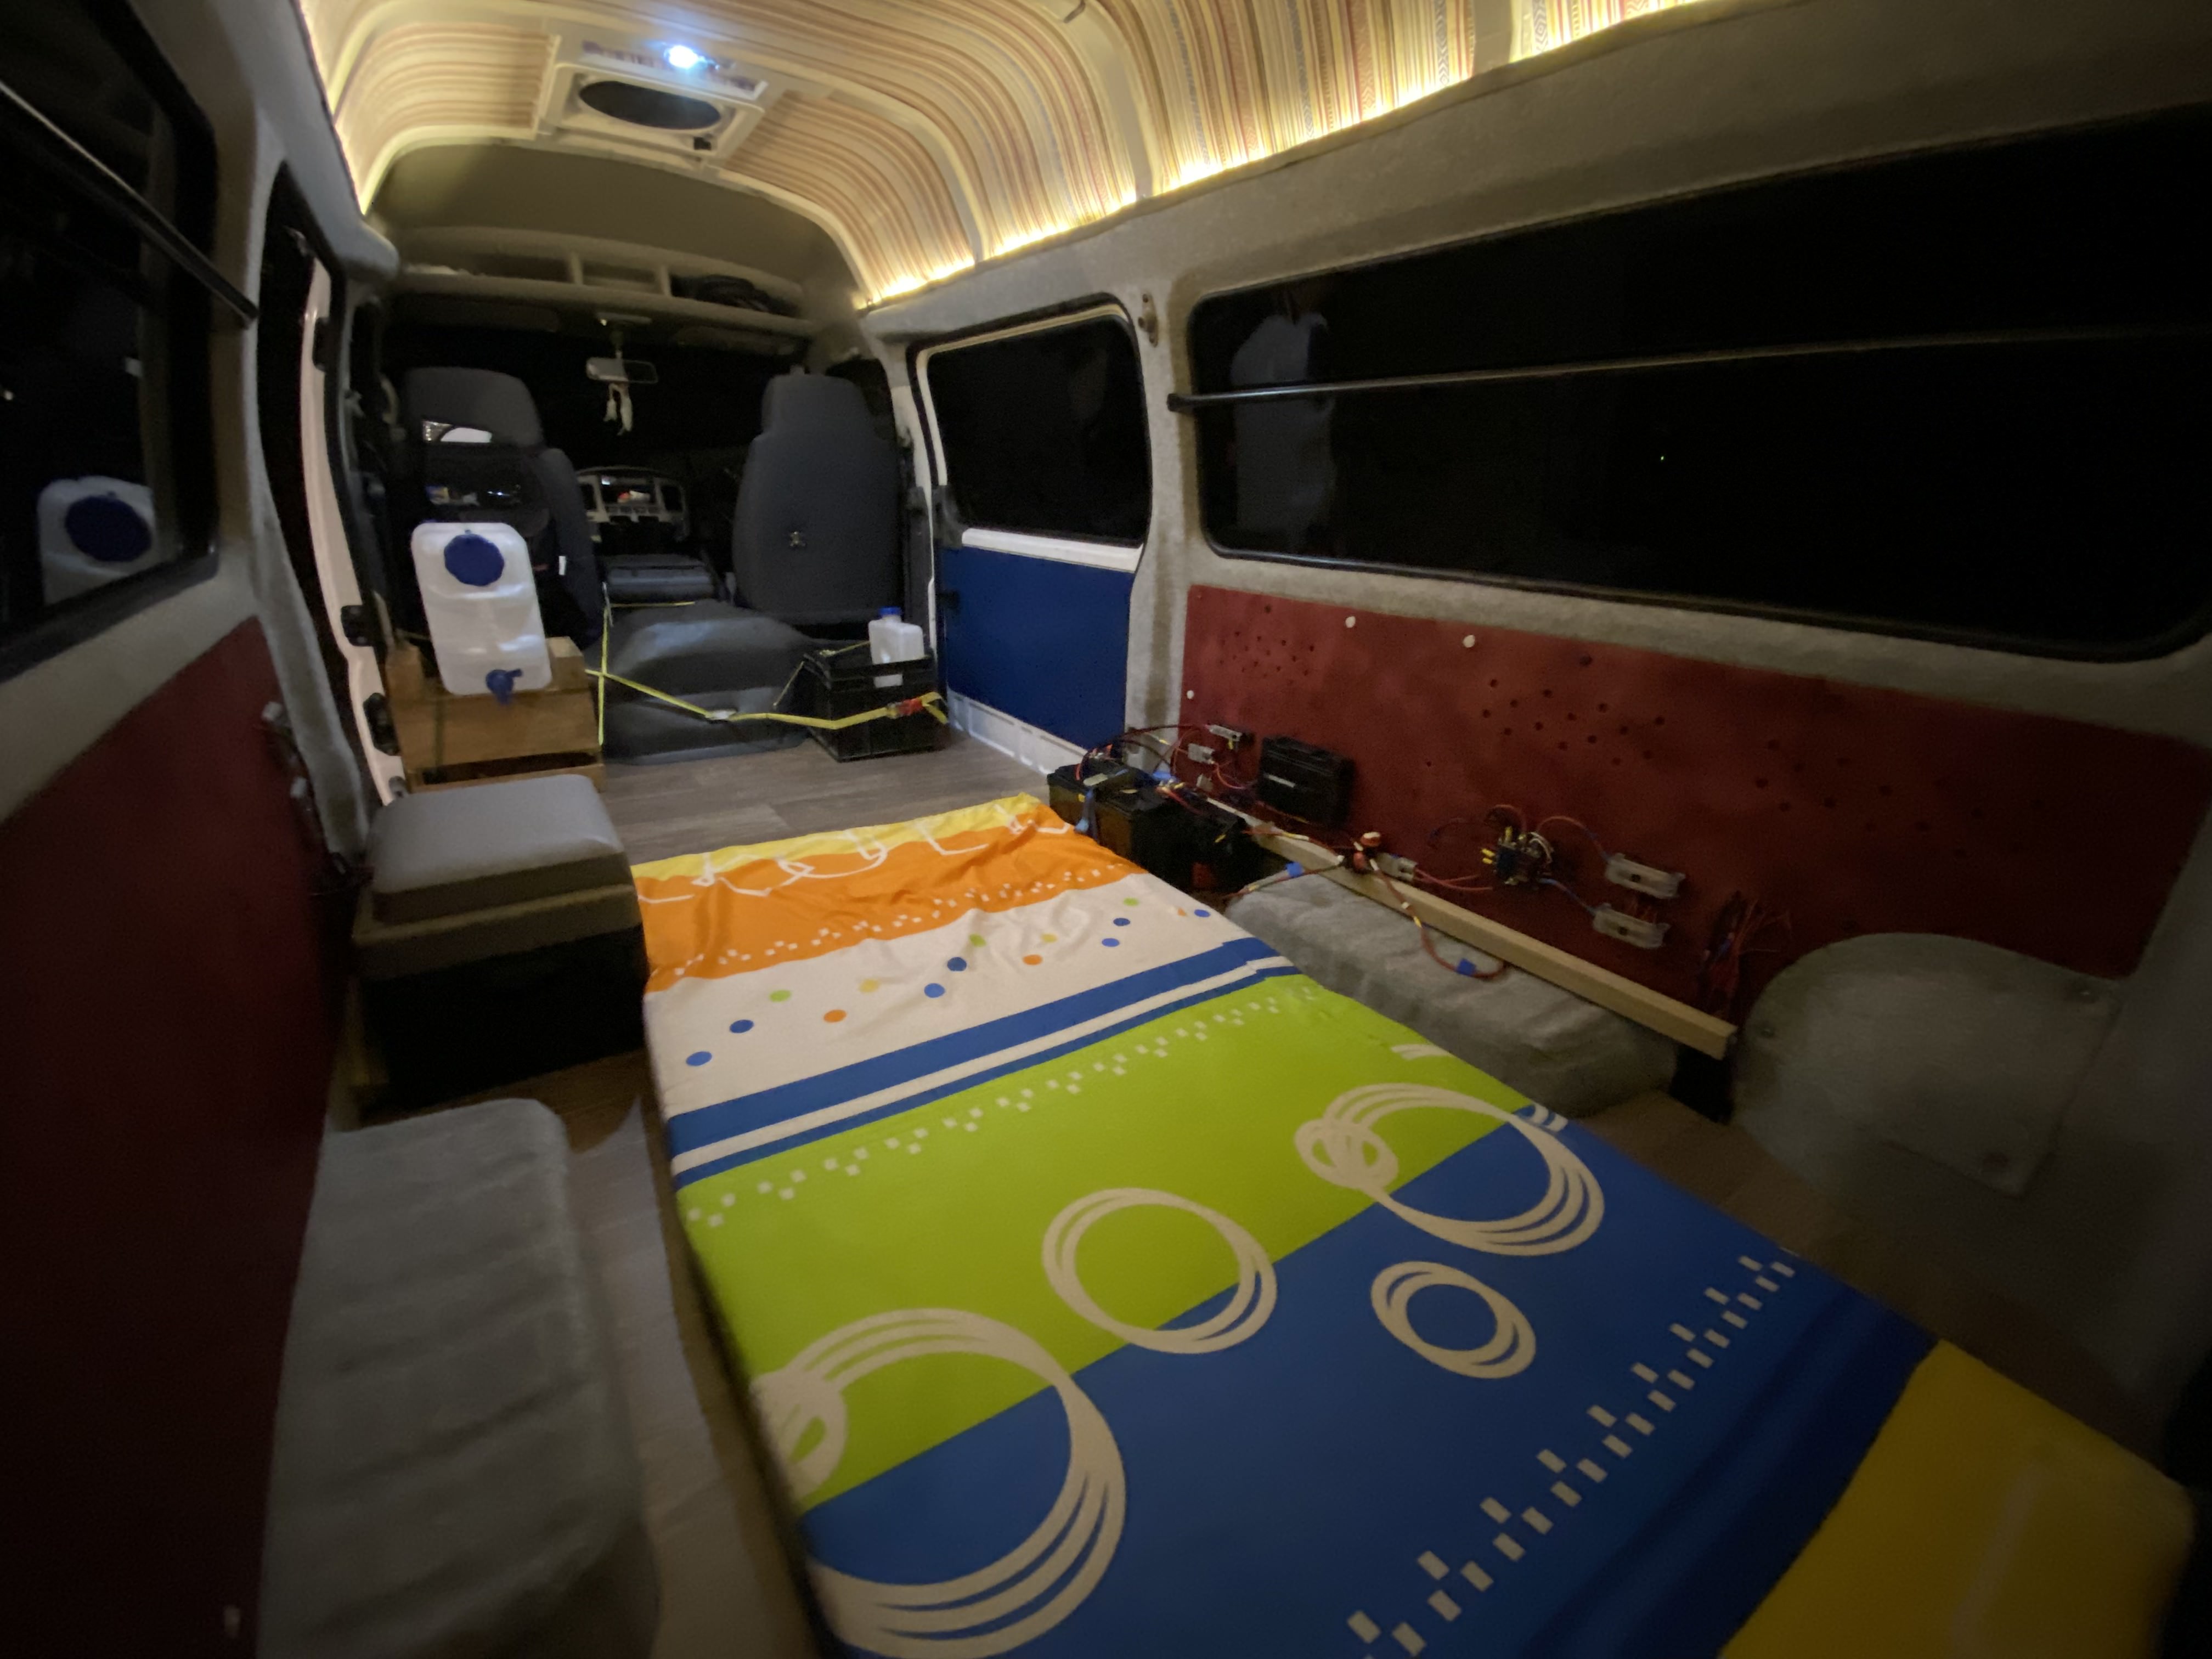
Inside shell 2
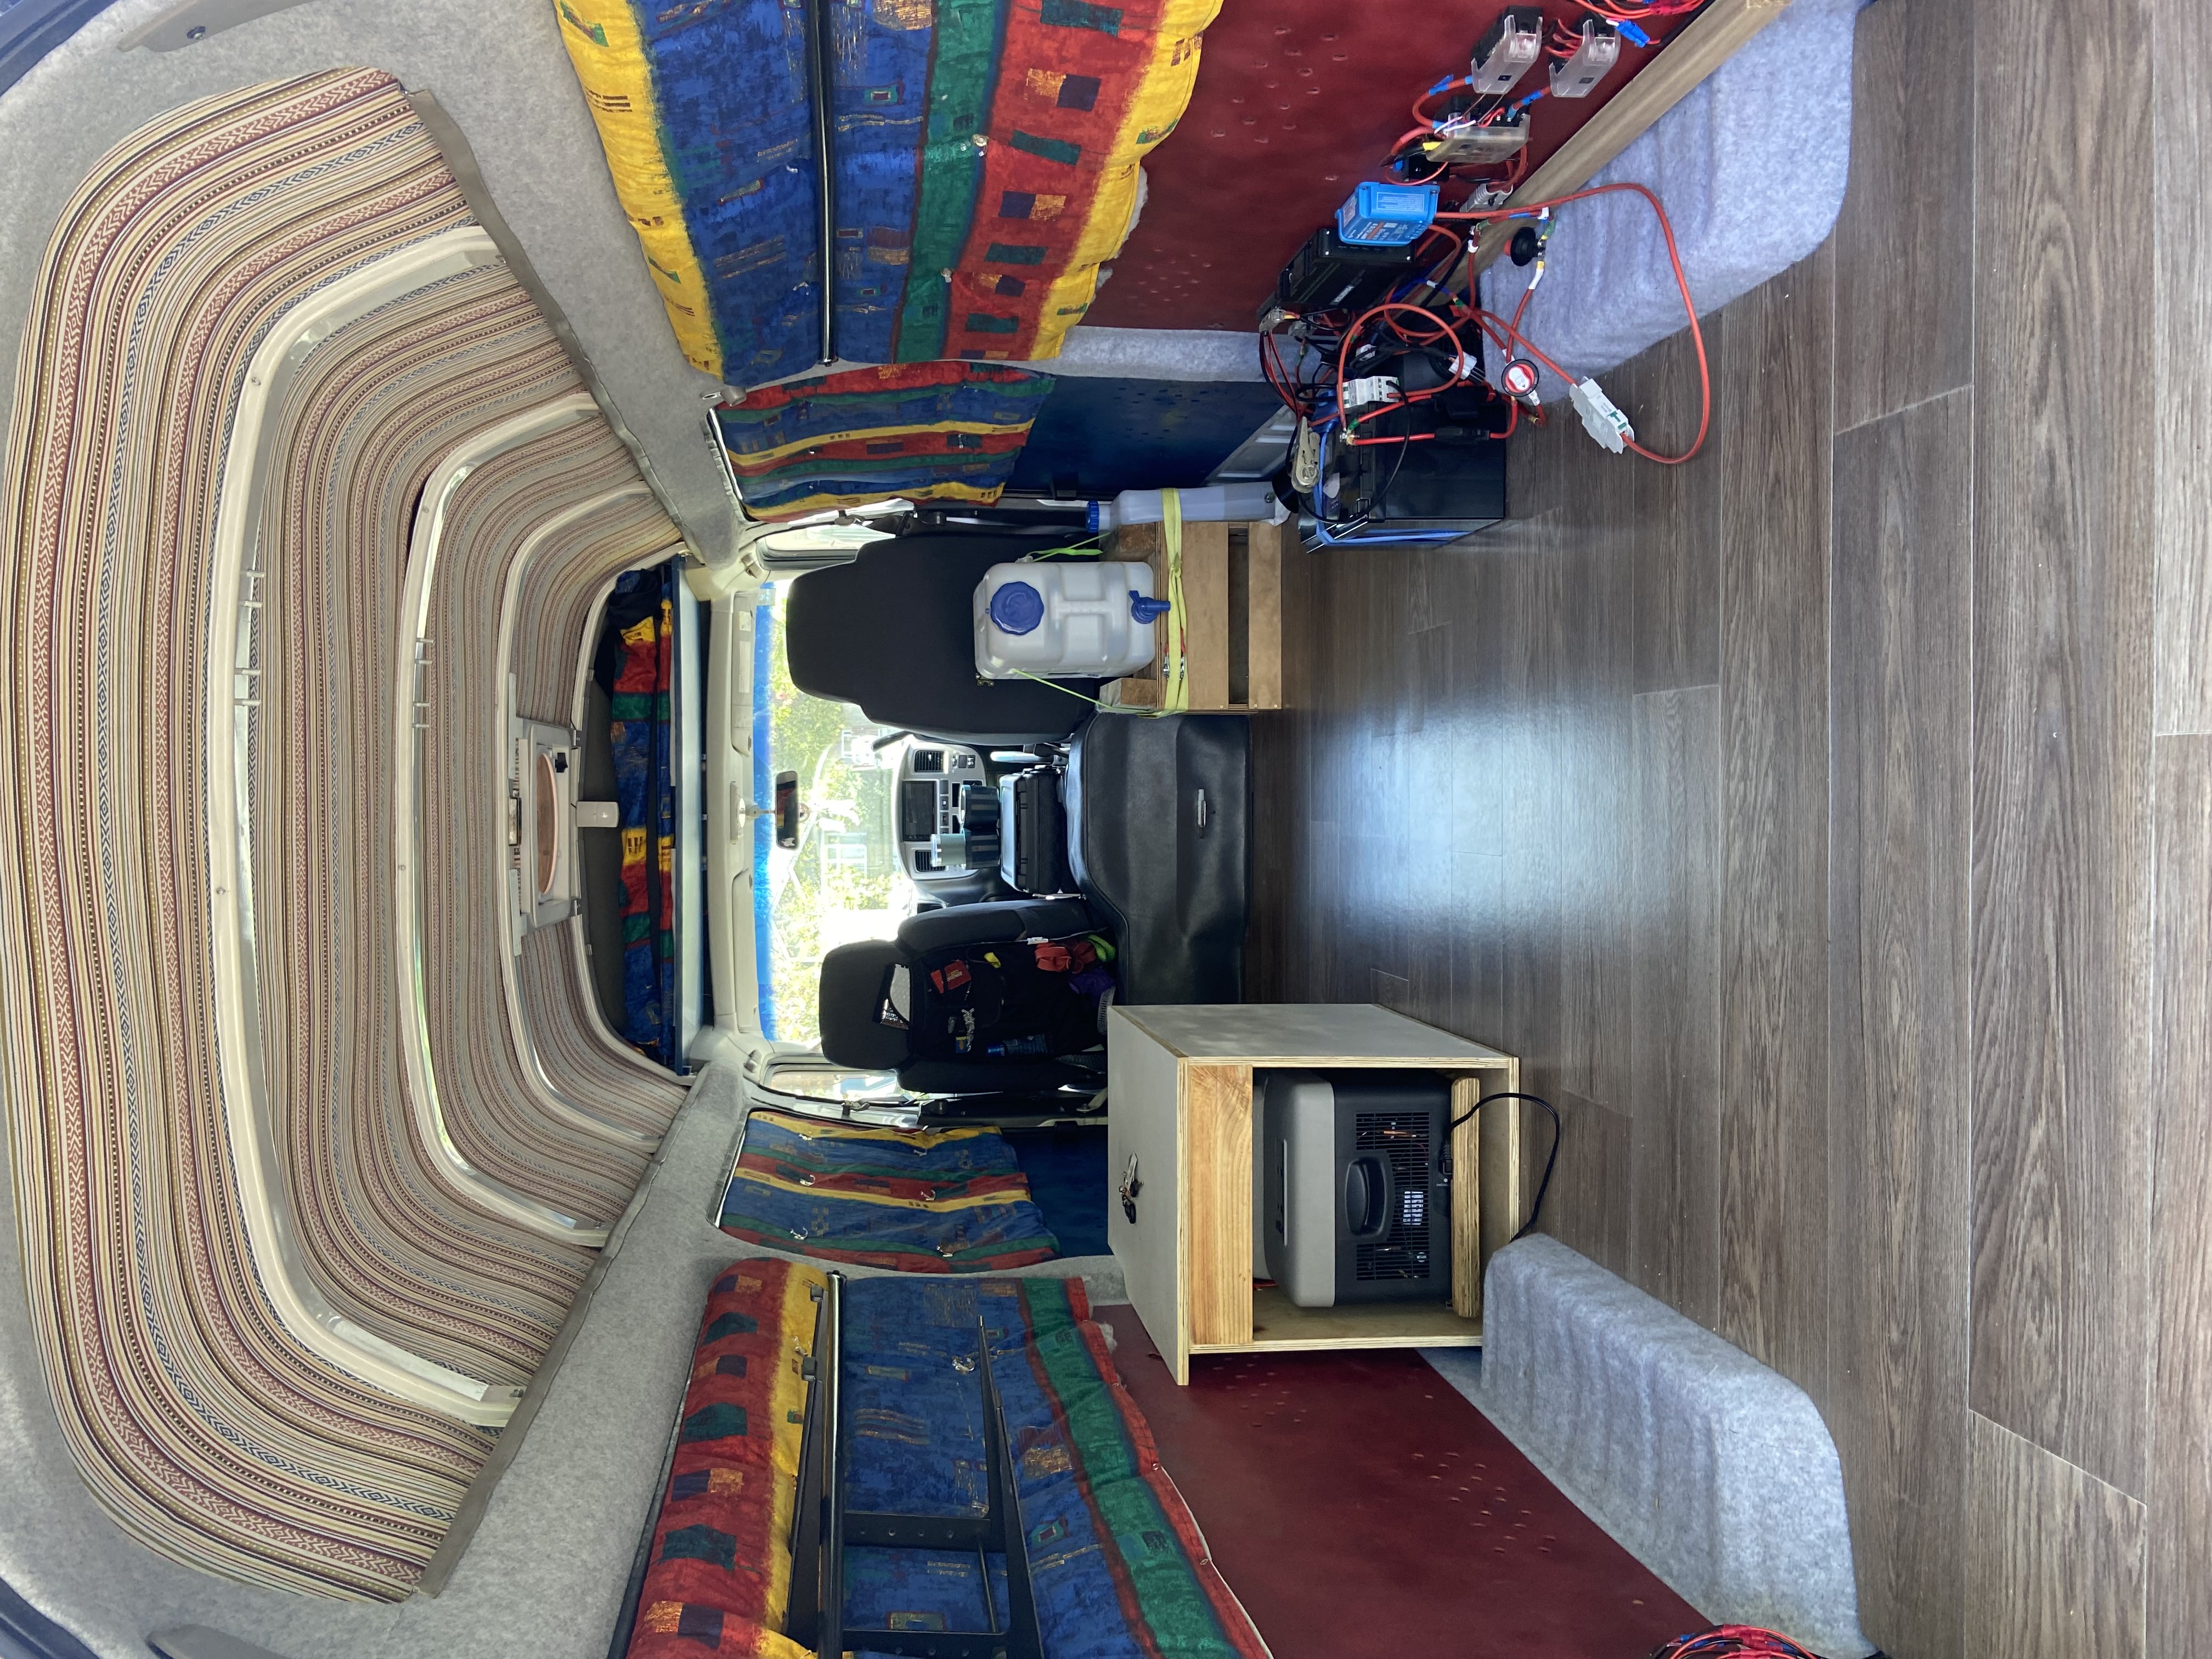
First trip away!
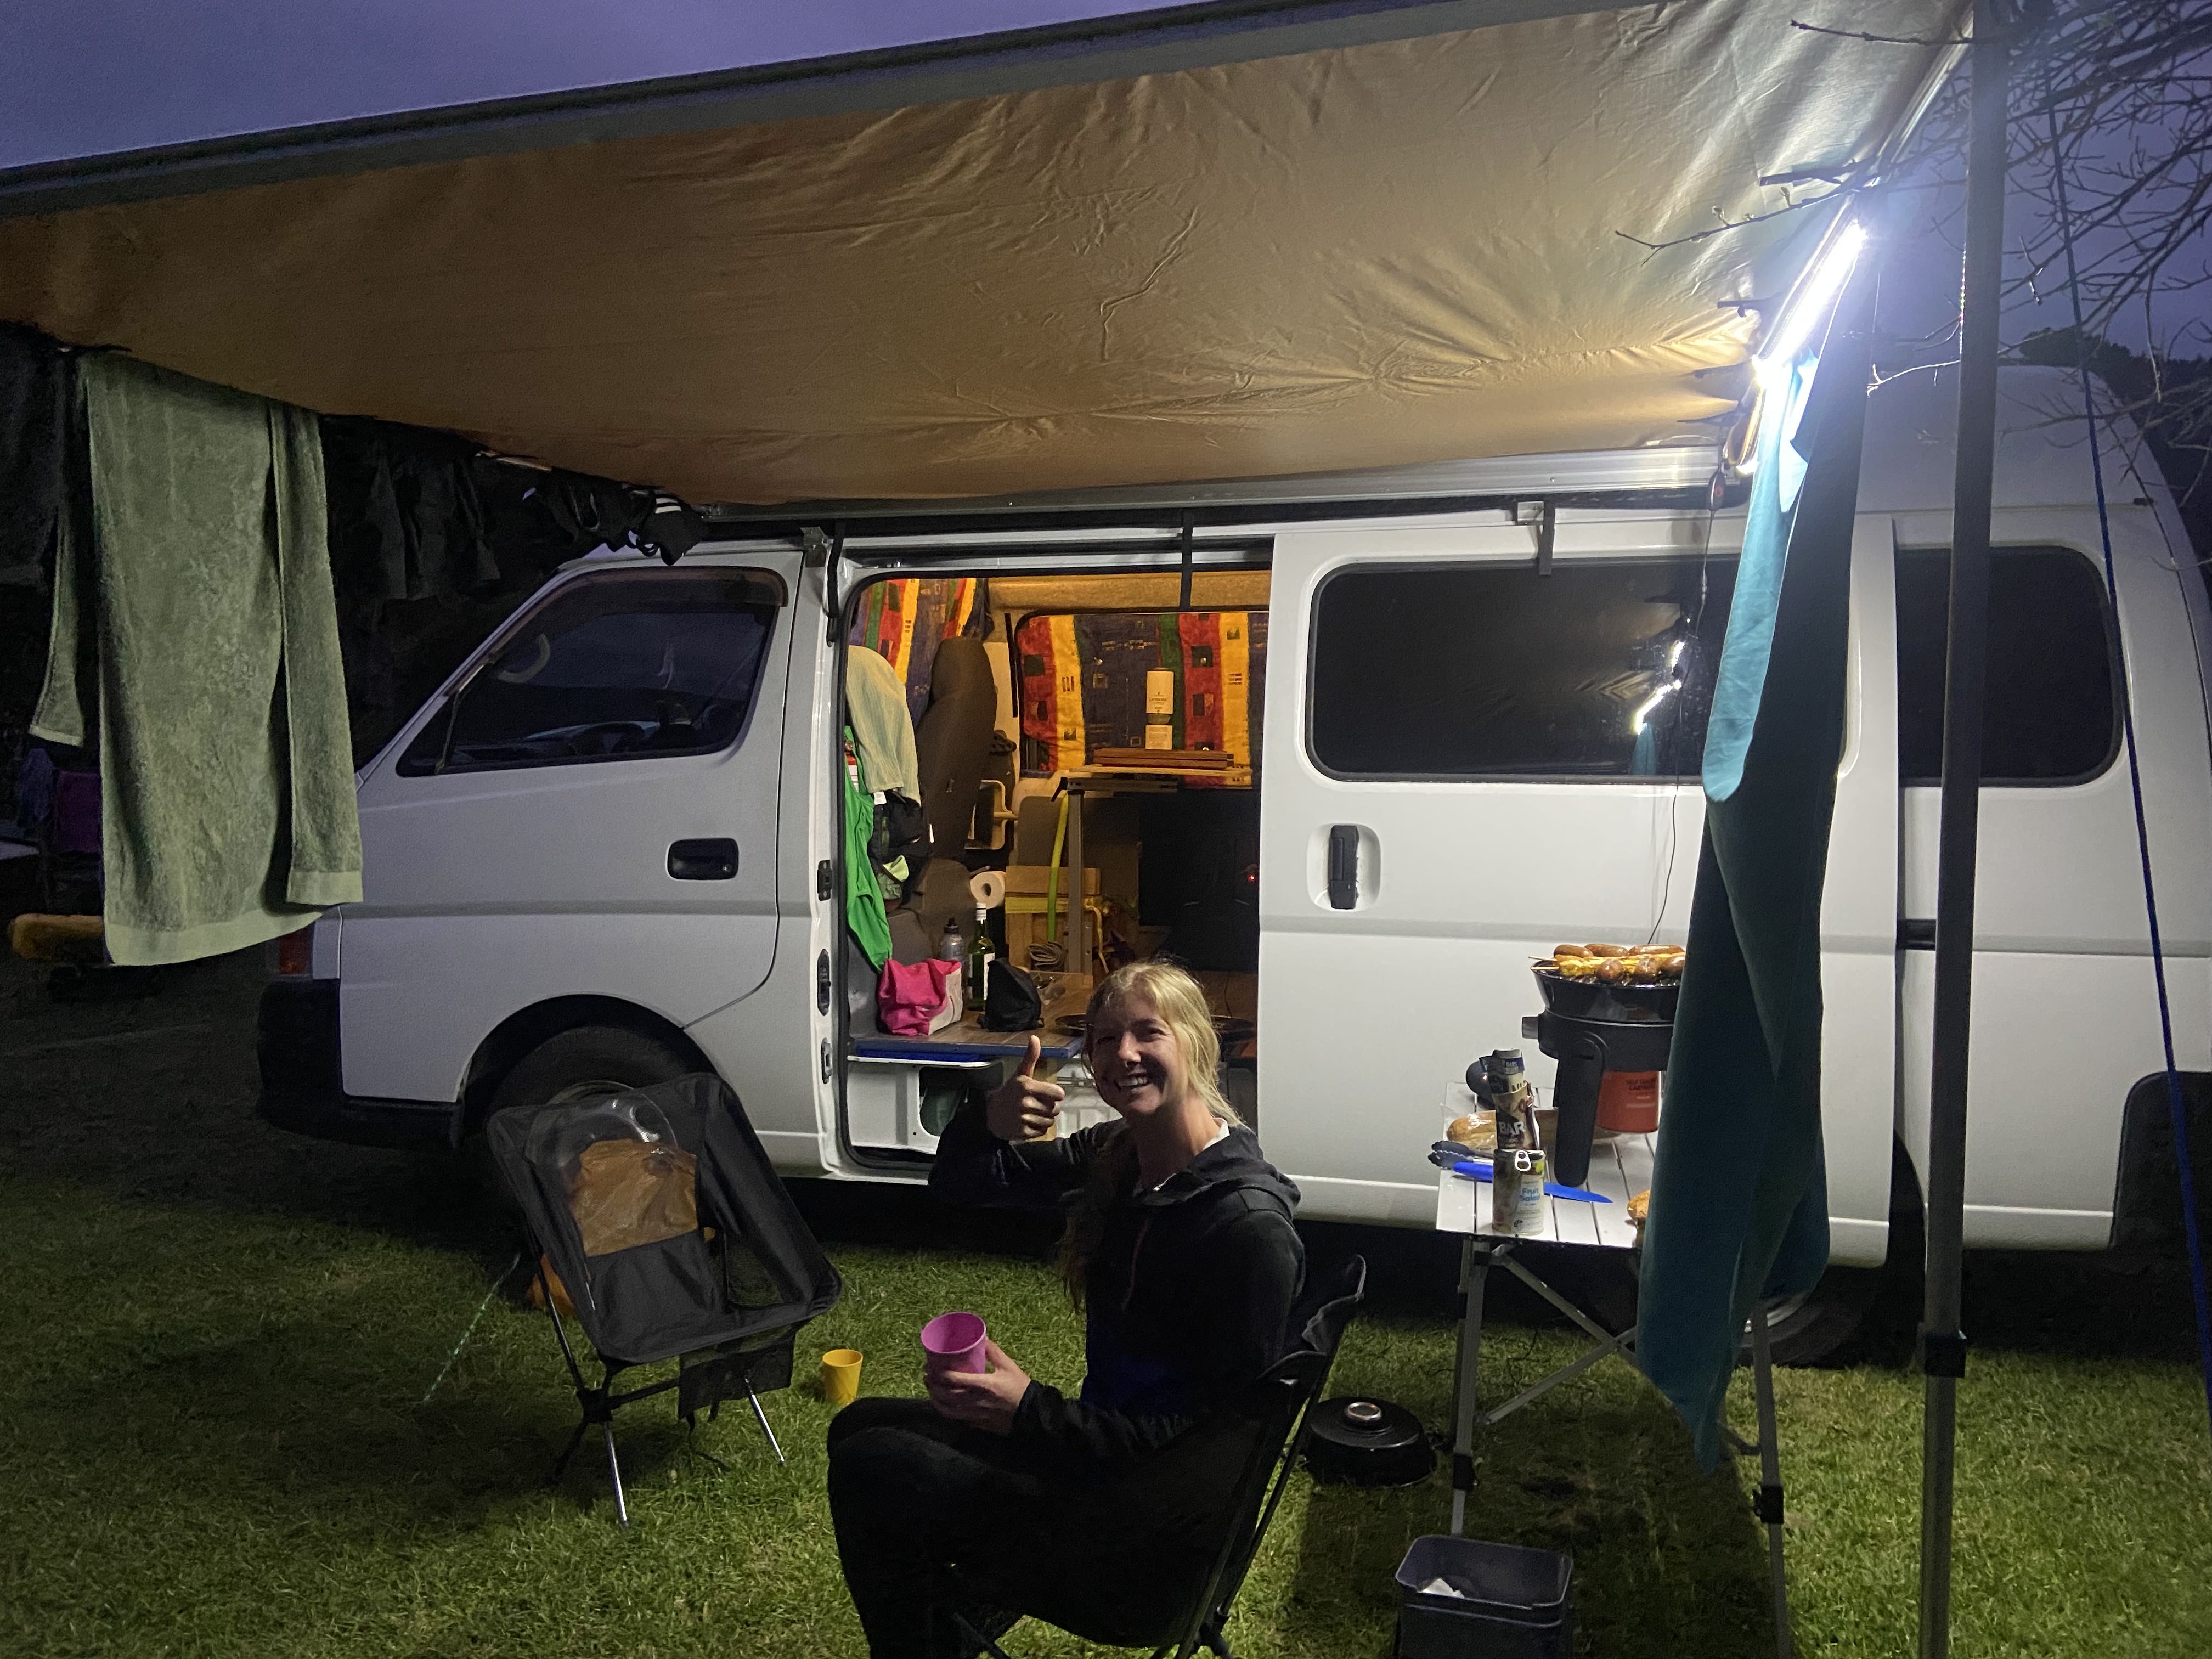
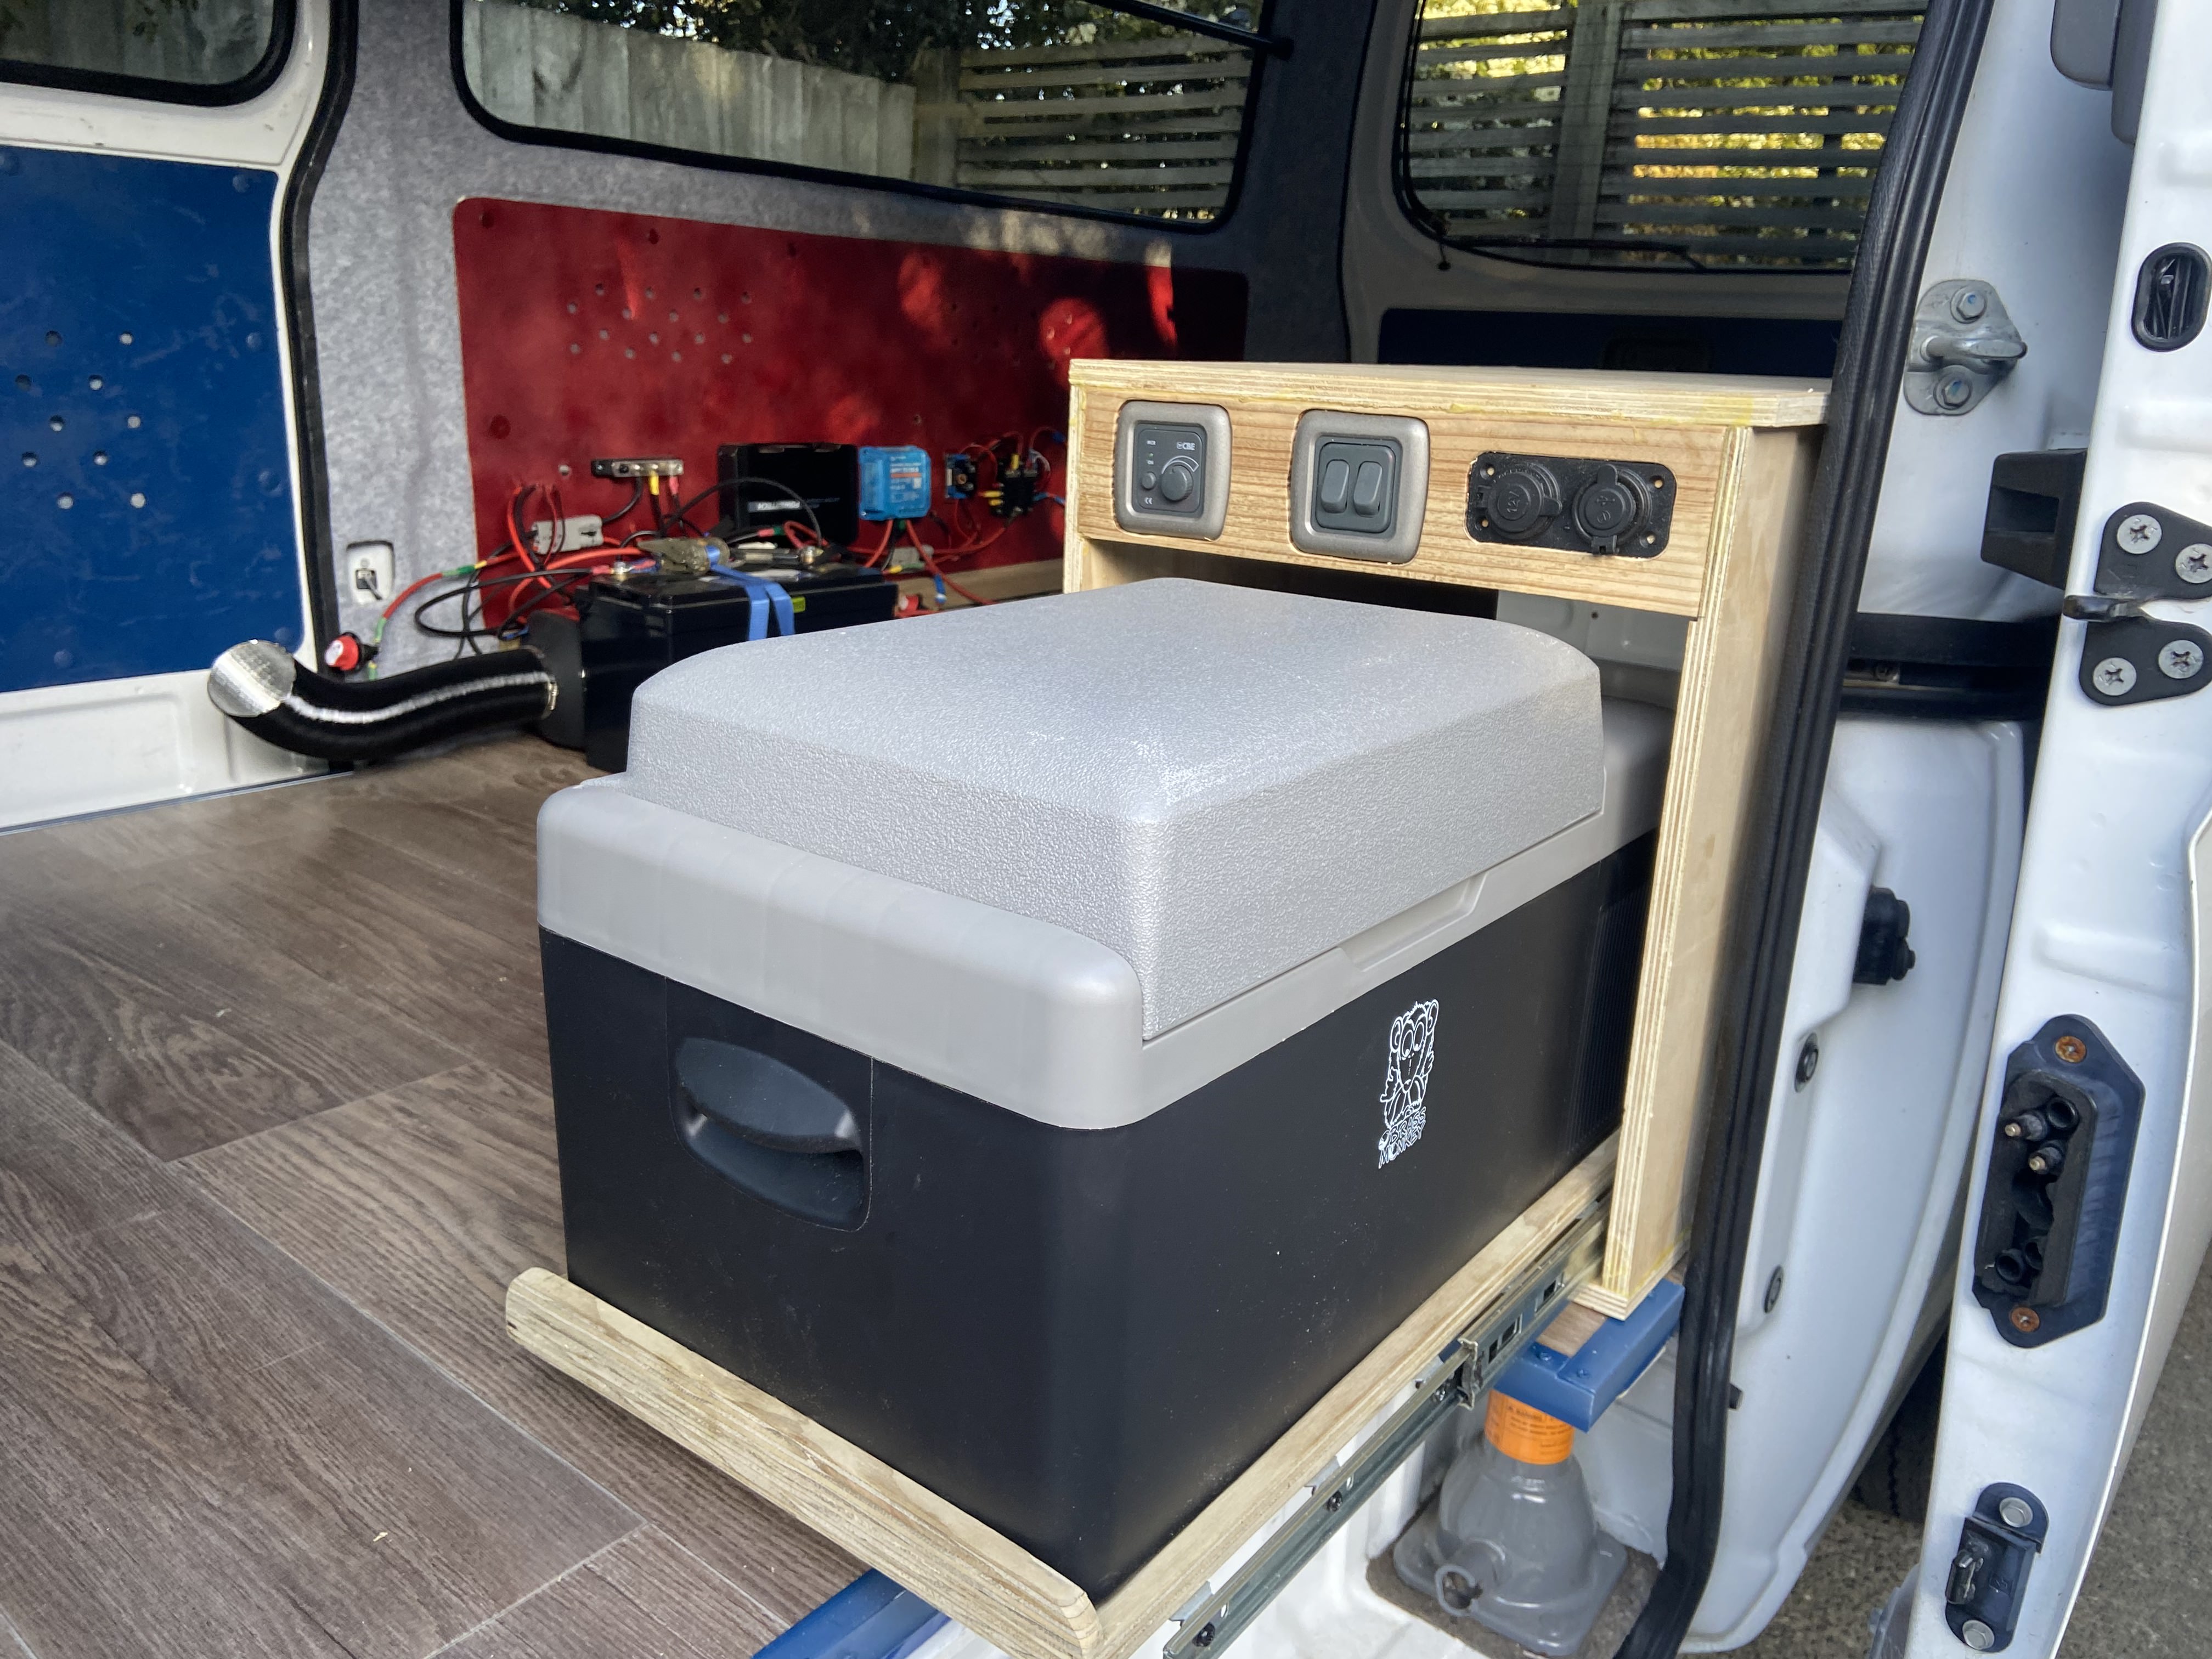
Fridge drawer cabinet
October 2023. After a few test runs in the camper, it was time to crack on with the furniture. I started with the fridge as this was also designed to be one of the bed legs.
Routing out the fridge drawer
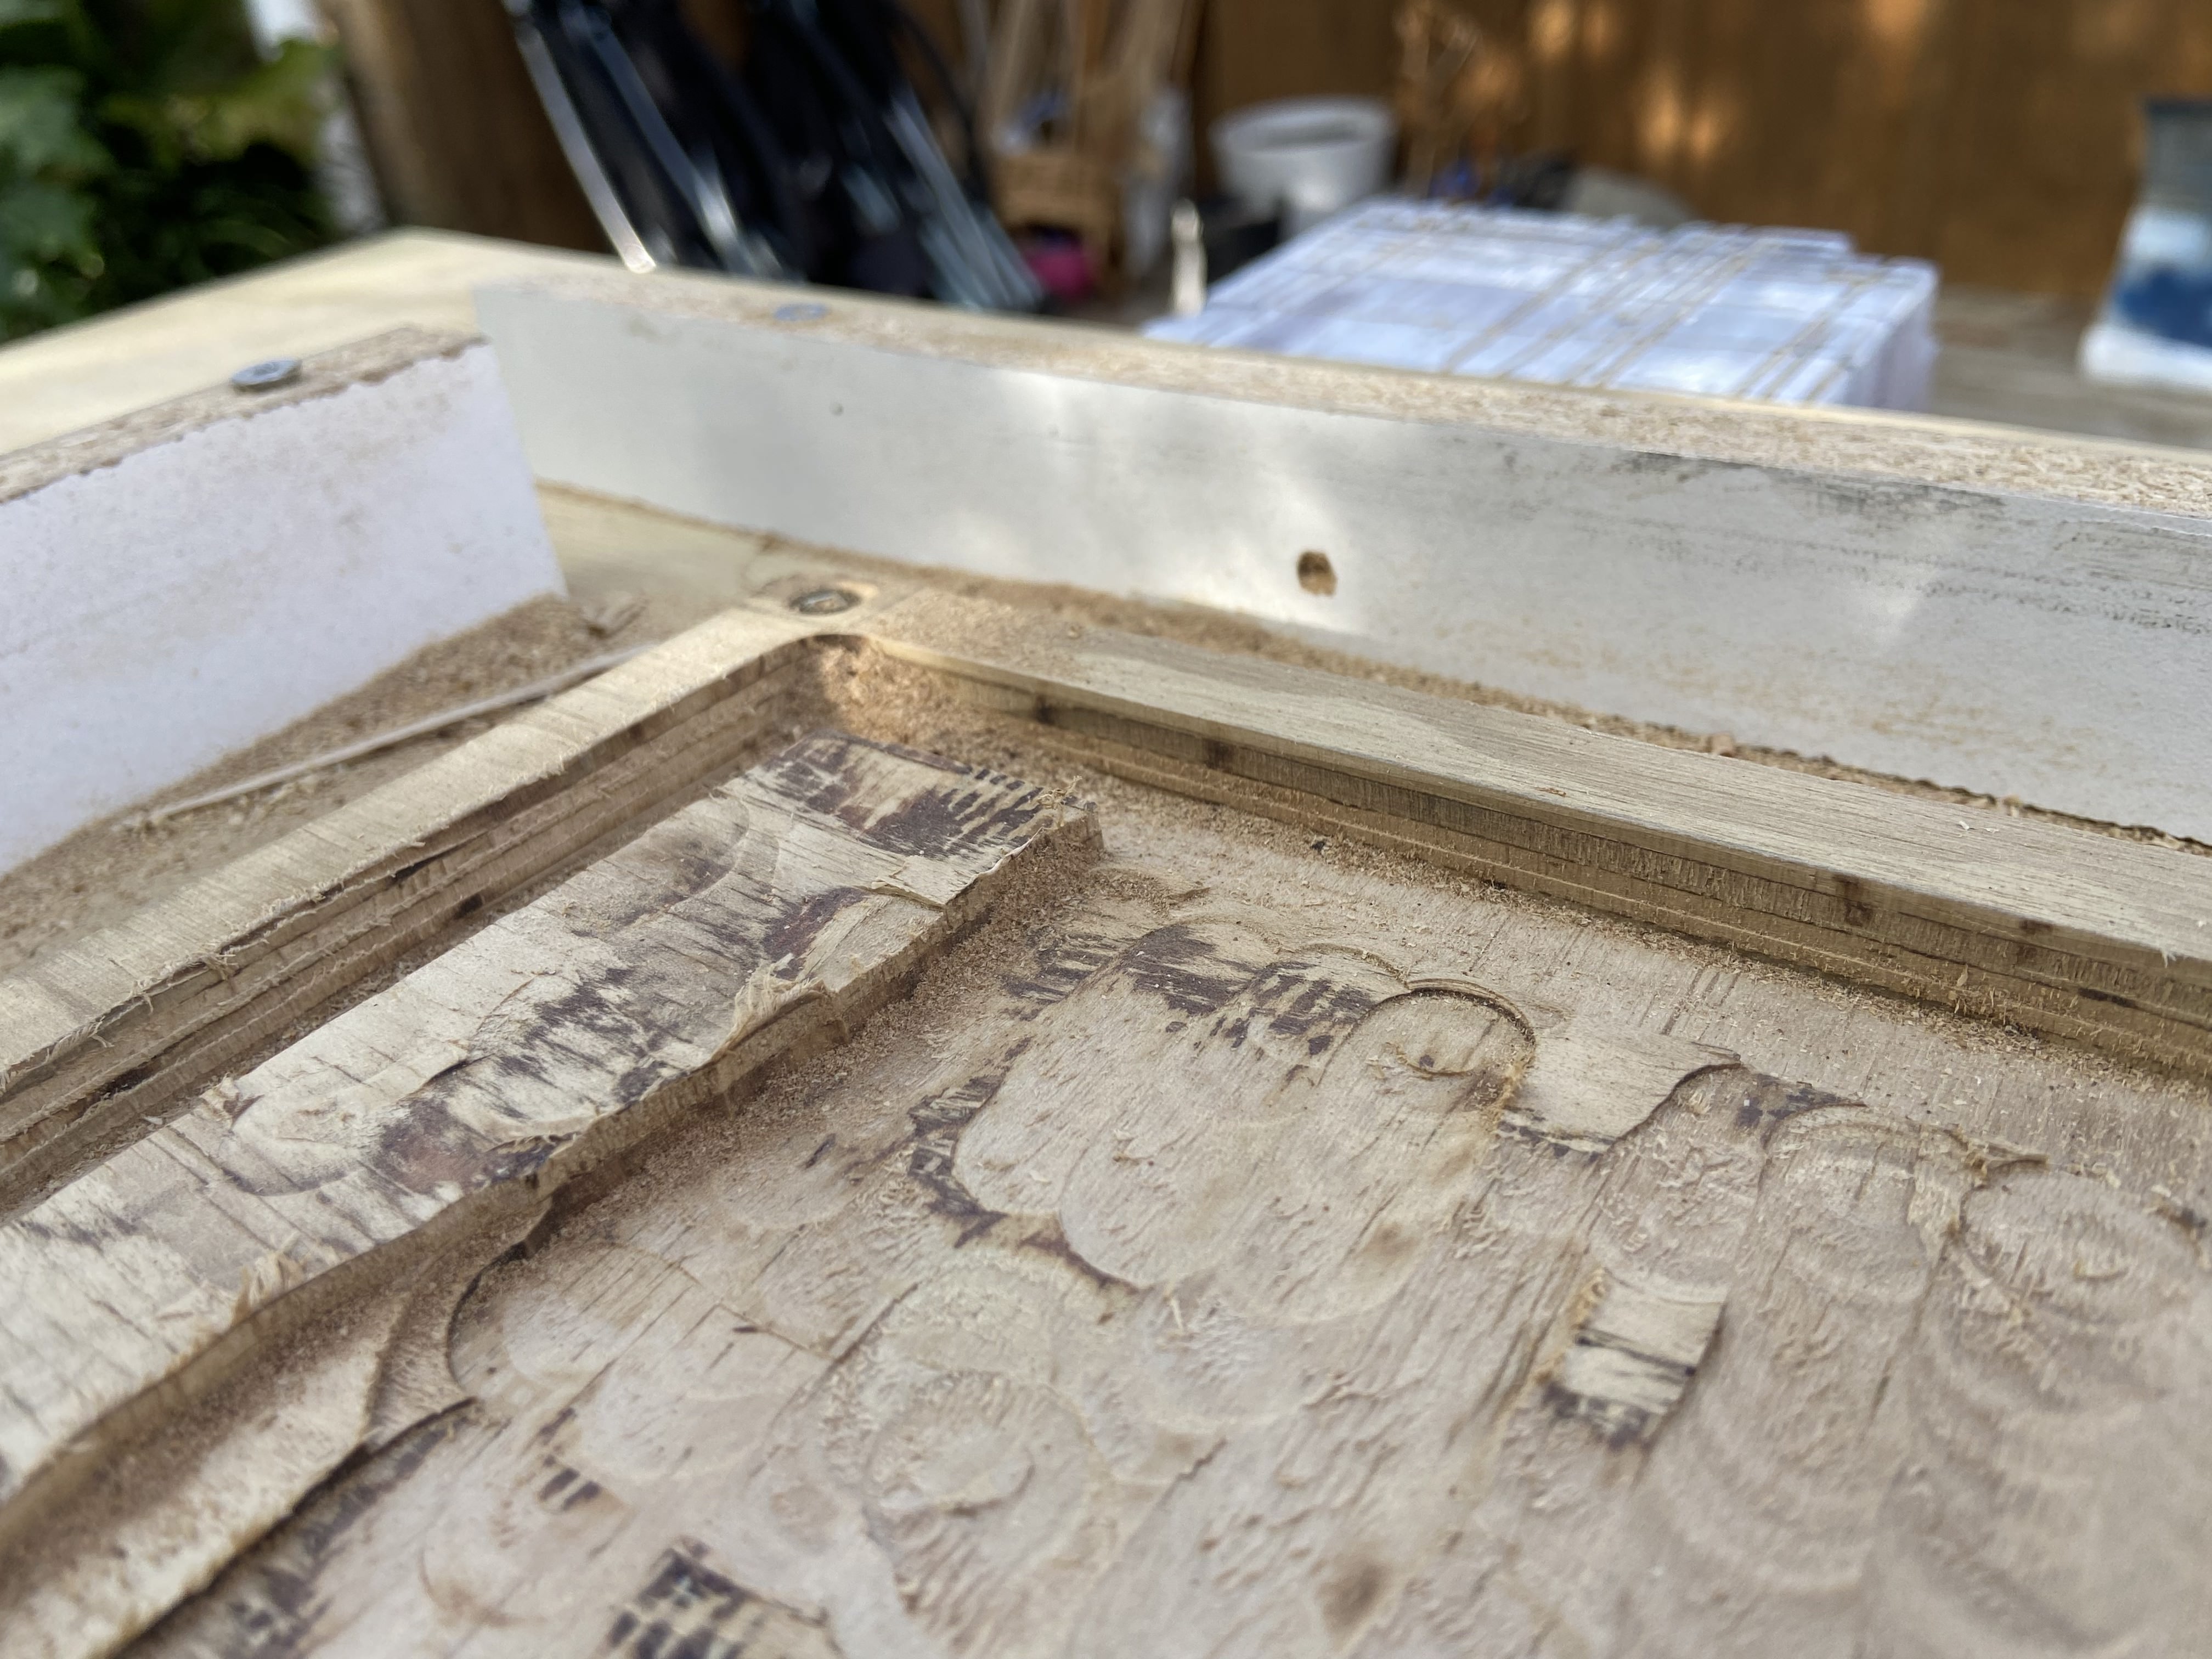
Fridge drawer test
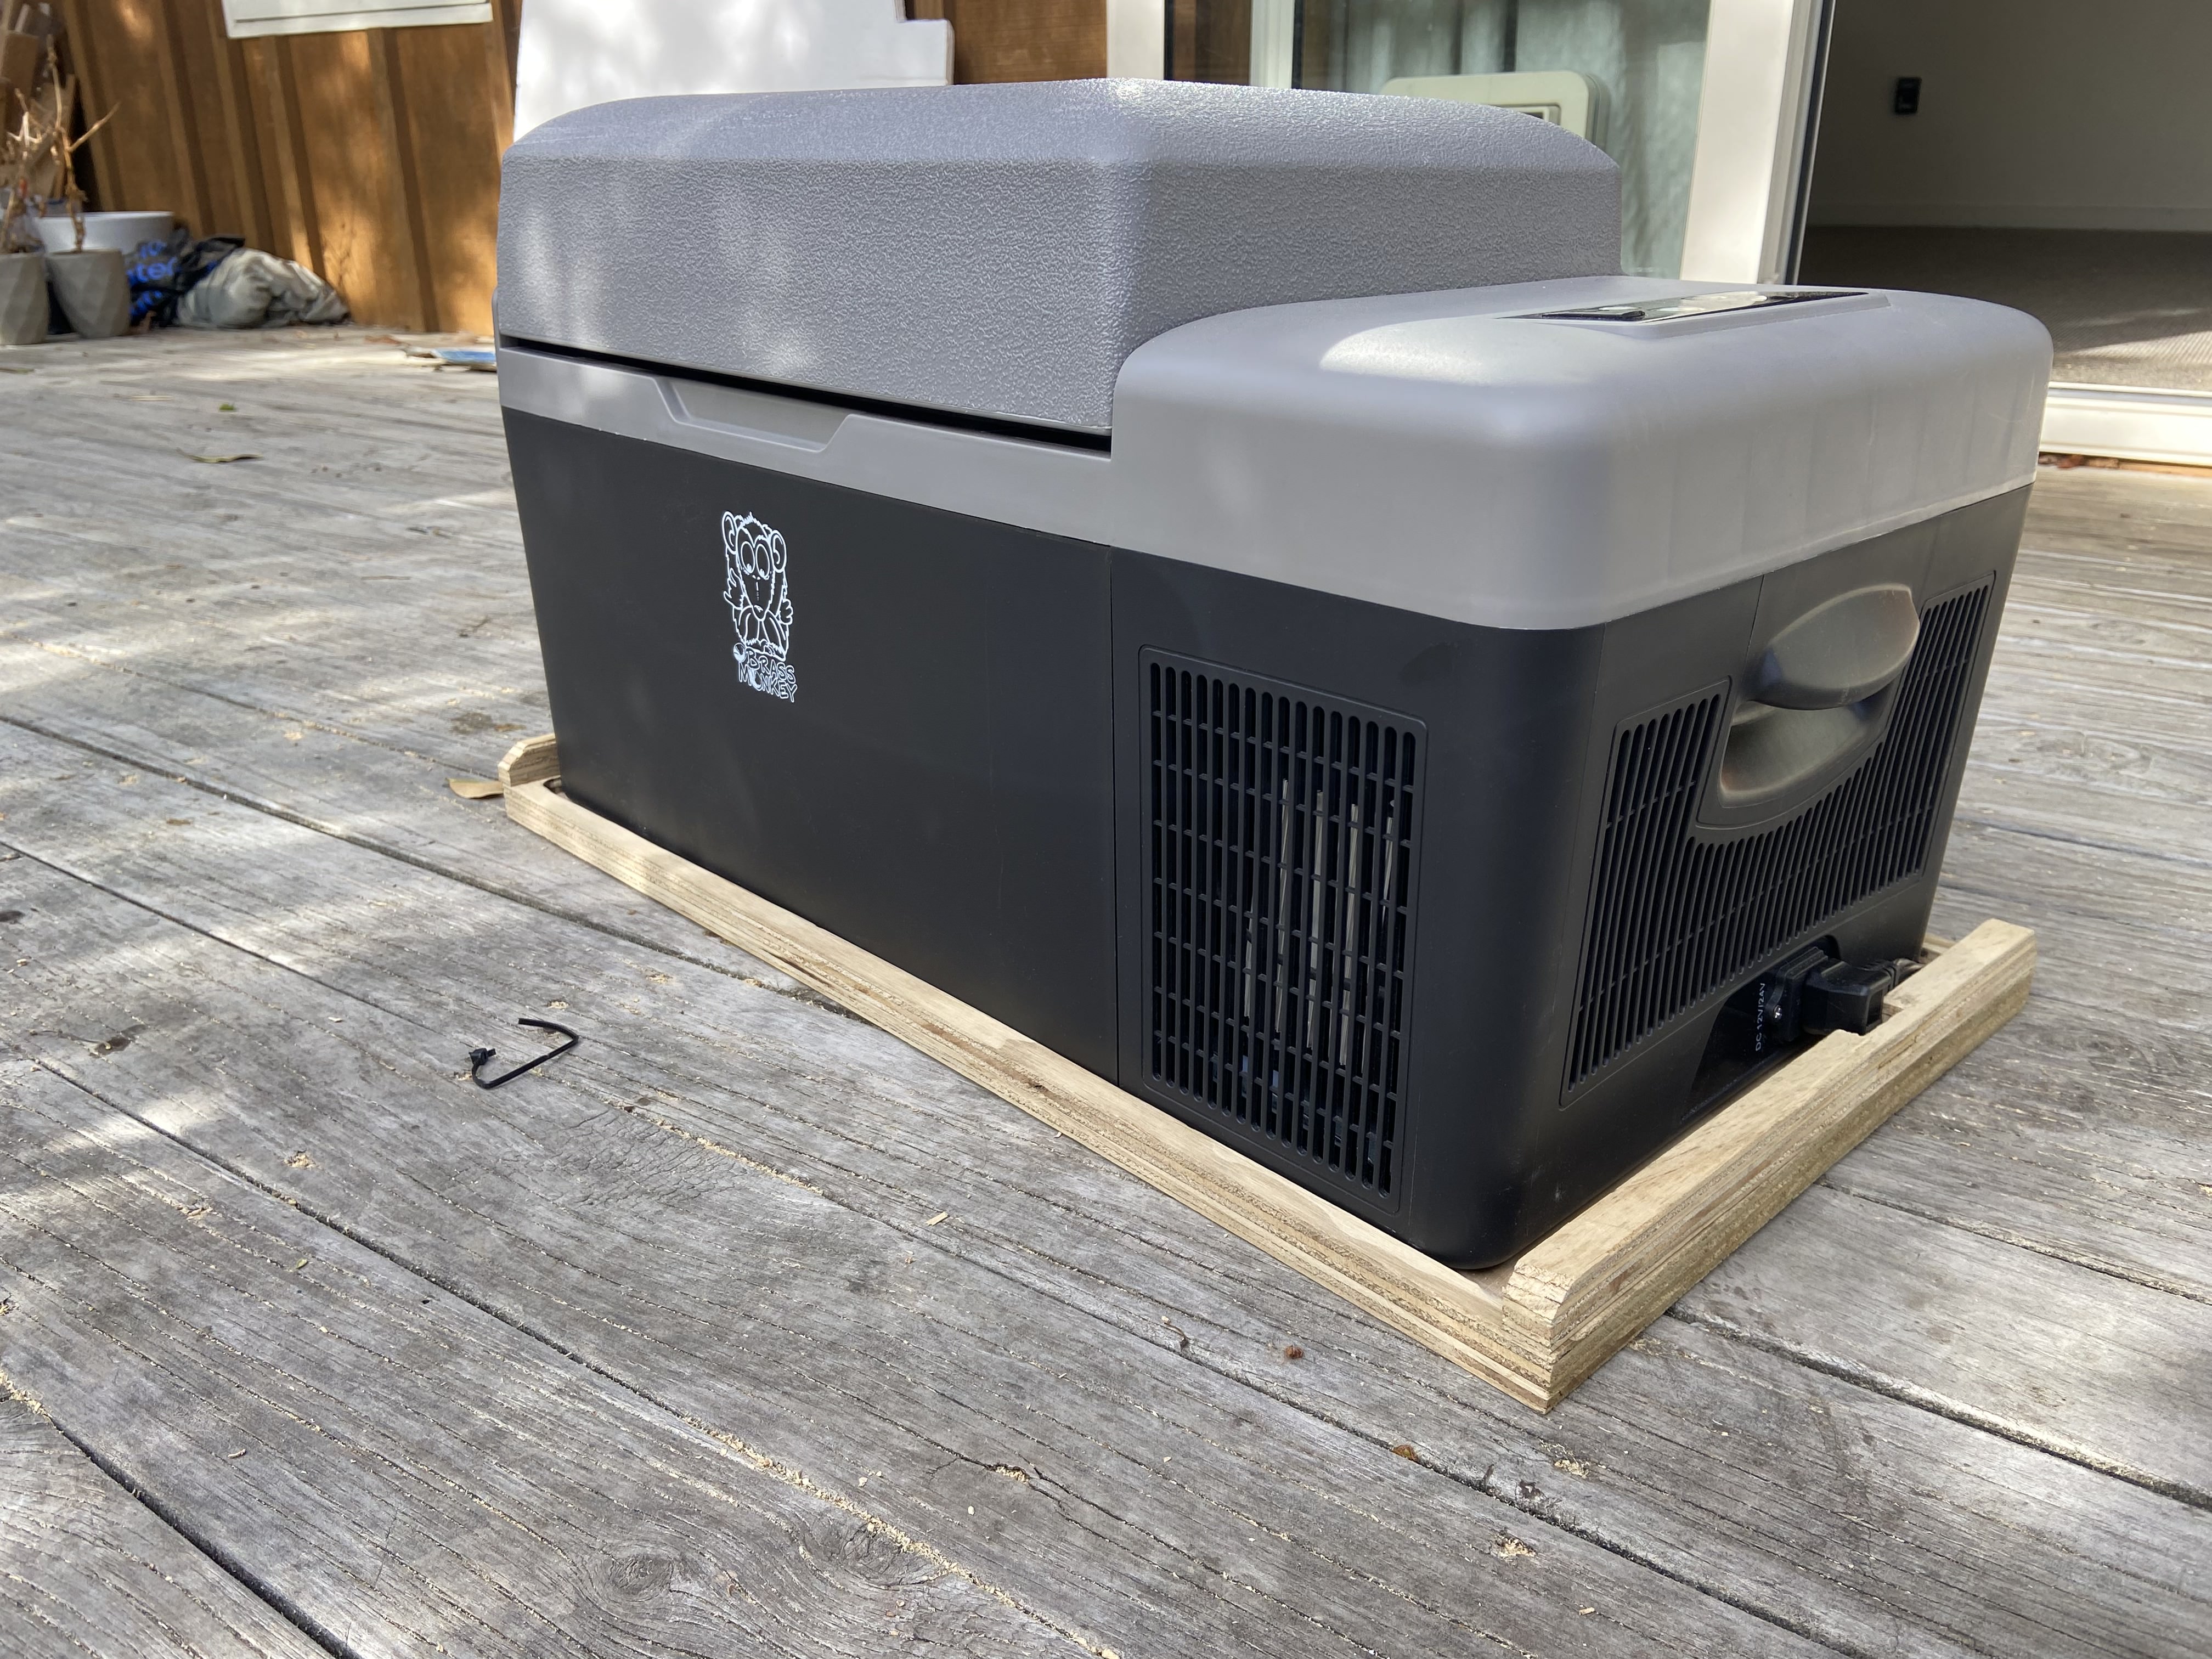
Cabinet installed
Bed
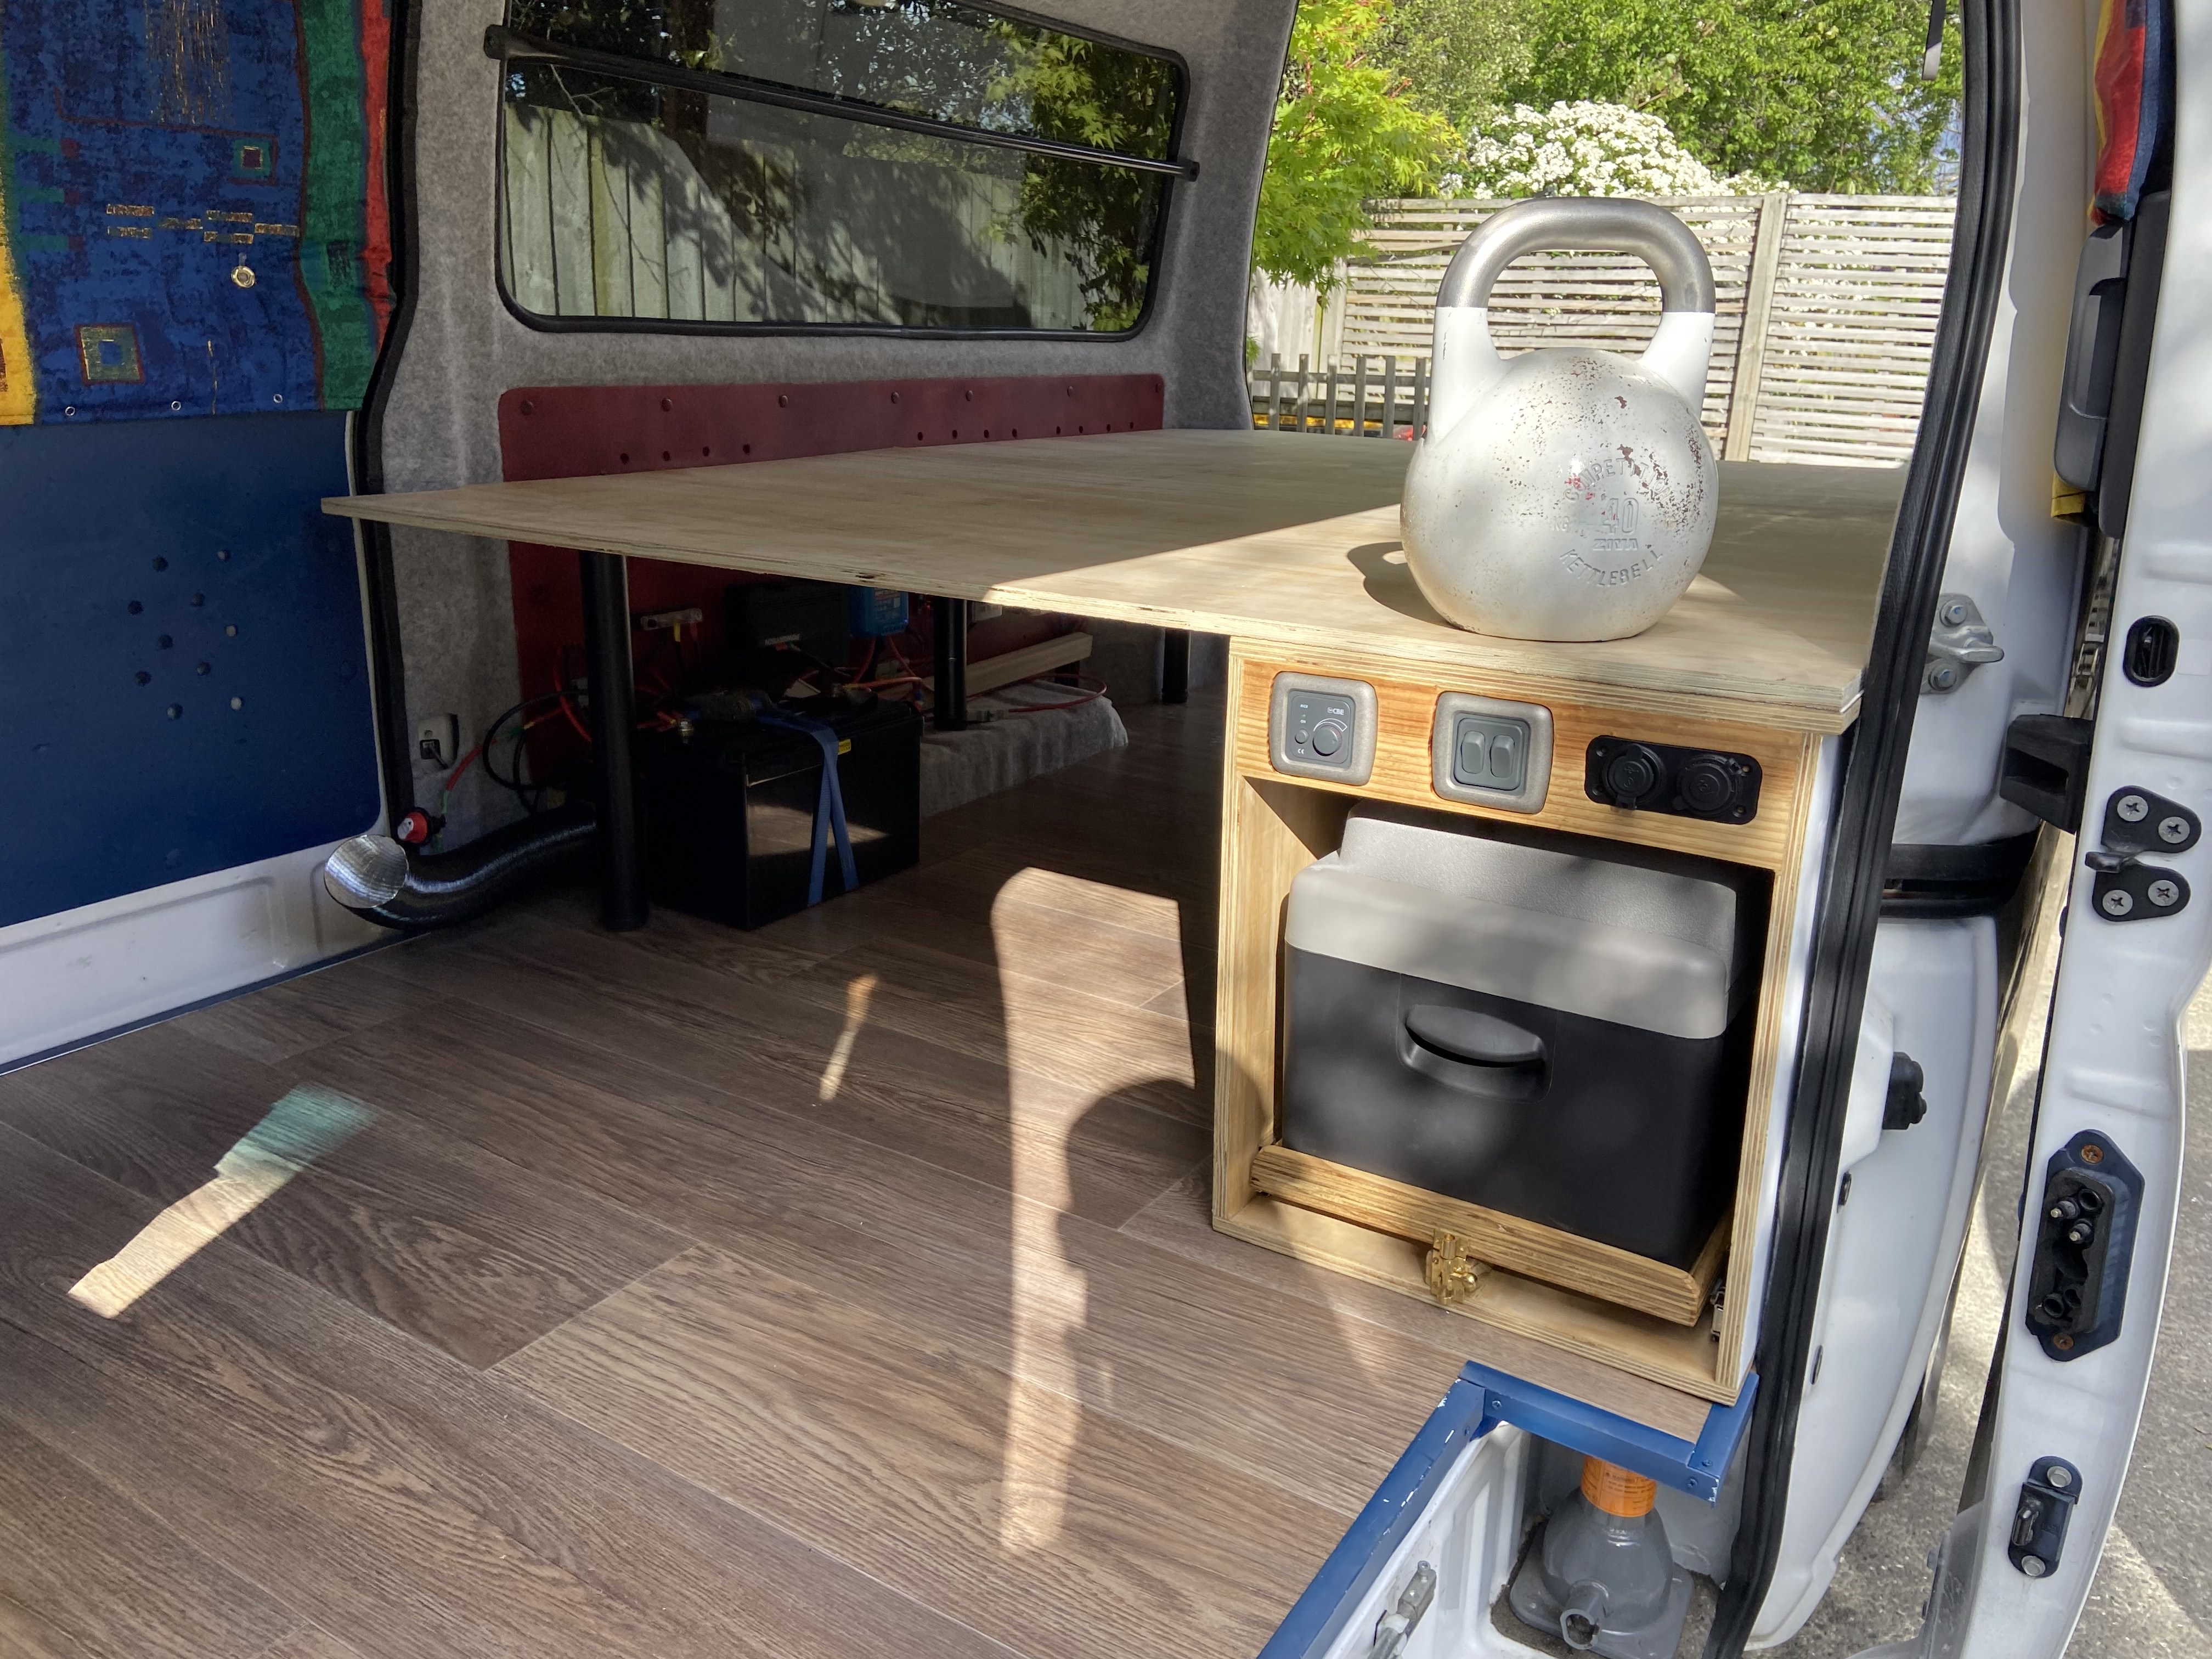
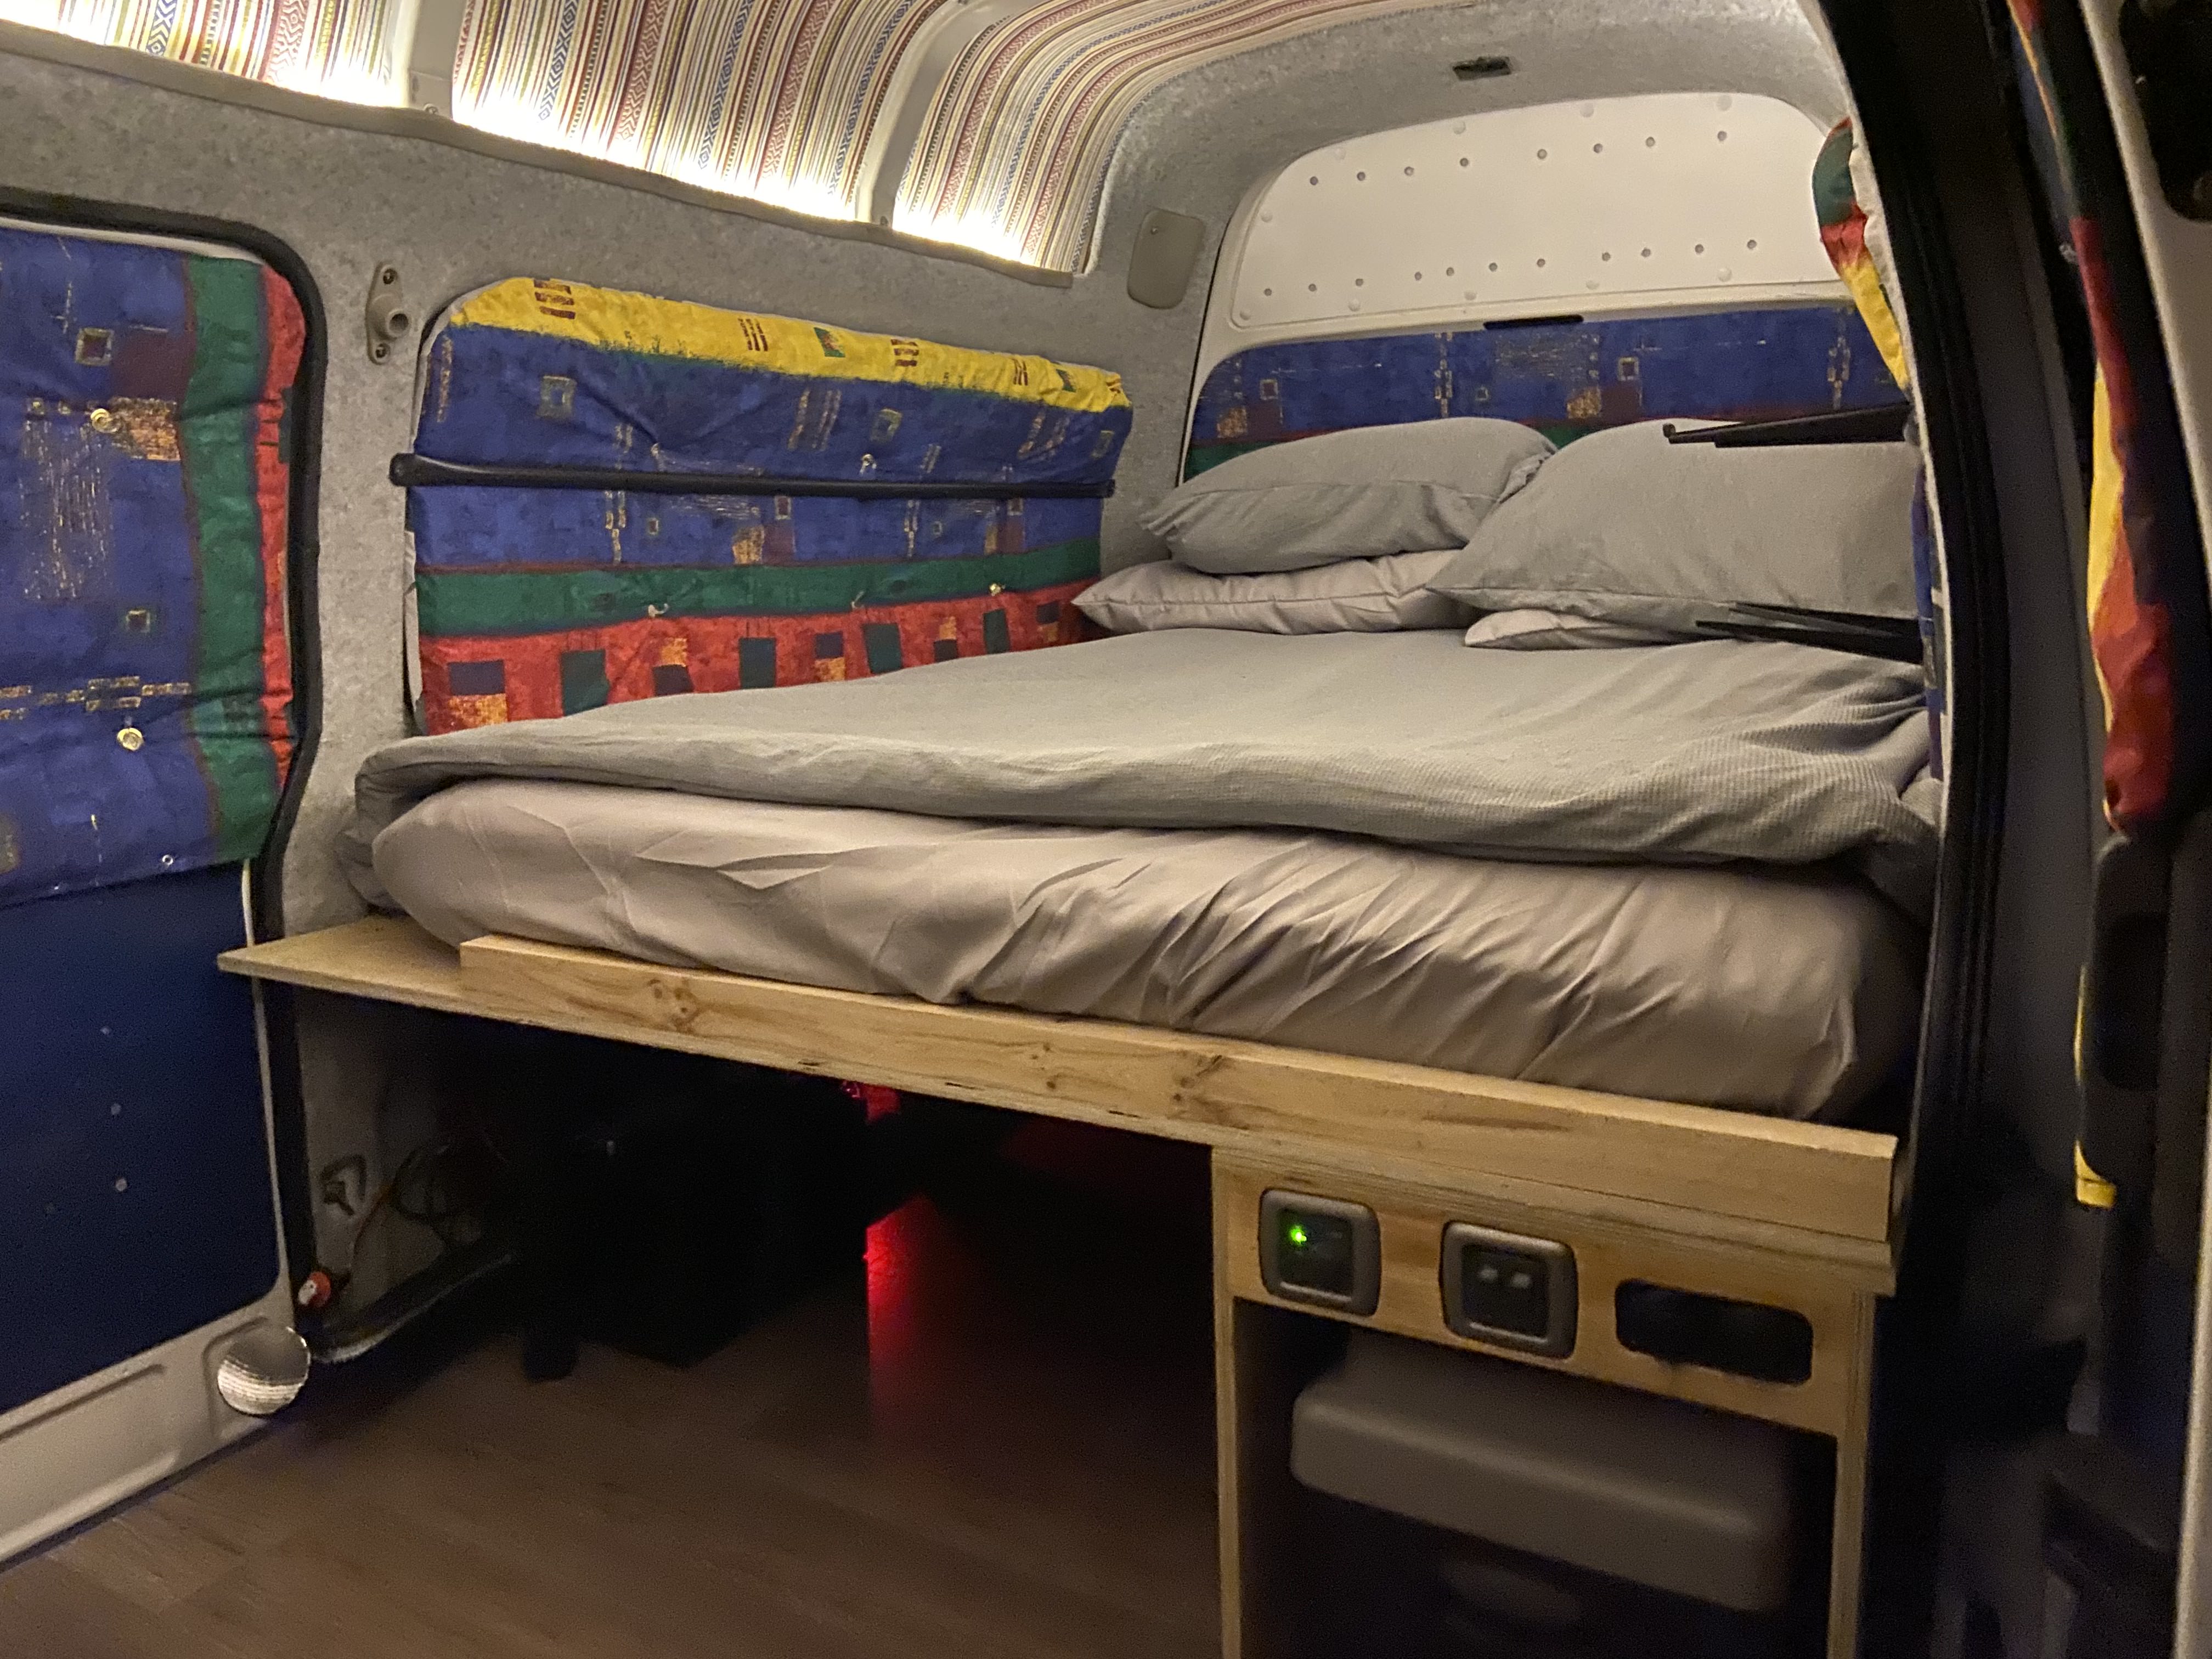
November 2023. Now the fridge was in place, it was time to build the bed. More plywood and some metal furniture legs from bunnings we used for this. I drilled some ventilation holes into the plywood to let the mattress breath.
First half of the bed platform installed
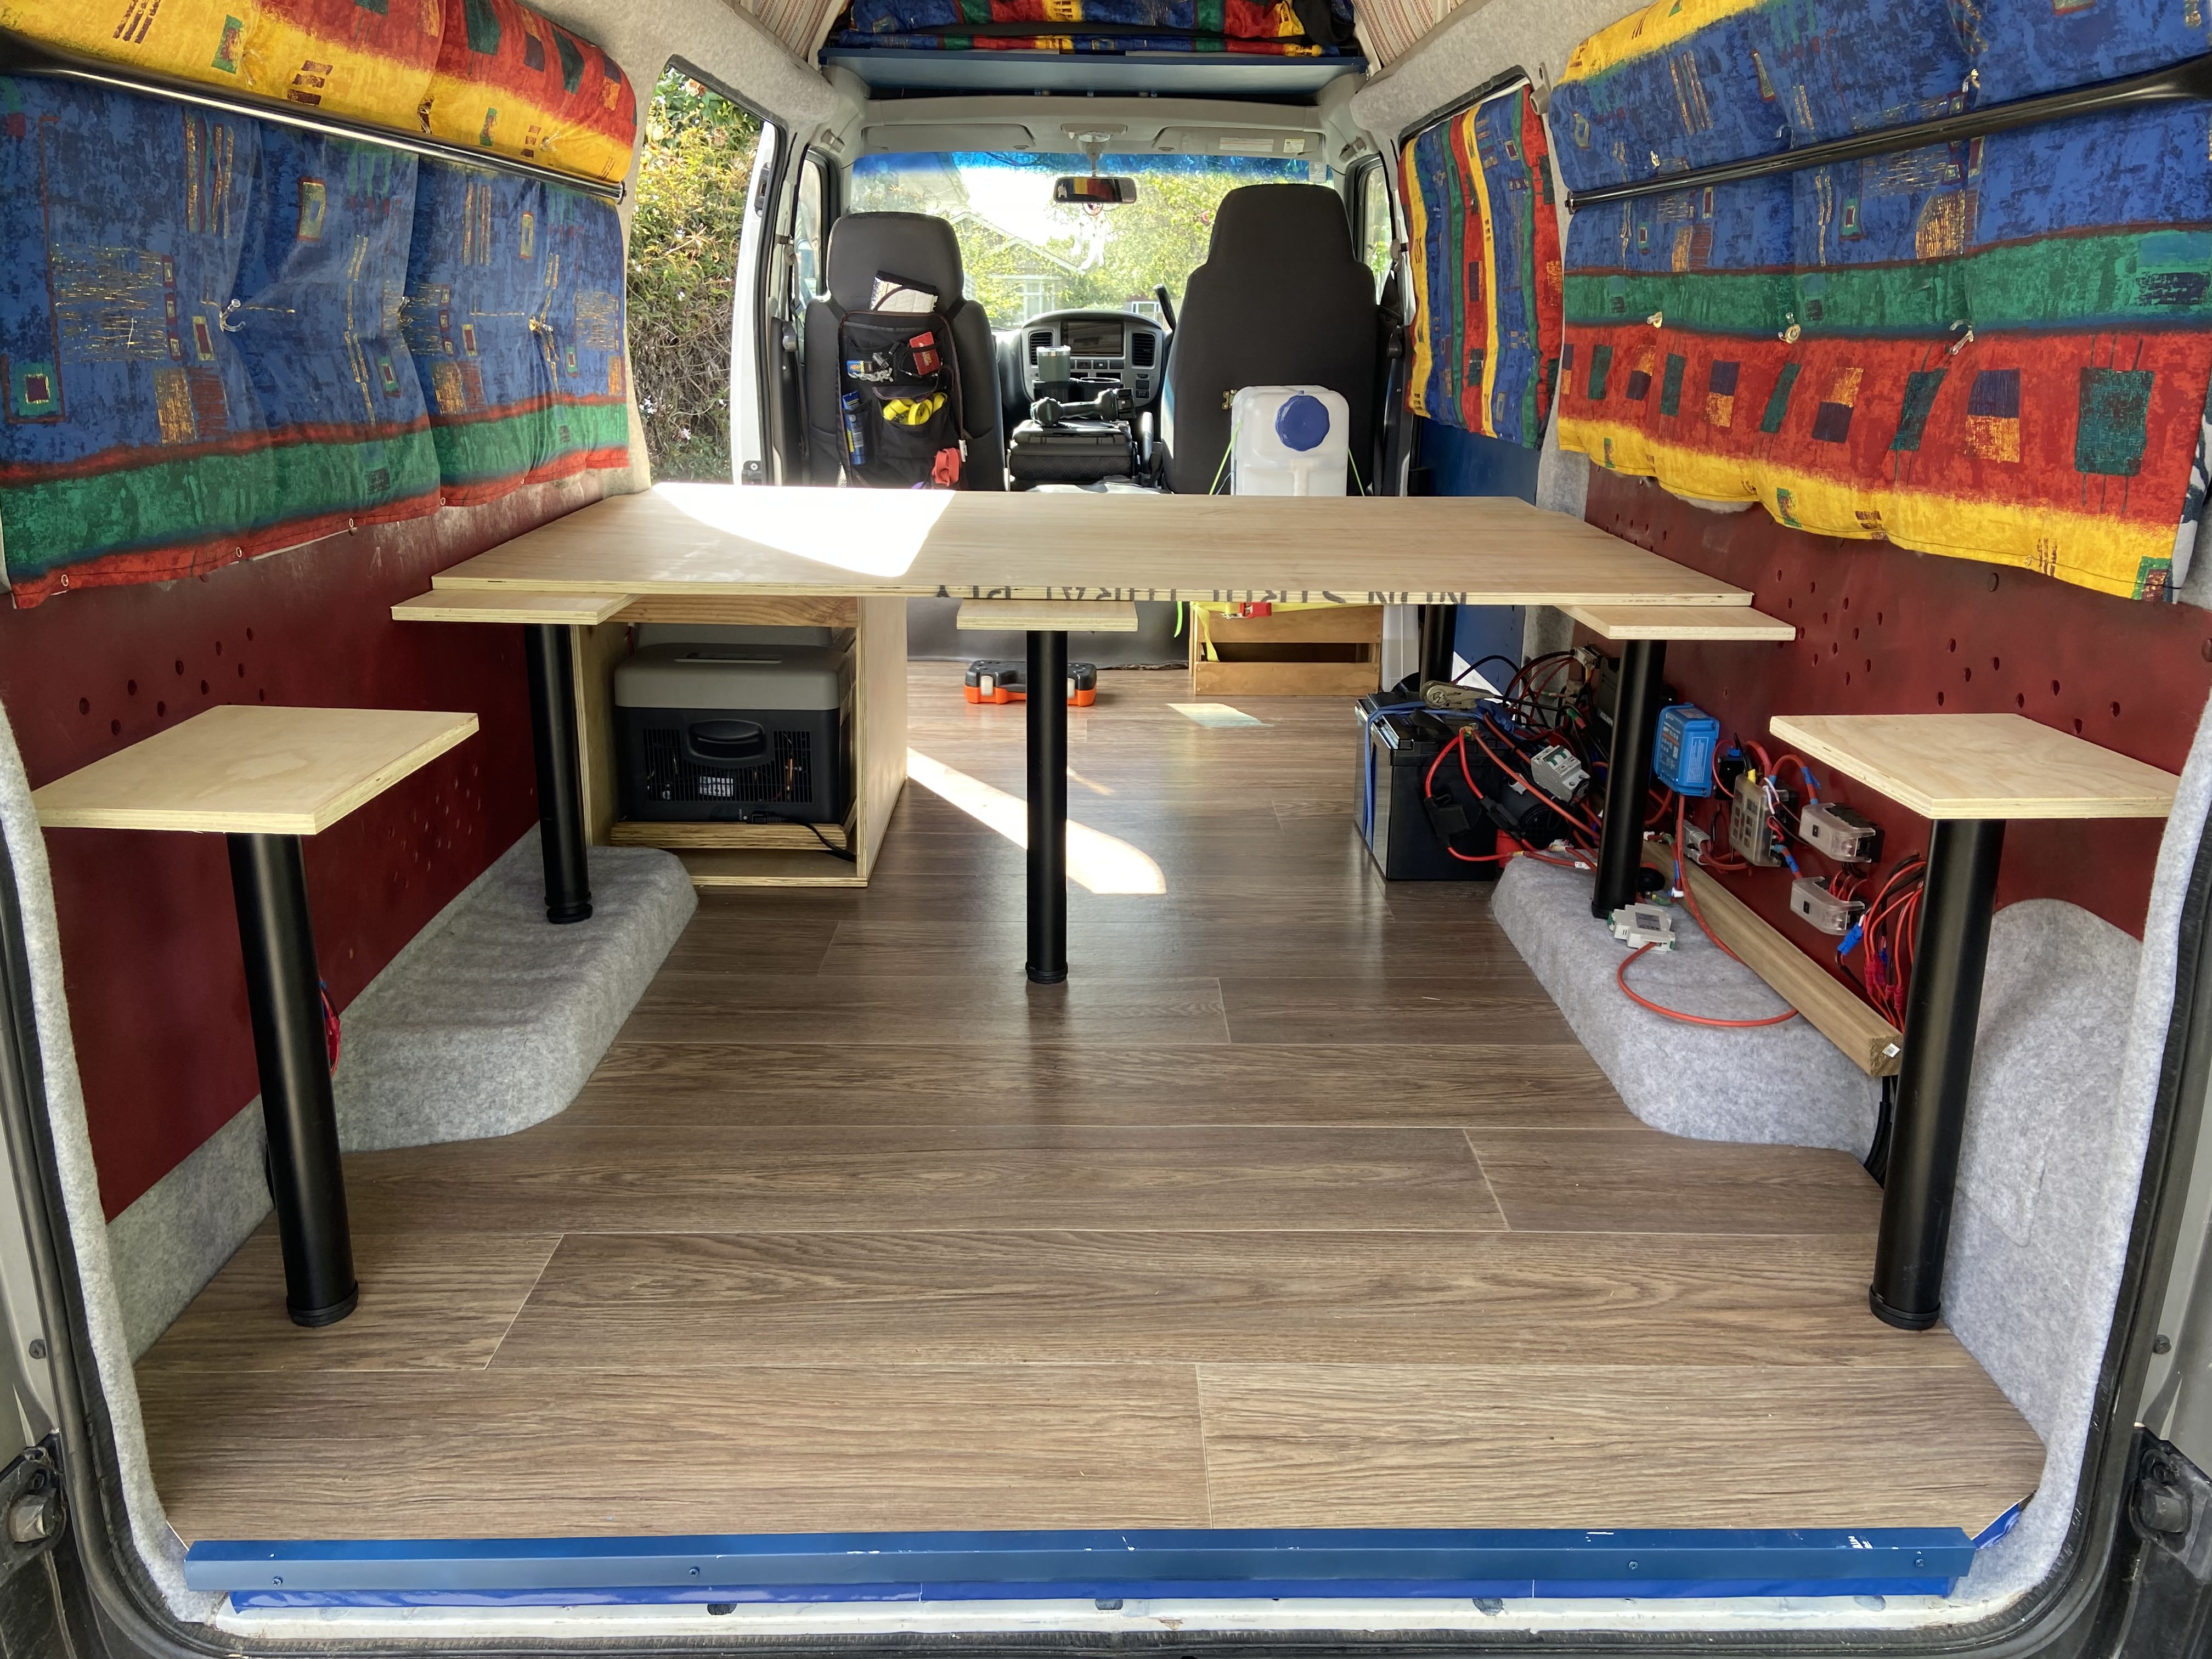
Bed platform complete
Mattress in. Cosy vibes 😴
Wheels
November 2023. I really wanted to improve the external aesthetic of the van, and was due some new tyres anyway.. So went all in and got some alloys aswell.
Alloy wheels
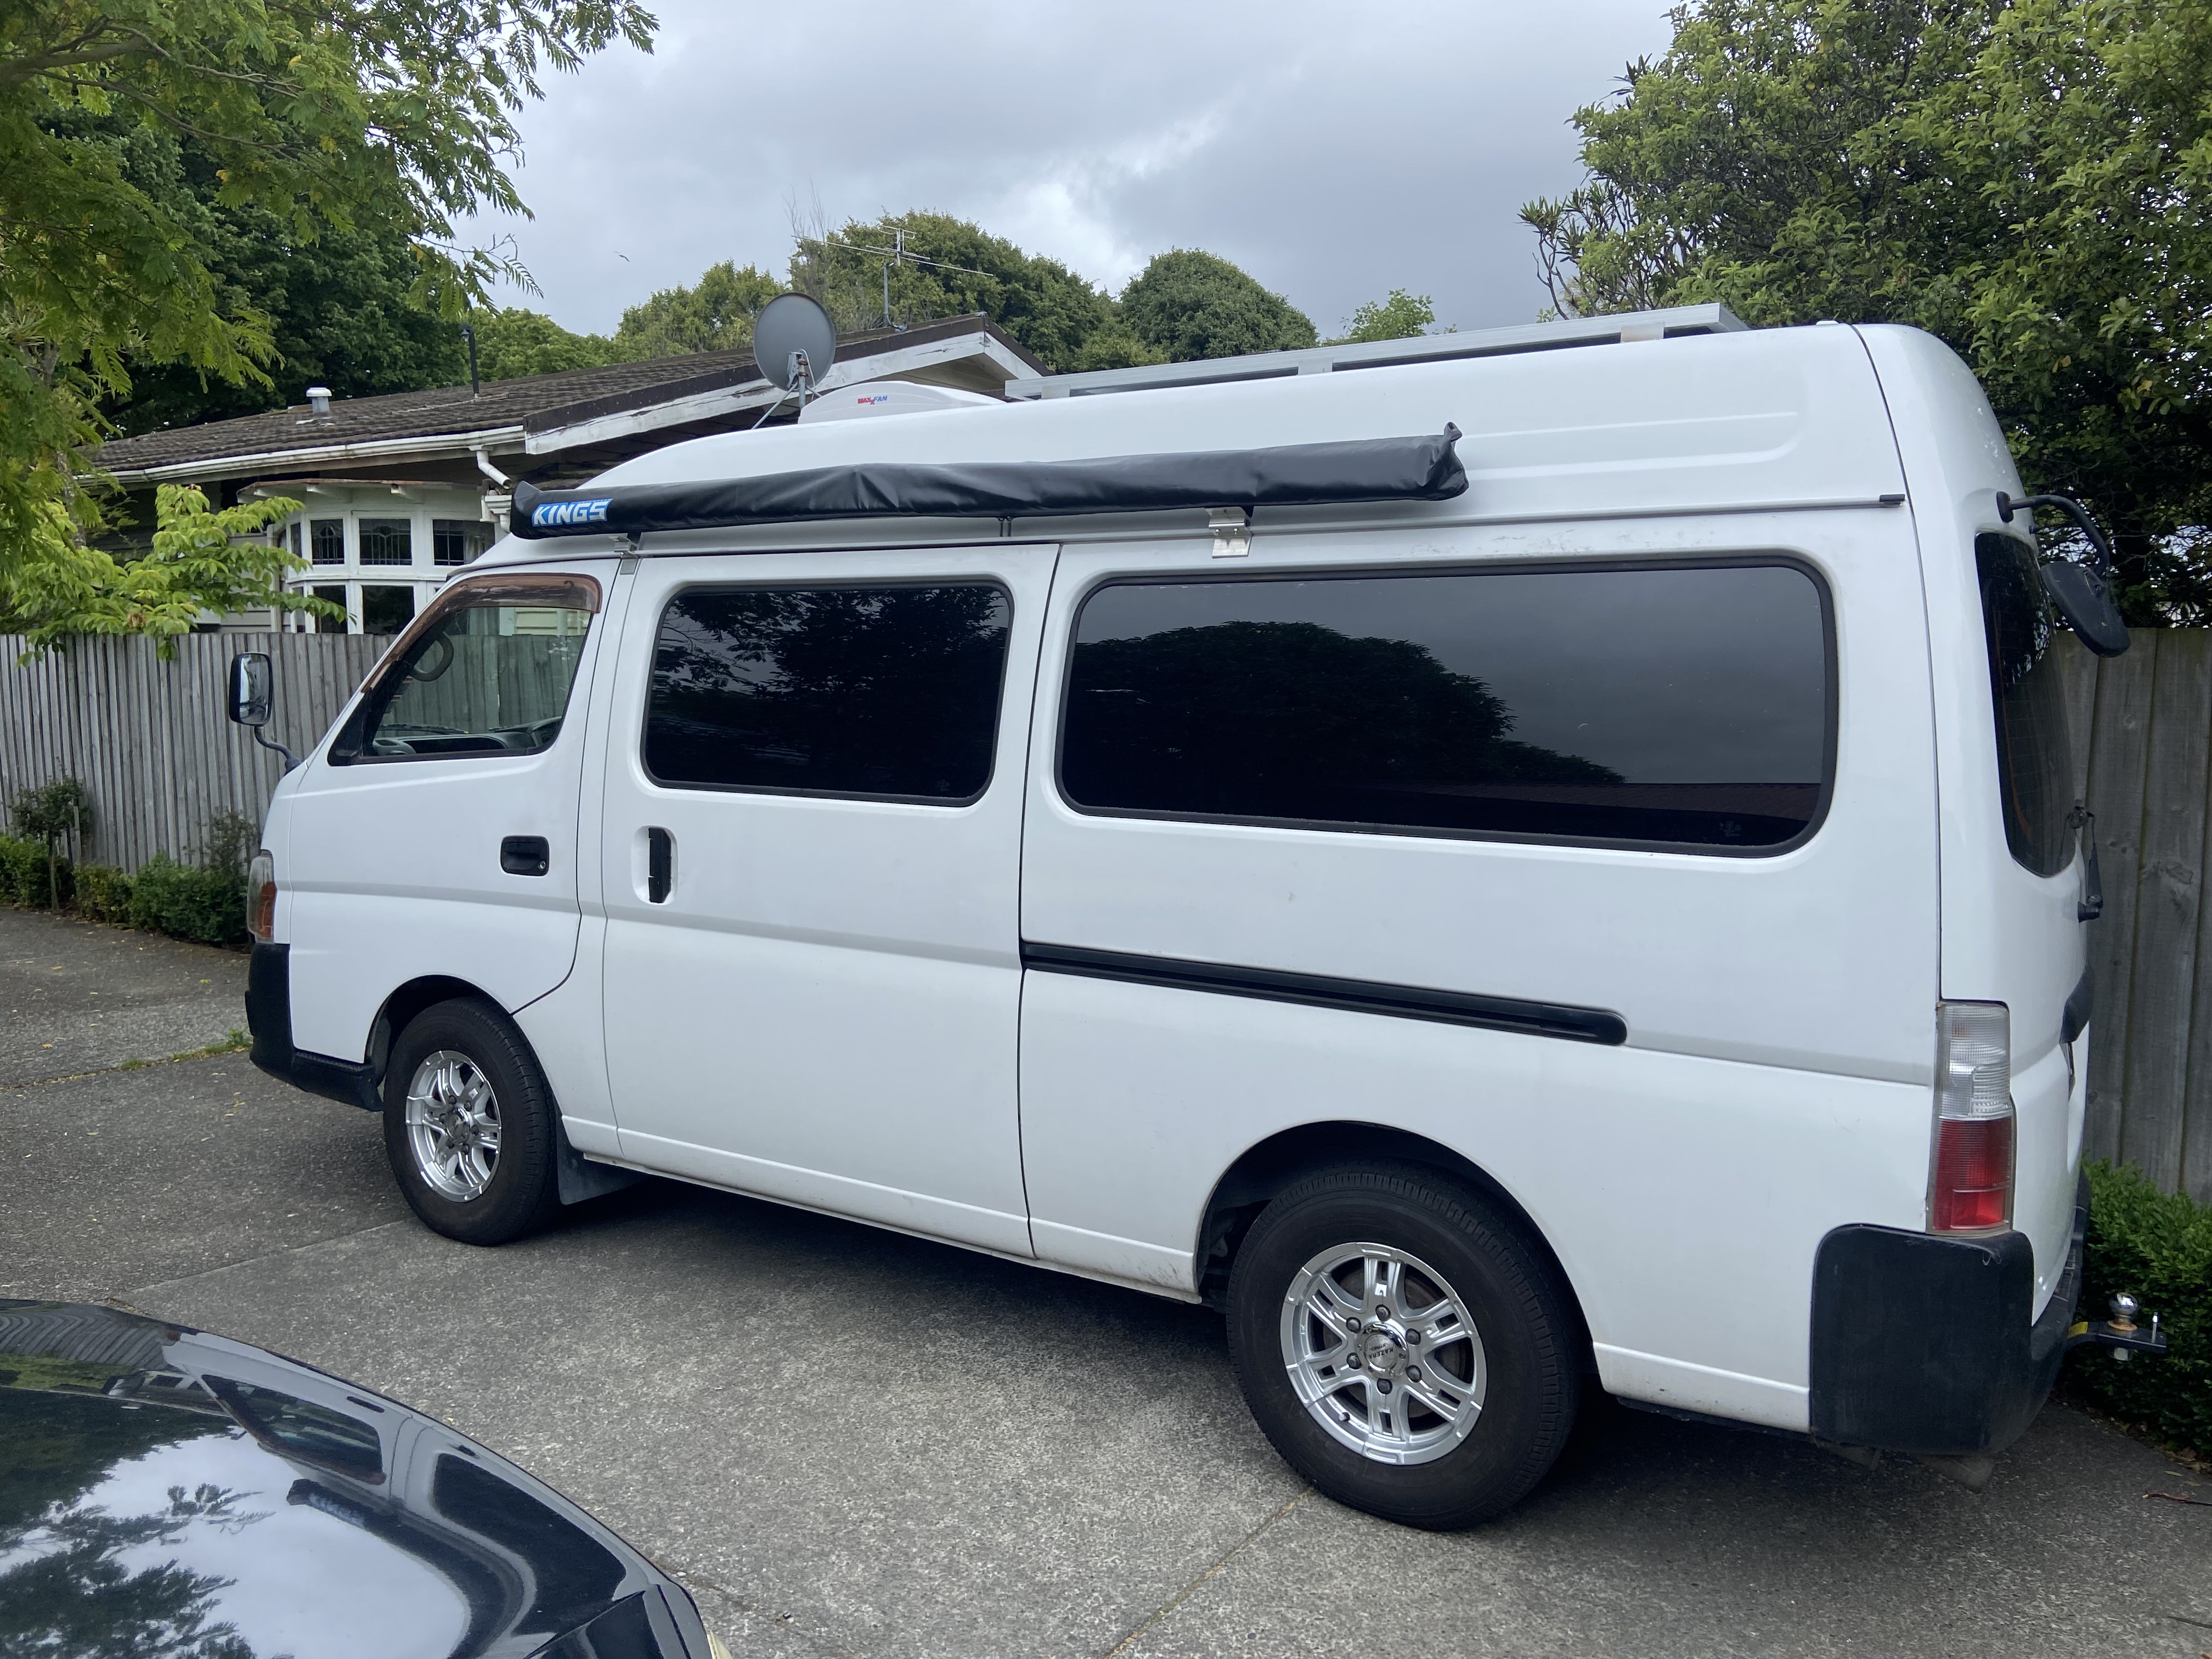
Kitchen
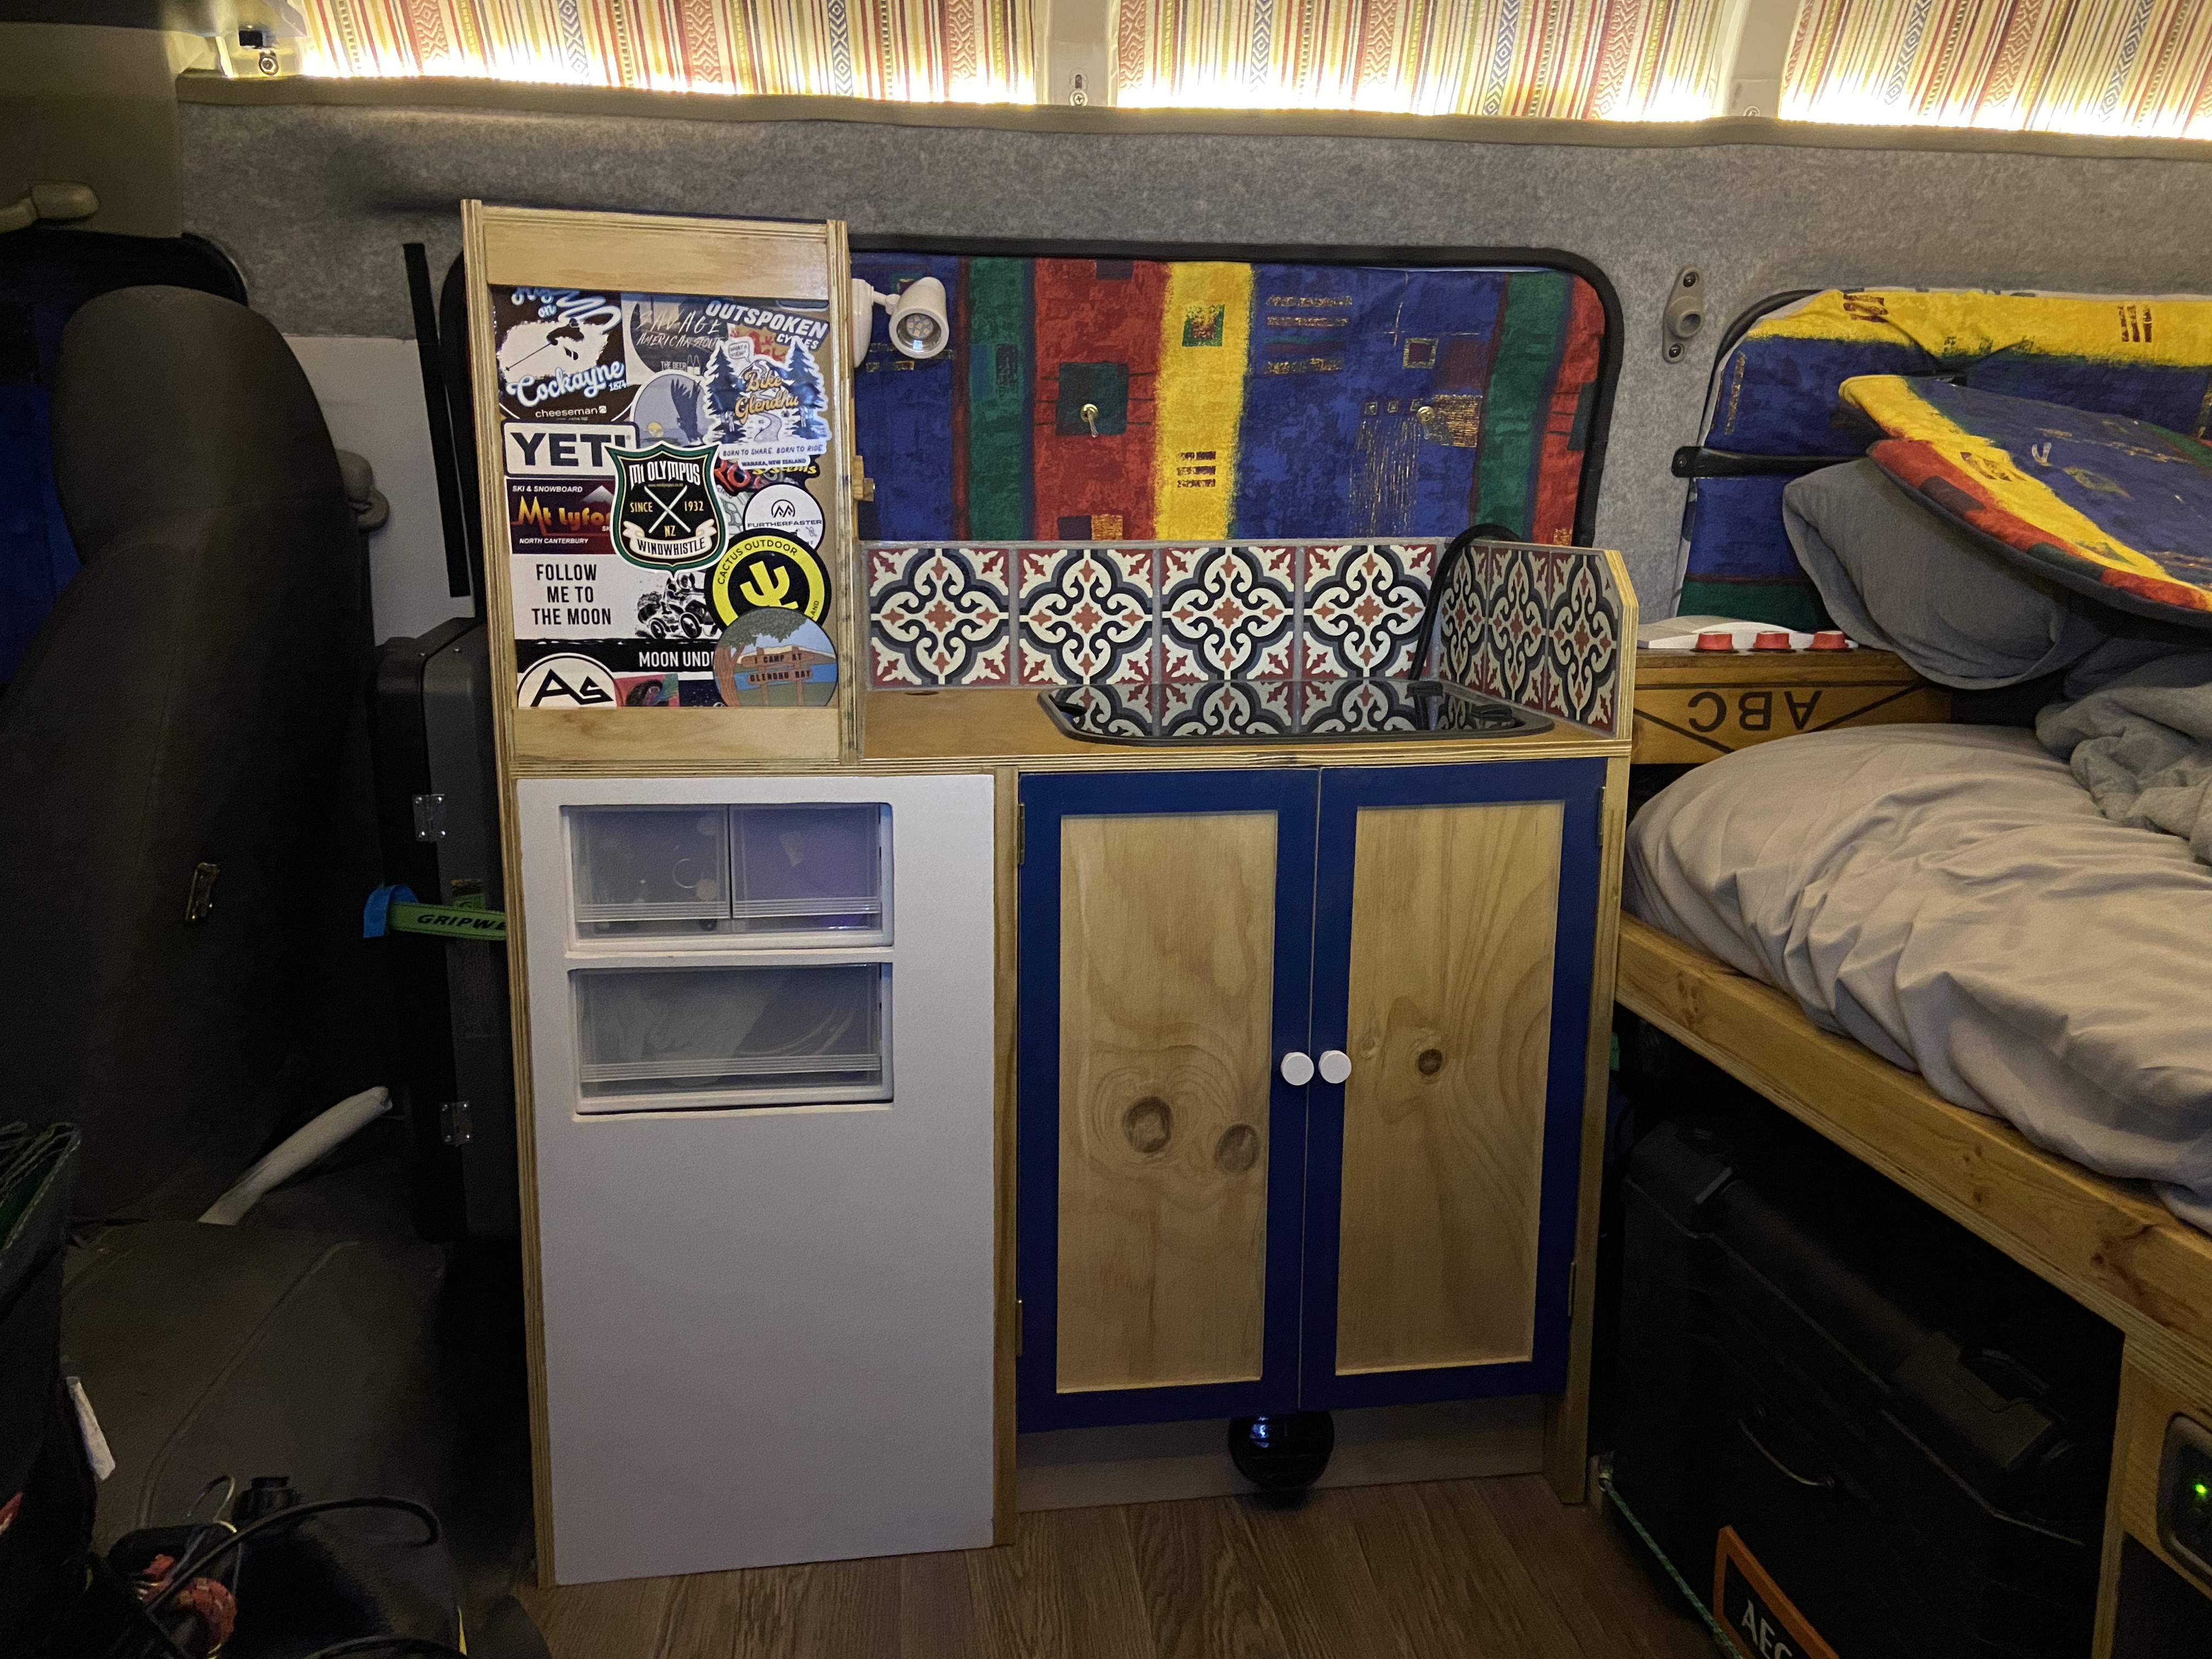
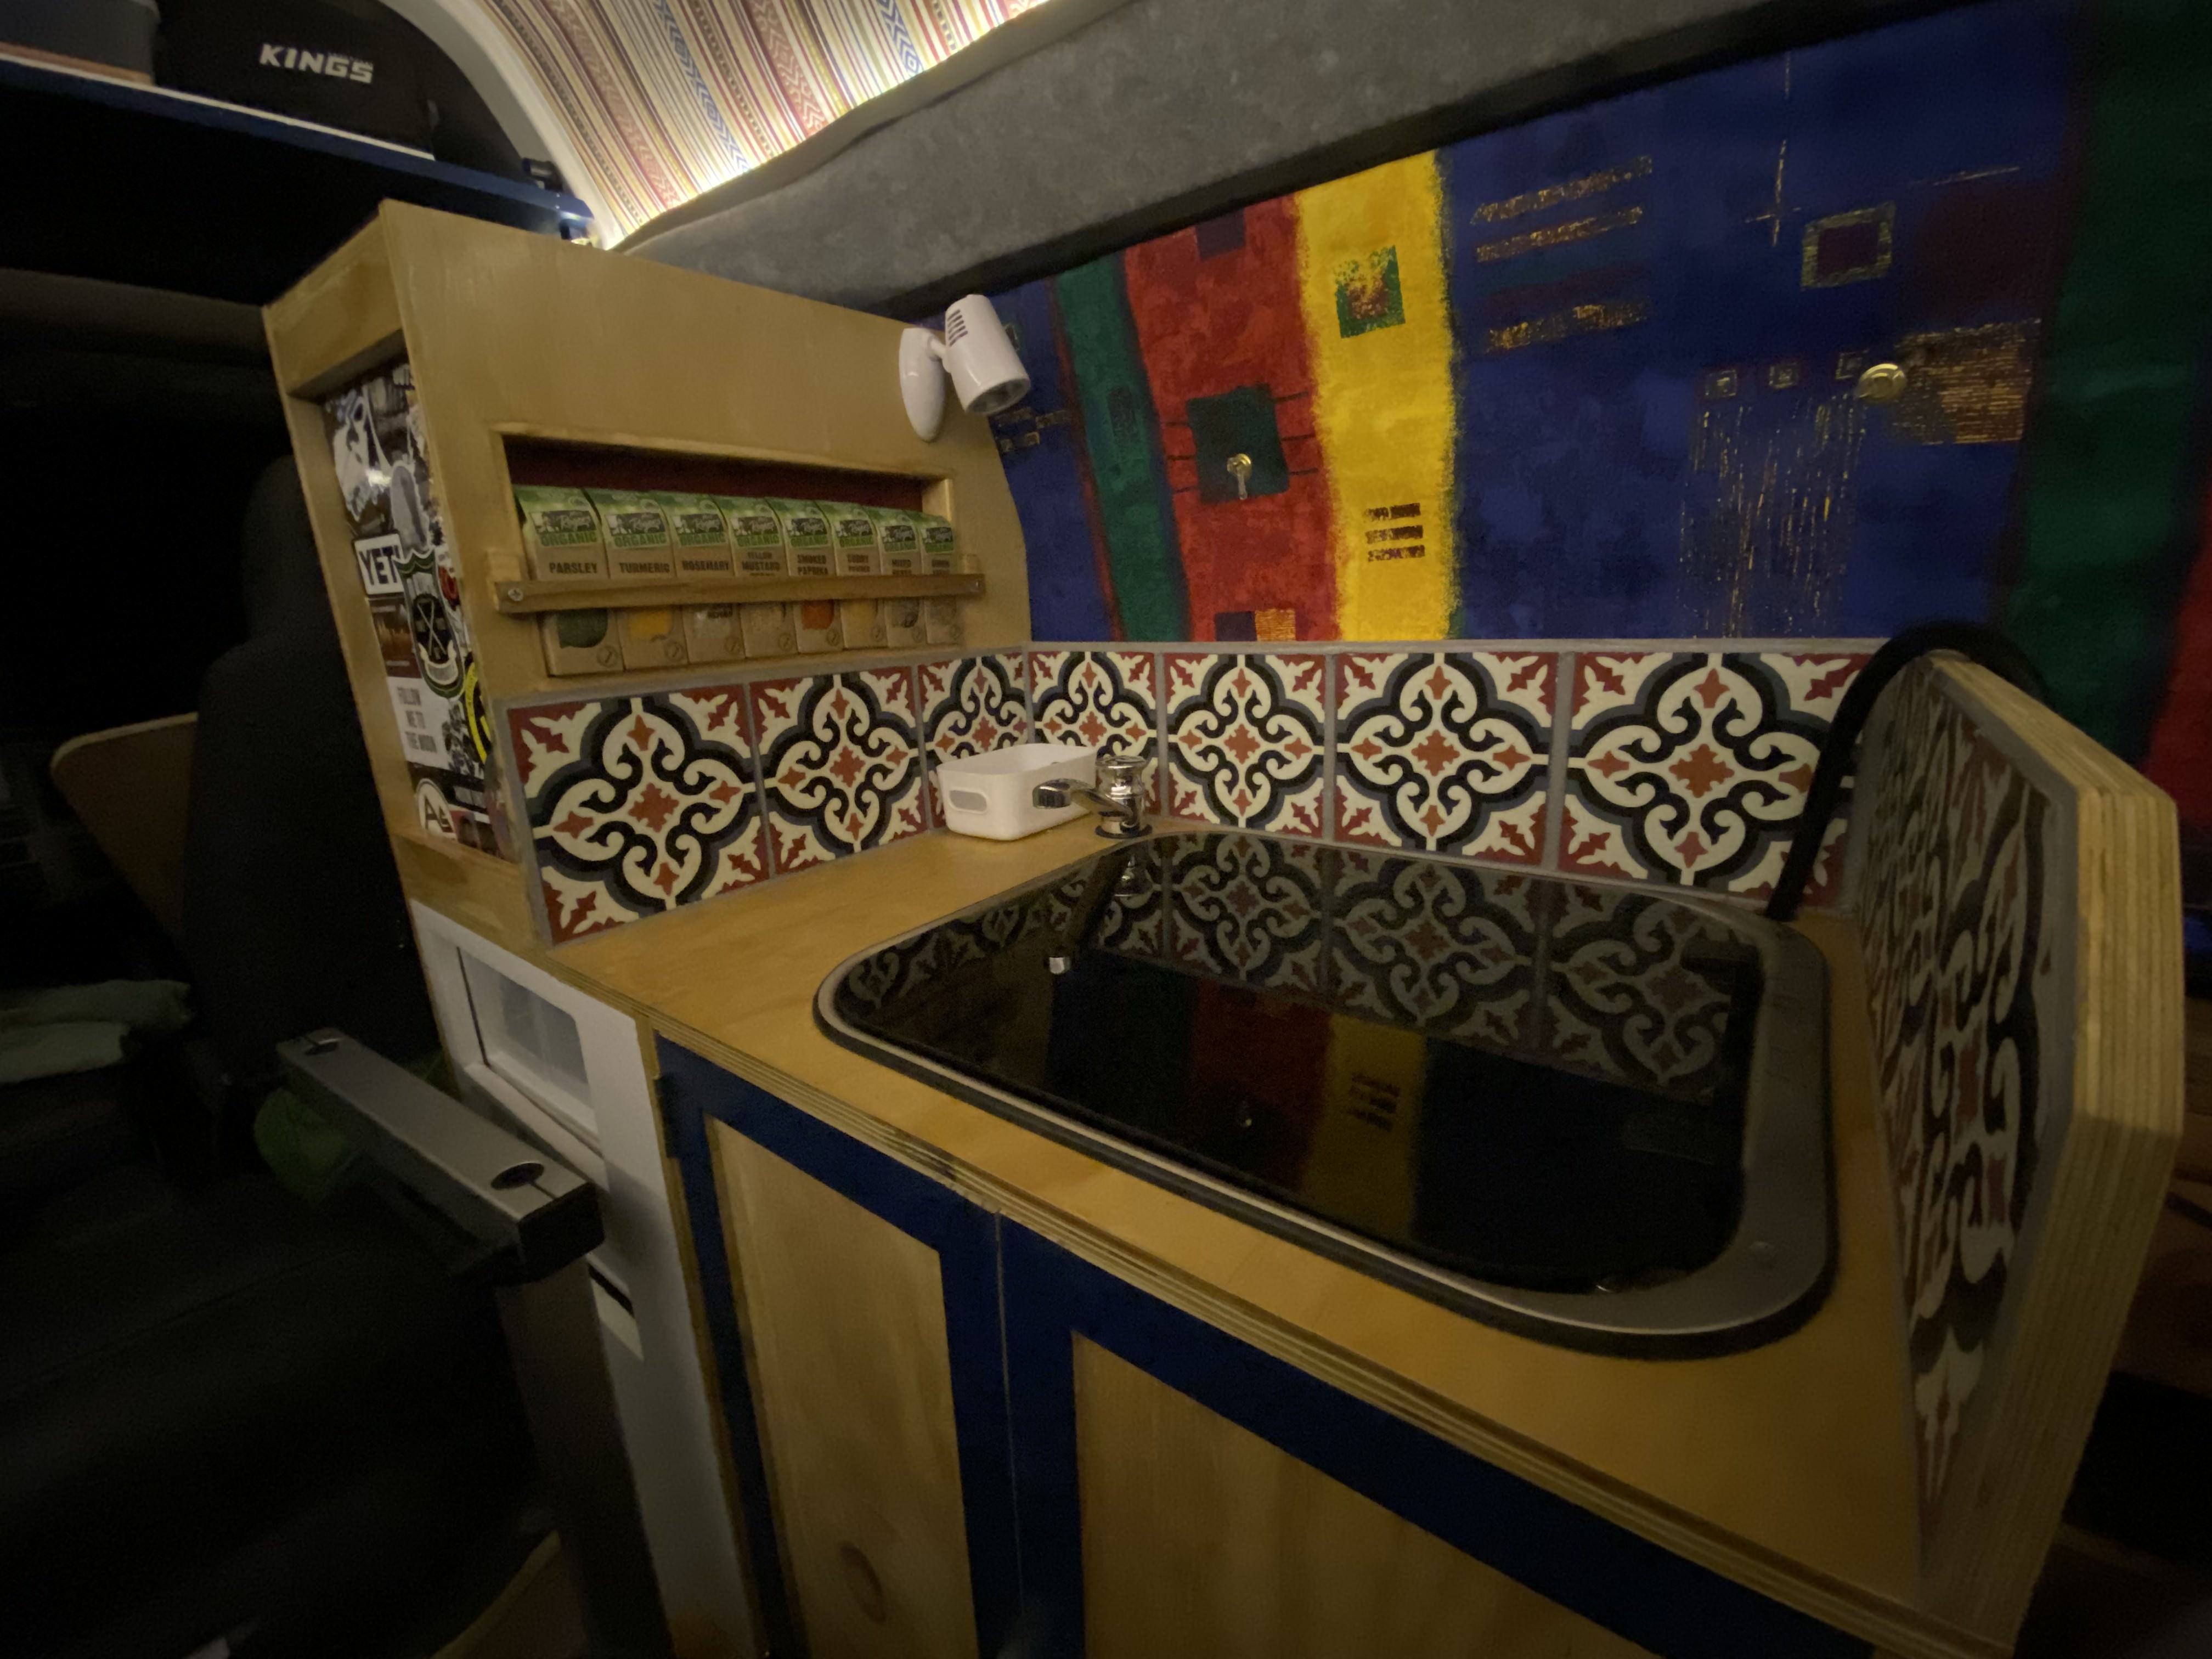
December 2023. Time was ticking before my dad arrives at the end of the month and one final job to tick off! The kitchen unit was built out of plywood and includes a glass top sink from dometic, a push pump tap and some off the shelf drawers units.
Starting work on the frame
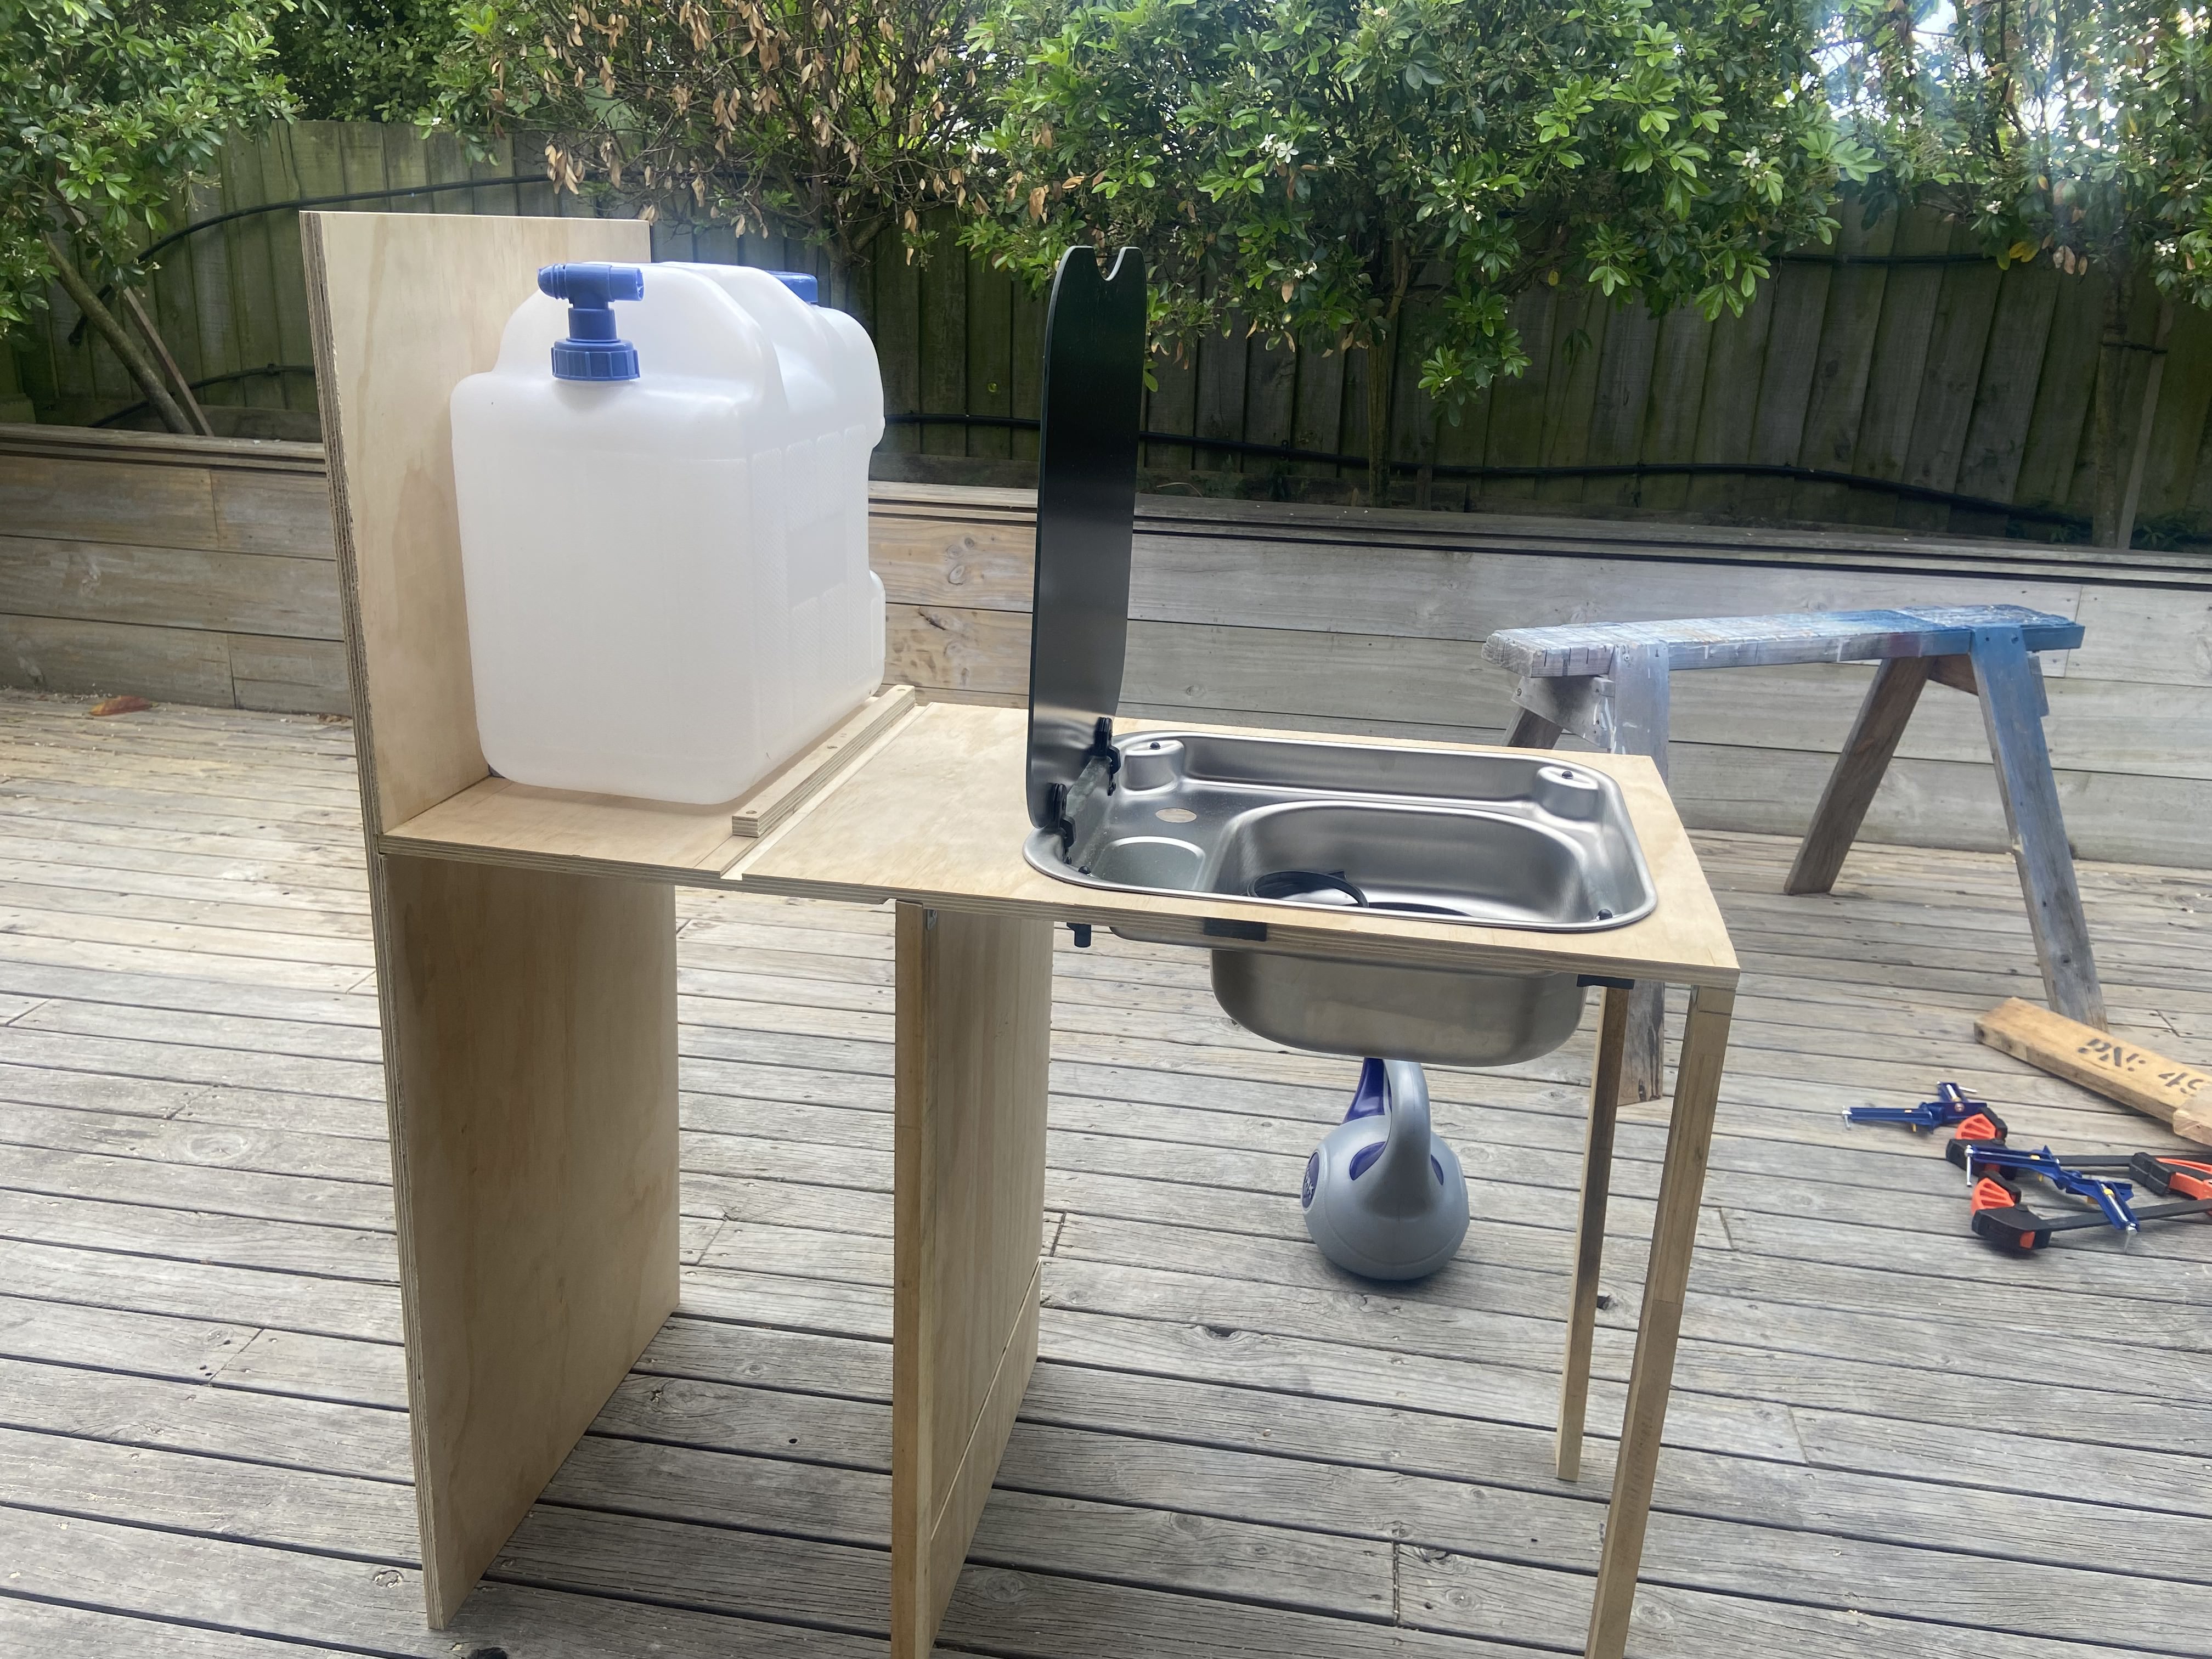
Cutting out the hole for the spice rack
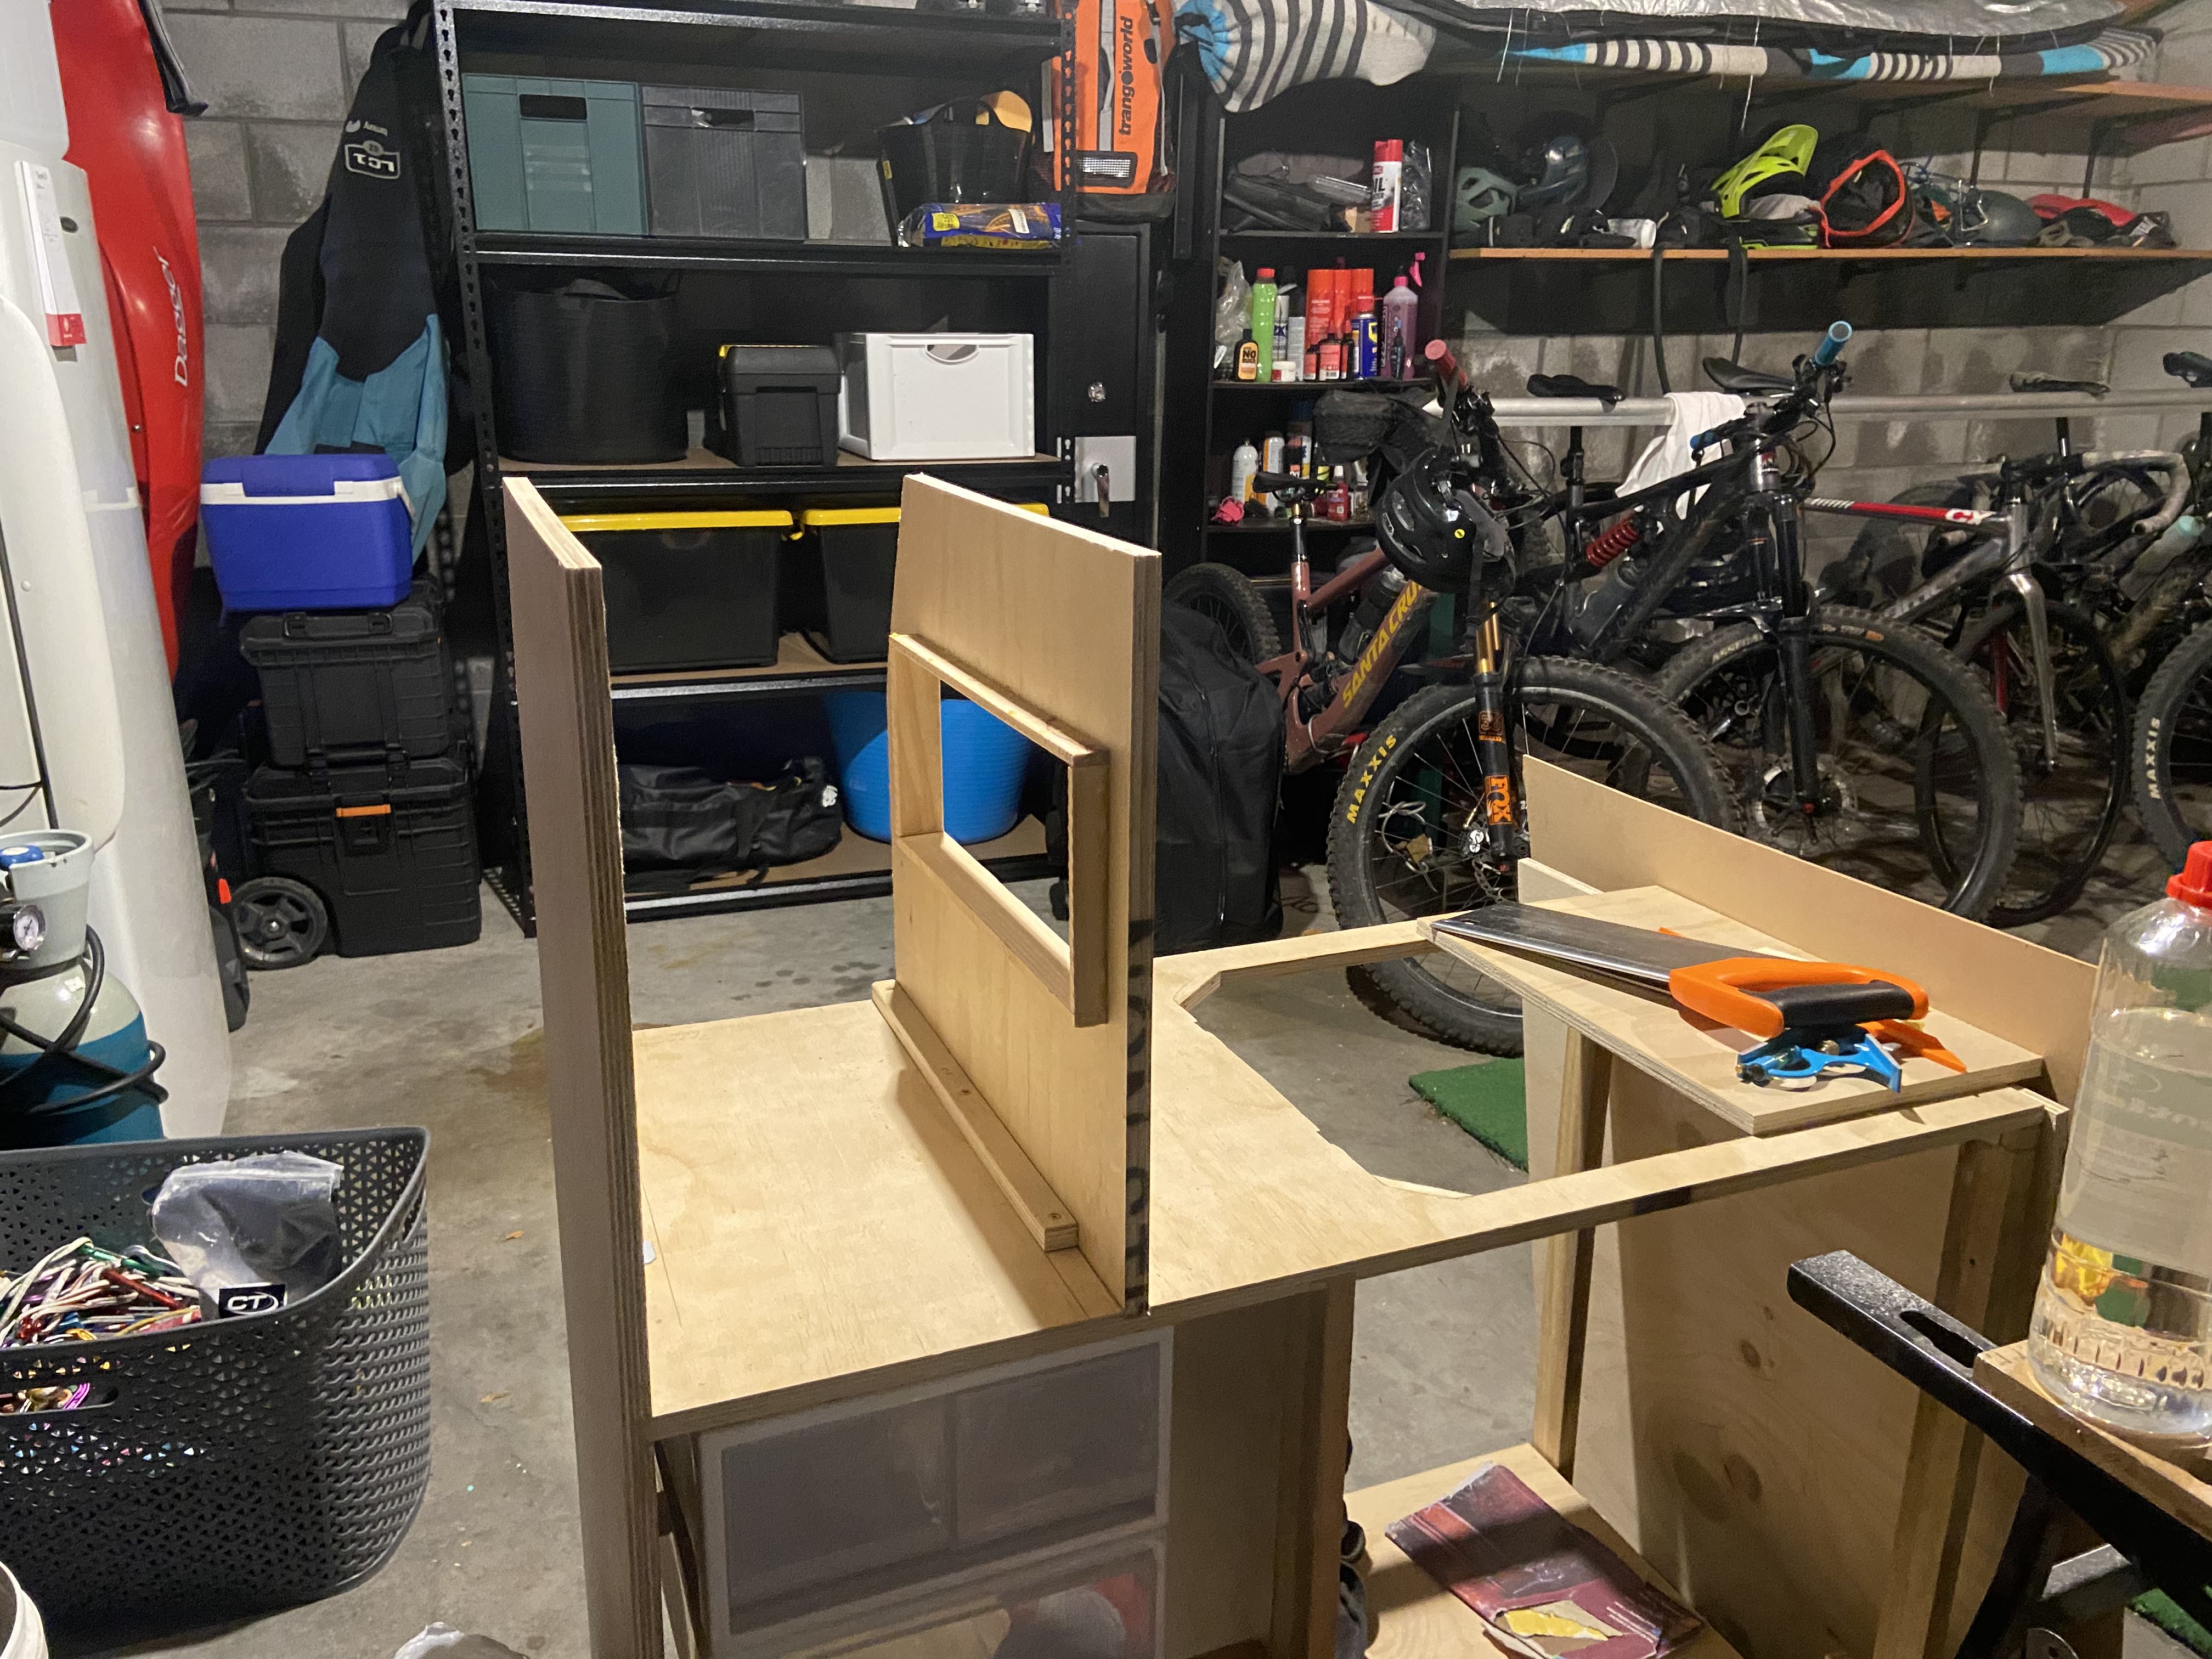
Adding some finishing touches
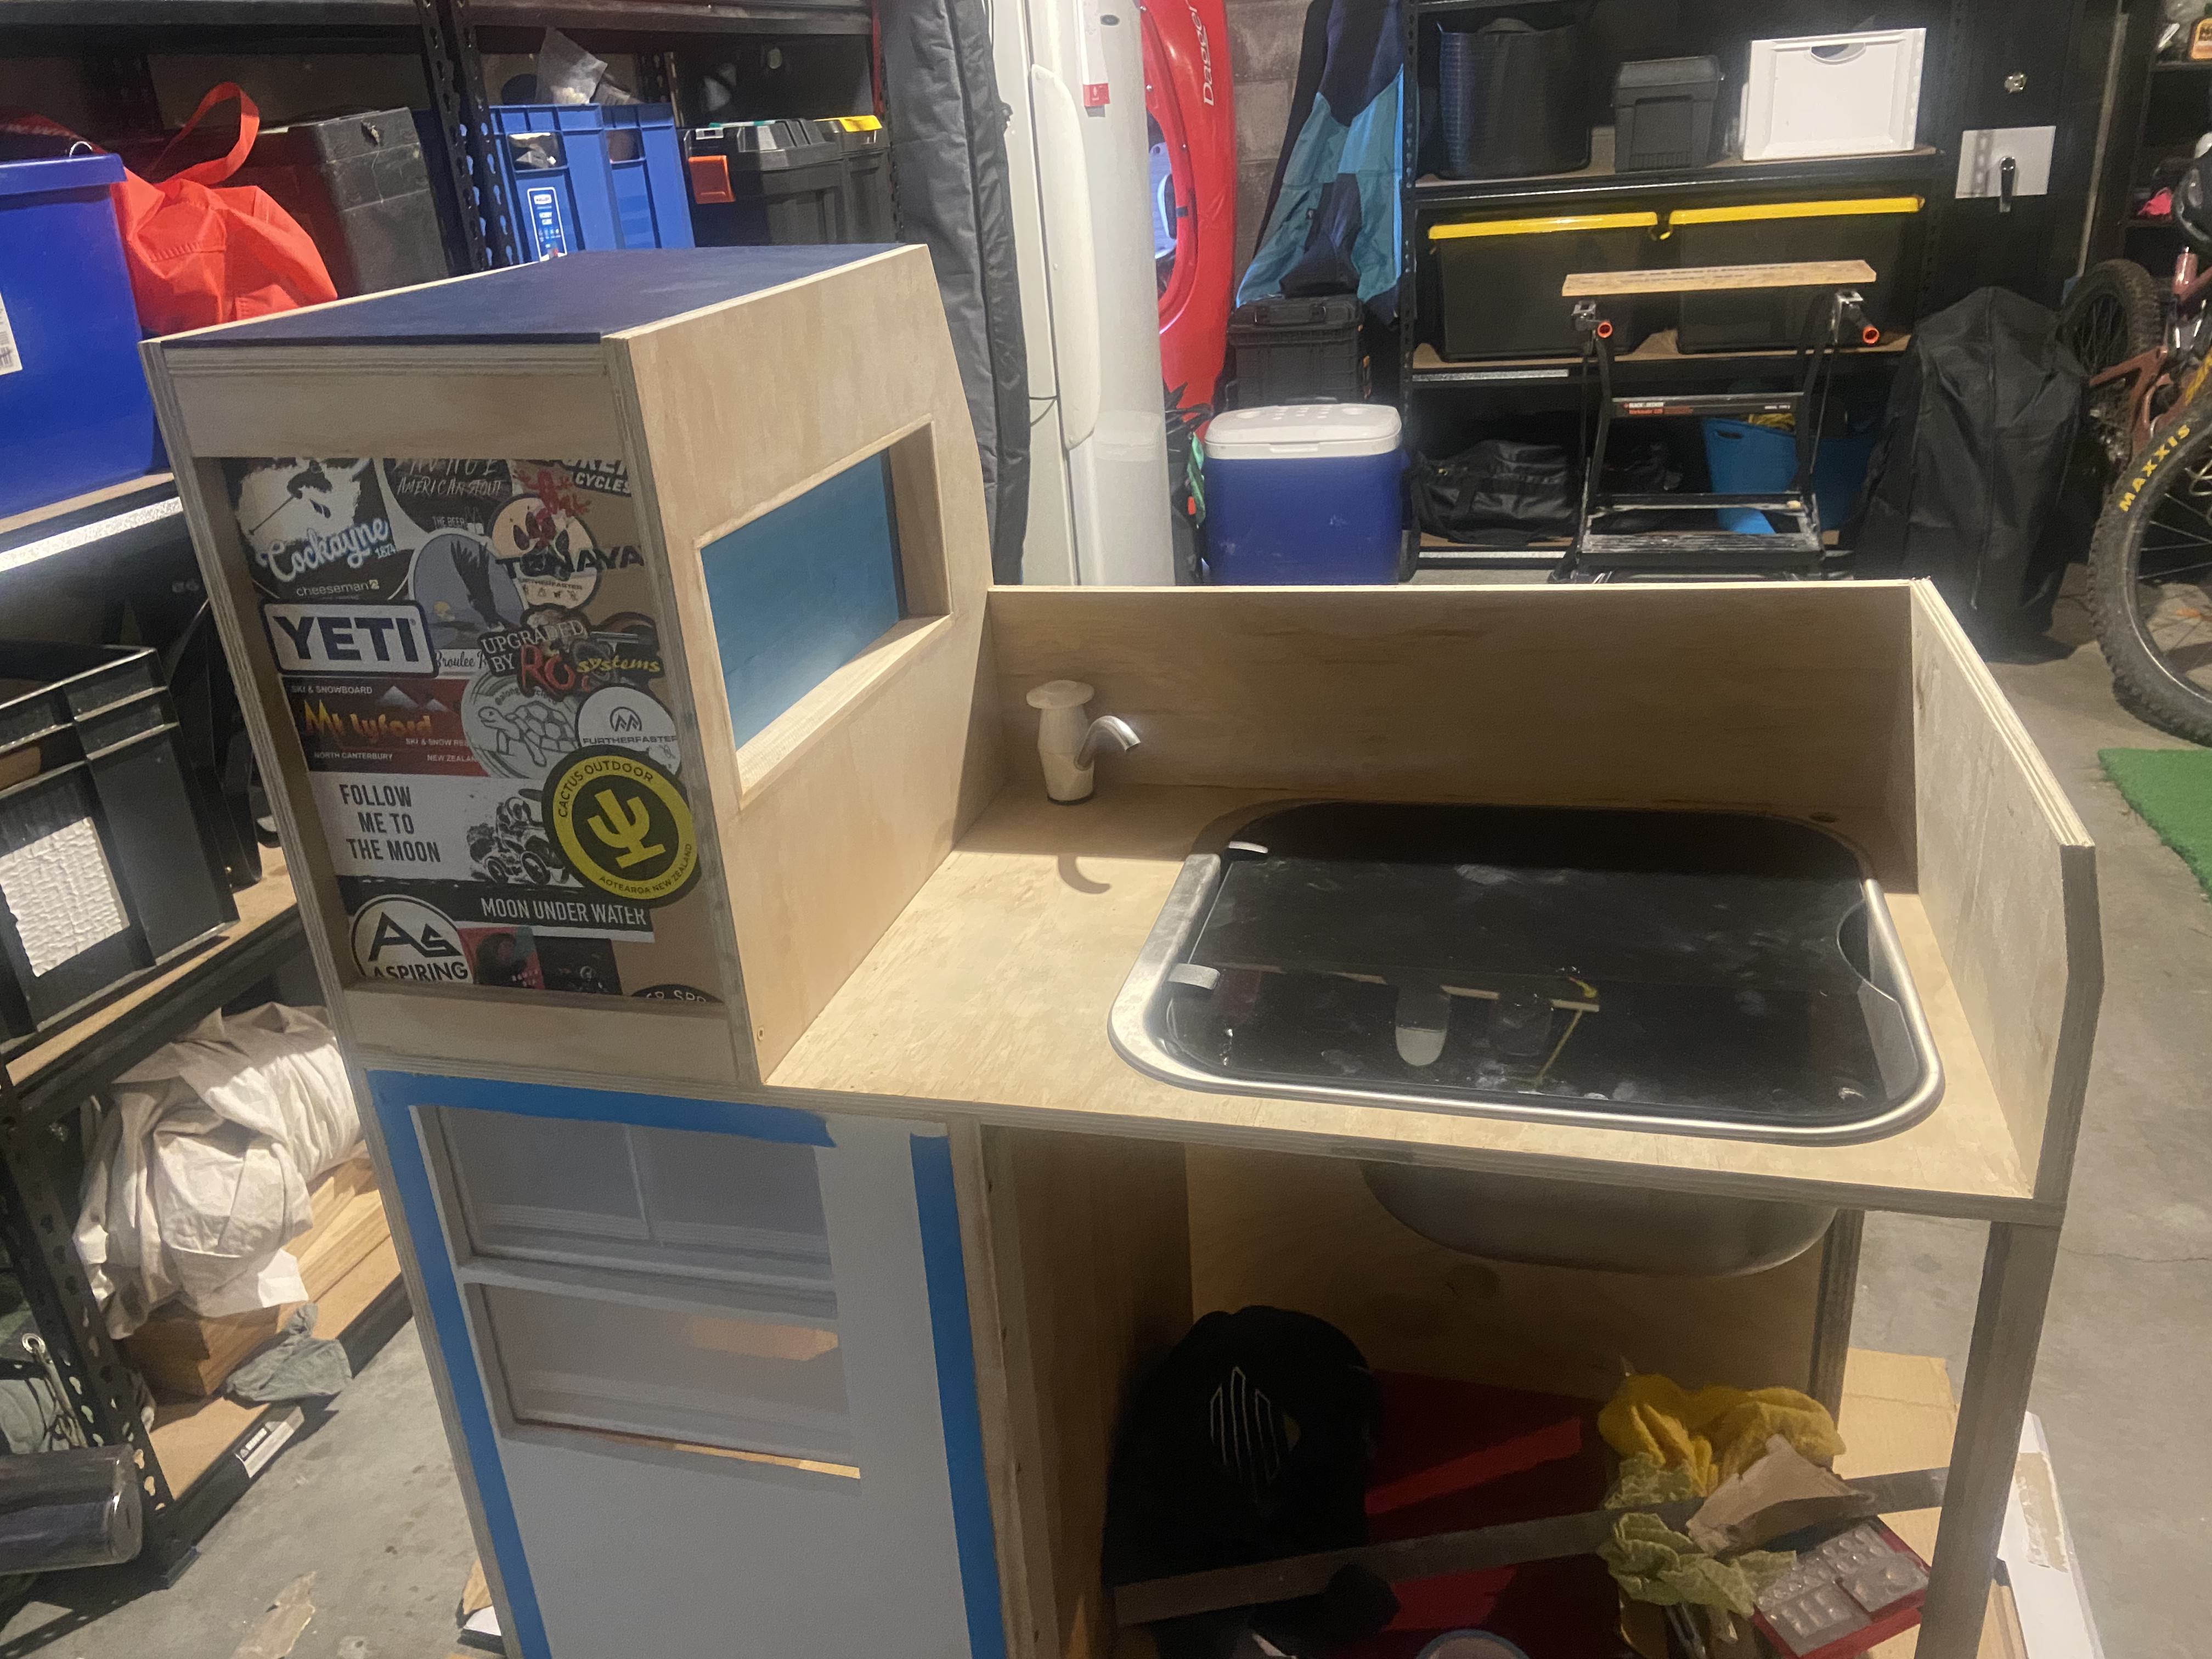
Kitchen complete!
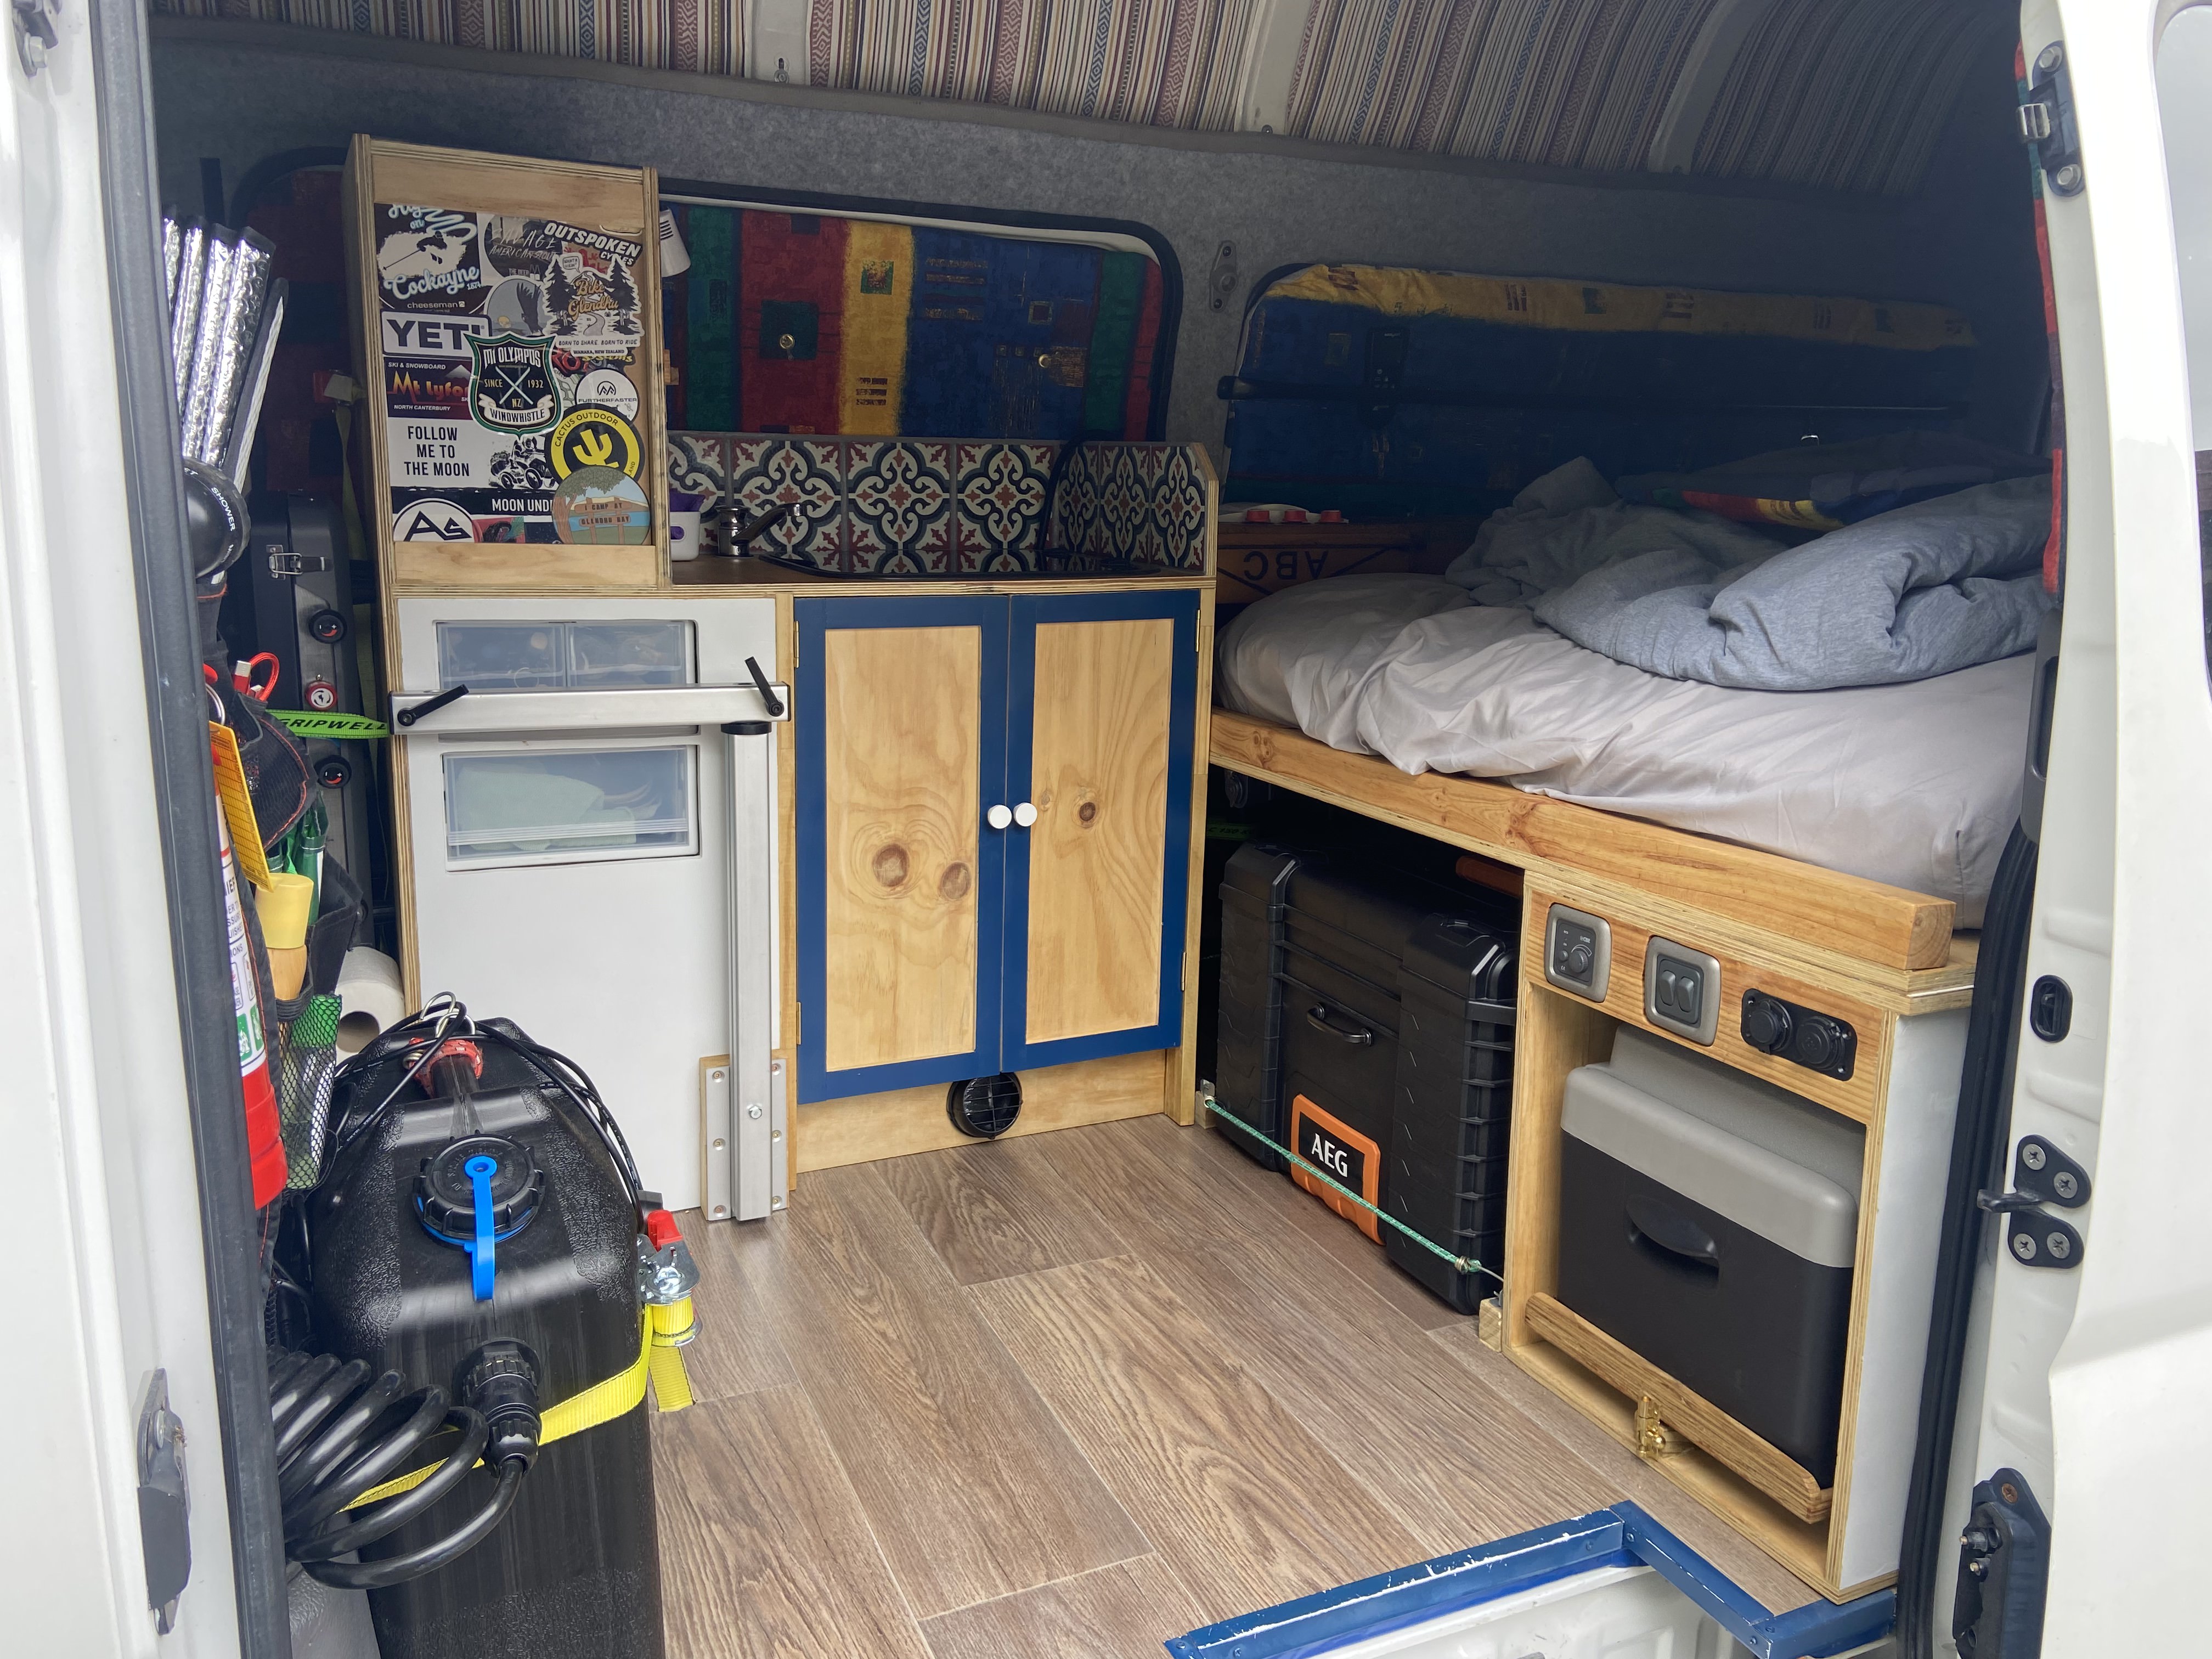
Finished!
December 2023. The van was finished just in time for my Dad’s arrival! The maiden voyage was spent with me, Dad and Clare on Christmas eve at Aoraki national park. Clare suprised me with the ultimate finishing touch for the van. A custom landsdcape painting to go over the bed head 🎅 Such a rewarding project this one, not the last campervan I’ll work on I’m sure!
Inside
Kitchen vibes
Christmas presents!
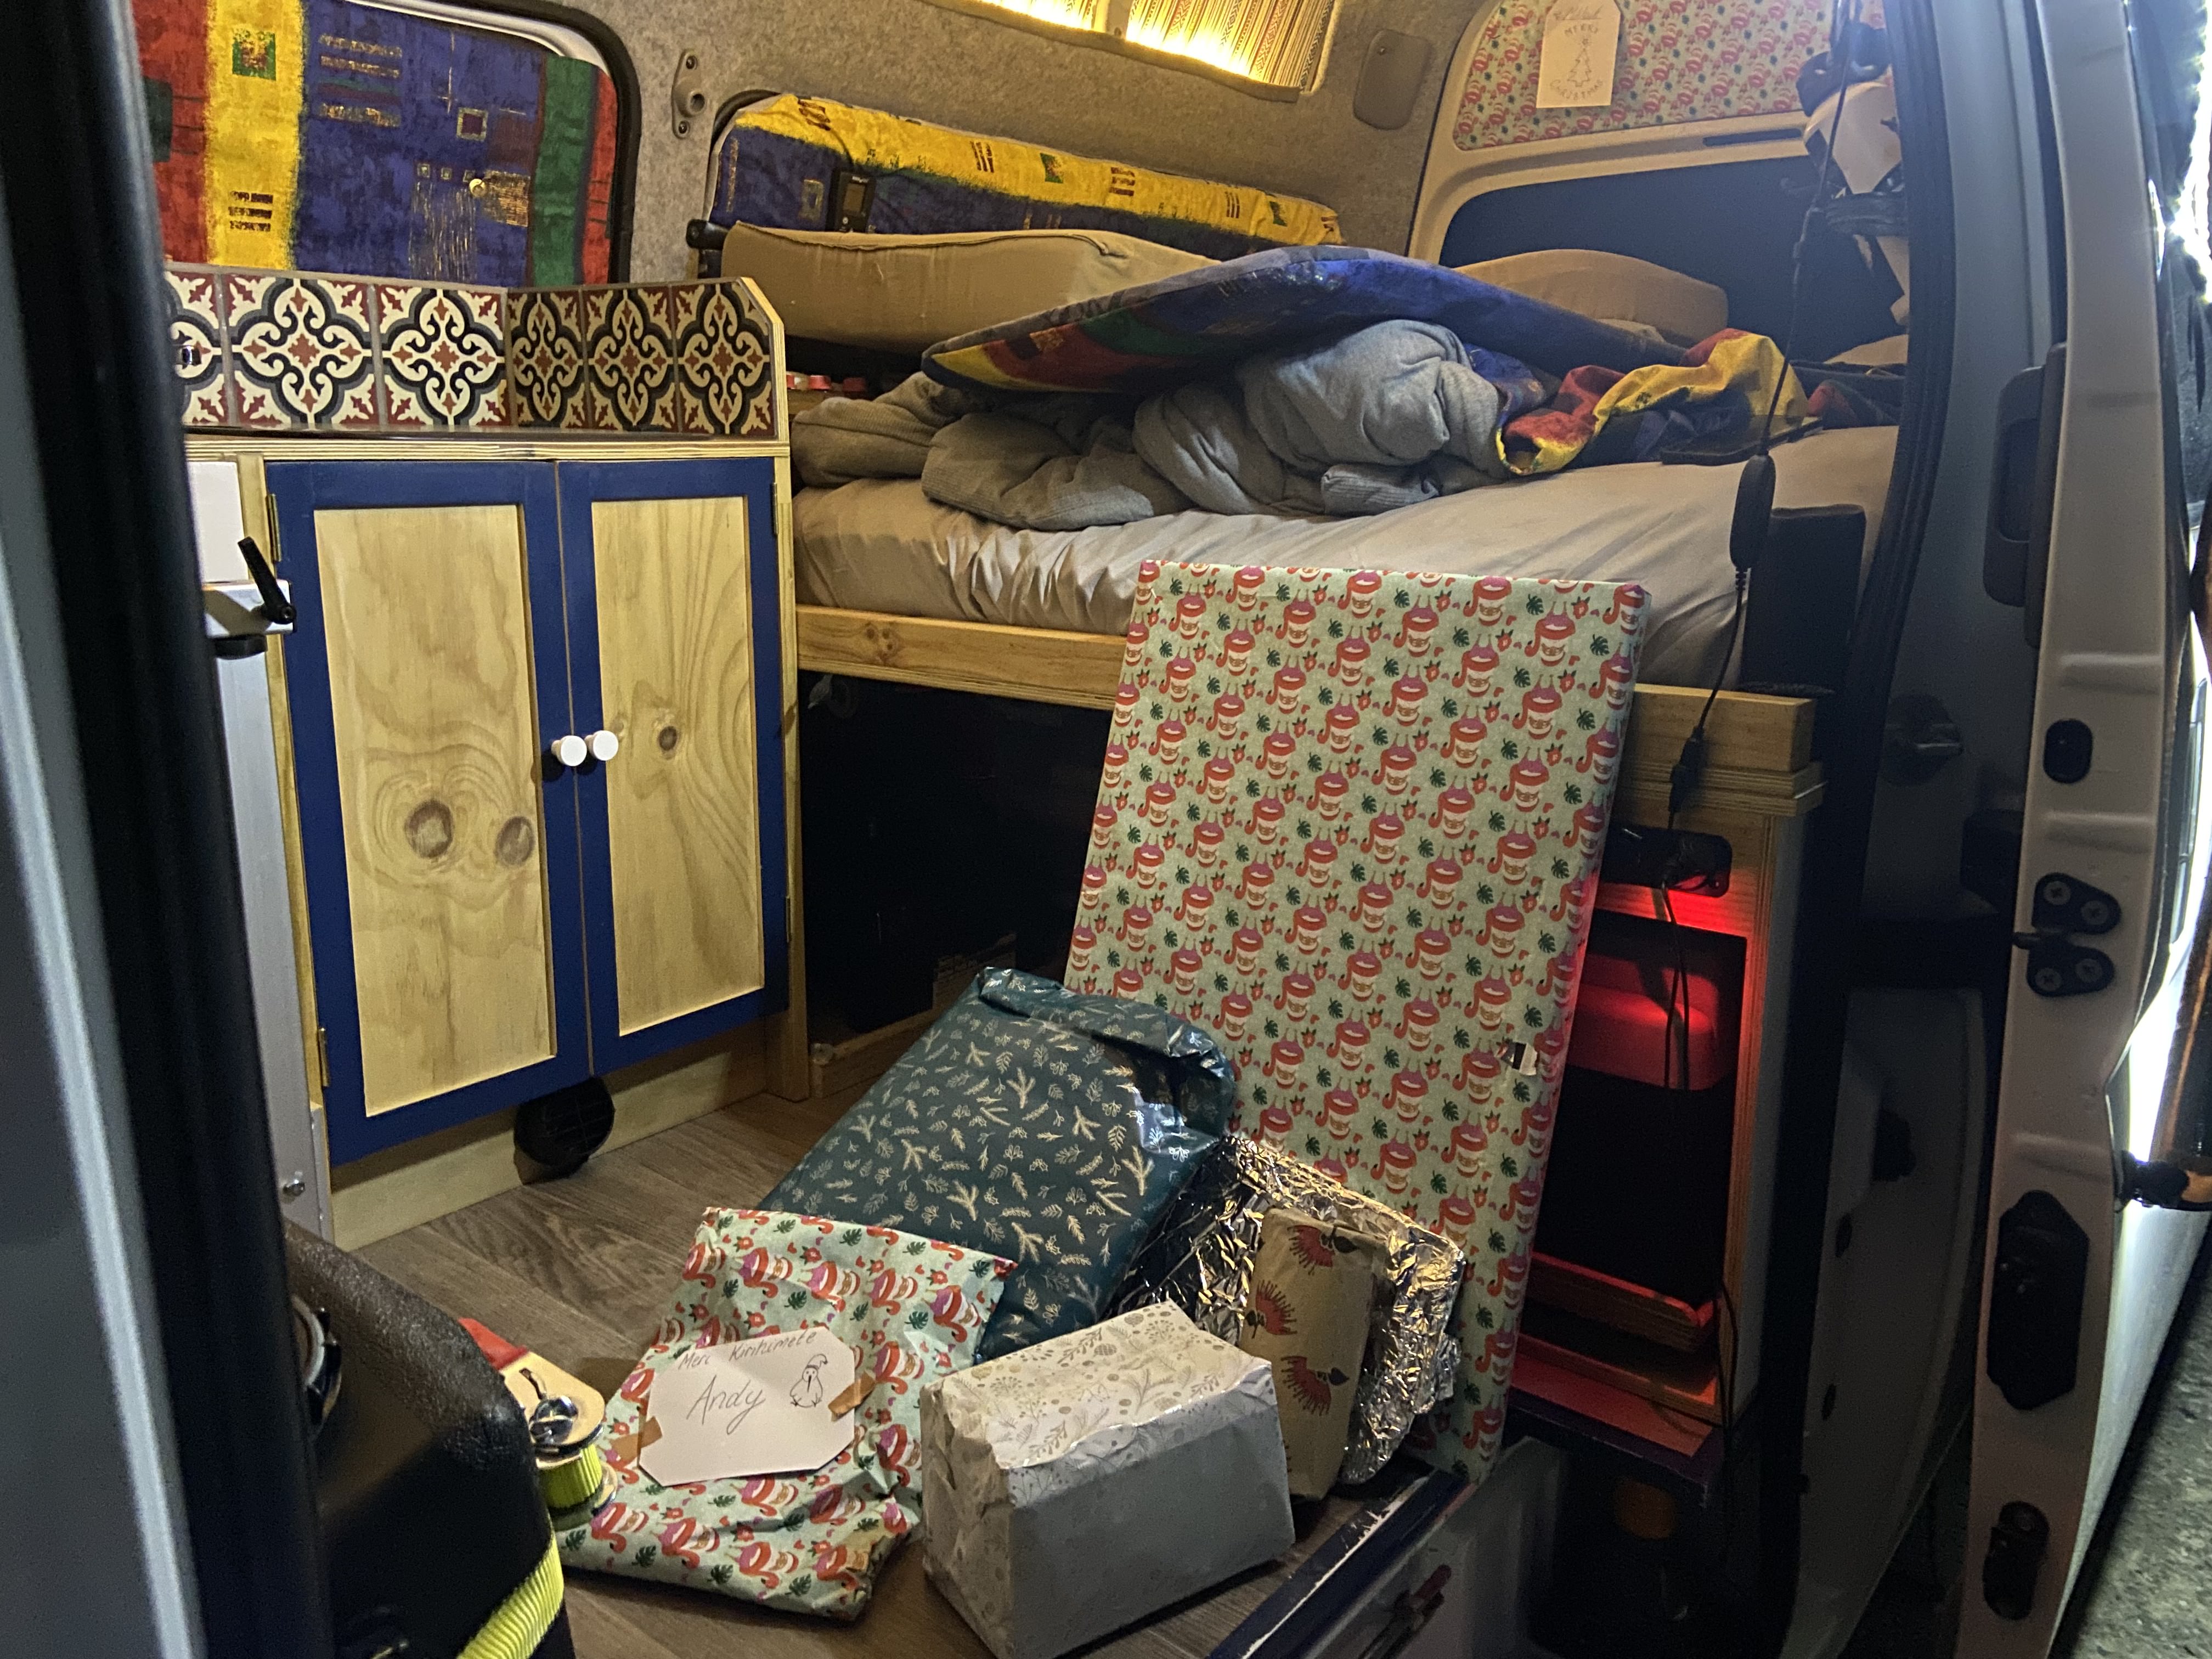
Clare’s christmas painting!